Wooden floors call for varnishing on a frequent schedule, carpets can be a nightmare which need to be cleaned regularly, while the concrete flooring surfaces are sustainable and don't need any maintenance, aside from a washing as needed. Now washing on a polished concrete floor is greatly easier and demands less time. Concrete floors could be polished wet or dry.
Images about How To Stain And Score Concrete Floors

Once we think of concrete flooring, we very often think of many boring basement floors a dull gray-ish color with no pattern or design. This will end up saving you hours in work and cleaning costs. Thus, when you're in the market for flooring, recall concrete flooring is not only superior to down in health benefits and temperature regulation, but also eco-friendly and highest in client satisfaction.
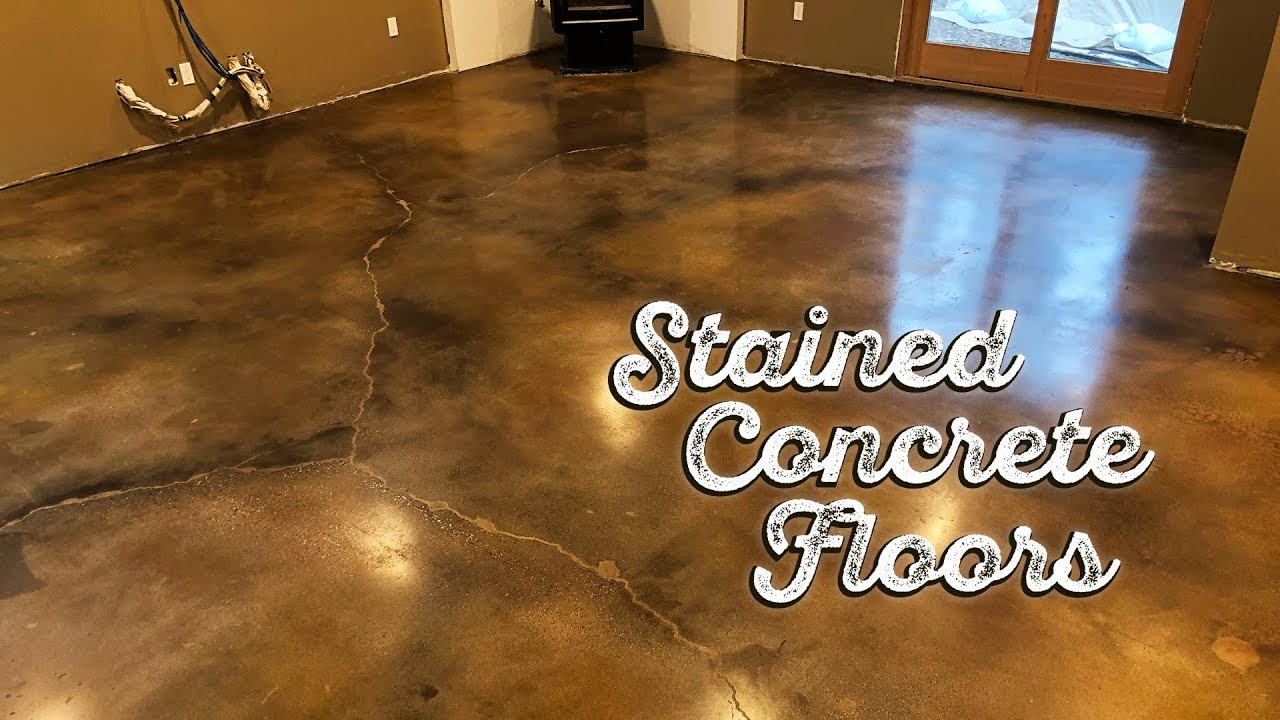
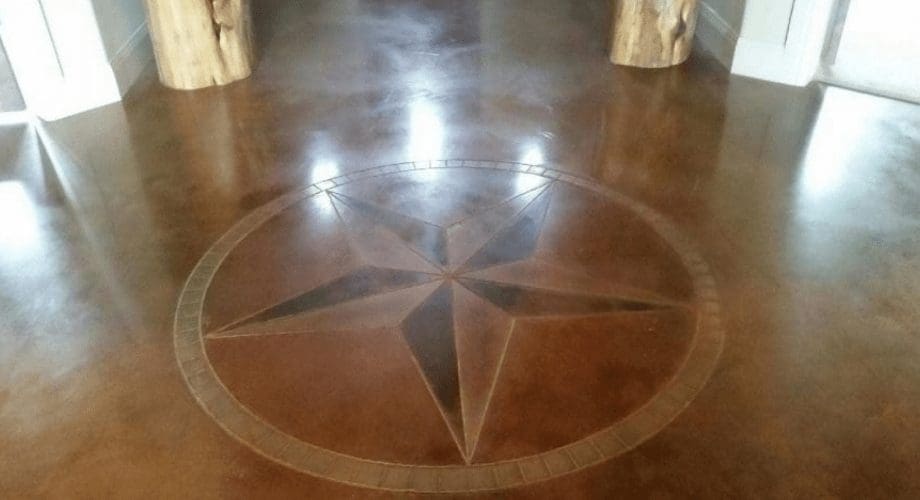
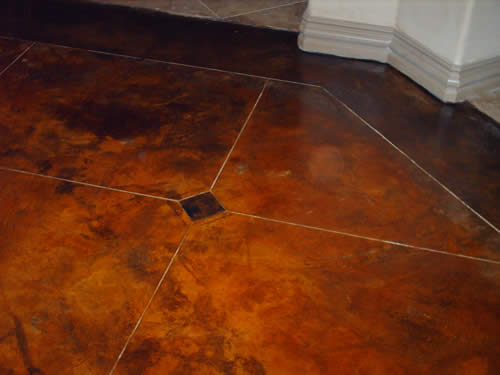
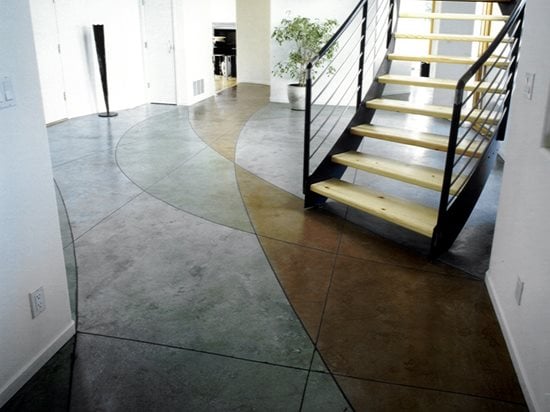
Stained Concrete Floors
The style of the tile could possibly be used as the same color to spot the concrete floors. Concrete floors are durable and hard. The concrete floors is there to remain and when you move on at some stage, the new owners will have the ability to enjoy the benefits this flooring type provides. Nearly all common flooring have arduous cleaning requirements.
Decorative Concrete – Stained, Stamped, Scored and Polished

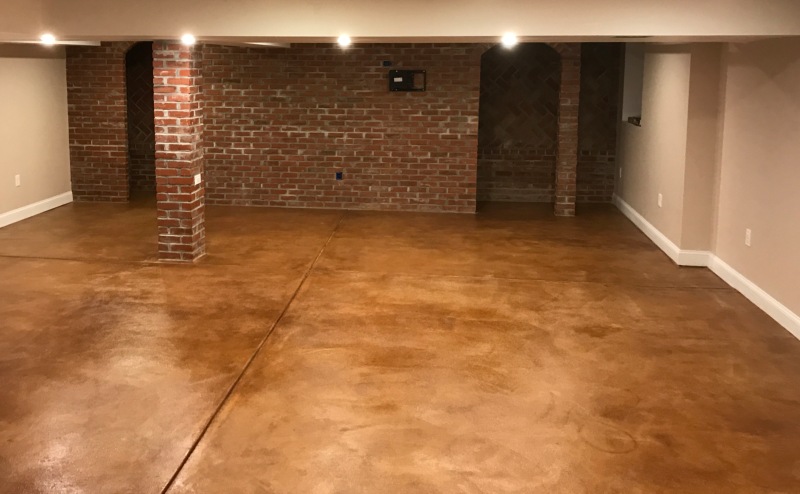
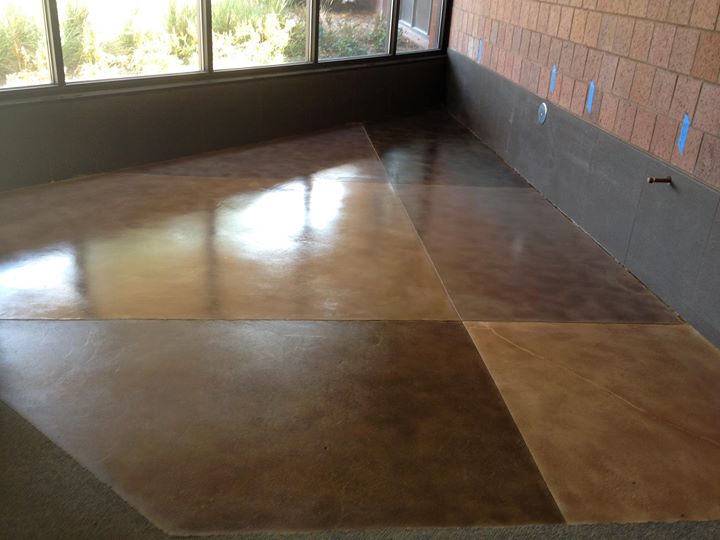
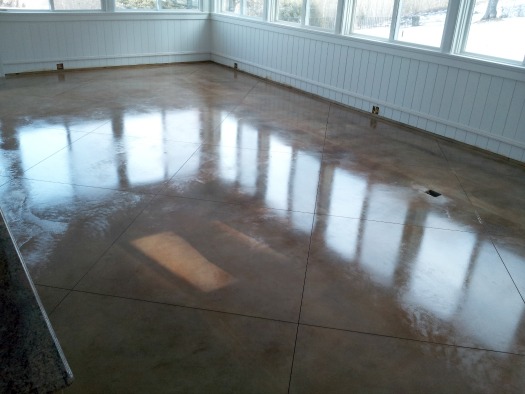
Stained concrete and scored concrete. Concrete stained floors

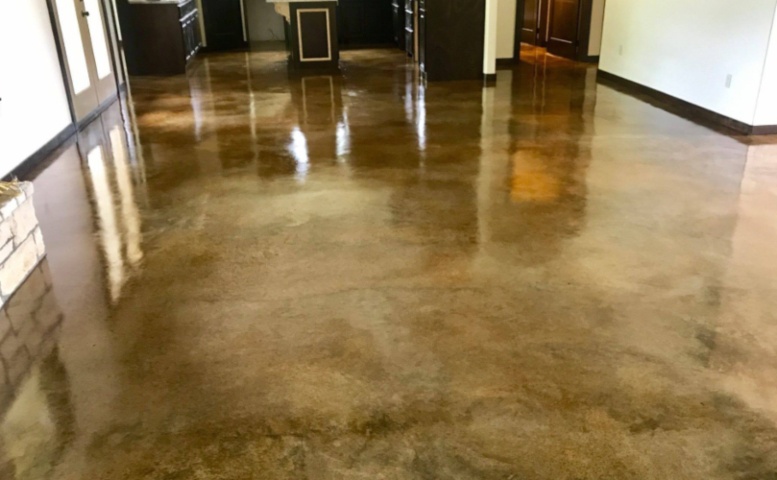
Polished Concrete Floors Creative Maintenance Solutions

DIY Concrete Stained flooring – A Thrifty Mom – Recipes, Crafts

A Guide to Stained Concrete Basement Floors
Blog – Update: Saw-cutting and Scoring Concrete
Concrete Floor Stain – Maine Concrete Staining Contractor
Your Guide To Decorative Concrete Flooring AllStar Blog
acidstainingprocess
How to Score and Acid Stain a Concrete Slab Porch or Patio
How to Prep Concrete for Stain – Surface Preparation Tips
How Much Does it Cost to Stain Concrete Floors Yourself?
Related Posts:
- How Do You Paint A Concrete Floor
- Drylok Epoxy Concrete Floor Paint
- Concrete Floor Stain Designs
- Concrete Floor Faux Finish
- Fitting A Shower Tray On A Concrete Floor
- DIY Leveling Concrete Floor Problem
- Leak Under Concrete Floor
- How To Insulate A Concrete Floor Under Carpet
- Exterior Epoxy Concrete Floor Paint
- How To Seal New Concrete Floor
How to Stain and Score Concrete Floors
Concrete floors are a popular choice for many homeowners and businesses due to their durability and versatility. However, plain concrete can be visually unappealing. If you want to add some character and style to your concrete floors, staining and scoring can be an excellent solution. By following the right steps and using the appropriate tools and materials, you can transform your dull concrete floors into stunning works of art. In this article, we will guide you through the process of staining and scoring concrete floors, providing detailed instructions along with helpful tips and FAQs.
I. Preparing the Concrete Surface
Before you start staining and scoring your concrete floors, it is essential to prepare the surface properly. Here’s how:
1. Clean the floor: Begin by thoroughly cleaning the concrete floor to remove any dust, dirt, or grease. Use a broom or vacuum cleaner followed by a mop and mild detergent solution. Rinse off any residue and allow the floor to dry completely.
2. Repair cracks and imperfections: Inspect the concrete surface for any cracks or imperfections. Fill in small cracks with a crack filler specifically designed for concrete. For larger cracks or deep imperfections, use a concrete patching compound. Smooth out the patched areas using a trowel and let them dry completely.
3. Remove existing coatings: If your concrete floor has any existing coatings or sealers, they must be removed before staining and scoring. Use a chemical stripper or grinder to eliminate these coatings effectively.
II. Choosing the Right Stain
Selecting the appropriate stain is crucial for achieving your desired look on the concrete floor. There are two main types of stains available:
1. Acid-based stains: These stains react chemically with the minerals in the concrete, creating unique variegated patterns with a translucent finish. Acid-based stains offer a wide range of colors and are ideal for achieving a natural stone appearance.
2. Water-based stains: These stains are non-reactive and penetrate the concrete surface to add color. They come in various shades and offer greater color consistency compared to acid-based stains. Water-based stains are often preferred for their ease of use and environmentally friendly properties.
III. Applying the Stain
Once you have selected the stain, it’s time to apply it to your concrete floors. Follow these steps:
1. Test the stain: Before applying the stain on the entire floor, perform a test on a small, inconspicuous area to ensure you achieve your desired color and effect.
2. Prepare the stain: Follow the manufacturer’s instructions to prepare the stain. In most cases, diluting the stain with water is necessary. Mix it thoroughly until well-combined.
3. Apply the stain: Start by pouring the stain into a pump sprayer or a plastic garden sprayer for easy application. Begin spraying from one corner of the room, working your way toward an exit point. Use sweeping motions to ensure even coverage.
4. Allow penetration time: After applying the stain, leave it to penetrate the concrete surface for the recommended amount of time specified by the manufacturer. This typically ranges from 30 minutes to several hours, depending on the desired intensity of color.
5. Neutralize and clean: Once the desired color is achieved, neutralize the acid-based stain by applying a mixture of baking soda and water or a neutralizing solution recommended by the manufacturer. Scrub the floor gently using a brush or sponge mop and then rinse thoroughly with clean water. 6. Let it dry: After rinsing, allow the concrete floor to dry completely before proceeding to the next step. This may take several hours or even overnight, depending on the humidity and temperature of the environment.
IV. Scoring the Concrete
Scoring is the process of creating patterns or designs on the concrete surface using a scoring tool. This step is optional but can add visual interest to your stained concrete floor. Follow these steps:
1. Plan your design: Decide on the pattern or design you want to create on your concrete floor. You can mark the lines lightly with a pencil or chalk for guidance.
2. Use a scoring tool: Choose a scoring tool that suits your desired design. There are various options available, such as hand-held scoring tools or electric concrete saws with scoring blades.
3. Score the concrete: With steady and even pressure, score the concrete along the marked lines, following your desired pattern. Make sure to maintain a consistent depth and angle throughout.
4. Clean up: Once you have finished scoring, remove any loose debris or dust from the surface using a broom or vacuum cleaner.
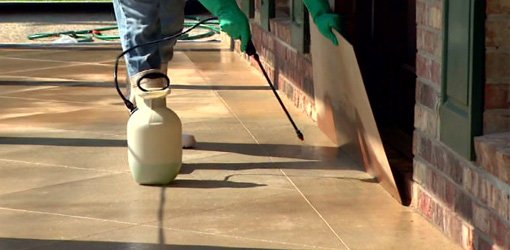
V. Applying a Sealer
To protect and enhance the stained and scored concrete floor, applying a sealer is essential. Here’s how to do it:
1. Choose the right sealer: There are different types of sealers available, including acrylic, epoxy, and polyurethane sealers. Consider factors such as durability, gloss level, and ease of application when selecting a sealer.
2. Prepare the surface: Before applying the sealer, ensure that the stained and scored concrete floor is clean and free from any dust or debris. If necessary, sweep or vacuum the surface to remove any loose particles.
3. Apply the sealer: Follow the manufacturer’s instructions for applying the sealer. Typically, this involves pouring or spraying the sealer onto the surface and spreading it evenly using a roller or brush. Apply multiple thin coats for better coverage and durability.
4. Allow drying time: After applying the sealer, let it dry according to the manufacturer’s recommendations. This can take several hours or even days, depending on the type of sealer and environmental conditions.
5. Maintain the sealed floor: Once the sealer has fully cured, follow proper maintenance practices to prolong its lifespan. This may include regular cleaning with a mild detergent and avoiding harsh chemicals or abrasive cleaners.
By following these steps, you can achieve a beautifully stained and scored concrete floor that adds character and style to any space. Remember to prioritize safety by wearing protective gear such as gloves and goggles when working with chemicals or power tools.