And compare their prices on which you are able to have cheaper price for the marble tiles you choose. Nip off the surface area side carefully to a marked line and then eliminate the basic reduced sections at will. In fact, they probably knew it had to be done and told you about this at the coming of the project. You can buy a kit from a home improvement center for one car garage, which could quickly set you back $500 plus.
Images about How To Stain Ceramic Tile Floors

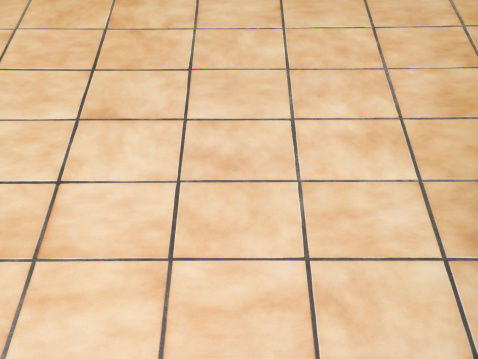
Nowadays, you are going to find all kinds of flooring of all sorts of colors and many have gorgeous borders attainable to complement. Intuition could show you they're stronger than ceramic, but the truth is they're more brittle and prone to cracking. To produce these mosaic tiles, tiny pieces of clay, cup, shell, or other substances were placed into unique, colorful patterns. You are able to actually check on the net about marble floors tiles.
How to Stain Tile Floors

Depending on the thickness of your tile, you'll have to press it within the mortar a short distance. This collaboration impression will even divide huge open spaces into smaller living places. It was still very eye appealing, but not truly overly massage table. The drawback to installing interlocking tile flooring is actually the tiles are likely to shift about as they're not securely fixed in its place. This would mean that you have to do a little measuring first.
How to Stain Ceramic Tile: 12 Steps (with Pictures) – wikiHow

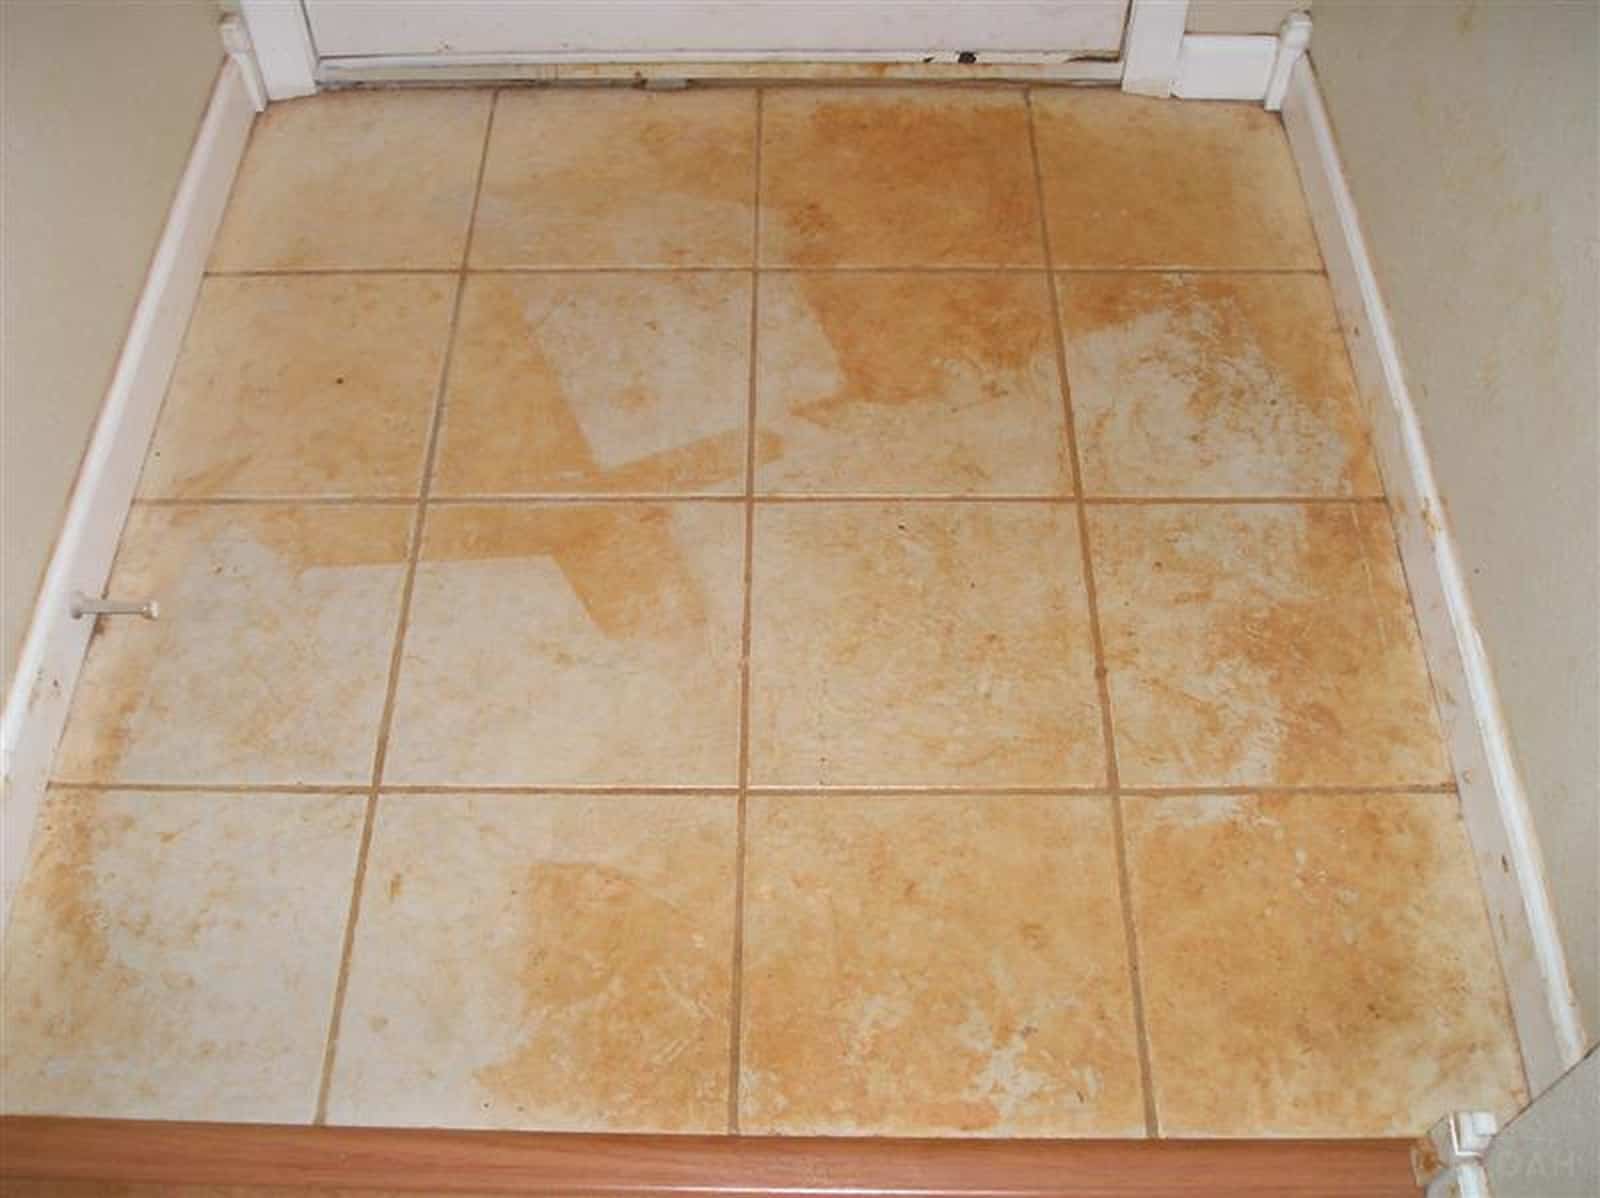
How To Remove Rust Stains From Ceramic Tiles

How to Stain Ceramic Floor Tile Hunker

Putting flooring over ceramic tile tucson.com
How to Stain Ceramic Tile: 12 Steps (with Pictures) – wikiHow

Stain Saltillo Tile Saltillo tile floor, Tile floor diy

How To Clean Red Mud, Paint and Other Stains Off Tile u2022 New Life
How to Stain Ceramic Tile: 12 Steps (with Pictures) – wikiHow

How I Painted Our Bathroomu0027s Ceramic Tile Floors: A Simple (and
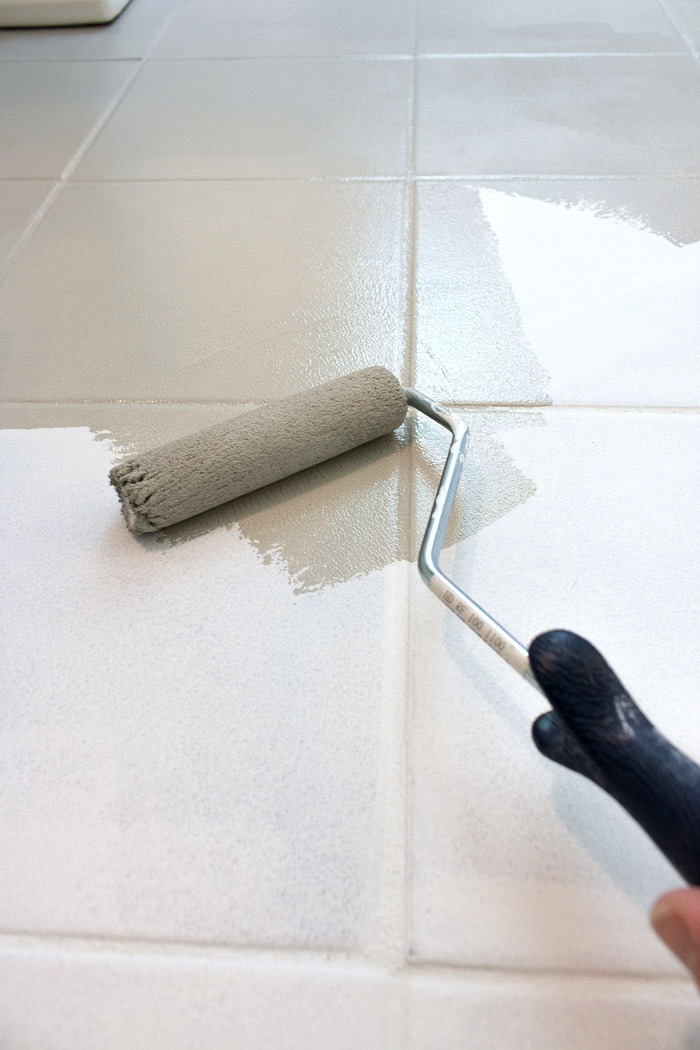
Can You Paint Ceramic Floor Tile? HGTV
Can You Change the Color of Tile Without Replacing It? – Designing
BEFORE AND AFTER STAINING SALTILLO TILE Ceramic floor tile

Related Posts:
- What Is The Best Way To Clean Porcelain Tile Floors
- Tile Floor Vacuum And Steam
- Wood Plank Tile Floor Designs
- Rubber Tile Flooring For Kitchen
- Tile Flooring Options For Living Room
- Stop Rug Slipping On Tile Floor
- How To Polish Stone Tile Floors
- Porcelain Penny Tile Floor
- Bathroom White Tile Floor
- Black Slate Herringbone Tile Floor
Title: Transform Your Ceramic Tile Floors: A Comprehensive Guide on Staining
Introduction:
Ceramic tile floors are known for their durability, versatility, and aesthetic appeal. However, over time, their look may become outdated or worn out. If you’re looking to revamp your ceramic tile floors without the cost and hassle of replacing them, staining can be an excellent solution. In this comprehensive guide, we will walk you through the step-by-step process of staining ceramic tile floors, ensuring a stunning transformation for your space.
I. Understanding the Basics of Staining Ceramic Tile Floors
Before diving into the staining process, it’s crucial to understand the basics. Here are some key points to consider:
1. Types of Ceramic Tile: Various types of ceramic tiles exist, such as glazed, unglazed, and porcelain. Ensure your chosen stain is suitable for the specific type of tile you have.
2. Surface Preparation:
a) Clean the Tiles: Thoroughly clean the tiles to remove any dirt, grime, or residues. Use a mild detergent or specialized tile cleaner and scrub with a soft brush or sponge.
b) Repair Any Damage: Inspect the tiles for chips, cracks, or loose grout. Repair these issues before proceeding with staining to ensure a smooth and flawless finish.
c) Sanding (If Necessary): If your tiles have a glossy finish or if you’re working with unglazed tiles, consider lightly sanding the surface to improve adhesion.
3. Choosing the Right Stain:
a) Consider Your Desired Finish: Decide whether you want a solid color stain or prefer a translucent stain that enhances the natural texture and patterns of your ceramic tiles.
b) Selecting an Appropriate Stain: Opt for a high-quality stain specifically formulated for ceramic surfaces. Water-based stains are generally recommended for ease of use and environmental friendliness.
II. Step-by-Step Guide on Staining Ceramic Tile Floors
Now that you’re familiar with the basics, let’s delve into the step-by-step process of staining your ceramic tile floors:
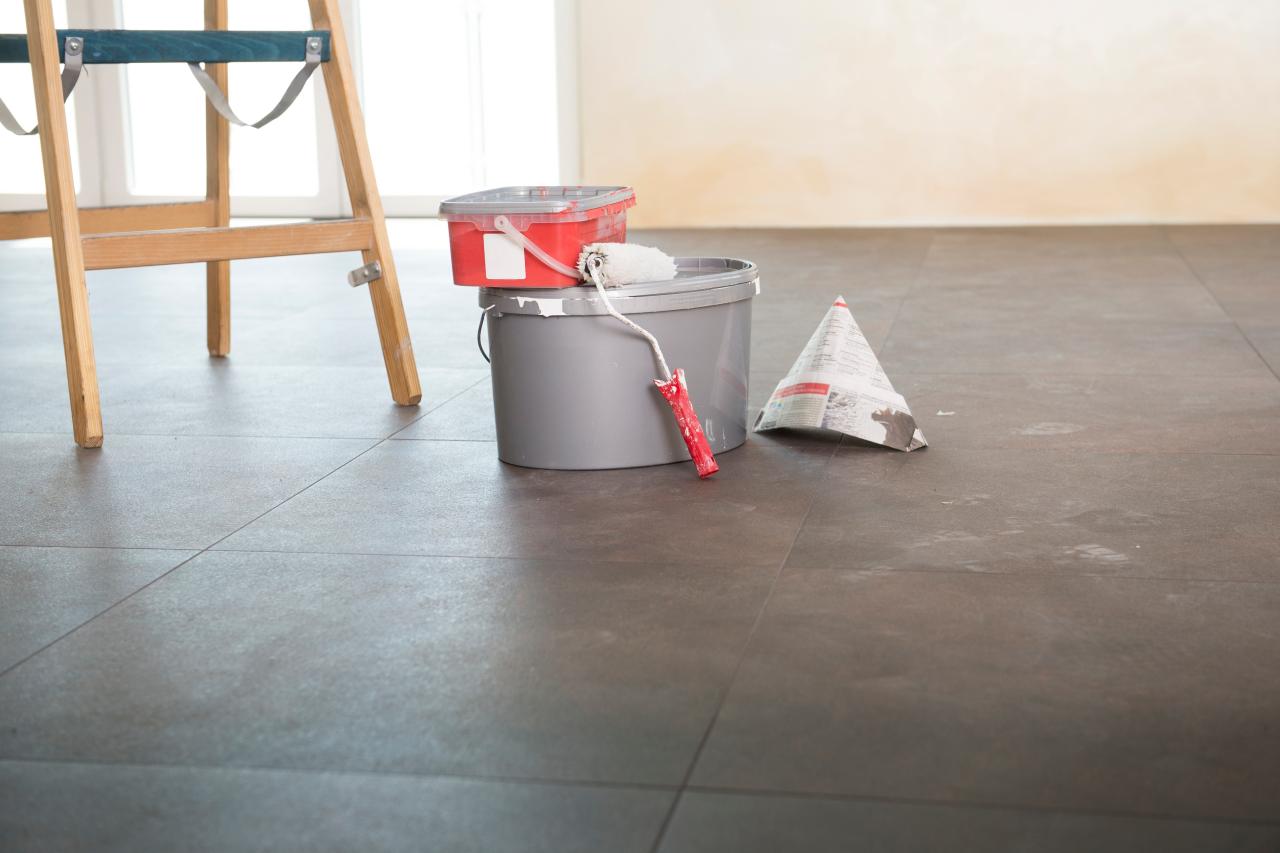
1. Gather the Necessary Supplies:
– Stain applicator (brush, roller, or sprayer)
– Painter’s tape
– Drop cloths
– Gloves
– Protective eyewear
– Respirator (if working in a poorly ventilated area)
– Stain remover (if needed)
– Sealant (optional)
2. Test the Stain:
Before applying the stain to your entire floor, it’s advisable to conduct a small test on a discreet section of your tiles. This will help you assess the color, absorbency, and overall appearance of the stain.
3. Apply the Stain:
a) Prepare the Work Area: Clear the room of any furniture or obstacles. Cover adjacent surfaces and areas with drop cloths to prevent accidental staining.
b) Apply Painter’s Tape: Protect baseboards and any other areas you want to keep stain-free by applying painter’s tape along their edges.
c) Start Staining: Begin by pouring a small amount of stain into a paint tray. Dip your chosen stain applicator (brush, roller, or sprayer) into the stain and begin applying it to your tiles using smooth strokes. Work in small sections to ensure even coverage.
d) Overlap Strokes: For a seamless finish, overlap each stroke slightly as you move along the floor. Take care not to allow excess stain to pool or form drips.
e) Allow Drying Time: Follow the Instructions on the stain product for the recommended drying time. It is important to allow the stain to fully dry before proceeding to the next step.
4. Evaluate the Results:
After the stain has dried, evaluate the color and appearance of your tiles. If you are satisfied with the results, you can proceed to the next step. If not, you may need to apply additional coats of stain to achieve your desired look.
5. Apply Sealant (Optional):
If you want to further protect your stained ceramic tiles and enhance their longevity, consider applying a sealant. This will provide an extra layer of protection against stains, moisture, and wear and tear. Follow the instructions on the sealant product for proper application.
6. Clean Up:
Once you have finished staining and sealing your ceramic tile floors, clean up any spills or excess stain using a stain remover or appropriate cleaning solution. Remove painter’s tape and dispose of any used materials properly.
7. Allow Final Drying Time:
Allow your newly stained and sealed ceramic tile floors to dry completely before walking on them or placing furniture back in the room. This final drying time will ensure that the stain sets properly and will provide optimal durability.
III. Maintenance Tips for Stained Ceramic Tile Floors
To keep your stained ceramic tile floors looking their best, follow these maintenance tips:
1. Regular Cleaning: Regularly sweep or vacuum your stained ceramic tile floors to remove dirt, dust, and debris that can accumulate over time.
2. Gentle Cleaning Solutions: Use a mild detergent or specialized tile cleaner when mopping your stained ceramic tile floors. Avoid harsh chemicals or abrasive cleaners that can damage the stain or the tiles.
3. Promptly Clean Spills: Immediately clean up any spills to prevent staining or damage to the stain on your ceramic tiles.
4. Avoid Scratching: Place felt pads on furniture legs to prevent scratching or damaging the stained ceramic tiles when moving furniture.
5. Regular Maintenance: Periodically check for any chips, cracks, or areas of wear on your stained ceramic tile floors. Repair these issues as soon as possible to maintain their appearance and longevity.
By following these steps and implementing proper maintenance, you can successfully stain your ceramic tile floors and enjoy their enhanced beauty for years to come.