To take the sustainability of the floor, people pores must be sealed. Those with asthma or even allergies will like living with polished concrete. A quality bristle push broom or perhaps street broom is strong adequate to stand as much as the difficult concrete floor, but efficient adequate to offer a good cleaning.
Images about How To Stain Concrete Floors Outdoors
The tips of painting both polished concrete as well as terrazzo floors include things like the most important task of all, finding the ideal type of paint for the project. They are the best purposes for polished concrete floor surfaces as public authorities calculate the long term cost advantages of various other floorings. Apart by that, the concrete floor improving provides a sense of security to home owners.
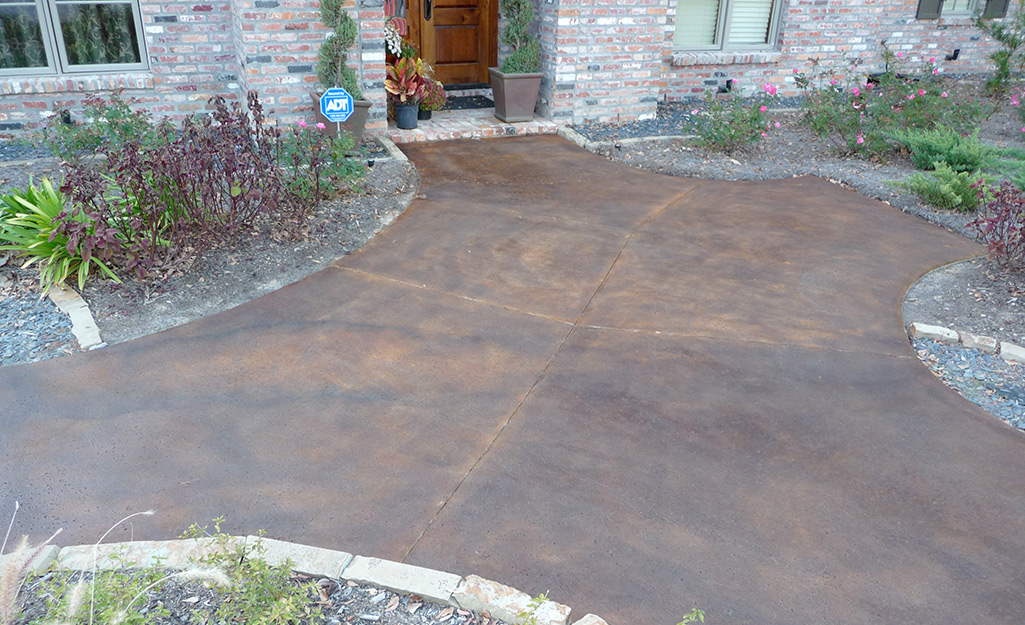
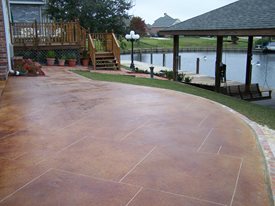
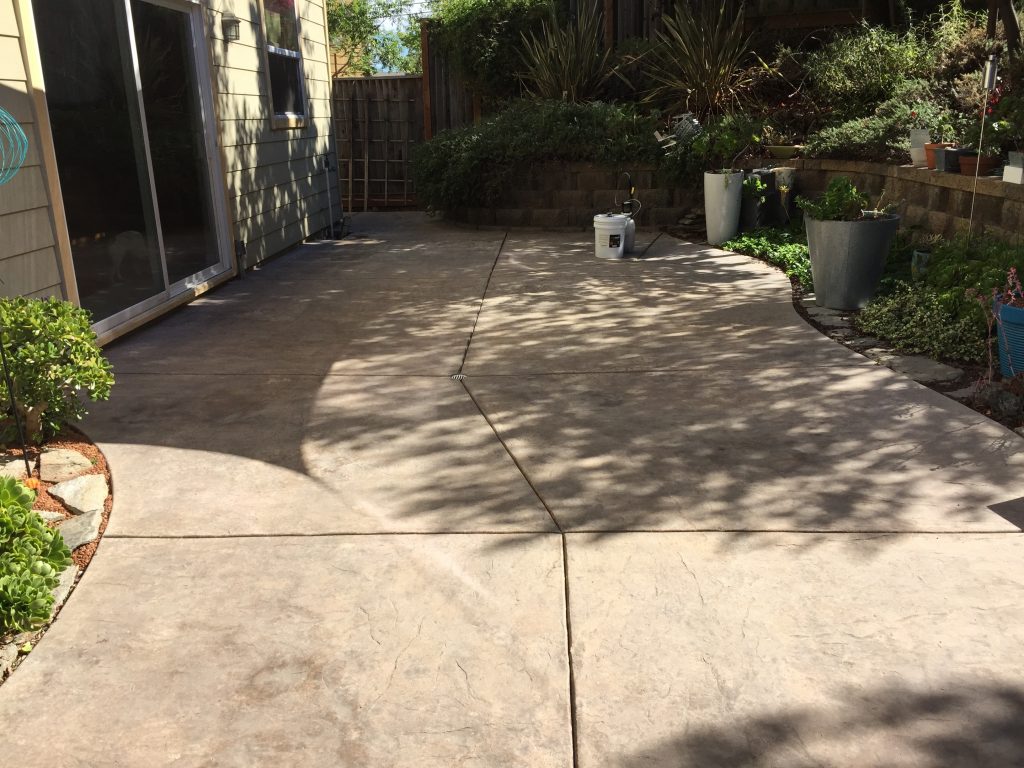
Stained Concrete Patio – How to Stain Outdoor Patios – Concrete
Some individuals cover the concrete floor of theirs with floor coverings but one cannot argue with the longevity and clean power of concrete. Water based paints are typically not a good idea when it comes to concrete flooring, as they generally do not adhere to the surface very nicely.
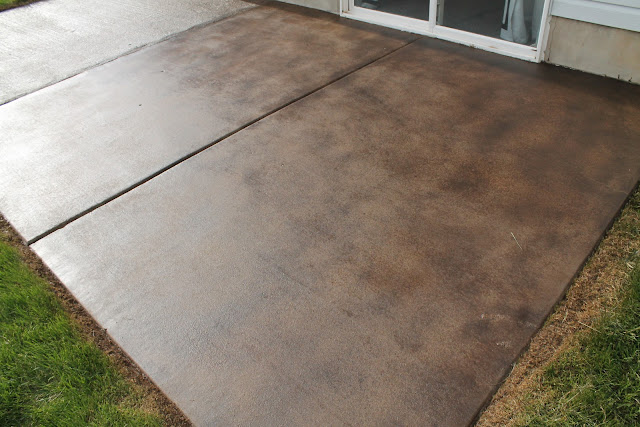
How To Stain A Concrete Patio – Chris Loves Julia
Concrete Stain and Sealer Patio Makeover Concrete Exchange
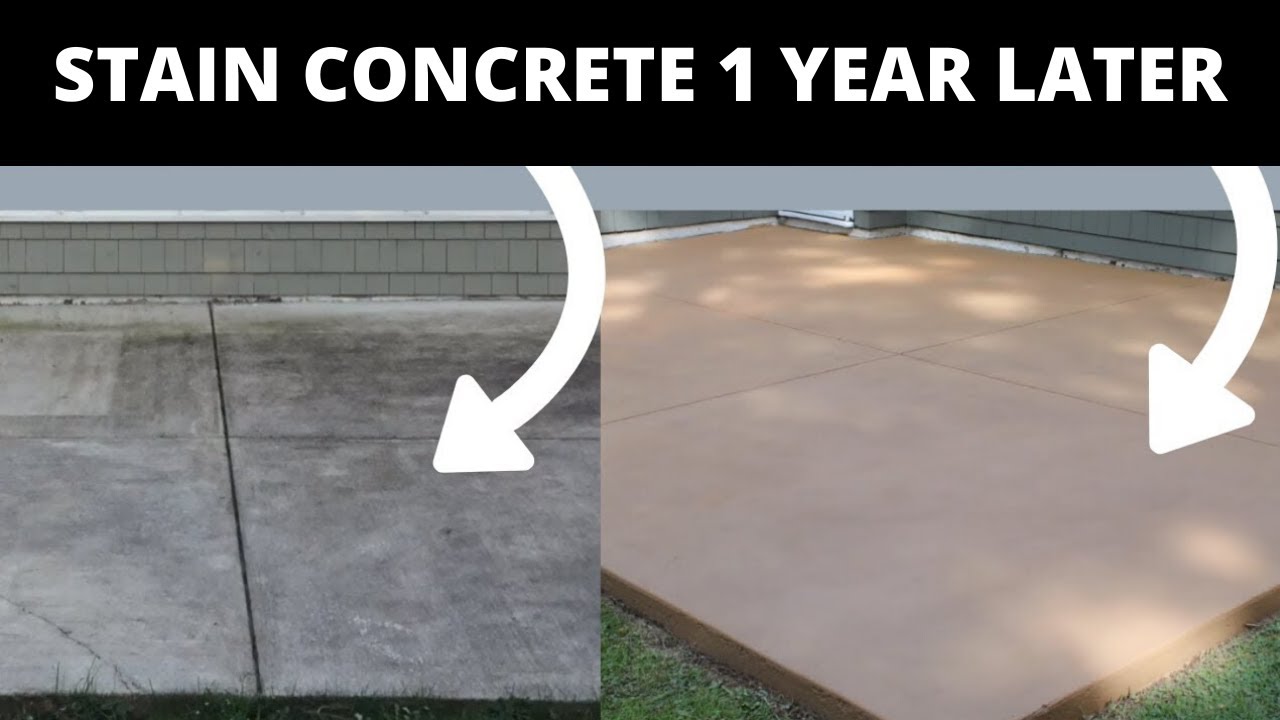
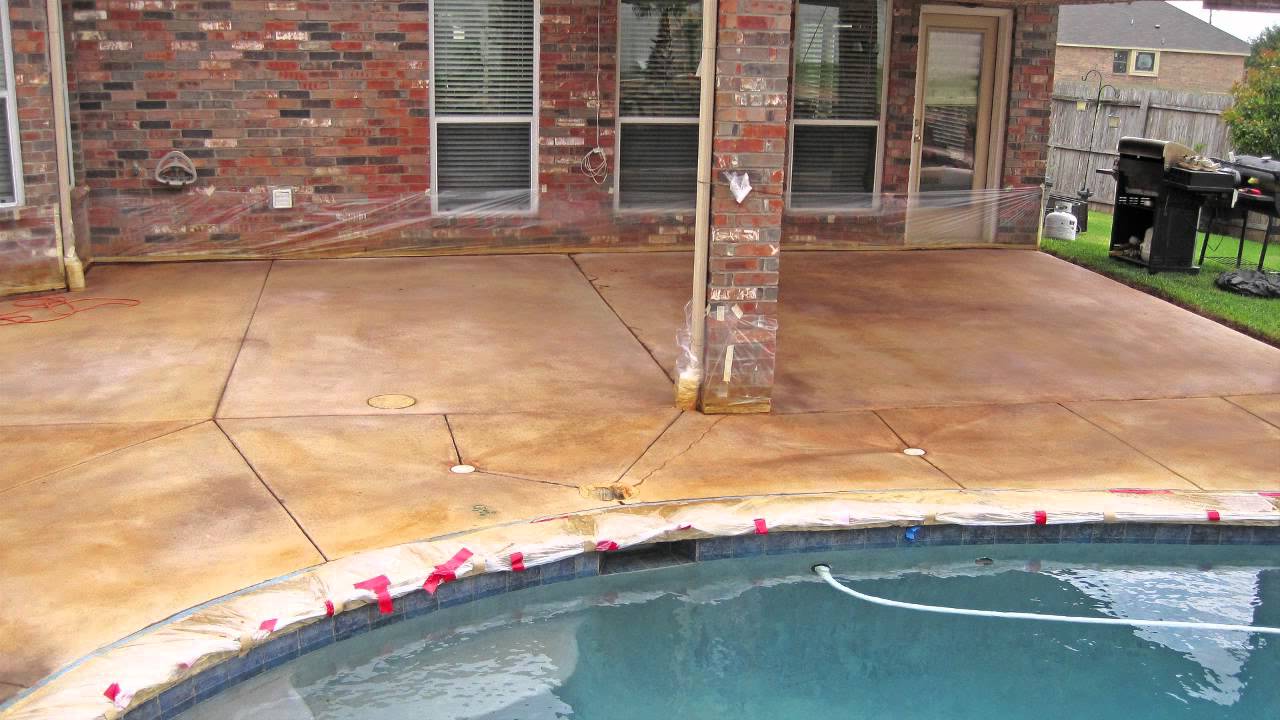
Staining Concrete (1 Year Update)
How to Stain Concrete Floors Concrete stain patio, Stained

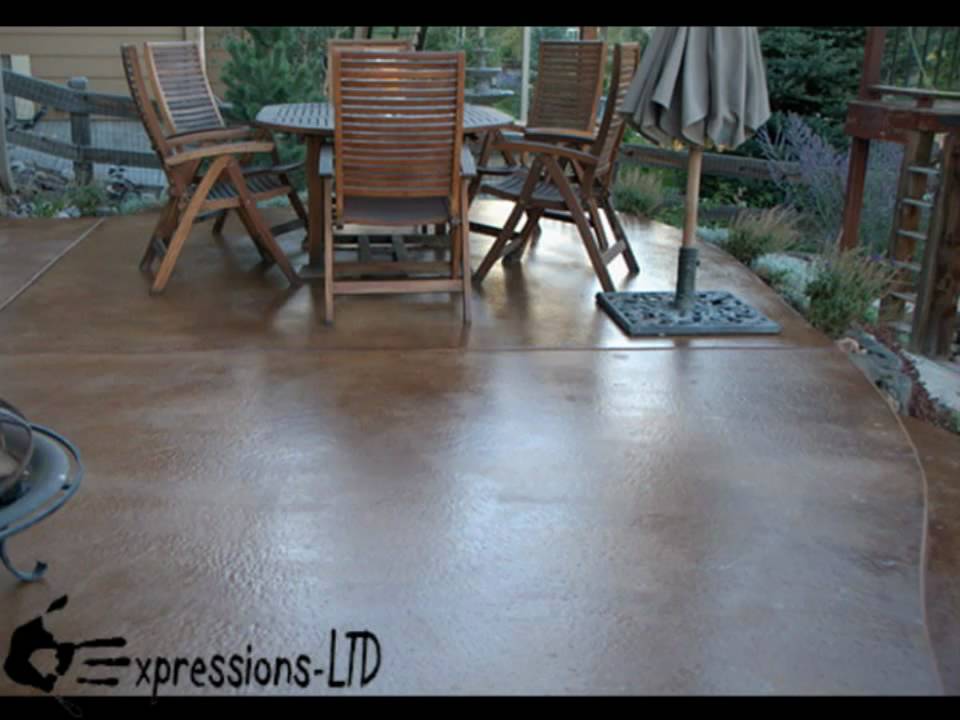
How to Stain Concrete

How to Stain Concrete [Simple DIY Guide] – ManMadeDIY
Stained concrete porch, Stained concrete, Concrete decor

How To Acid Stain a Concrete Patio Floor – YouTube
How To Acid Stain a Concrete Patio Direct Colors DIY Home
How to Stain a Concrete Patio (Easy DIY Project) u2022 The Garden Glove

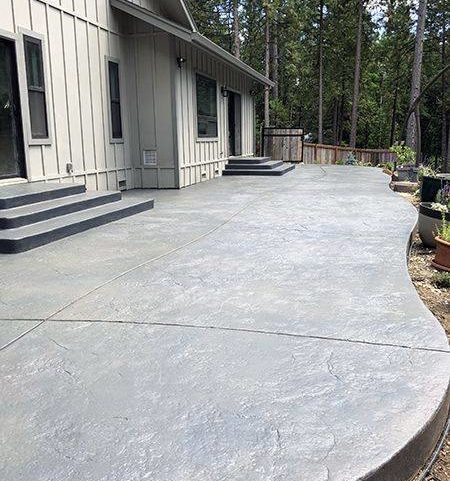
“Winds of Change” – Stained concrete patio in Fort Worth, TX by SolCrete, LLC
How To Stain A Concrete Patio – Chris Loves Julia
Related Posts:
- Refurbishing Concrete Floors
- How To Stain Concrete Floors Inside
- Concrete Floor Tile Making Machine
- White High Gloss Concrete Floors
- Concrete Floor Coating Options
- Pouring A Concrete Floor Slab
- Concrete Floor Expansion Joint Covers
- Laying Marble Tile On Concrete Floor
- Making Concrete Floors Look Like Wood
- Cheapest Floor Covering For Concrete Floor
Title: How to Stain Concrete Floors Outdoors: A Comprehensive Guide for Stunning Results
Introduction:
Staining concrete floors outdoors is an excellent way to enhance the appearance of your outdoor space while adding durability and longevity to your concrete surfaces. Whether you have a patio, driveway, or walkway, staining can transform these areas into visually appealing and inviting spaces. In this comprehensive guide, we will walk you through the step-by-step process of staining concrete floors outdoors, providing expert tips and answering frequently asked questions to help you achieve stunning results.
I. Preparing the Surface:
Before diving into the staining process, it is crucial to prepare the surface properly to ensure optimal adhesion and long-lasting results. Follow these steps:
1. Clean the Surface:
Begin by thoroughly cleaning the concrete surface with a pressure washer or a stiff-bristled brush and a mild detergent. Remove all dirt, debris, grease, and stains. Rinse the surface well and allow it to dry completely before proceeding.
2. Repair Any Damage:
Inspect the concrete for cracks, chips, or other damages that need repair. Use a suitable concrete patching compound to fill in any imperfections. Smooth out the patches using a trowel, ensuring they are level with the surrounding area.
3. Etch the Concrete:
To promote better adhesion of the stain, etching is essential. Apply an acid-based etching solution following the manufacturer’s instructions. This chemical treatment opens up the pores of the concrete, allowing better penetration of the stain.
FAQs:
Q1: Can I skip the etching step if my concrete is already smooth?
A1: It is strongly recommended not to skip the etching step. Even if your concrete appears smooth, etching ensures better adhesion and enhances stain absorption for a more vibrant and longer-lasting result.
Q2: Is there an alternative to using an acid-based etching solution?
A2: Yes, if you prefer a less aggressive option, you can opt for a milder etching agent like a biodegradable concrete cleaner or a diluted muriatic acid solution. However, ensure proper safety precautions are followed when handling chemicals.
II. Choosing the Right Stain:
Selecting the appropriate stain is crucial to achieve your desired aesthetic and protect your concrete against the elements. Consider the following factors:
1. Acid-Based Stains:
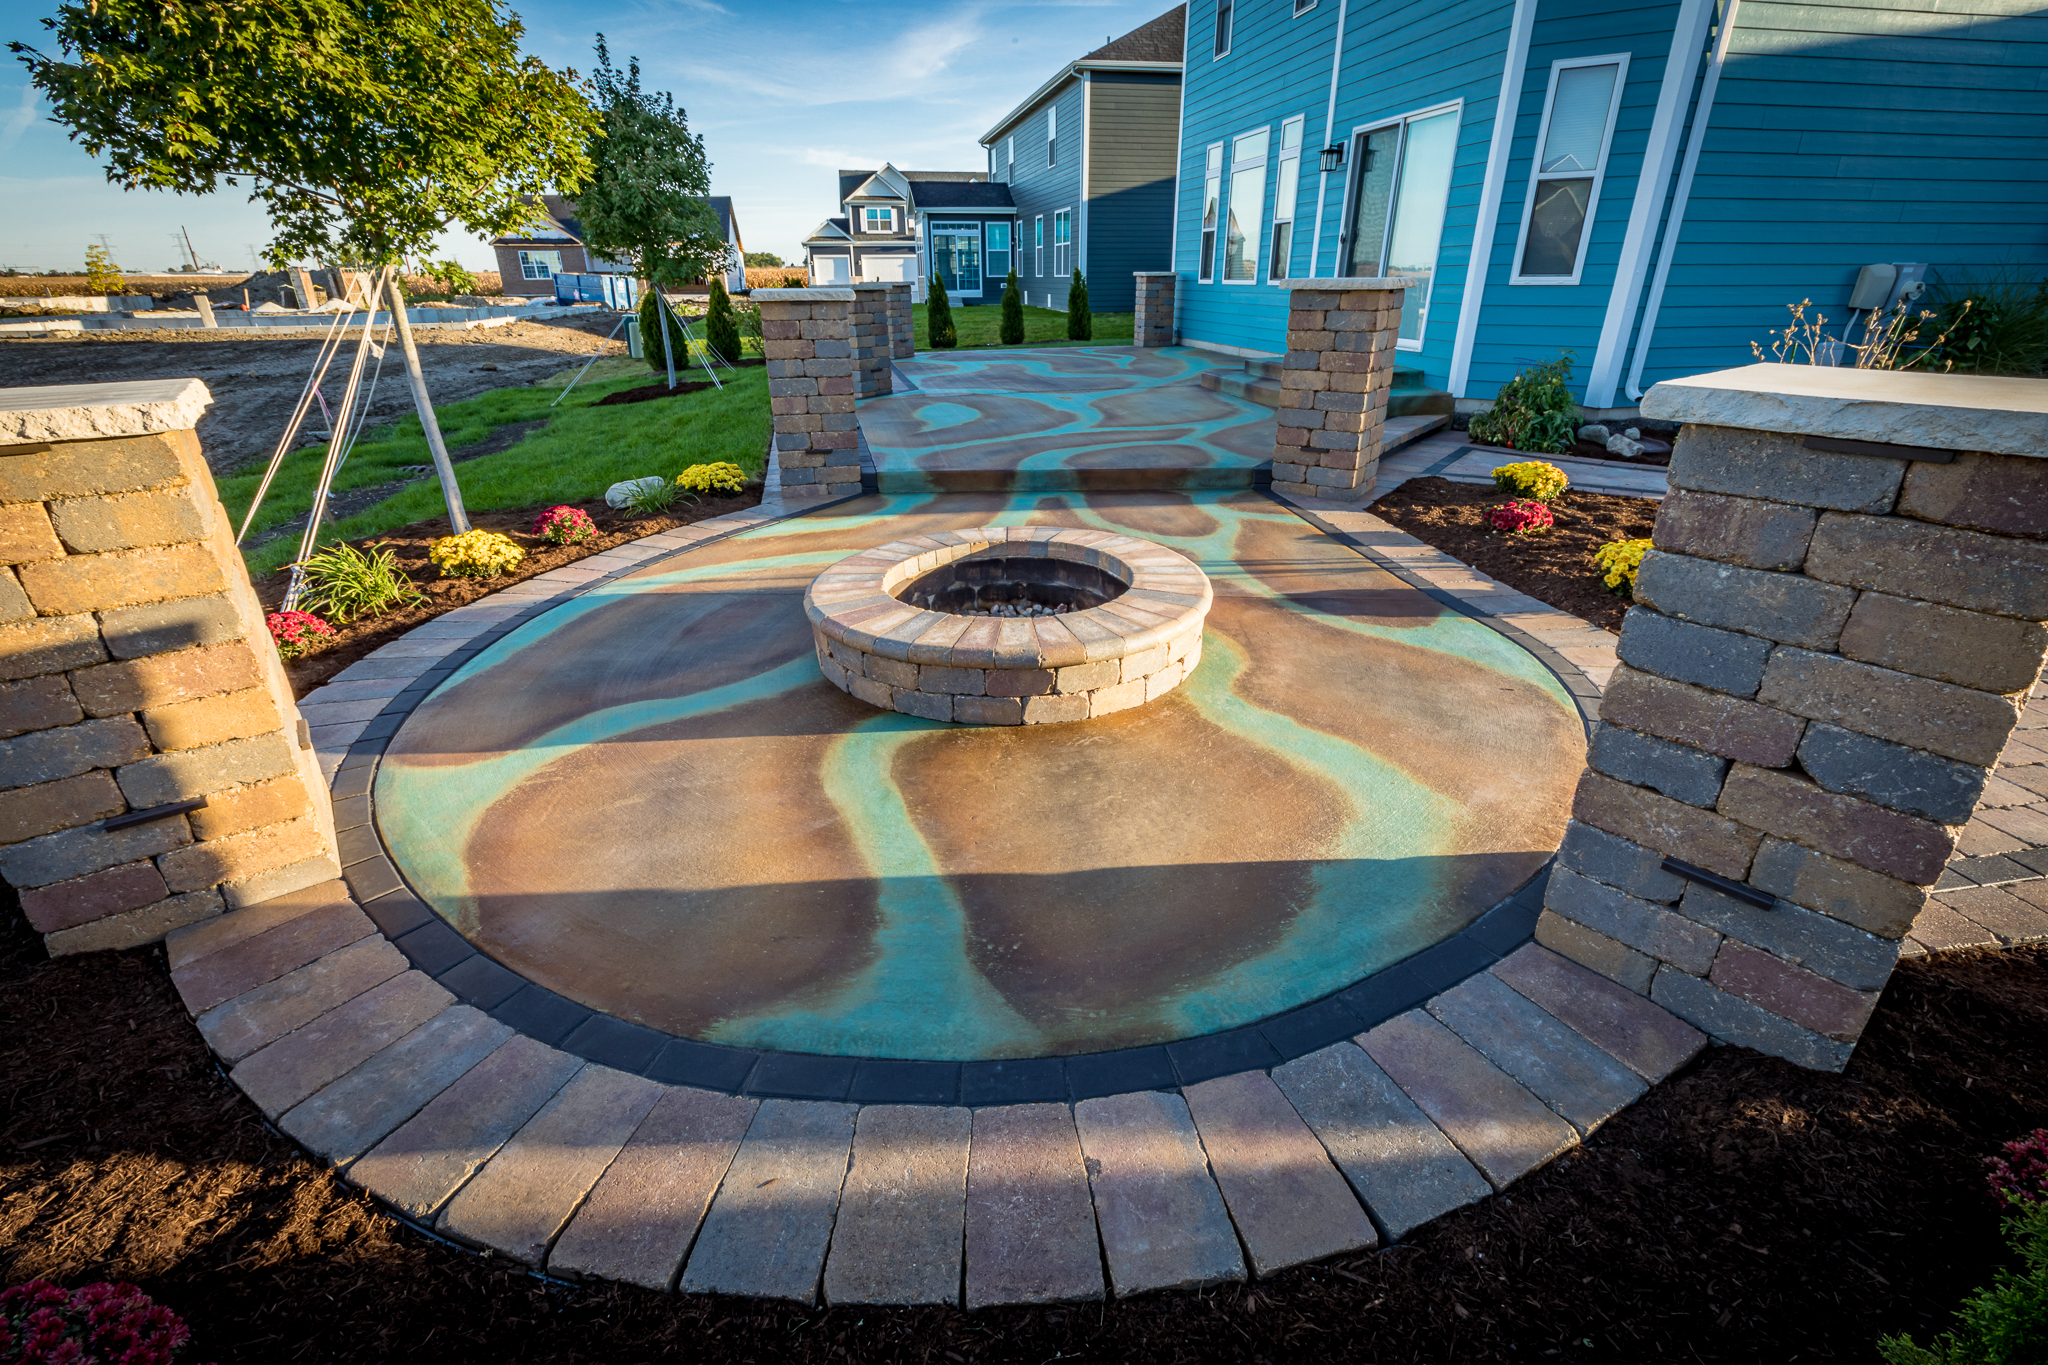
Acid-based stains react chemically with the concrete, resulting in unique and variegated colors. These stains typically produce earthy tones such as rust, copper, or turquoise. They penetrate deep into the concrete, providing excellent durability.
2. Water-Based Stains:
Water-based stains are more user-friendly and environmentally friendly compared to acid-based stains. They offer a broader color palette, including vibrant hues and opaque finishes. These stains don’t react chemically but rather soak into the concrete’s pores for long-lasting results.
3. Semi-Transparent vs. Solid Stains:
Semi-transparent stains allow some of the natural variations of the concrete to show through, creating a subtle and elegant effect. On the other hand, solid stains offer full coverage, concealing imperfections and providing a uniform color across the surface.
FAQs:
Q1: Can I use water-based stain over existing acid-based stain?
A1: It is generally not recommended to apply water-based stain over an existing acid-based stain as it may not adhere properly. If you wish to switch between types of stains, it is best to remove the previous stain by Sandblasting or using a concrete grinder before applying the new stain.
Q2: How do I choose the right color for my concrete stain?
A2: Consider the overall aesthetic you want to achieve and the surrounding elements. Take into account factors such as the color of your home or building, landscaping, and personal preferences. It can be helpful to test different stain colors on a small inconspicuous area of the concrete to see how they look before applying them to the entire surface.
III. Applying the Stain:
Once you have prepared the concrete and chosen your desired stain, it’s time to apply it. Follow these steps for a successful application:
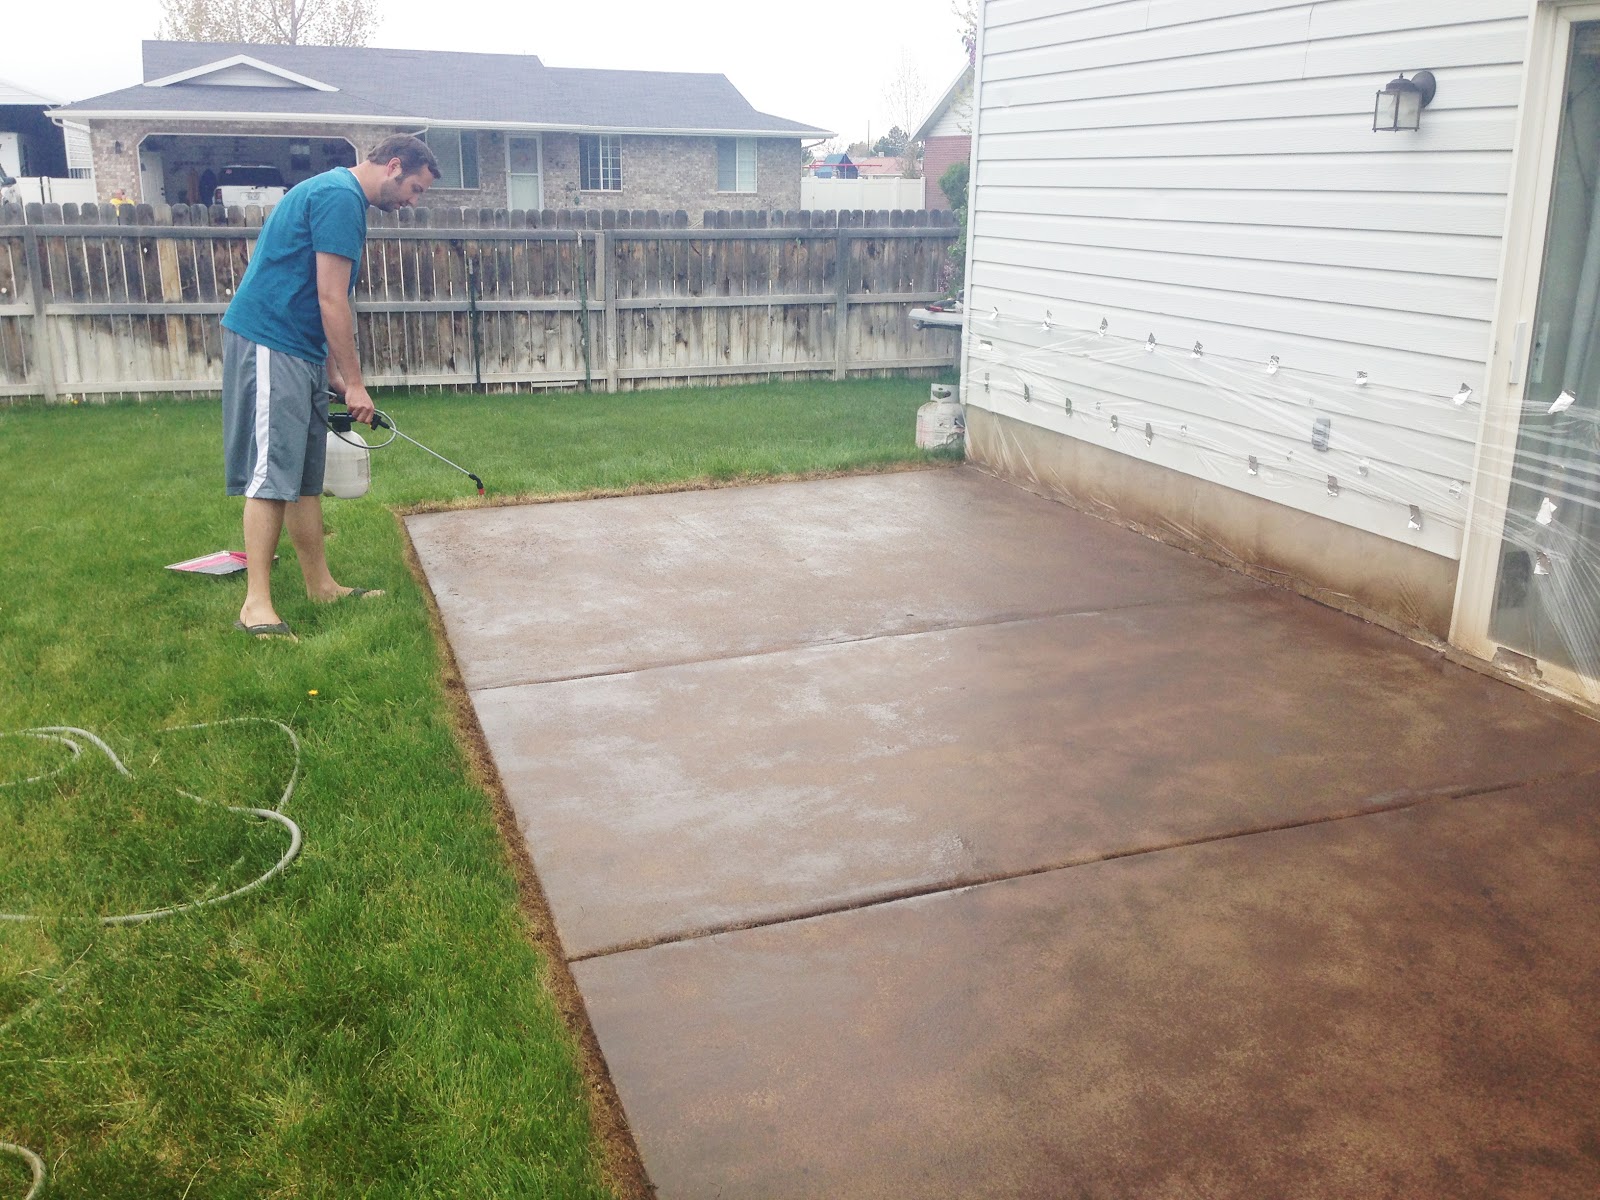
1. Prepare the Area:
Cover any surrounding areas or surfaces that you don’t want to stain, such as walls or plants. Use plastic sheets or drop cloths to protect these areas.
2. Test the Stain:
Before applying the stain to the entire surface, it is recommended to test it on a small inconspicuous area or a spare piece of concrete. This will allow you to see how the color develops and make any necessary adjustments before proceeding.
3. Apply the Stain:
Using a brush, roller, or sprayer, apply the stain evenly onto the concrete surface. Work in small sections at a time and avoid overlapping strokes to prevent uneven color distribution.
4. Allow Drying Time:
Follow the manufacturer’s instructions for drying time. Typically, stains require several hours or even overnight to fully dry and cure.
5. Seal the Stain:
To protect the stain and enhance its longevity, apply a concrete sealer according to the manufacturer’s instructions. This will provide an additional layer of protection against stains, UV damage, and wear.
FAQs:
Q1: Can I apply multiple coats of stain for a darker color?
A1: Yes, if you desire a darker color, you can apply multiple coats of stain. However, ensure that each coat is allowed to fully dry before applying the next one.
Q2: How often do I need to reapply the stain?
A2: The frequency of reapplication depends on various factors such as foot traffic, exposure to the elements, and the quality of the sealer used. Generally, it is recommended to reseal stained concrete every 2-3 years to maintain its appearance and protection.