Commercial kitchen flooring used to always be tough to uncover. There are several shades and species of colors which can produce the perfect kitchen you want. It will need to match up with the adjoining rooms if it isn't the identical choice of flooring. It's great to be used in kitchen flooring. Saltillo tiles are for Mediterranean created kitchens which must be sealed as well as cleaned with wet cloth without chemical substances.
Images about Installing Cork Flooring In Kitchen

Naturally, it must be durable therefore it can stand the rigors of day use and tear, along with being quickly cleaned. The importance of kitchen flooring is generally overlooked with regards to increasing the look as well as the real estate worth of your house. Kitchen flooring is usually something we take for granted.
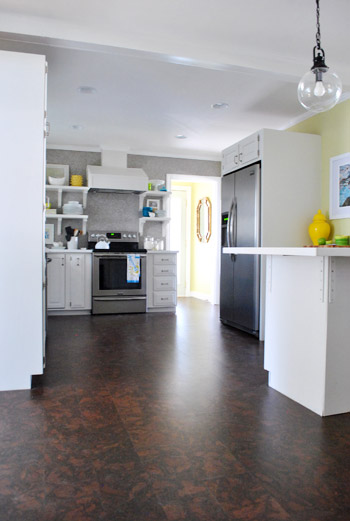
Completing Our Kitchenu0027s Cork Floor Installation Young House Love
Below, we will explore some of the choices you have when determining which kitchen flooring to select from. Travertine is a porous limestone that is typically sealed to prevent liquid and dirt absorption. Hardwood go longer than several alternatives, notwithstanding it does need to experience revamping occasionally. Among the characteristics of bamboo that has good water and fire resistance. It is soft, water resistant and very stable.
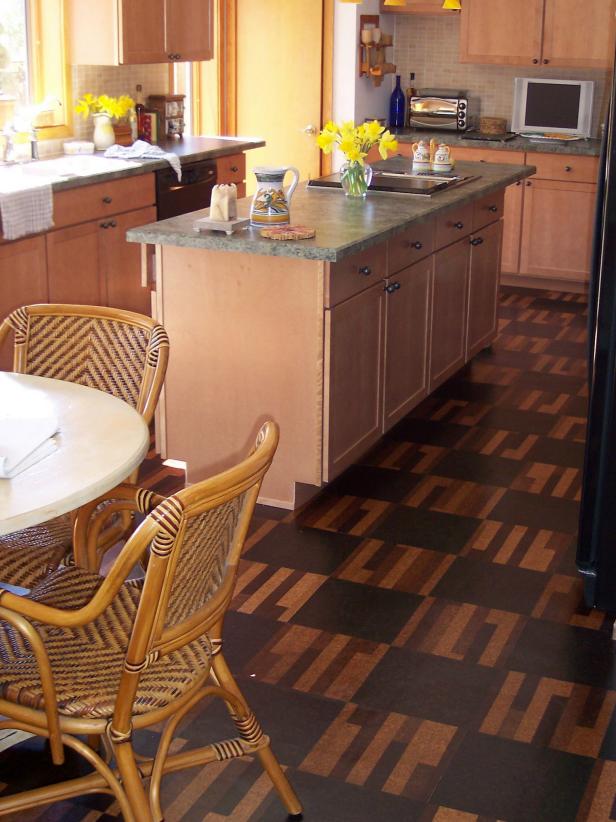
Cork Flooring for Your Kitchen HGTV

Cork Flooring 101: Cost, Types, u0026 Installation – This Old House
/cdn.vox-cdn.com/uploads/chorus_asset/file/23088021/0421_NB_All_About_Cork_Floors_Cork_flooring_iStock_950010876.jpg)
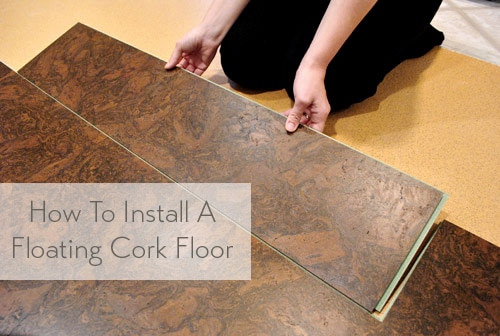
How To Install A Floating Cork Floor Young House Love
Cork Flooring for Your Kitchen HGTV
Cork Kitchen Flooring -Choosing the right floor for your kitchen

How to Install a Cork Floor – This Old House
/cdn.vox-cdn.com/uploads/chorus_asset/file/22873091/H1006HANDBOOK01.jpg)
How to Install Cork Tile Flooring (DIY) Family Handyman

Silver Birch – 5/16 Inch (8mm) – Cork Tile Glue Down (Floor and Wall)
Cork Flooring 101: Cost, Types, u0026 Installation – This Old House
/cdn.vox-cdn.com/uploads/chorus_image/image/70286398/0421_NB_All_About_Cork_Floors__J7A3523.0.jpg)
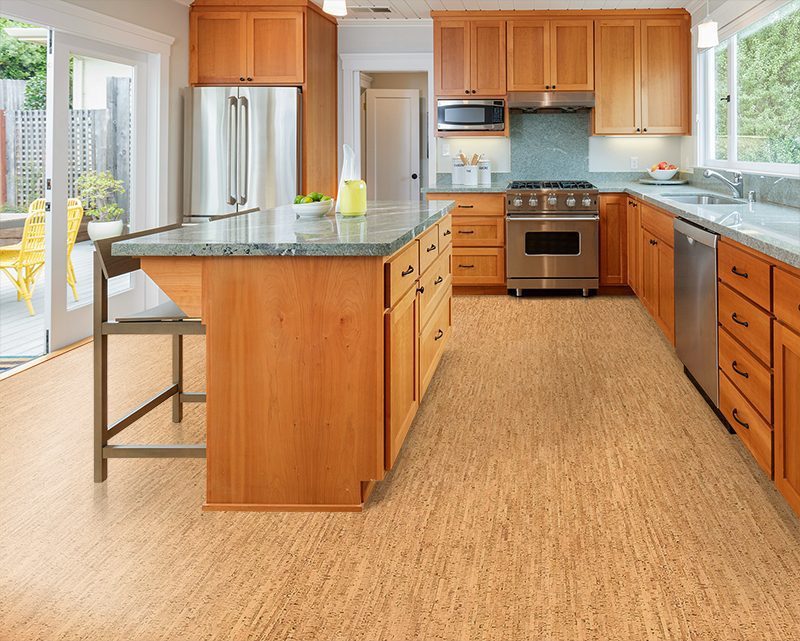
Kitchen Flooring With Natural Cork Flooring – ICork Floor
How To Install A Floating Cork Floor Young House Love Cork

Cork Flooring: What Are the Pros u0026 Cons?
Related Posts:
- Small Kitchen Floor Tiles Design
- How Much Will It Cost To Tile My Kitchen Floor
- B And Q Kitchen Flooring
- Eco Friendly Flooring For Kitchen
- Kitchen Floor Molding
- Cost To Retile Kitchen Floor
- Kitchen Designs With Dark Floors
- How To Measure Kitchen Floor For Tile
- Gray Laminate Flooring Kitchen
- What Is The Best Floor Covering For A Kitchen
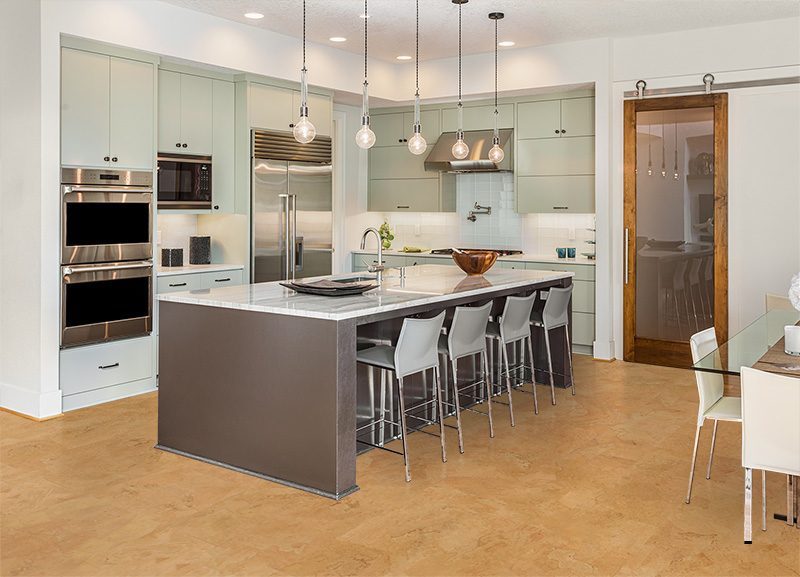
Installing Cork Flooring in Kitchen
Cork flooring has become increasingly popular in recent years as a sustainable and durable flooring option for various rooms in the house, including the kitchen. Its unique properties make it an excellent choice for this high-traffic area, providing comfort underfoot, sound insulation, and resistance to moisture. In this article, we will guide you through the process of installing cork flooring in your kitchen, covering everything from preparation to finishing touches.
1. Preparing the Subfloor
Before you begin installing cork flooring, it is crucial to prepare the subfloor properly. Start by removing the existing flooring material, ensuring that it is clean and free of any debris. If there are any loose or damaged sections, repair them before proceeding further. Next, check the subfloor for any irregularities or dips. Use a self-leveling compound to even out any uneven areas and ensure a smooth surface for the cork tiles.
FAQ: Can I install cork flooring over an existing vinyl floor?
Yes, you can install cork flooring over an existing vinyl floor as long as it is in good condition and firmly adhered to the subfloor. However, it is essential to thoroughly clean and level the vinyl surface before installation.
2. Acclimating the Cork Tiles
Cork is a natural material that can expand or contract with changes in temperature and humidity. To prevent any issues after installation, it is crucial to acclimate the cork tiles to your kitchen’s environment before laying them down. Place the unopened boxes of cork tiles in the room where they will be installed and allow them to sit there for at least 48 hours. This will allow the material to adjust to the temperature and humidity levels of your kitchen.
FAQ: How do I know if my cork tiles are acclimated properly?
Properly acclimated cork tiles should have a similar temperature and moisture content as the room they will be installed in. You can use a moisture meter to check the moisture levels of both the room and the cork tiles. The readings should be within a close range to ensure a successful installation.
3. Installing Underlayment
Underlayment is an essential component of installing cork flooring as it provides additional insulation, soundproofing, and cushioning. Start by rolling out the underlayment material over the entire subfloor, ensuring that it covers all areas. Trim any excess underlayment using a utility knife. Secure the underlayment to the subfloor using staples or adhesive, following the manufacturer’s instructions.
FAQ: Can I skip installing underlayment for cork flooring?
While it is not mandatory to install underlayment for cork flooring, it is highly recommended. Underlayment helps to enhance the durability and comfort of the cork floor while providing additional insulation and reducing noise transmission.
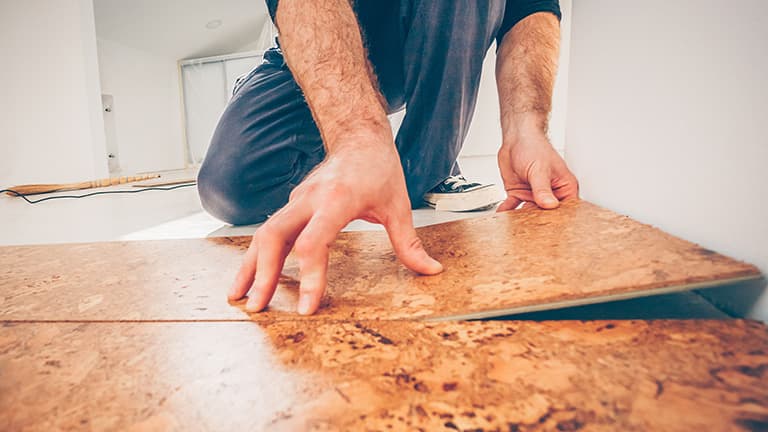
4. Laying Cork Tiles
Now that your subfloor is prepared and the underlayment is in place, you can start laying the cork tiles. Begin by determining the layout of your floor, considering factors such as room size, natural light sources, and traffic patterns. It is advisable to start from a corner and work your way across the room. Apply adhesive to the back of each tile using a trowel, ensuring even coverage.
Place each tile firmly onto the adhesive, pressing down gently to ensure proper adhesion. Use spacers between tiles to create consistent gaps for expansion. Repeat this process until you have covered the entire kitchen floor with cork tiles.
FAQ: How do I cut cork tiles for A perfect fit?
To cut cork tiles for a perfect fit, you can use a utility knife or a fine-toothed saw. Measure the area that needs to be cut and mark it on the tile. Score the marked line with the utility knife, applying steady pressure to create a clean cut. For curved cuts or intricate shapes, a fine-toothed saw may be necessary. Always wear safety goggles and gloves when cutting cork tiles.
5. Sealing and Finishing
Once all the cork tiles are installed, you can proceed with sealing and finishing the floor. Cork is naturally resistant to water and spills, but sealing it can provide an extra layer of protection against stains and moisture penetration. Use a water-based polyurethane sealer specifically designed for cork flooring. Apply multiple thin coats of sealer using a brush or roller, allowing each coat to dry completely before applying the next one.
FAQ: How often should I seal my cork flooring?
The frequency of sealing cork flooring depends on factors such as foot traffic, exposure to moisture, and overall wear and tear. As a general guideline, it is recommended to reseal cork flooring every 3-5 years or as needed. Regular maintenance, such as sweeping or vacuuming, will help prolong the life of the sealant.
In conclusion, installing cork flooring over an existing vinyl floor is possible with proper preparation and installation techniques. By following these steps and considering important factors such as acclimation and underlayment, you can enjoy a beautiful and durable cork floor in your kitchen.