It’s accessible in a wide assortment of cereals and shades and it may be created doing strips, boards, or perhaps parquet squares. You only need to purify the floor with frequent mop when it is dirty. Because it holds such a great effect on your kitchen and household design, it may be quite a difficult task to decide on the right flooring option to install.
Images about How To Level A Kitchen Floor For Tile
If you decide to maintain the same flooring that you actually have, you’d still need to save a little bit more from the budget of yours to rehabilitate the floor into design because of all of the stressful effects that a major build-up might have on it. The same effect is done by diagonally arranging floor tiles when installing it rather than laying it in such a manner that it is parallel to the wall space.
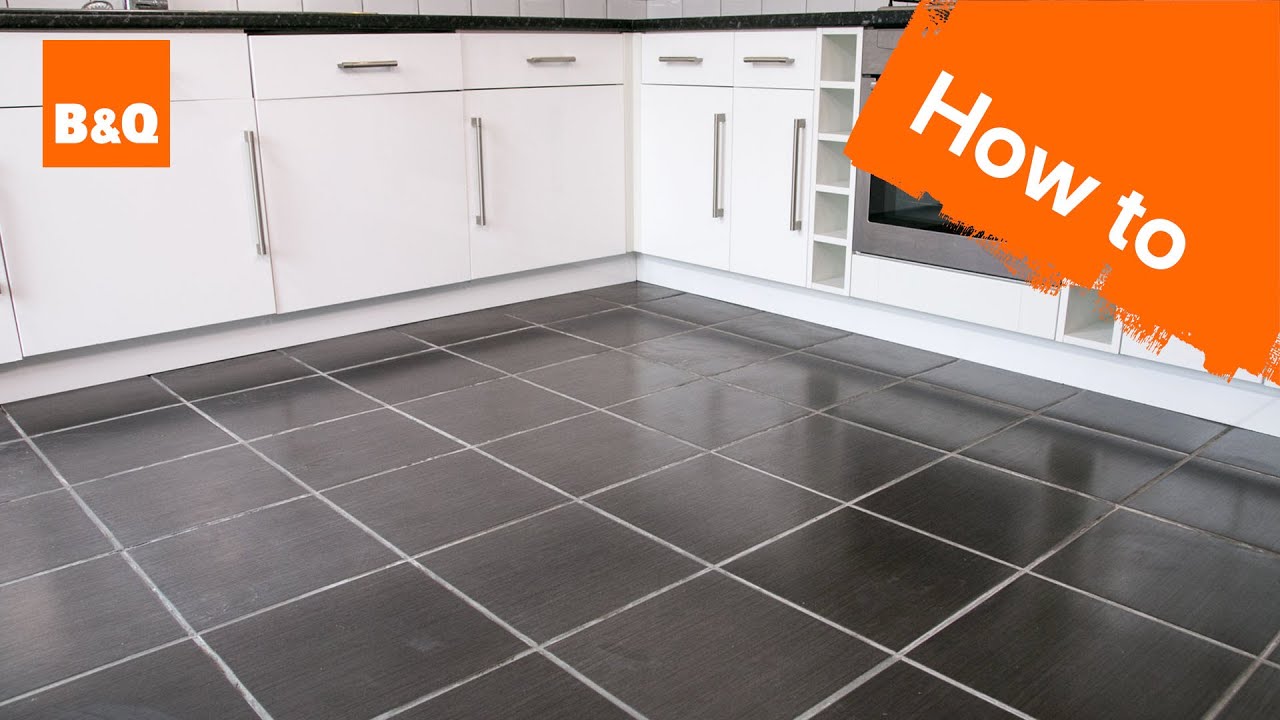
How to tile a floor part 1: preparation
Selecting one that will make the stay of its in your home won’t be an easy process as it’ll involve a good deal of planning and design factor. No where else can you find the selection you are able to on the web. To have a fantastic kitchen floor, you do not require high maintenance. To be truthful, hardwood flooring is really great although you have to allocate more time to keep this kind of flooring.
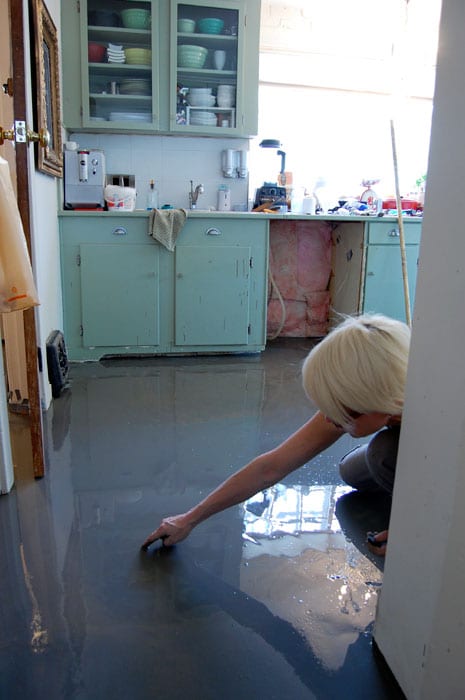
How to Level a Floor: 8 Important Things to Know Before You DIY

How to Prepare a Subfloor for Tile Installation
Subfloors and Underlayment for Ceramic Tile Floors
/best-subfloors-to-use-for-laying-tile-1822586-hero-efcfac9422ab457da5d2cbc7f7361df7.jpg)
How to level floors for tile, get it ready for tile.

How to Level a Subfloor Before Laying Tile

How to Install a Tile Floor
How To Lay A Tile Floor On Concrete #DIY #Homeimprovement

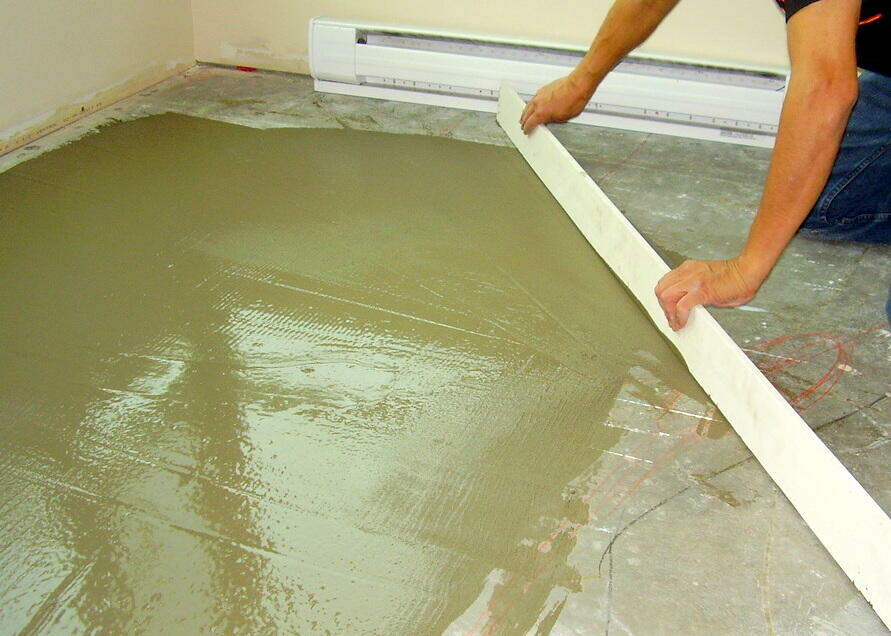
How to pour self levelling concrete yourself.
How to Install Level Tile Flooring Under Kitchen Cabinets, Stove, Dishwasher

How To Tile An Uneven Floor – A Step By Step Guide – Atlas Ceramics
Floor Tile Installation – drying time, tips, u0026 local pros
How To Tile An Uneven Floor – A Step By Step Guide – Atlas Ceramics
Related Posts:
- Pictures Of Kitchens With Grey Tile Floors
- Coffee Kitchen Floor Mats
- Travertine Tile Kitchen Floor
- Commercial Kitchen Floor Drain Requirements
- White Kitchen With Gray Floors
- Is Solid Wood Flooring Suitable For Kitchens
- Commercial Kitchen Floor Waste
- Kitchen Den Open Floor Plan
- How To Match Kitchen Cabinets And Floor
- Kitchen Floor Remodel Cost
How To Level A Kitchen Floor For Tile
Installing a tile floor in your kitchen is a great way to add value and beauty to your home. But before you begin tiling, it’s important to make sure that the floor is properly level. An uneven kitchen floor can cause tiles to crack or chip, and can lead to a range of installation and maintenance problems. In this article, we’ll discuss the steps you need to take to properly level a kitchen floor for tile.
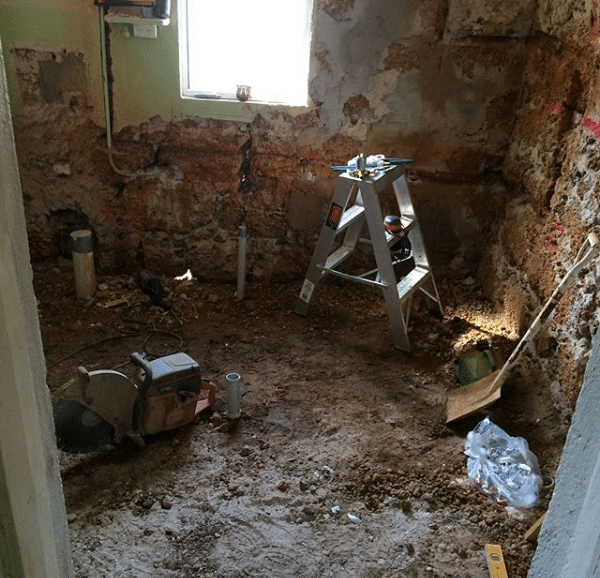
Preparing The Floor For Tile Installation
Before starting any tile installation project, it’s important to make sure that the floor is level and free of debris. Begin by removing any existing flooring such as carpet or linoleum. Once the old flooring has been removed, inspect the surface for any cracks or bumps. If you find any, use an appropriate filler material to even out the surface. Make sure that all debris is removed from the area before proceeding with the next step.
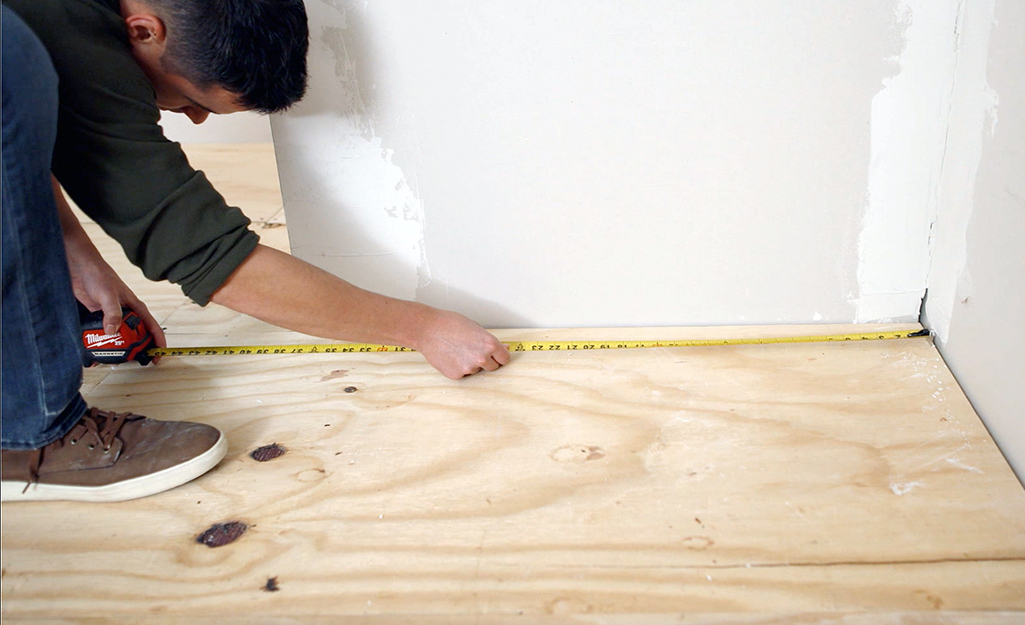
Checking The Level Of The Floor
Once the surface has been prepared, you can begin checking the level of the floor using a spirit level or laser level. Start by measuring from opposite sides of the room and then compare your measurements with one another. If there are any discrepancies between the two measurements, then you may need to adjust the joists in order to level out the floor. This will require cutting into some of the joists in order to lower or raise them as necessary.
Creating A Level Subfloor
Once you have adjusted the joists as necessary, it’s time to create a level subfloor by installing an underlayment material such as plywood or cement board over top of them. Start by laying down thin sheets of plywood and making sure they are tightly secured together using screws or nails. Once all of your sheets are laid down, use a straight edge or T-square to make sure that they are completely level with one another. If there are any discrepancies between them, use shims or additional sheets of plywood in order to correct them before moving on.
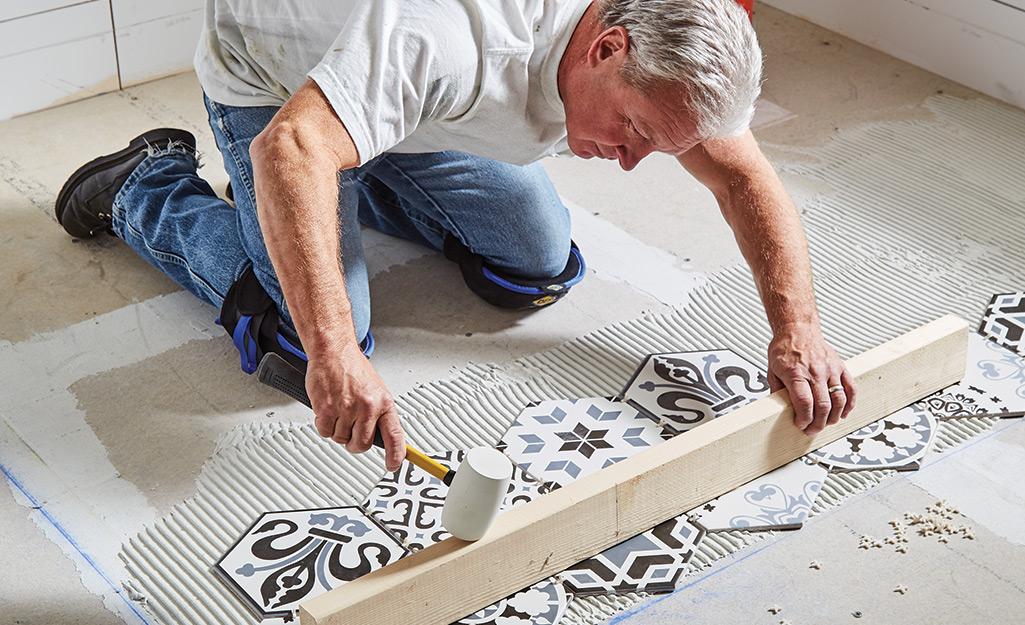
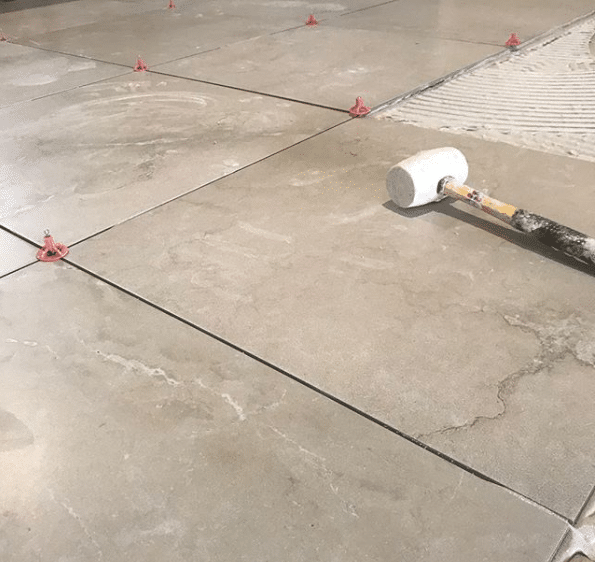
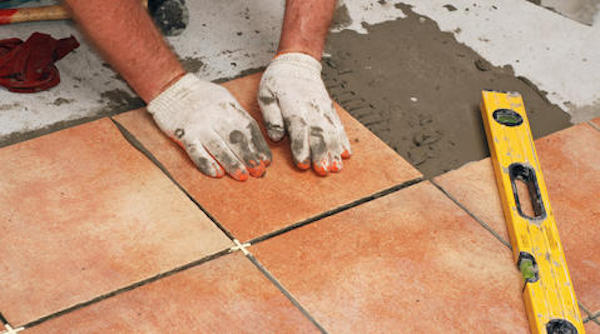
Laying Down The Tile
Once your subfloor is ready, you can begin laying down your tile in whatever pattern you choose. Before laying down each tile, check its level using a spirit level or laser level once again. Make sure that all of your tiles are sitting flush with one another and that there aren’t any uneven areas between them. If there are any discrepancies between them, use spacers or additional layers of thin-set mortar in order to fill in those gaps before continuing on with your installation project.
FAQs About Leveling Kitchen Floors For Tiles
Q: What tools do I need in order to properly level my kitchen floor?
A: You will need a spirit level or laser level in order to check for discrepancies between different parts of the room, as well as screws or nails in order to secure any underlayment materials such as plywood or cement board that you may be using. You may also need shims or additional sheets of plywood in order to adjust any uneven areas within your subfloor before beginning your tile installation project.
Q: How do I know if my kitchen floor is properly leveled?
A: You can Check the level of your kitchen floor by using a spirit level or laser level to measure from opposite sides of the room. If there are any discrepancies between the two measurements, then you may need to adjust the joists in order to level out the floor. Additionally, make sure that all of your tiles are sitting flush with one another and that there aren’t any uneven areas between them before beginning your tile installation project.
What kind of materials are needed to level a kitchen floor for tile?
– Leveling compound
– Floor patch
– Notched trowel
– Grout float
– Tile spacers
– Grout sealer
– Measuring tape
– Sponge
– Bucket
– Safety goggles
– Ladder
– Hammer
– Chisel
– Drill
– Nails/Screws
– Plywood/Cement board
– Leveling tools (spirit level, laser level)
– Tiles and thin-set mortar
What type of underlayment is needed for tiling a kitchen floor?
The type of underlayment needed for tiling a kitchen floor depends on the type of tile being used. For ceramic or porcelain tiles, a cement backer board should be used as an underlayment. For natural stone tiles, a crack isolation membrane should be used. In either case, the underlayment should be secured with screws or nails for maximum stability.
What type of flooring should be used with tile underlayment?
The most common type of flooring to use with tile underlayment is ceramic tile. Other options include porcelain, natural stone, or luxury vinyl plank flooring.
What type of adhesive should be used when installing tile underlayment?
The best adhesives to use when installing tile underlayment are thinset mortar or tile adhesive. These adhesives provide a strong bond between the tiles and the underlayment, and they are designed to resist water penetration and movement.