You will find a variety of kinds of flooring that can compliment everybody’s needs according to kitchen designs and demand of the homeowner. These tiles would be the most versatile of all kitchen flooring options, as they come in a wide variety of colors and designs, making them the ideal choice for those people that would like to add a bit more style to the kitchen of theirs.
Images about Installing Laminate Flooring In Kitchen

You’ve to keep in mind which the kitchen of yours floor structure impacts the tone and aura of your kitchen, thus selecting a function which will obviously show your character without clashing with the overall look and feel of the kitchen is imperative. We have just gone over the various types of kitchen flooring that is available available on the market that you can select from.
How to Install Laminate Flooring: DIY Tips and Tricks
however, it doesn’t need to be by doing this. After all, installing kitchen area flooring is already a costly proposition itself and if it occurs you’re dissatisfied with how it looks or perhaps it does not live up to your expectations it’s either you spend again and also have it redone or live with it for numerous years. It is relatively straightforward to preserve bamboo kitchen flooring.
Laminate Flooring Installation

FLOATING KITCHEN FLOORING INSTALLATION LAMINATE WOOD FLOORING
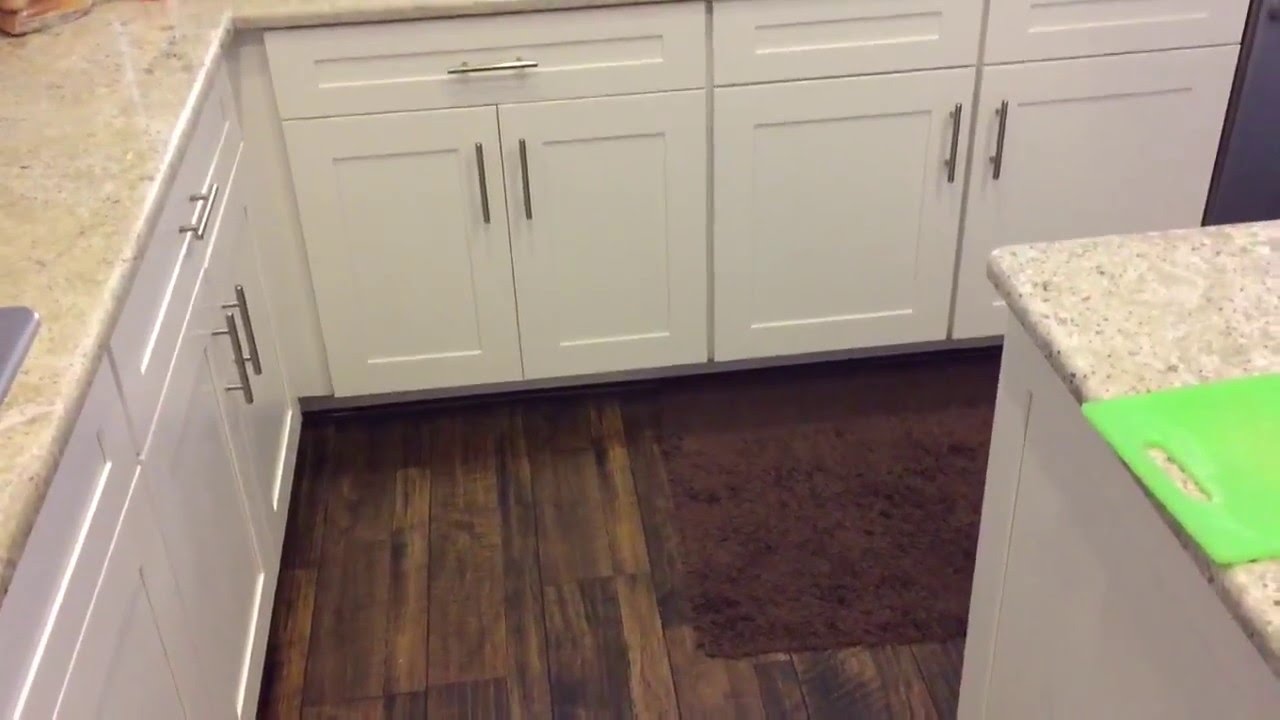
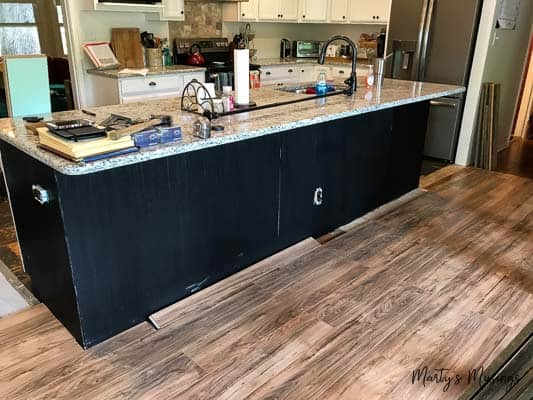
Laminate Flooring in the Kitchen
/Kitchen-laminate-floor-GettyImages-155098316-5895140c5f9b5874ee5f7711.jpg)
Installing Kitchen Flooring or Cabinets First? – This Old House
/cdn.vox-cdn.com/uploads/chorus_image/image/66530483/32_cabinets_styles.0.jpg)
How to Install Laminate Flooring Around Kitchen Cabinets – Global Cool

How to Install Laminate Flooring
/how-to-lay-laminate-flooring-1822250-04-e2971fa6cba84aaabb1bd9d571fbd745.jpg)
Laminate Flooring in the Kitchen HGTV

Laminate Flooring Guide: What to Know Before You Install – This
/cdn.vox-cdn.com/uploads/chorus_image/image/66972510/_9_Palace_Plank_Stone_28402P_RS.7.jpg)
Pros and Cons of Installing Laminate in the KitchenLearning Center

Laminate Flooring Installation Tips: How to Finish Laminate Flooring Installation
Is there a special way to install laminate flooring in the kitchen?

How To Install Laminate Flooring – Kitchen Infinity
Related Posts:
- How To Move Kitchen Floor Cabinets
- Cheap Durable Kitchen Flooring
- Wood Flooring For Kitchens And Bathrooms
- Scrub Kitchen Floor
- Textured Kitchen Floor Tiles
- Floor Plan Kitchen With Island
- Kitchen Cabinet Floor
- Free 3d Kitchen Floor Plans
- Regrout Kitchen Floor Tile
- Red Brick Flooring Kitchen
Installing Laminate Flooring In Kitchen: A Comprehensive Guide
Laminate flooring is a popular choice for homeowners who want the beauty of hardwood floors but don’t want to spend the money or deal with the hassle of installing them. Laminate flooring is easy to install and can be done in a weekend with the right tools and materials. Installing laminate in your kitchen is not much different than installing it in any other room in your home, but there are some additional considerations you must take into account. This article will provide a comprehensive guide for installing laminate flooring in your kitchen.
Tools and Materials Needed
Before you begin, make sure you have all of the necessary tools and materials for your project. You will need a saw to cut the laminate boards, an air compressor and nail gun to attach the boards to the subfloor, and a crowbar or pry bar if needed. You will also need a hammer, a tape measure, a level, an utility knife, and some wood glue. Additionally, you’ll need underlayment material to help protect against moisture buildup and ensure that the flooring is properly insulated. Finally, you’ll need adhesive for attaching the boards together, as well as shims for leveling any uneven portions of the subfloor before installation begins.
Preparing Your Subfloor
The first step in installing laminate flooring in your kitchen is to prepare your subfloor. Make sure that it is clean and free of debris or dirt before you begin installation. You should also check for any uneven spots or damage that may need to be addressed before installation can begin. If there are any dips or depressions in your subfloor, use a crowbar or pry bar to lift them up so that they are flush with the rest of the surface. Additionally, use shims to level out any remaining dips or depressions before beginning installation.
Installing Underlayment Material
Once your subfloor is prepared, it’s time to install the underlayment material. This material helps provide extra insulation from moisture buildup as well as providing a smoother surface on which to lay your laminate boards. Start by laying down sheets of underlayment along each wall of the room until you reach the opposite wall. Make sure all seams are overlapped by at least 6 inches and that each sheet is properly attached using wood glue or staples. Once all of the underlayment has been installed, use a level to ensure that it is even across all points of the room before moving on to installation of the laminate boards.
Installing Laminate Boards
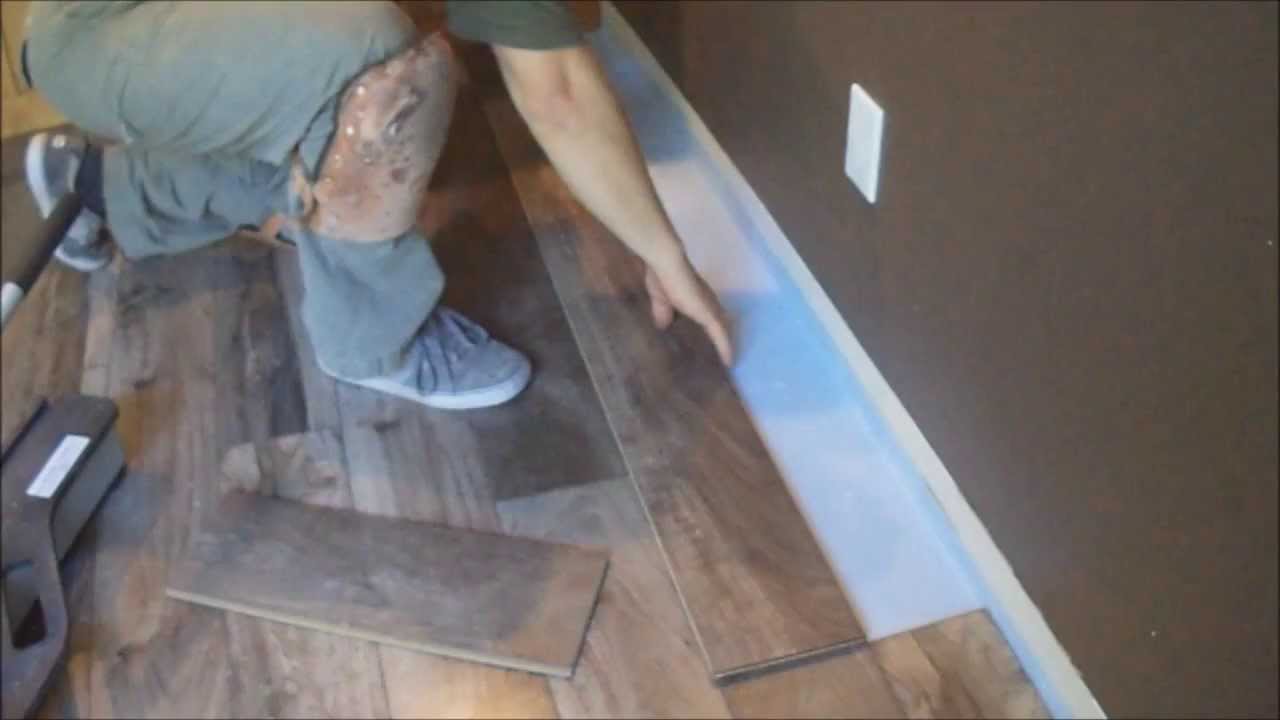
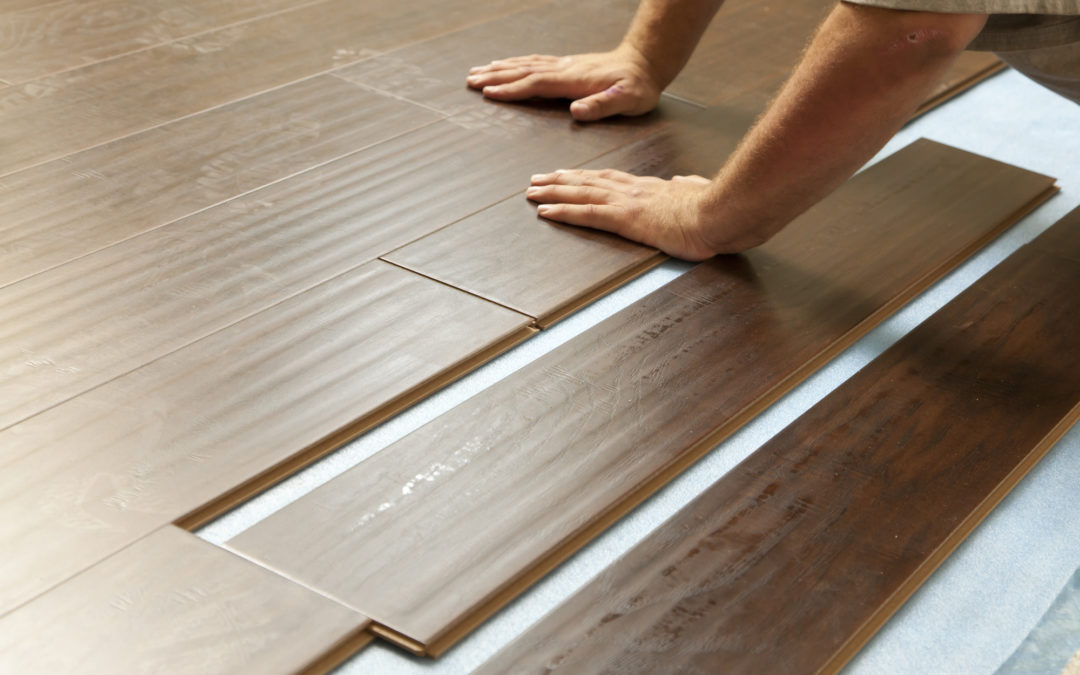
Now that your subfloor is prepared and underlayment material is installed, it’s time to install your laminate boards! Begin by measuring out how much board you will need for each row based on the width of each board as well as any cuts that will need to be made around corners or obstacles such as cabinets or appliances. Once you have determined how much board will be needed for each row, use a saw to cut each board accordingly and lay them out on top of the underlayment material prior to installation.
Before attaching each row of boards together, make sure they fit correctly with no gaps between them. If needed, use spacers between each board To ensure a tight fit. Once you are happy with how the boards fit together, use an air compressor and nail gun to attach them to the subfloor. To finish, use adhesive between each row of boards for a strong and secure bond. Finally, use a utility knife to trim any excess material that may be visible around the edges of the room.
What tools are needed to install laminate flooring in a kitchen?
1. Hammer
2. Laminate flooring saw
3. Tape measure
4. Pull Bar
5. Chalk line
6. Saw horses
7. Tapping block
8. Laminate flooring spacers
9. Safety glasses
10. Utility knife
11. Air compressor and nail gun
12. Wood glue or staples
13. Underlayment material
14. Level
What type of saw is needed to install laminate flooring in a kitchen?
A jigsaw or circular saw will be needed to cut and install laminate flooring. It is important to use the proper saw blade when cutting laminate flooring, as the wrong type of blade can cause chipping or damage to the edges of the boards.
What tools are required to install laminate flooring in a kitchen?
1. Laminate flooring
2. Underlayment
3. Jigsaw
4. Tape Measure
5. Hammer and Nails
6. Chalk Line
7. Pull Bar and Mallet
8. Utility Knife
9. Tapping Block or Rubber Mallet
10. Spacers
11. Wood Glue or Staples
12. Safety Glasses
13. Air Compressor and Nail Gun
14. Level
What type of underlayment should be used for laminate flooring in a kitchen?
The best type of underlayment for laminate flooring in a kitchen is a moisture barrier underlayment. This type of underlayment helps to protect the floor from moisture and dampness, which can damage the laminate over time. It also helps to reduce noise and provide insulation.