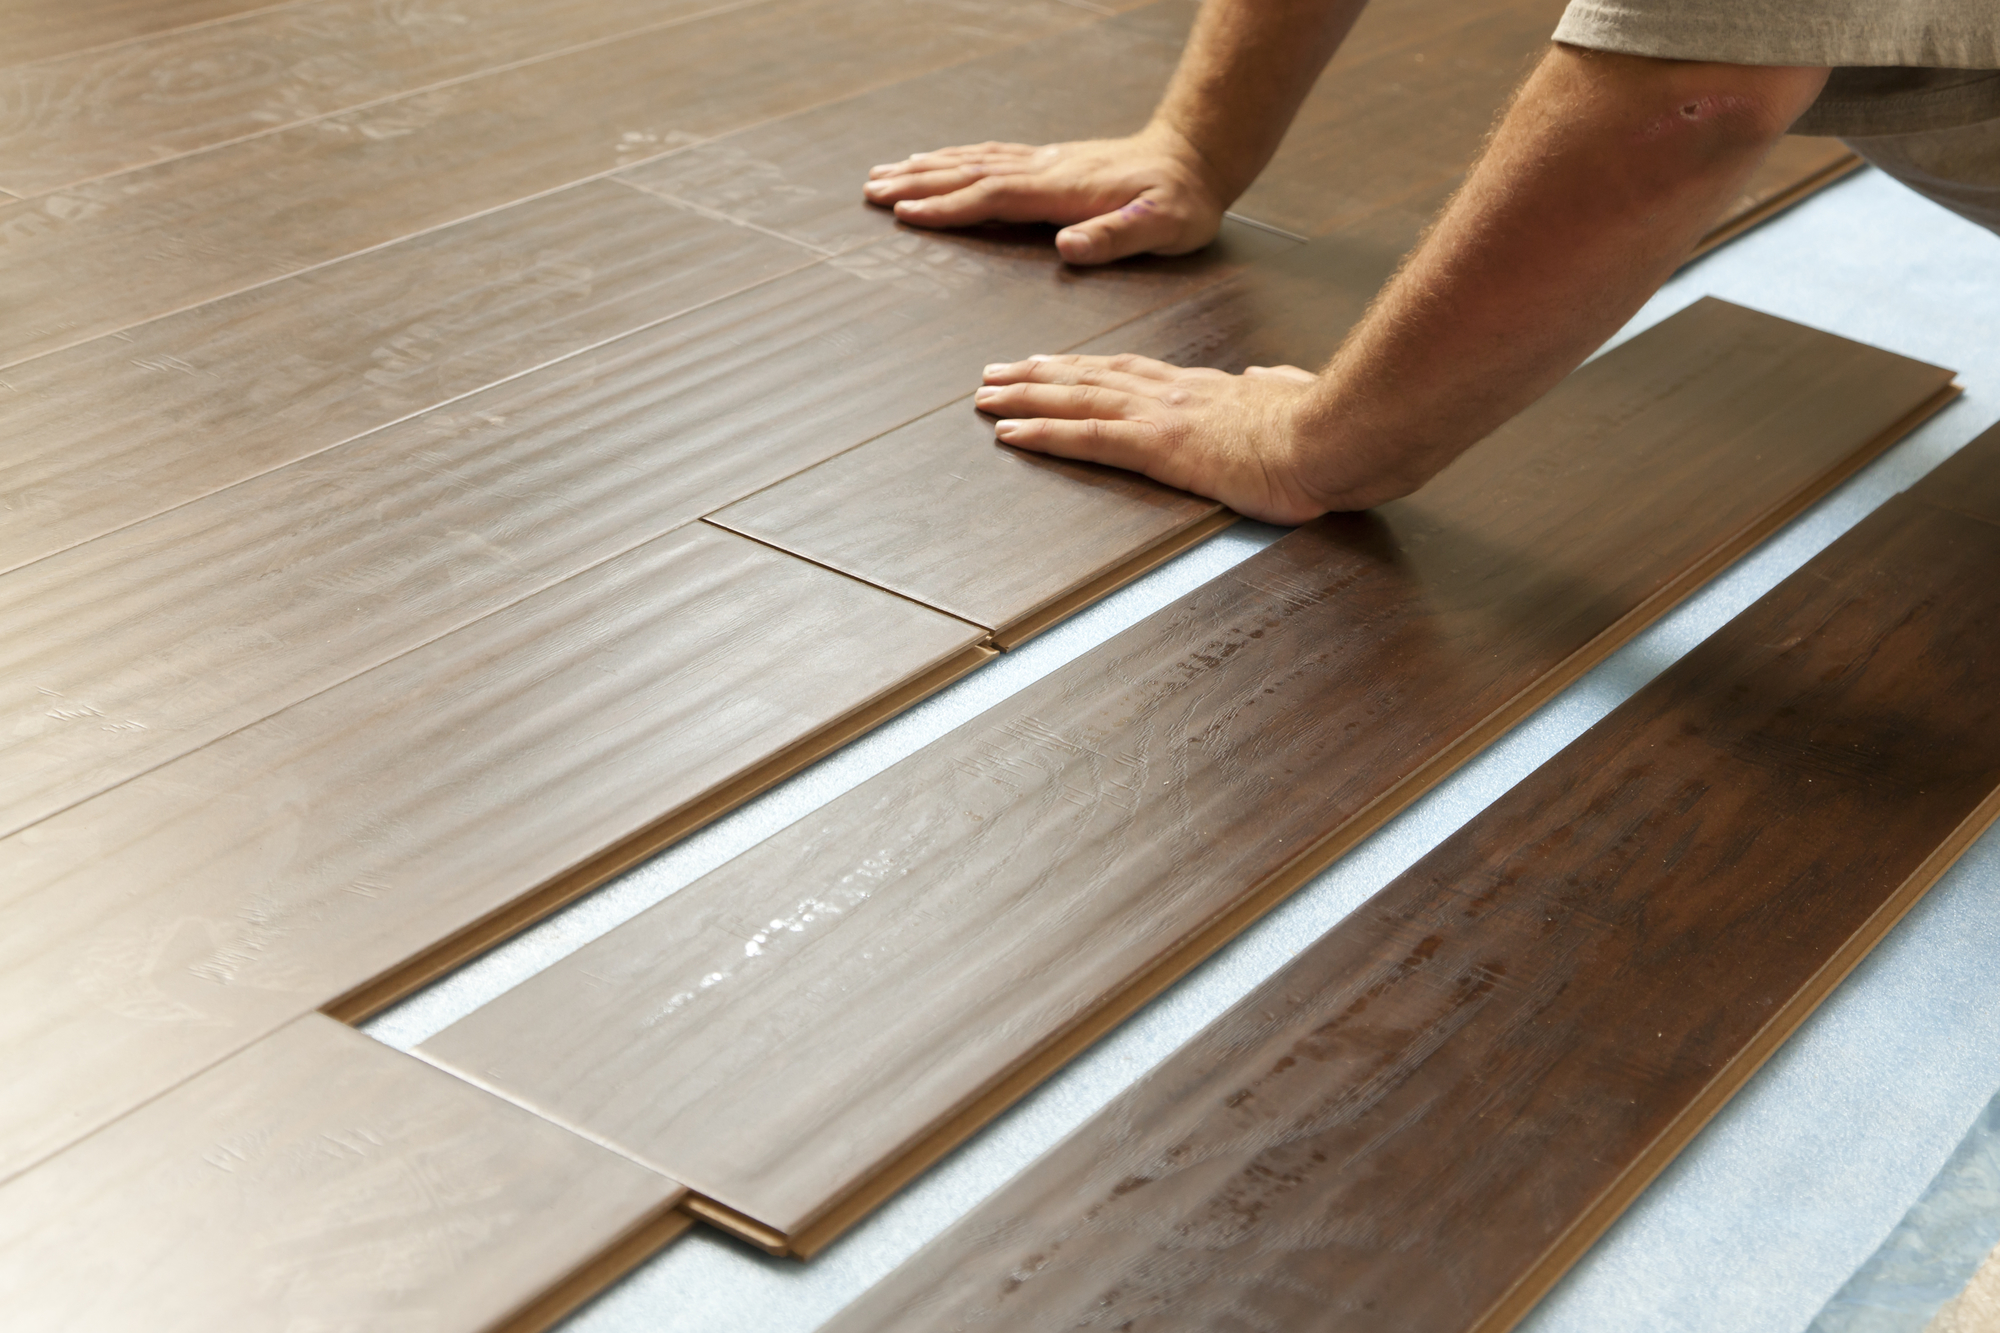
Laminate flooring is comprised of a balancing level, fiberboard layer, and different sealants and thin layers of fibrous information as newspaper. But, a few things have to be kept in mind. Laminated floors are several of the loveliest floors established in homes. If you want the appearance of a gorgeous hardwood or tile floor, but do not love the upkeep or maybe expense, laminate flooring could be exactly what you need.
Images about Installing Laminate Flooring Trim Molding
The tools required for this have a pry bar to eliminate the shoe molding and also trim, a level to verify the low and high locations on the floor, a cold chisel which means you can move up the old flooring, along with a ball peen hammer will likely be employed to reach the chisel. One have laminate floors quite inexpensively at these locations, frequently as low as under a buck for a square foot, depending upon the type of laminate flooring selected.
Tips when installing baseboard trim to laminate flooring
The wear layer is loaded with aluminum oxide and is designed to resist wear, tear and scratches. There are a few laminate flooring products which have the sub-flooring material built right on the bottom, so be sure to check out the options you have through the manufacturer or retail outlet before making your final choice on which sort of laminate flooring you would like to purchase for your next project.
Installing Laminate Flooring : Finishing Trim and Choosing
![]()
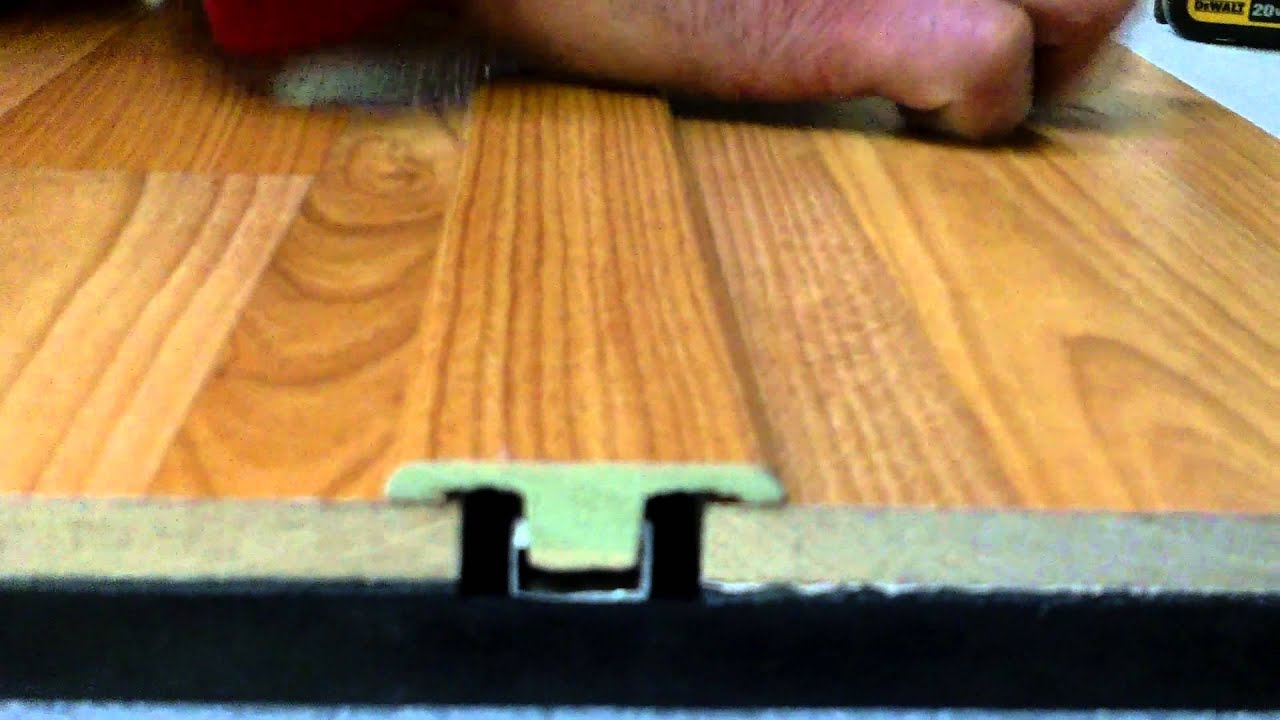
How to Install T-Molding in Laminate Flooring : Working on Flooring

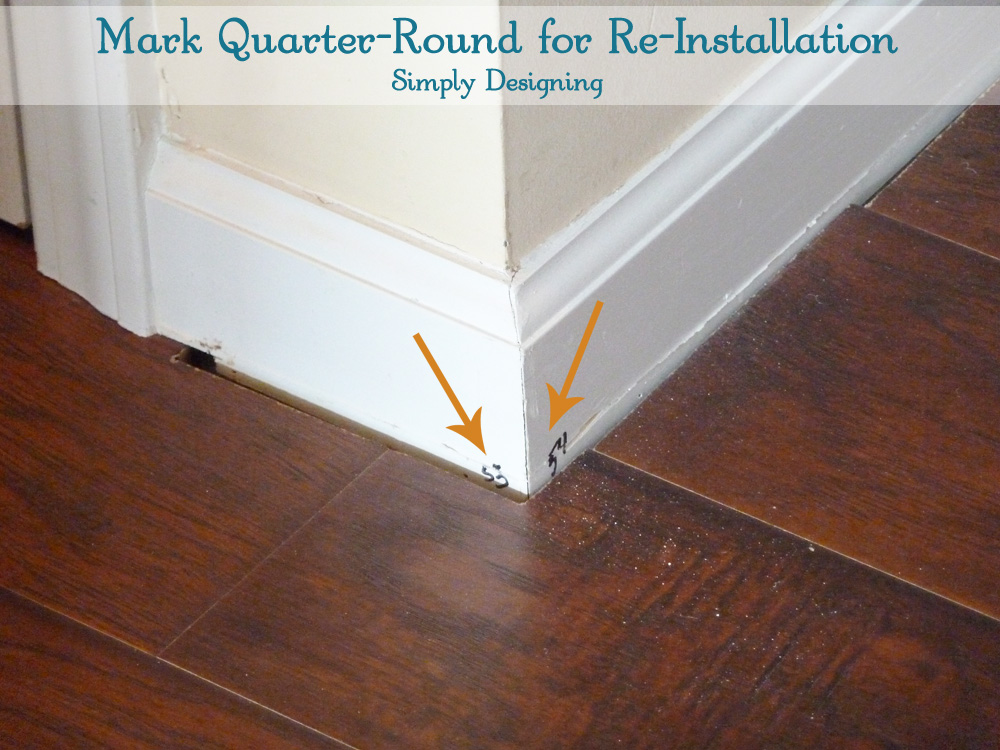
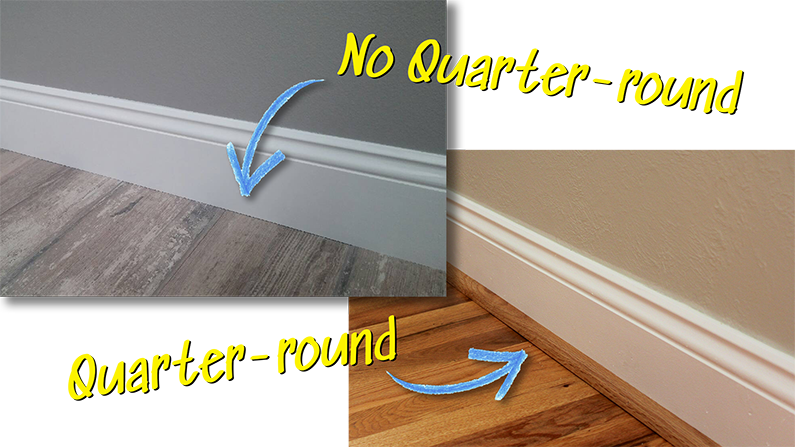
How to Install Quarter-Round or Shoe Molding Trim
:max_bytes(150000):strip_icc()/how-to-install-shoe-molding-1822791_01_mark_first_trim_3218-45c8b65cd861481c89b07ab327d237aa.jpg)
How to Install Quarter-Round or Shoe Molding Trim
:max_bytes(150000):strip_icc()/how-to-install-shoe-molding-1822791_03_test_fit_first_piece_3221-1d9d69c574ed4dc2ba8732ae106f02e9.jpg)
Install Your T-Molding Strips Like A Pro u2013 Easiklip Floors

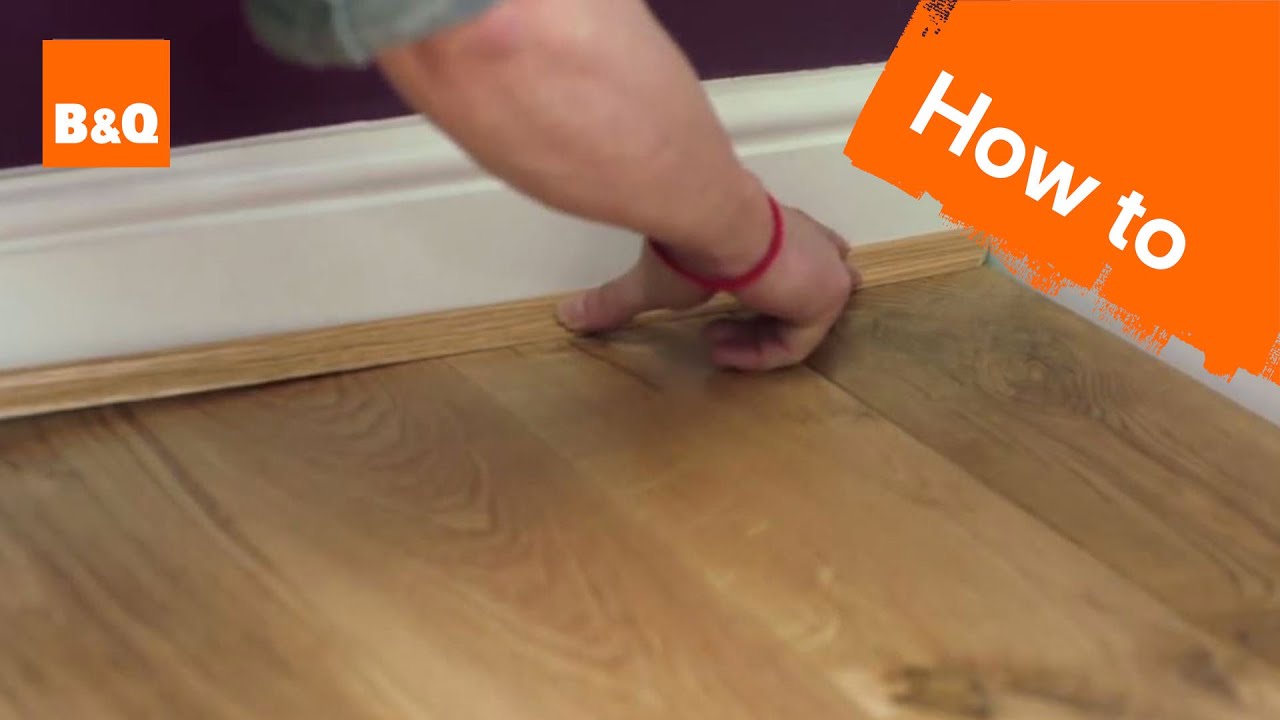
How to lay flooring part 5: finishing touches u0026 maintenance
Installing Laminate Flooring : Finishing Trim and Choosing

How to Install Quarter-Round or Shoe Molding Trim
/how-to-install-shoe-molding-1822791_hero_3220-d4da3a201e514adca76ea362bbc7322e.jpg)
T-Molding Installation
How to Install Laminate Flooring on Your Own (DIY) – Flooring HQ
Laminate Flooring Moldings and Transitions

How to Install Laminate Flooring on Your Own (DIY) – Flooring HQ
Related Posts:
- Wood Laminate Flooring Bathroom
- What Is The Easiest Laminate Flooring To Install
- Trafficmaster American Walnut Laminate Flooring
- Red Gloss Laminate Flooring
- Trafficmaster Glueless Laminate Flooring Instructions
- Pergo Virginia Walnut Laminate Flooring
- Laminate Flooring How To Choose
- Quality Laminate Flooring Reviews
- Laminate Flooring From China Problems
- Brissac Oak Effect Laminate Flooring
Installing Laminate Flooring Trim Molding
Laminate flooring is a popular choice for homeowners due to its durability, affordability, and easy installation. However, to achieve a professional and finished look, it is essential to install trim molding along the edges of the laminate flooring. Trim molding not only adds a polished appearance but also serves as a transition between the floor and other surfaces such as walls or stairs. In this article, we will guide you through the process of installing laminate flooring trim molding, providing detailed instructions and answering frequently asked questions.
I. Tools and Materials Needed
Before starting the installation process, gather the necessary tools and materials to ensure a smooth experience. Here is a list of items you will need:
1. Measuring tape: To accurately measure the dimensions of the floor and trim pieces.
2. Miter saw: Used for cutting precise angles in the trim pieces.
3. Pencil: For marking measurements on the trim pieces.
4. Finishing nails: To secure the trim molding in place.
5. Hammer: For driving in the finishing nails.
6. Level: To ensure that the trim pieces are straight and even.
7. Construction adhesive: To secure any transition strips or stair noses.
8. Sandpaper: For smoothing out any rough edges on the trim pieces.
II. Preparing the Area
Before installing the laminate flooring trim molding, it is important to prepare the area properly. Follow these steps:
1. Clean the floor: Remove any dirt, dust, or debris from the surface where you will be installing the trim molding.
2. Measure and cut trim pieces: Measure each wall or edge where you will be installing trim molding and cut them accordingly using a miter saw.
3. Dry fit the trim pieces: Place each cut piece of trim molding against its respective wall or edge to ensure proper fit before permanently attaching them.
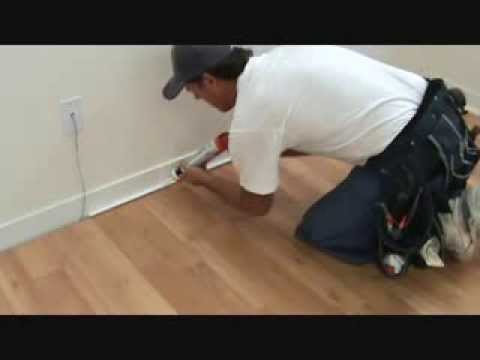
III. Installing Baseboard Trim Molding
Baseboard trim molding is typically installed along the bottom edge of the wall, providing a clean transition between the floor and the wall. Follow these steps:
1. Apply construction adhesive: Apply a thin line of construction adhesive along the backside of the baseboard trim piece.
2. Press the trim piece in place: Gently press the baseboard trim molding against the wall, making sure it is straight and level.
3. Secure with finishing nails: Use a hammer and finishing nails to secure the baseboard trim molding to the wall. Place the nails about 16 inches apart.
4. Fill nail holes: Fill any nail holes with wood filler or putty, then sand it down for a smooth finish.
5. Paint or stain: If desired, paint or stain the baseboard trim molding to match your decor.
FAQs:
Q1: Can I install baseboard trim molding over existing laminate flooring?
A1: Yes, you can install baseboard trim molding over existing laminate flooring. However, make sure that the flooring is clean and free from any debris or dust before attaching the trim pieces.
Q2: How do I cut baseboard trim molding at corners?
A2: To cut baseboard trim molding at corners, use a miter saw to create 45-degree angles. Measure and mark where you want to make the cut on both pieces of baseboard, then position them in the miter saw with their backs against the fence and cut accordingly.
IV. Installing Quarter Round Trim Molding
Quarter round trim molding is used to cover gaps between the laminate Flooring and the baseboard trim. Follow these steps to install quarter round trim molding:
1. Measure and cut the quarter round pieces: Measure each gap between the laminate flooring and the baseboard trim and cut the quarter round pieces accordingly using a miter saw.
2. Dry fit the quarter round pieces: Place each cut piece of quarter round against its respective gap to ensure proper fit before permanently attaching them.
3. Apply construction adhesive: Apply a thin line of construction adhesive along the backside of each quarter round piece.
4. Press the quarter round in place: Gently press each quarter round piece into its respective gap, making sure it is straight and level.
5. Secure with finishing nails: Use a hammer and finishing nails to secure each quarter round piece to both the laminate flooring and the baseboard trim. Place the nails about 16 inches apart.
6. Fill nail holes: Fill any nail holes with wood filler or putty, then sand it down for a smooth finish.
7. Paint or stain: If desired, paint or stain the quarter round trim molding to match your decor.
FAQs:
Q1: Can I install quarter round trim molding without baseboard trim?
A1: Yes, you can install quarter round trim molding without baseboard trim if desired. However, keep in mind that baseboard trim provides additional protection for the walls and can create a more finished look when combined with quarter round trim molding.
Q2: How do I cut quarter round trim molding at corners?
A2: To cut quarter round trim molding at corners, use a miter saw to create 45-degree angles. Measure and mark where you want to make the cut on both pieces of quarter round, then position them in the miter saw with their backs against the fence and cut accordingly.