By and large, the pricier floor types are going to come with longer warranties. There’s a range of variety is offered, go through them and select the one which you feel defines your design in very best way. But it’s definitely fallacious. As laminate flooring is constructed from these 4 unique layers, it is much more reluctant to scratches and dents compared to real hardwood flooring.
Images about How To Nail Laminate Flooring

The resistance of laminate flooring is significantly larger than the hardwood flooring due to the many coats of Melamine. The secret behind glueless laminate floors is each plank clipping combinations. Don’t buy the underlay and flooring for the exact floor size of yours because you will make mistakes and need extra flooring. But, you need to ensure that you pick the right laminate and one which is tremendously durable and well suited for the kind of yours of usage.
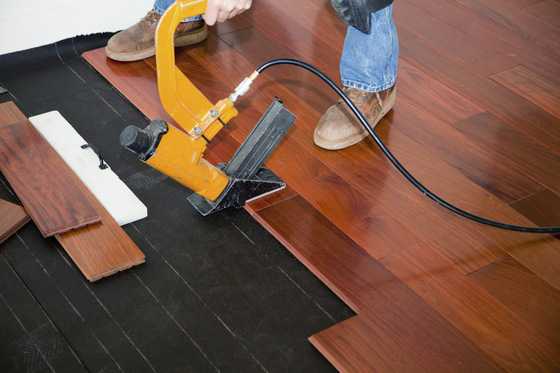
Can I nail laminate flooring down to the subfloor?

Laminated flooring is simply perfect for every kind of premises. Costco is a membership warehouse club, so the sole means you’re in a position to buy their Harmonics laminate flooring is to become a part. Harmonics laminate flooring can we’ve read, be bought at Costco. This’s also the reasons you have to get a saw to trim down the planks if you need smaller sizes and pieces to slip around the cabinets.
How to Install Laminate Flooring
:max_bytes(150000):strip_icc()/how-to-lay-laminate-flooring-1822250-08b-10f3572e10b14770b1e5da743da4226a.jpg)
Floating Floor vs. Nail Down Slaughterbeck Floors, Inc.
Installing Laminate Flooring For The First Time // Home Renovation

How to Install Laminate Flooring
:max_bytes(150000):strip_icc()/how-to-lay-laminate-flooring-1822250-04-e2971fa6cba84aaabb1bd9d571fbd745.jpg)
How to Install Laminate Flooring Like a Pro – Advice From Bob Vila

How to Install Laminate Flooring Cheap Flooring Guide 2019

Can You Nail Down Laminate Flooring? (Find Out Now!) u2013 Upgraded Home
Guide to Installing Laminate Flooring (DIY) Family Handyman

Can You Nail or Screw Into Laminate Floor? Hunker

How to Install Laminate Wood Flooring for an Affordable Home

How to Install Laminate Flooring
How to Install Laminate Flooring on Your Own (DIY) – Flooring HQ
Related Posts:
- Mohawk Celebration Laminate Flooring
- Dark Brown Wood Laminate Flooring
- How To Do Laminate Flooring In Basement
- Balterio Laminate Flooring Dealers
- Using Laminate Flooring In Basement
- Lumber Liquidators Laminate Flooring Lawsuit
- Buckling Laminate Flooring How To Repair
- Bona Mop Laminate Flooring
- Laminate Flooring Customer Reviews
- Dark Distressed Laminate Flooring
How to Nail Laminate Flooring
Laminate flooring is a popular choice among homeowners due to its durability, affordability, and ease of installation. While the process of installing laminate flooring may seem daunting at first, with the right tools and techniques, you can achieve professional-looking results. In this article, we will guide you through the steps of nailing laminate flooring, providing detailed instructions and helpful tips along the way.
I. Preparing for Installation
Before diving into the installation process, it is crucial to make thorough preparations to ensure a smooth and successful project.
1. Acclimate the Laminate Flooring
To prevent any potential issues with expansion or contraction after installation, it is essential to acclimate your laminate flooring. Simply leave the planks in their packaging in the room where they will be installed for at least 48 hours. This allows the flooring to adjust to the temperature and humidity conditions of the space.
2. Prepare the Subfloor
Before laying laminate flooring, it is crucial to ensure that the subfloor is clean, level, and dry. Remove any existing flooring material and check for any cracks or unevenness. Patch or level out any imperfections using a suitable floor leveling compound or plywood underlayment.
II. Tools You Will Need
Before proceeding with nailing laminate flooring, gather all the necessary tools to streamline your installation process. Here are some essential tools required:
1. Tape Measure: To accurately measure your space and cut laminate planks accordingly.
2. Circular Saw or Miter Saw: For cutting laminate planks to fit around corners and edges.
3. Jigsaw: Useful for making intricate cuts around obstacles such as pipes or door frames.
4. Pry Bar: To remove baseboards or existing moldings.
5. Hammer: For nailing down laminate planks.
6. Flooring Spacers: These help maintain consistent gaps between planks for expansion.
7. Tapping Block: Used to tap planks together without damaging the edges.
8. Pull Bar: To help tighten the last row of planks against the wall.
III. Nailing Laminate Flooring
Now that you have prepared your space and gathered all the necessary tools, it’s time to start nailing down your laminate flooring. Follow these step-by-step instructions for a successful installation:
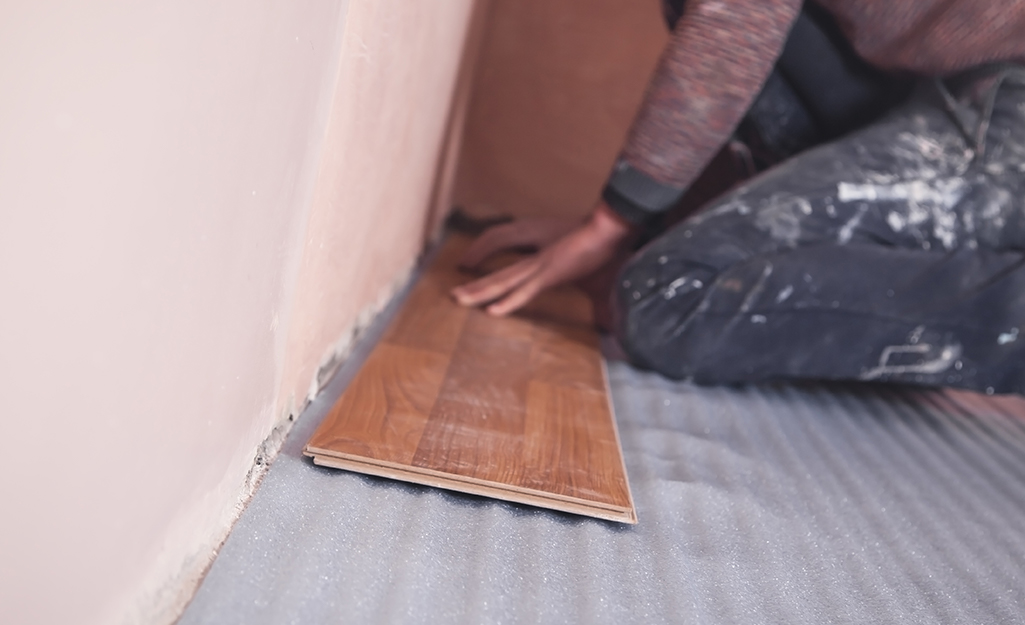
1. Start with a sturdy foundation:
Ensure that your first row of laminate planks is aligned correctly and sits firmly against the wall. This will serve as the foundation for the rest of the installation. Use spacers to maintain an even gap between the planks and the wall, allowing for expansion.
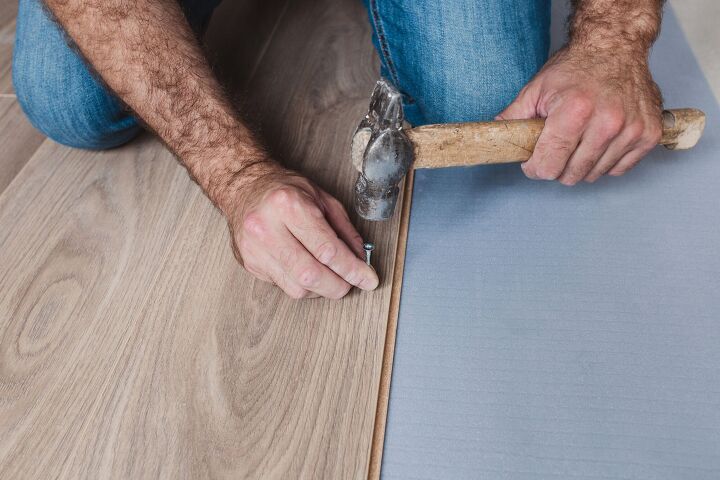
2. Nail down the first row:
Once you have positioned the first row of laminate planks, it’s time to secure them in place by nailing them down. Use a hammer and finishing nails specifically designed for laminate flooring to ensure a secure fit. Place the nails approximately 8-10 inches apart along each plank, keeping them about 1/2 inch from the edge.
FAQ: How many nails should I use per plank?
It is recommended to use at least two nails per plank to provide ample stability and prevent any movement or separation over time.
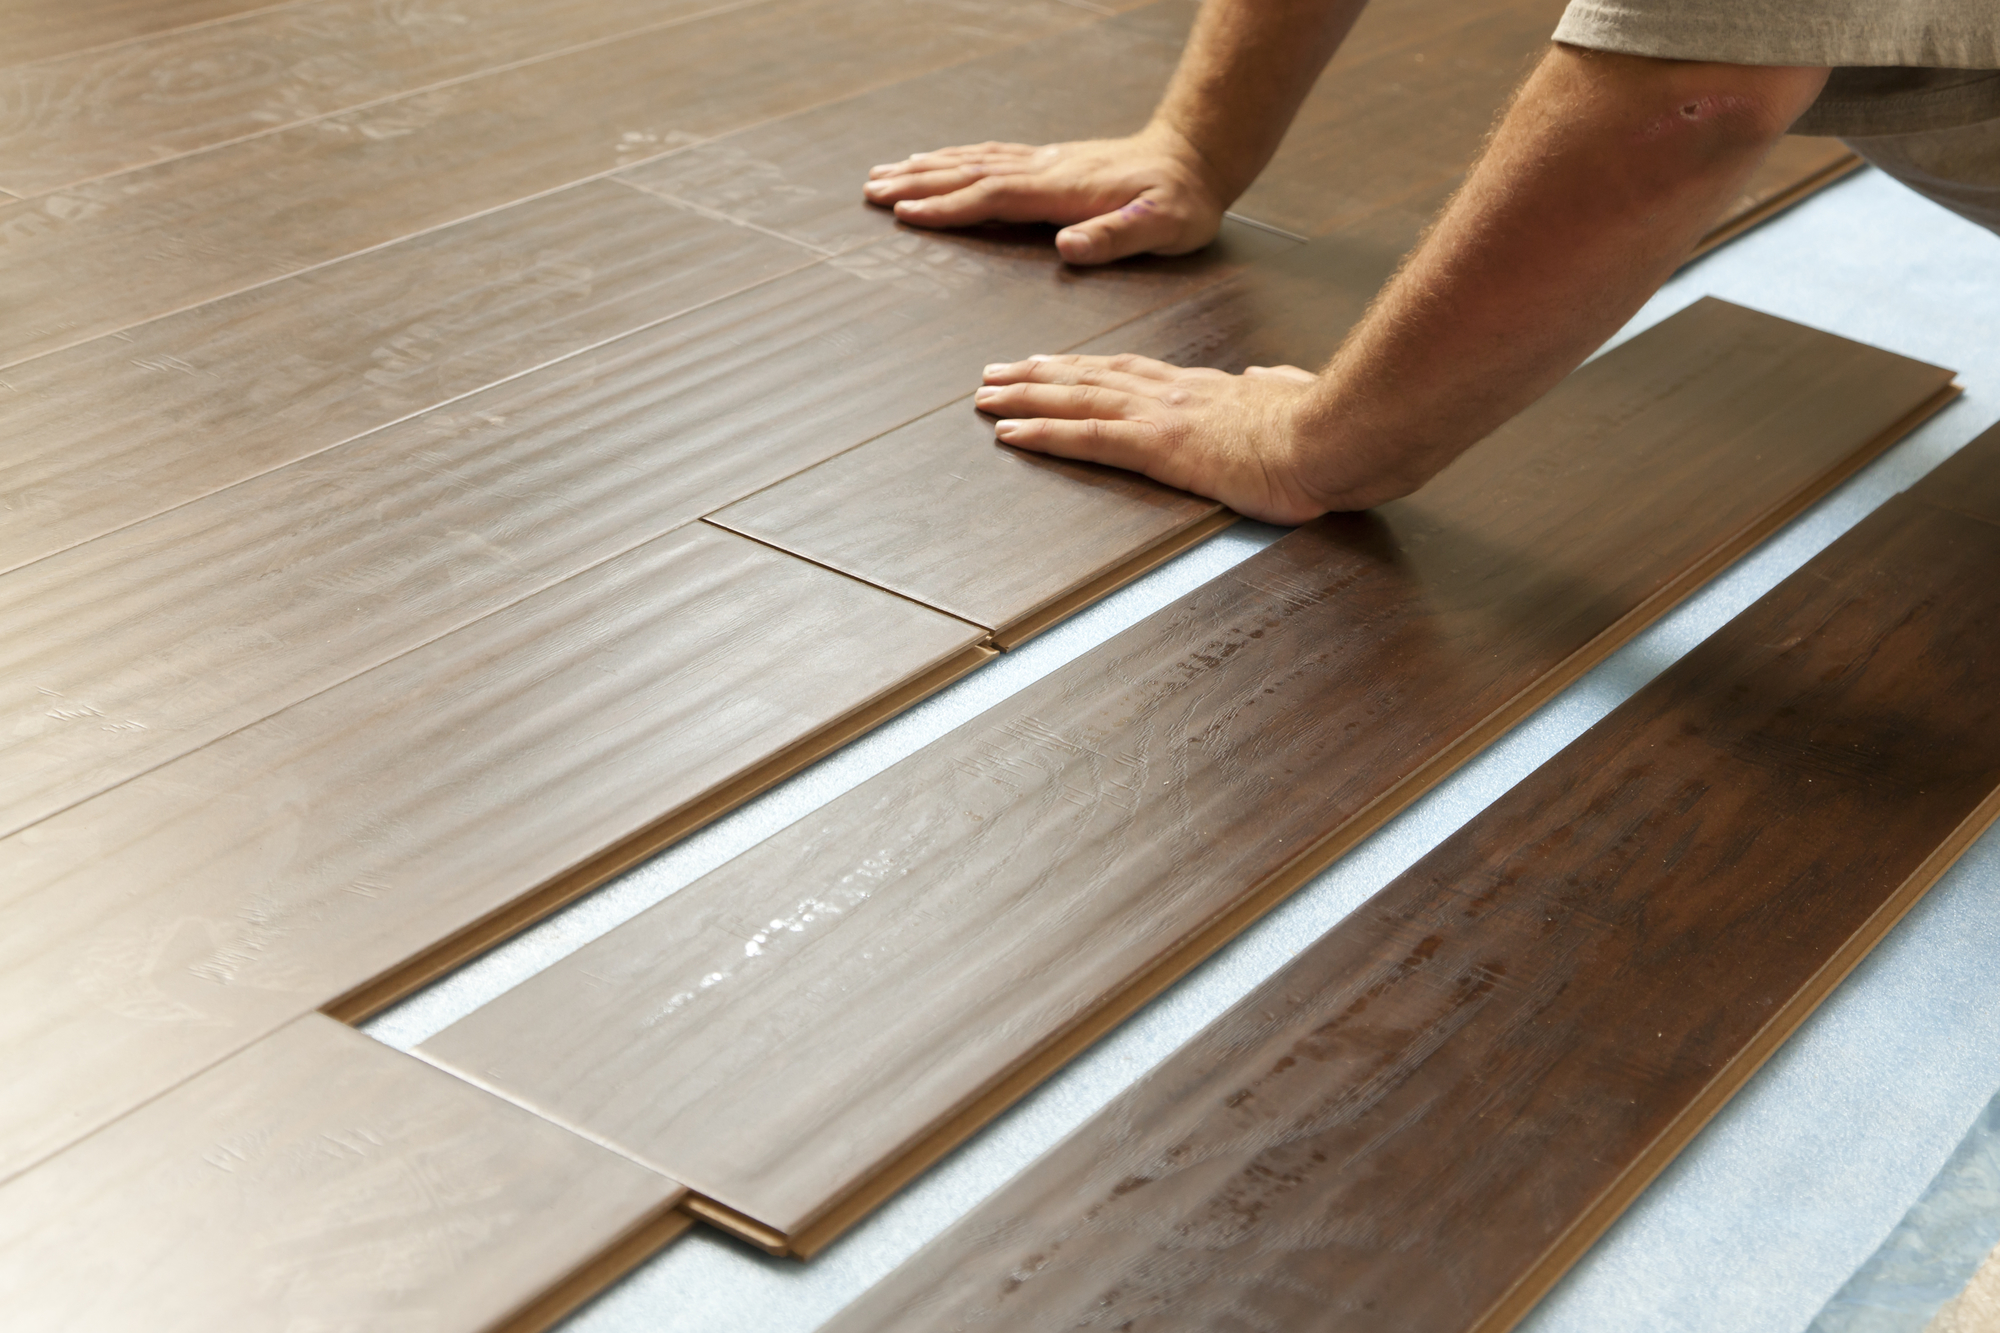
3. Continue with subsequent rows:
As you move on to subsequent rows, make sure to stagger the joints between planks for added strength and aesthetic appeal. This helps distribute weight evenly across the floor and prevents weak spots or visible patterns in your flooring.
4. Use tapping block and pull bar:
To ensure tight and seamless connections between planks , use a tapping block and pull bar. The tapping block is used to tap the planks together without damaging the edges, while the pull bar helps tighten the last row of planks against the wall. These tools ensure a secure and professional-looking installation.
5. Trim as needed:
Once you have installed all the laminate planks, trim any excess material using a circular saw or miter saw. This will give your flooring a clean and finished look.
6. Install baseboards or moldings:
After the laminate flooring is installed, reinstall or install new baseboards or moldings to cover any gaps between the flooring and the walls. This will give your flooring a polished and complete appearance.
IV. Tips for Nailing Laminate Flooring
Here are some additional tips to ensure a successful and professional-looking installation of laminate flooring:
1. Use appropriate nails: Make sure to use finishing nails specifically designed for laminate flooring. These nails are designed to securely hold the planks without damaging them.
2. Pre-drill holes near edges: To prevent splitting or cracking, pre-drill small pilot holes near the edges of the planks before nailing them down.
3. Check for levelness: Periodically check that your floor is level throughout the installation process. This will help prevent any unevenness or lippage between planks.
4. Avoid over-nailing: Be careful not to over-nail the laminate planks, as this can cause them to crack or split. Follow manufacturer guidelines regarding nail spacing and quantity.
5. Clean as you go: Keep your work area clean and free of debris as you install the laminate flooring. This will prevent any potential damage or imperfections.
6. Follow manufacturer instructions: Always refer to the specific manufacturer instructions for your laminate flooring. Different brands may have slightly different installation methods and requirements.
By following these steps and tips, you can successfully nail down your laminate flooring and achieve a beautiful and durable finished result.