Rubber Plank Flooring are essentially made of wooden boards which are aproximatelly three-quarters of an inch thick and is roughly around 3 to 7 inches in width and arrives at a general length of about eight feet. The tiles in 12 inch sizes or less are suggested for small kitchens as they will give the area a very spacious appearance. For kitchen floors, the mosaic ceramic tiles are best in many patterns in unglazed and glazed finishes.
Images about Kitchen Floor Led Lighting
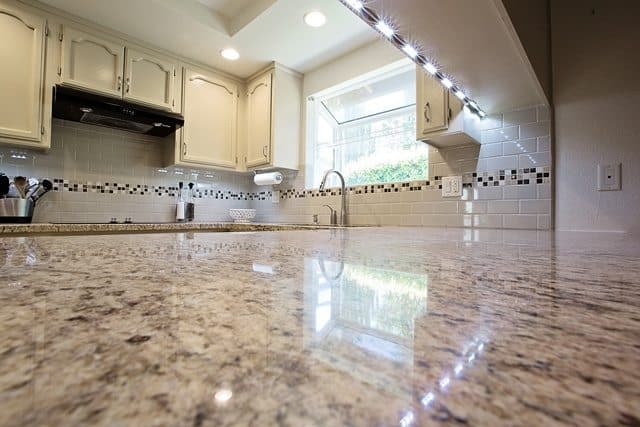
Beautiful kitchen flooring can establish a warm inviting atmosphere and also set a frame of mind for all to experience. Tiling a cooking area floor is labour rigorous, but you are able to conserve a considerable amount of cash by doing the task yourself, along with contemporary tiles are produced for rubber, cork, ceramic as well as stone in an enormous assortment of colors, shapes, sizes and styles.
How to Choose and Install LED Strip Lights for Kitchen Cabinets

The kinds of substances, patterns as well as colors available on the market could be very overpowering and can confuse you in case you don't know more about it. In days which are past, families did not invest far too much moment of the kitchen together, and in most cases it was a separate small corner of the house all by itself. The kitchen laminate flooring enables you to have an attractive, clean and homey kitchen with very little maintenance at all times.
Smart Lighting For A Kitchen: A Practical Guide – Smart Home Point
Diseño de iluminación, Iluminacion interiores led, Luces led para

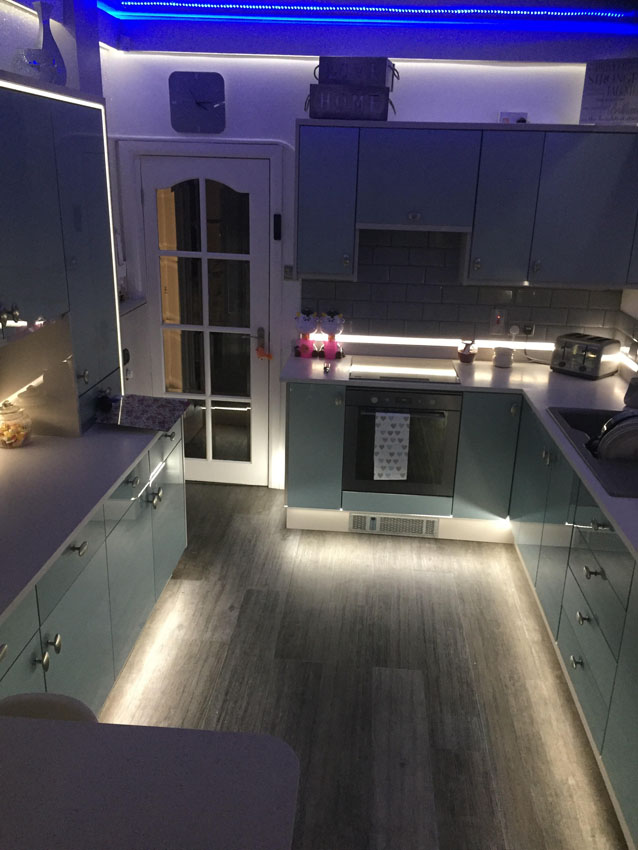
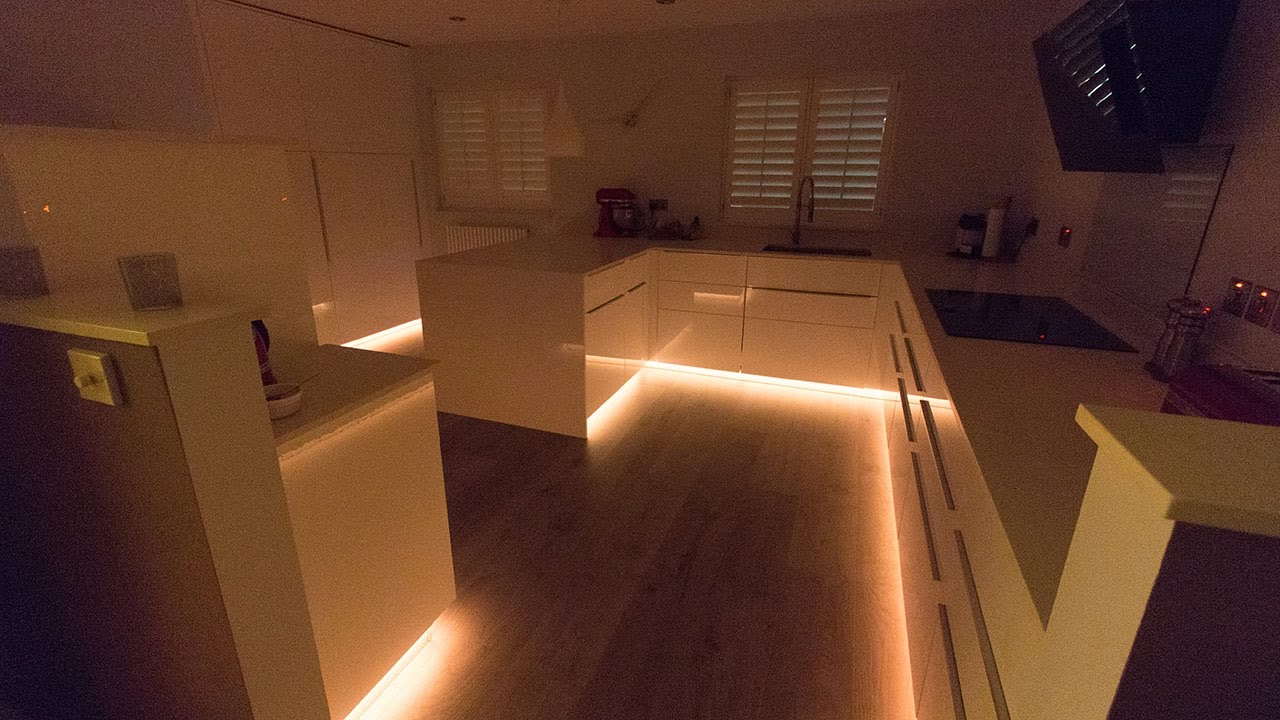
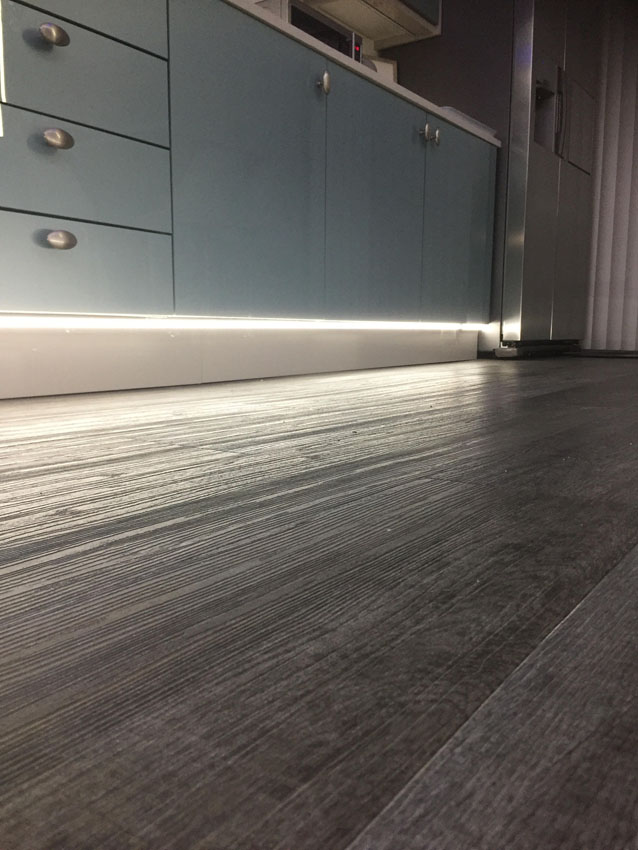
RGBW LEDs installed for kitchen plinth highlights
kitchen unit lighting All products are discounted, Cheaper Than

10 Ways To Light Your Kitchen To Achieve The Right Look u0026 Ambience
Benefits of Using LED Lights – Kitchen Remodel Lighting
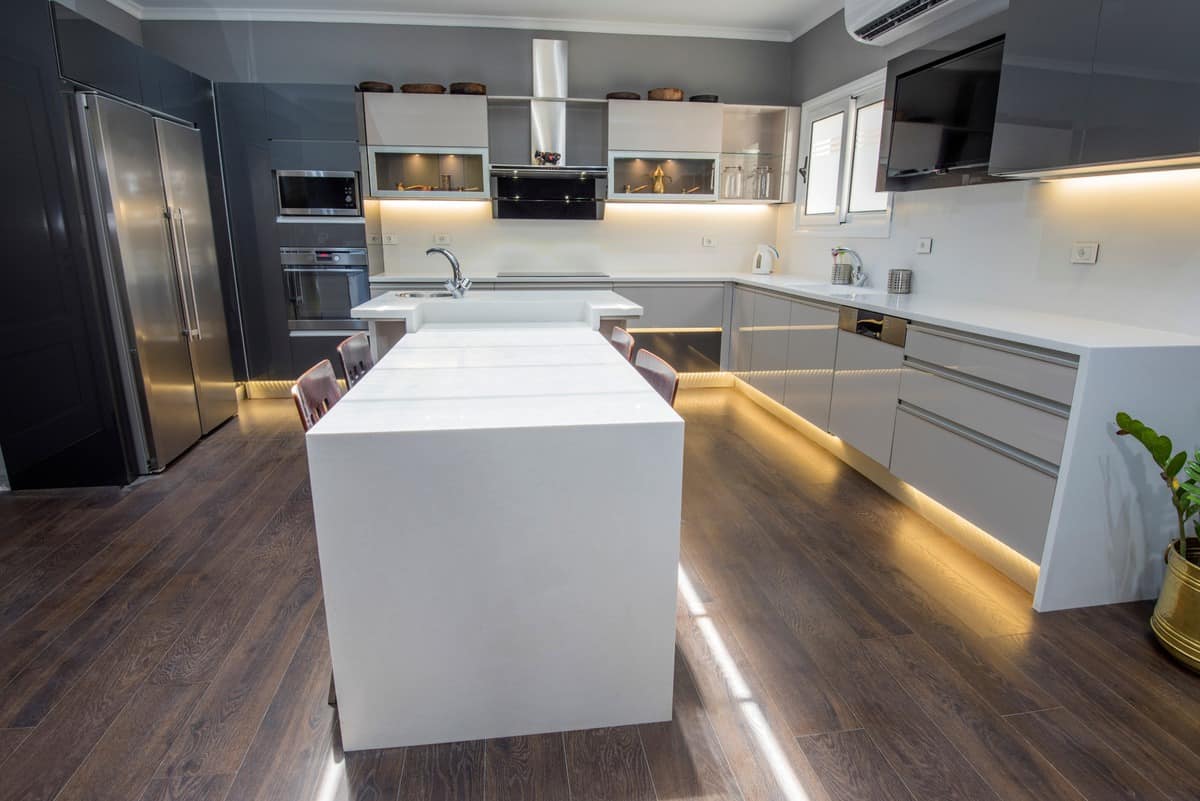
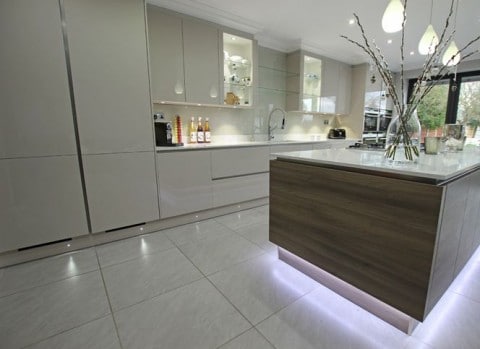
Choose LEDS for plinth, kickboard u0026 skirting-board feature lights
How to Light a Kitchen – Lightology
10 Kitchen LED Lighting Ideas 2022 (Save the Earth) Kitchen led

LED strip light under cabinets before floor tiles – YouTube

kitchen unit lighting All products are discounted, Cheaper Than

Image result for kitchen sensor lights floor Cucina in legno

Related Posts:
- Kitchen Floor Mats And Runners
- Kitchen Floor Before Or After Cabinets
- Are Slate Floors Good For Kitchens
- Best Flooring For Hallway And Kitchen
- Kitchen Floor Ideas With Oak Cabinets
- Light Grey Wood Floor Kitchen
- 10 By 10 Kitchen Floor Plans
- Good Moms Have Sticky Floors Messy Kitchens Sign
- Rubber Flooring Residential Kitchen
- Kitchen Floor Cabinets With Doors
Kitchen Floor LED Lighting: Illuminating Your Space with Style and Functionality
Introduction:
In recent years, LED lighting has gained immense popularity due to its energy efficiency, longevity, and versatility. One area where LED lighting can truly transform a space is the kitchen floor. By installing LED lights beneath your kitchen flooring, you can create a stunning visual effect while enhancing the functionality of your kitchen. In this article, we will explore the benefits of kitchen floor LED lighting and provide a comprehensive guide on how to install and maintain it.
Benefits of Kitchen Floor LED Lighting:
1. Enhanced Aesthetics:
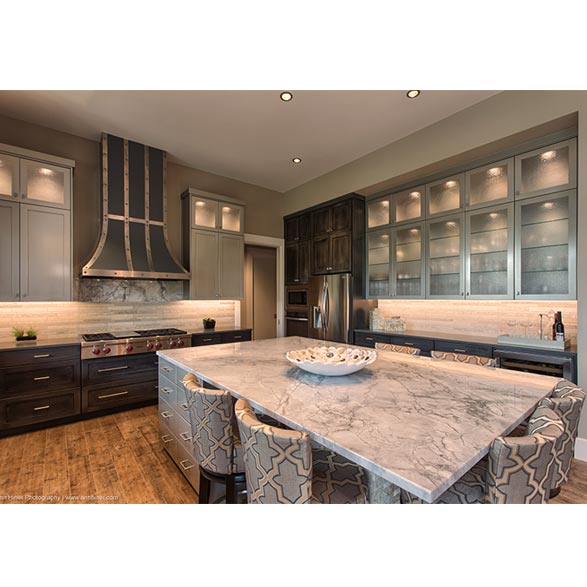
Kitchen floor LED lighting can instantly elevate the look and feel of your kitchen. The subtle illumination creates a warm and inviting atmosphere, making your kitchen a more enjoyable space for cooking, dining, and entertaining. Whether you choose to install LED lights in a single color or opt for vibrant RGB strips that can change colors, they will undoubtedly add a touch of elegance to your kitchen.
2. Improved Safety:
The kitchen is often filled with potential hazards, such as sharp knives, hot stovetops, and slippery floors. Properly placed LED lights on the kitchen floor can significantly enhance safety by providing adequate visibility and reducing the risk of accidents. They can help you navigate through your kitchen during late-night snack runs or when carrying hot dishes without relying solely on overhead lighting.
3. Efficient Task Lighting:
LED lights offer excellent task lighting capabilities, which is particularly beneficial in the kitchen where precise cutting, chopping, and food preparation take place. By installing LED strips along the perimeter of your kitchen island or countertop edges, you can have focused illumination exactly where you need it most. This ensures that every detail is visible and enhances your overall cooking experience.
4. Versatile Design Options:
LED lights come in various forms and sizes, offering endless design possibilities for your kitchen floor. Whether you prefer discreet recessed lights or bold strip lights that highlight specific areas, there is a wide range of LED lighting options to suit your personal style and kitchen décor. Additionally, many LED lights can be dimmed or adjusted for brightness, allowing you to create the perfect ambiance for any occasion.
Installation Guide:
1. Plan Your Layout:
Before installing kitchen floor LED lighting, it’s essential to plan your layout carefully. Take precise measurements of your kitchen floor and determine where you want the lights to be placed. Consider areas that require additional illumination, such as under cabinets, along walkways, or beneath kitchen islands. Planning ahead will ensure that you have the necessary materials and avoid any last-minute adjustments during installation.
2. Gather Materials:
To install kitchen floor LED lighting, you will need the following materials:
– LED light strips or modules: Choose high-quality, waterproof LED lights designed specifically for flooring installations. Ensure they have adhesive backing for easy installation.
– Power supply: Select a power supply that matches the voltage requirements of your LED lights and has enough capacity to handle the total power consumption.
– Wiring and connectors: Use appropriate wiring and connectors to connect the LED lights to the power supply securely.
– Controller (optional): If you opt for RGB LED lights that can change colors, consider purchasing a compatible controller for easy customization.
3. Prepare the Floor:
Before installing the LED lights, prepare your kitchen floor by thoroughly cleaning it. Remove any debris or dust that could interfere with the adhesion of the lights. If necessary, use a mild detergent and warm water to ensure a clean surface. Allow the floor to dry completely before proceeding with Installation.
4. Install the LED Lights:
Begin by laying out the LED light strips or modules according to your planned layout. Peel off the adhesive backing and carefully stick them in place, ensuring they are straight and secure. If using multiple strips, connect them using the appropriate connectors. Follow the manufacturer’s instructions for any additional steps specific to your LED lights.
5. Connect the Wiring:
Once the LED lights are in place, connect the wiring to the power supply. Ensure that all connections are secure and properly insulated to prevent any electrical hazards. If using a controller, connect it according to the manufacturer’s instructions.
6. Test and Adjust:
Before completing the installation, test the LED lights to ensure they are working correctly. Adjust their position or brightness as needed to achieve your desired lighting effect.
7. Secure and Conceal Wiring:
After testing, secure any loose wiring using adhesive clips or cable ties. Conceal the wiring along baseboards or under cabinets to create a clean and seamless look.
8. Enjoy Your New Kitchen Lighting:
Once everything is installed and secured, enjoy your new kitchen floor LED lighting! Experiment with different lighting settings and colors to create the perfect ambiance for any occasion.