Floating Laminate floors are not attach on your existing floor so that precisely why I mean by is easy and quick. Be certain to never ever wear a hammer to hit the edge of the laminate floors. However, laminate flooring is also significantly less expensive than stone or hardwood. Laminate flooring is made of a high-density center with a picture placed on the top layer and then sealed with a laminate covering.
Images about Laminate Floor Beading How To Fit
Laminate flooring is constructed from four simple layers. Instead of being a disadvantage in laminate floors, this's actually a plus in that in case you need to switch a damaged plank in your laminate floor, it will be much more effortless to choose a new one that will fit the floor of yours exactly. While purchasing the laminate, you should in addition ensure that it's the quality accreditation from NALFA.
How to Fit Scotia Beading DIY Tutorial Blog Floorsave

Laminate floors provide the effect of hardwood floors and they come with ease of maintenance and installation. You are able to obtain a glue laminate, that requires the application of glue to every piece before you lay down it down. Laminate flooring is extremely popular because of its' do it yourself' characteristics, it is easy and convenient to install. Before mopping the floor, sweep the surface. Will no longer be thinking as the past.
Fitting laminate beading scotia without a nail gun
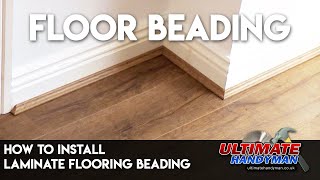
Laminate Flooring Beading Laminate floor fitting

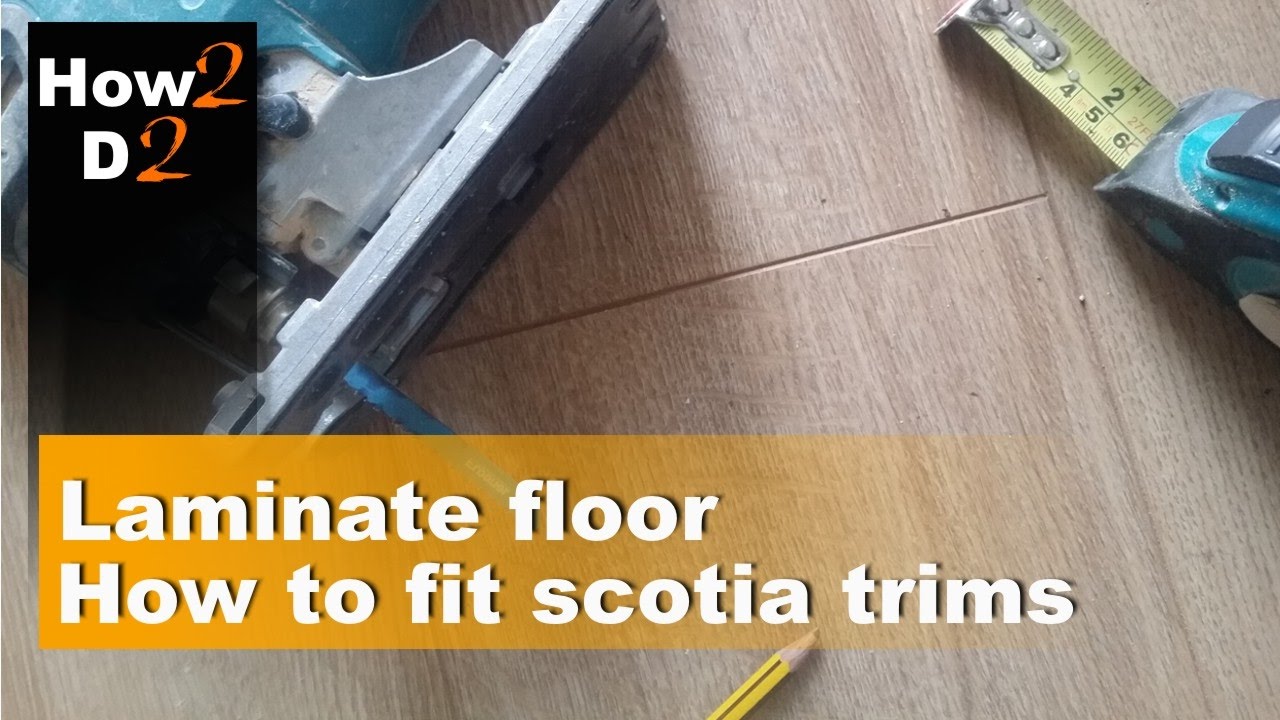
How to fit scotia trims in laminate flooring Edging corners laminate floor
Laminate Flooring Beading Laminate floor fitting

DIY – How to lay laminate floor beading – YouTube

How To Fit Scotia Beading with 3C Multi-Use Adhesive u0026 Sealant

Floor Edging – Skirting Boards or Beading for Laminate Floors?
Laminate Flooring – Beading vs. Skirting Boards Wezaggle

Flat beading, neat finish The Flooring Forum – Number 1 Floor

How to Lay Laminate Flooring Our Step By Step Guide For Everyone

5 Laminate flooring edging alternatives and when to use them
Installing u0026 Making Laminate Flooring Beading The Carpenteru0027s Daughter

Related Posts:
- Screwfix Laminate Flooring Kit
- Washington Cherry Laminate Flooring
- Wood & Laminate Floor Underlay & Insulation Board
- Laminate Flooring For Basement Review
- Trento Laminate Flooring Colours
- Laminate Flooring Woodbridge
- Laminate Flooring With Installation Cost
- Best Price Quick Step Laminate Flooring
- Wood Laminate Flooring Stairs
- Laminate Flooring Wall Spacing
Laminate Floor Beading How To Fit
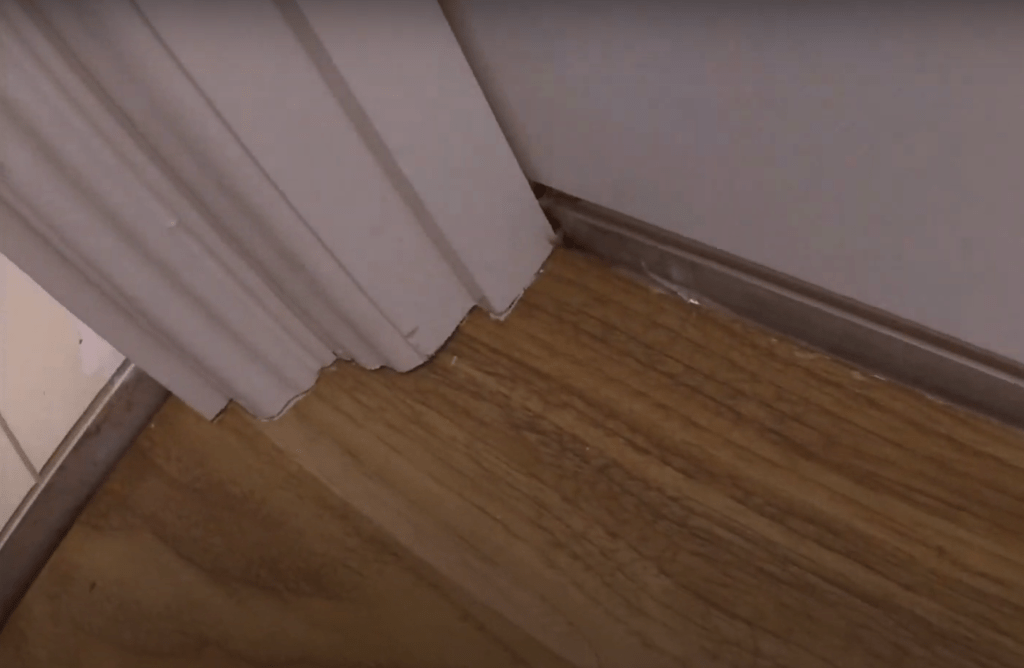
Laminate flooring is a popular choice for many homeowners due to its durability, affordability, and wide range of styles and finishes. However, one crucial aspect of installing laminate flooring that often gets overlooked is fitting the beading. Laminate floor beading, also known as scotia or quarter round, is a decorative molding that covers the expansion gap between the laminate planks and the wall. Not only does it provide a finished look to your flooring project, but it also helps to protect the edges of the laminate from moisture and damage.
In this article, we will guide you through the process of fitting laminate floor beading step by step. We will cover everything from choosing the right type of beading to installing it correctly for a professional finish. So let’s dive in!
1. Choosing the Right Beading:
Before you start fitting the laminate floor beading, it’s essential to choose the right type that matches your laminate flooring and complements your interior décor. There are various options available in terms of material, color, and profile.
Material: Laminate floor beading is typically made from either MDF (medium-density fiberboard) or real wood. MDF beading is more cost-effective and comes pre-finished in a range of colors, while real wood beading offers a natural look and can be painted or stained to match your desired finish.
Color: The color of the beading should either match the color of your laminate flooring or blend well with your skirting boards or existing trim. Opting for a contrasting color can create an eye-catching effect if that’s what you desire.
Profile: Beadings come in different profiles such as square edge, rounded edge, or decorative designs. Consider the overall style of your room and choose a profile that complements it best.
FAQs:
Q: Can I use any type of beading with my laminate flooring?
A: It’s recommended to use beading specifically designed for laminate flooring as it will have the right dimensions and profile to fit properly.
Q: How much beading do I need?
A: Measure the total length of the walls where you will be fitting the beading and add an extra 10% to account for any mistakes or wastage.
2. Tools and Materials:
Once you have chosen the right beading, gather all the necessary tools and materials before you begin the installation process. Here is a list of commonly used items for fitting laminate floor beading:
– Laminate floor beading
– Measuring tape
– Miter saw or miter box
– Pencil
– Adhesive (if required)
– Hammer or nail gun
– Nails or brads
– Filler (matching color)
– Sandpaper
Make sure you have all these items readily available to avoid any interruptions during the installation process.
FAQs:
Q: Can I use glue to attach the beading?
A: While some beading options come with adhesive backing, it’s generally recommended to secure them with nails or brads for a more secure and long-lasting fit.
Q: Can I use a regular saw instead of a miter saw?
A: A miter saw provides precise angled cuts, which are essential for achieving neat corners. However, if you don’t have access to a miter saw, you can use a regular saw along with a miter box to guide your cuts.
3. Preparing the Beading:
Before Installing the beading, you may need to prepare it depending on the type of material you have chosen. Here are some steps to follow:
For MDF beading:
1. If the beading is pre-finished, you can skip this step. Otherwise, you can paint or stain it to match your desired finish. Make sure to use a primer if you are painting the beading.
2. Allow the paint or stain to dry completely before proceeding with the installation.
For real wood beading:
1. Sand the beading lightly to smoothen any rough edges or imperfections.
2. Apply a wood sealer if desired, and allow it to dry completely.
3. Paint or stain the beading according to your preference, and let it dry thoroughly.
By preparing the beading beforehand, you can ensure that it is ready for installation and will enhance the overall appearance of your laminate flooring.
FAQs:
Q: Can I skip painting or staining the MDF beading?
A: While MDF beading comes pre-finished in a range of colors, painting or staining it can help achieve a more personalized look or match it with your existing decor.
Q: How long does it take for paint or stain to dry on real wood beading?
A: The drying time depends on various factors such as humidity levels and type of paint/stain used. It is recommended to follow the instructions provided by the manufacturer and allow sufficient drying time before installation.
4. Installing the Beading:
Now that you have prepared the beading, you can proceed with its installation. Here are some steps to guide you:
1. Start at one corner of the room and measure the length where the beading will be installed.
2. Cut the beading to the measured length using a miter saw or a regular saw and miter box.
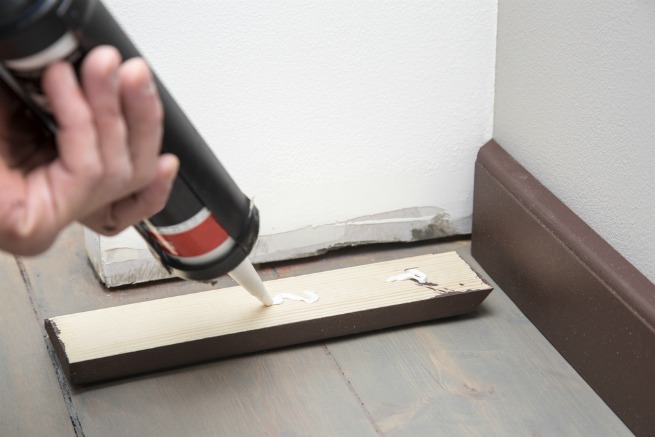
3. Apply adhesive (if required) to the back of the beading, or simply position it in place without adhesive.
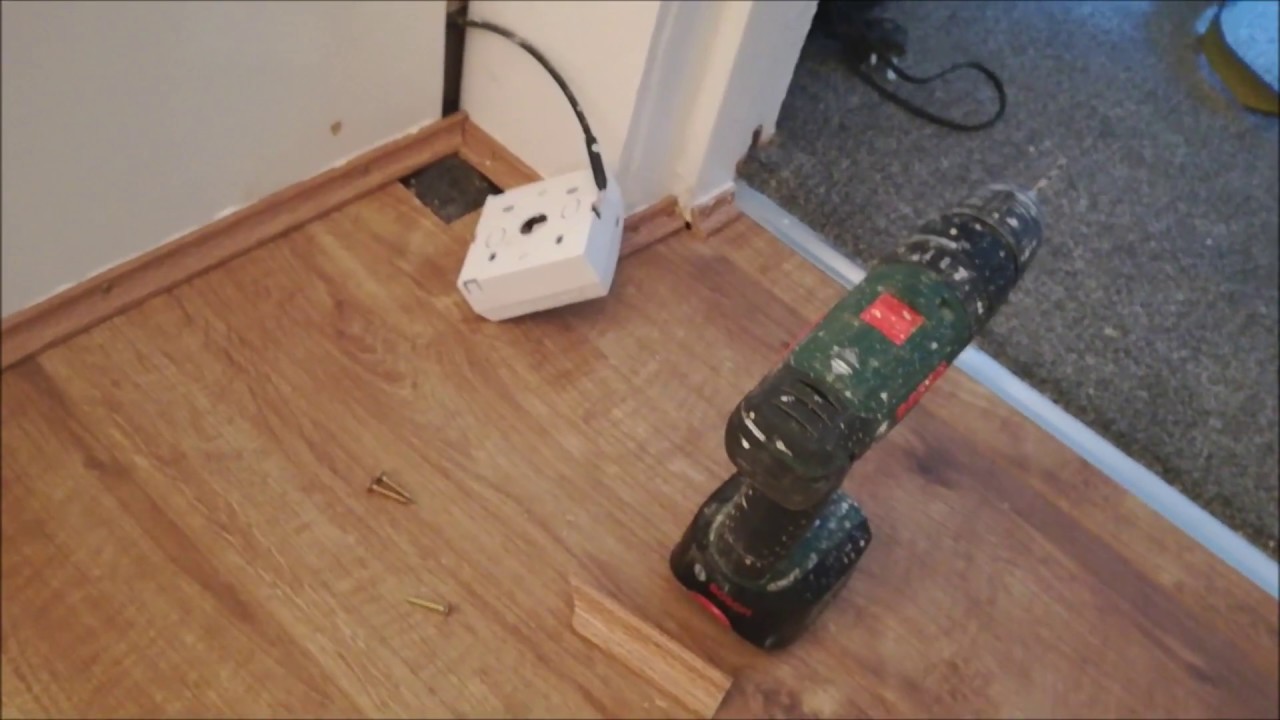
4. Use a hammer or nail gun to secure the beading in place by driving nails or brads through it into the wall or skirting board. Make sure to leave enough space for expansion and contraction of the laminate flooring.
5. Continue installing the beading along each wall, making necessary cuts at corners and joining pieces together neatly.
6. Once all the beading is installed, fill any nail holes or gaps with filler that matches the color of the beading.
7. Allow the filler to dry and then sand it lightly to achieve a smooth finish.
By following these steps, you can successfully install laminate floor beading that complements your flooring and enhances your interior décor.
FAQs:
Q: Can I install the beading before laying the laminate flooring?
A: It is generally recommended to install the beading after laying the laminate flooring. This allows for any necessary adjustments or corrections during installation.
Q: How do I achieve neat corners with the beading?
A: To achieve neat corners, cut each end of two beading pieces at a 45-degree angle using a miter saw or miter box. Then join them together at the corner and secure them in place with nails or brads.