The argument may sound rational. Doing periodic, good laminate floor cleaning can put together the wood floor of yours look as if it were simply installed. You'll additionally have to purchase a roll of underlay which will be placed under the laminate flooring. One reason behind this is that a lot of the manufacturers will not warrant items from internet purchases. Areas that have humidity levels that are high like bathrooms are not suitable for laminate flooring.
Images about Laminate Flooring Up To Stairs
Before one chooses to utilize the art of decoration, it's important for a person to fully grasp the different sort of laminate flooring materials to choose the best information that matches the surrounding of the home the laminate would be to be running on. To sustain the gloss as well as grace of laminated flooring, you must avoid using wax or polish or perhaps cleaning chemicals.
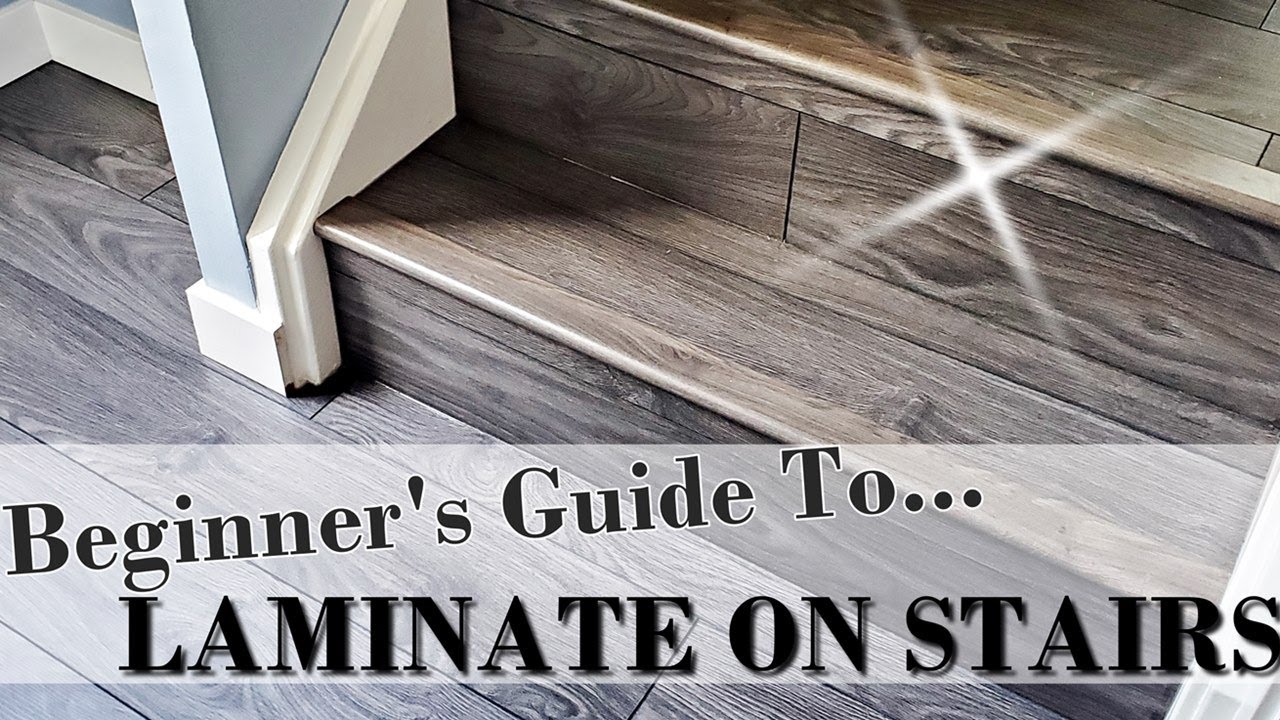
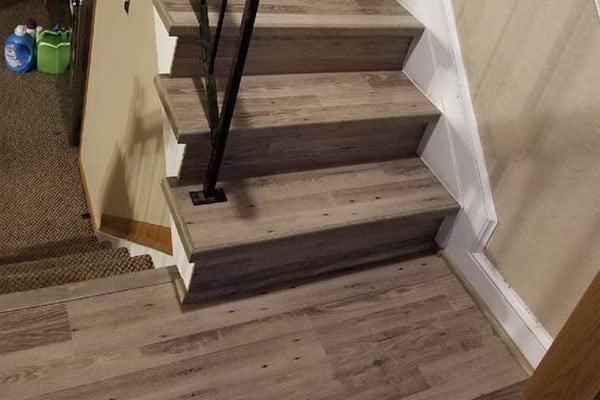
Transition Between Laminate Floor To Stairs – Installation Of Stair Nose
When choosing the assembly for your laminate floor, it call comes right down to the glue. Before you install laminate flooring in the kitchen of yours you have to prepare your kitchen floor for the project. While the technology developed in the counter top laminate industry it obviously became apparent that together with the endless number of decors that could be created, could even be created and applied to the floor.
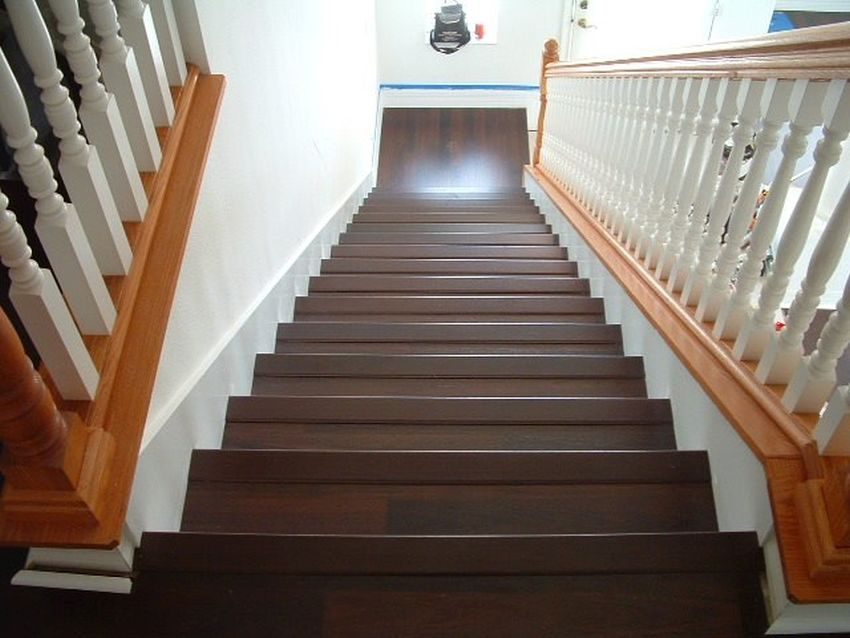
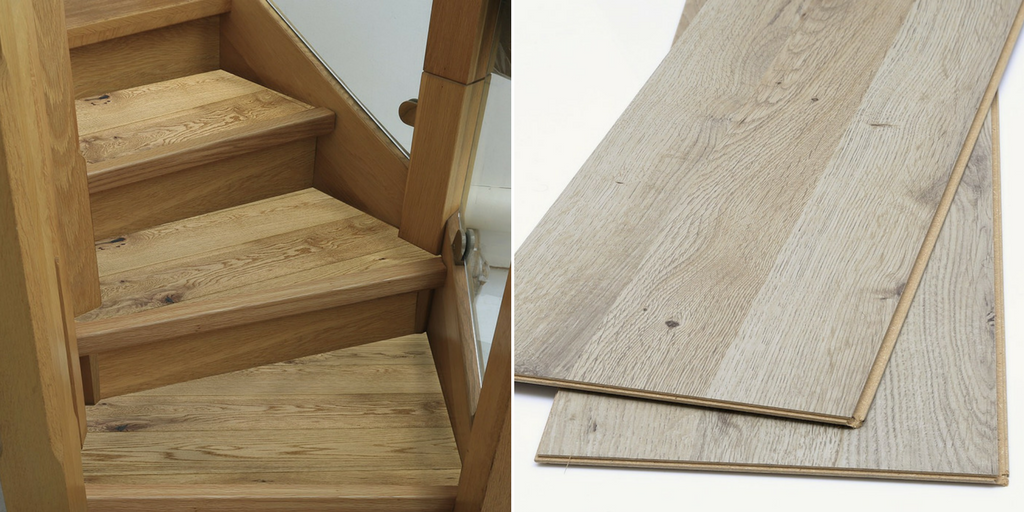
Laminate Stairs – Beautiful Brown Laminate Flooring
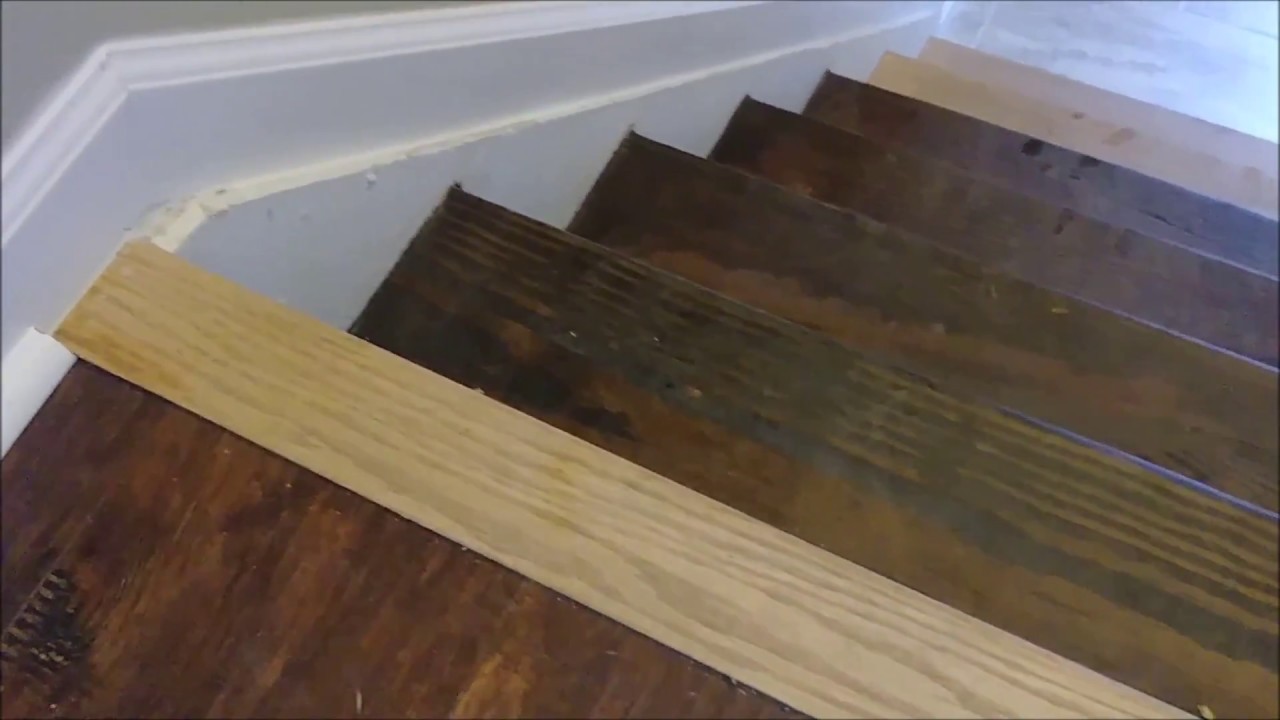
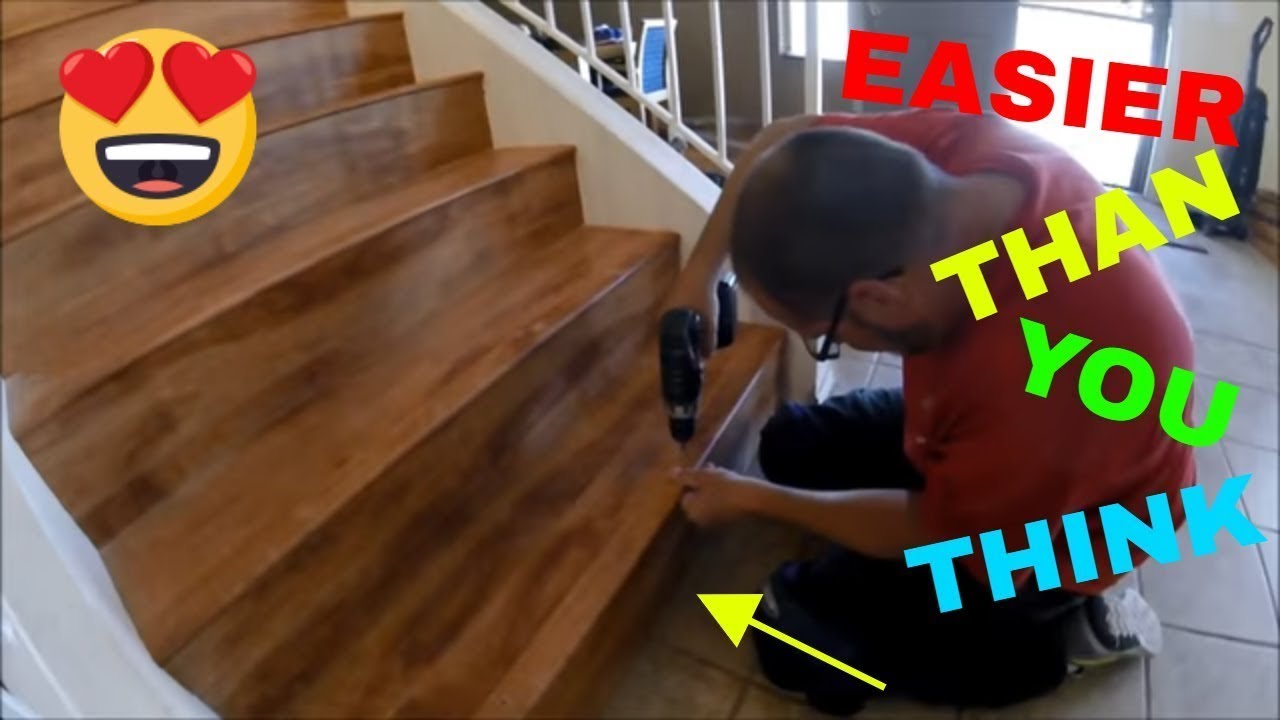
Laminate Flooring Staircase Installation
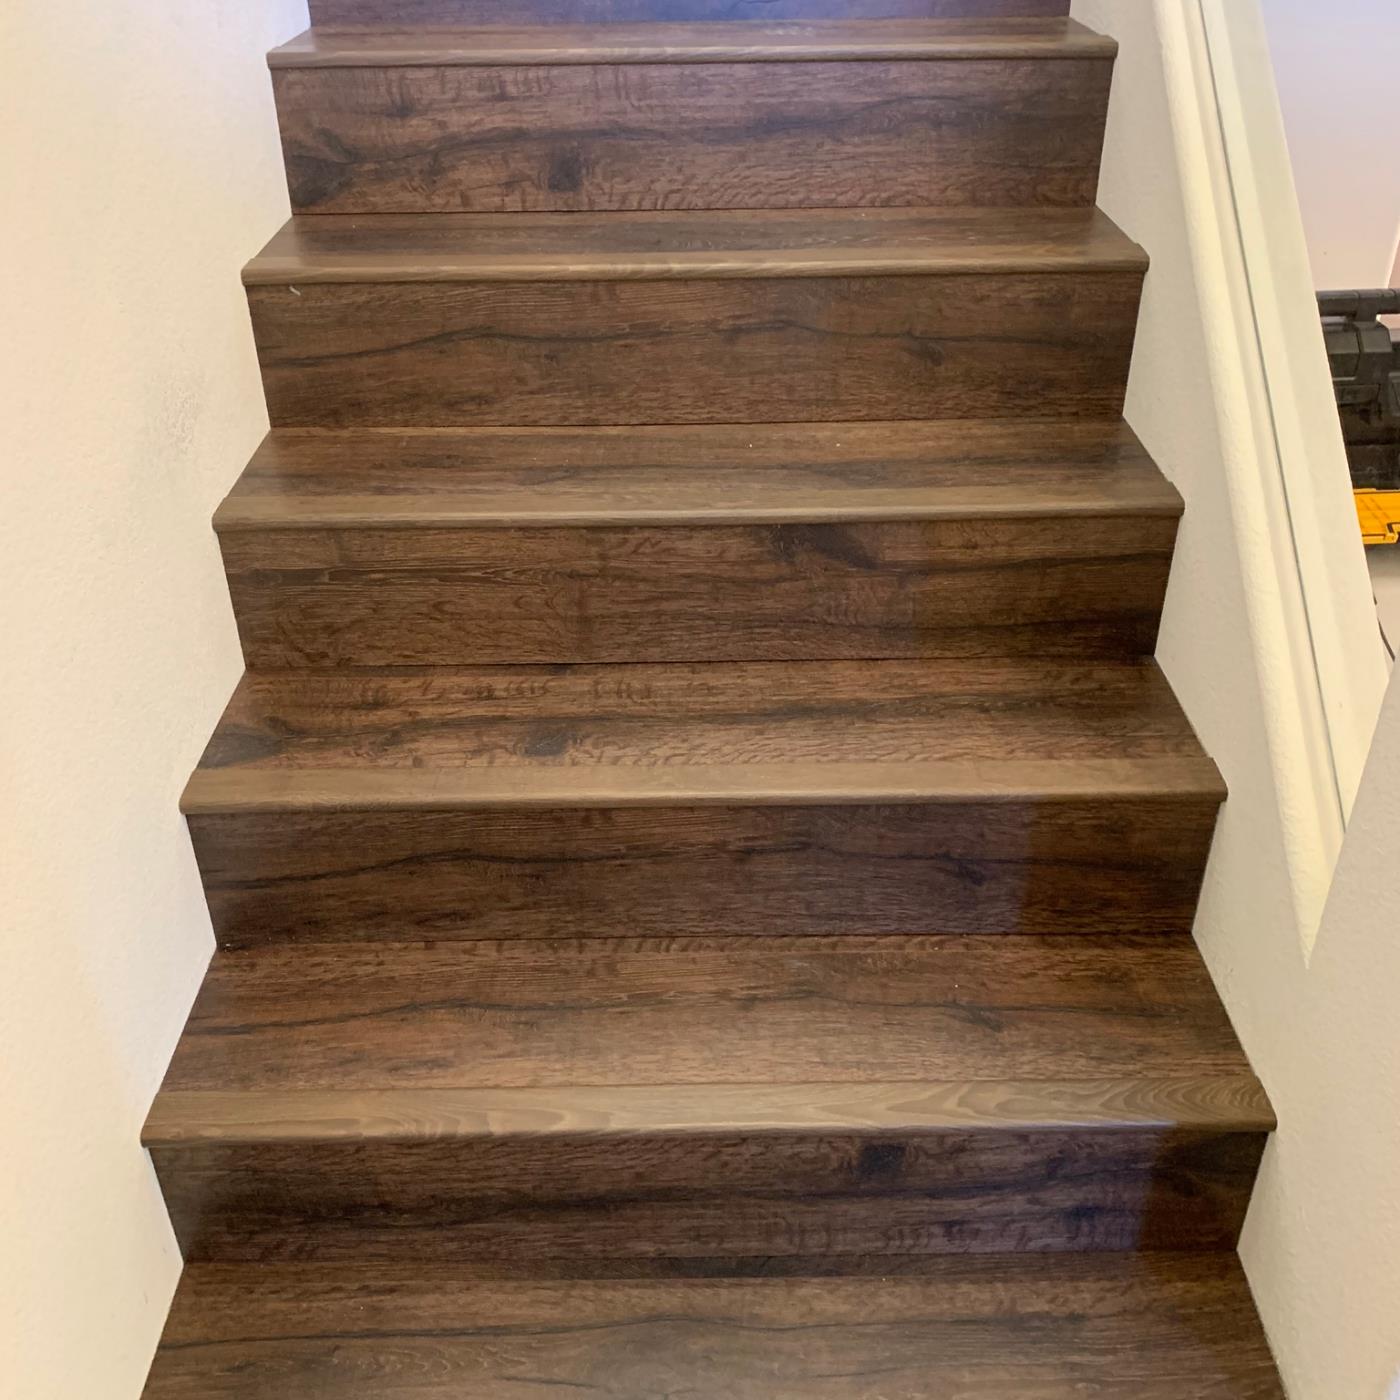
Laminate stair flooring–finally done! / Create / Enjoy
How to Install Laminate Flooring on Stairs: Complete Guide

How To Fit Laminate Flooring On The Stairs? » ESB Flooring
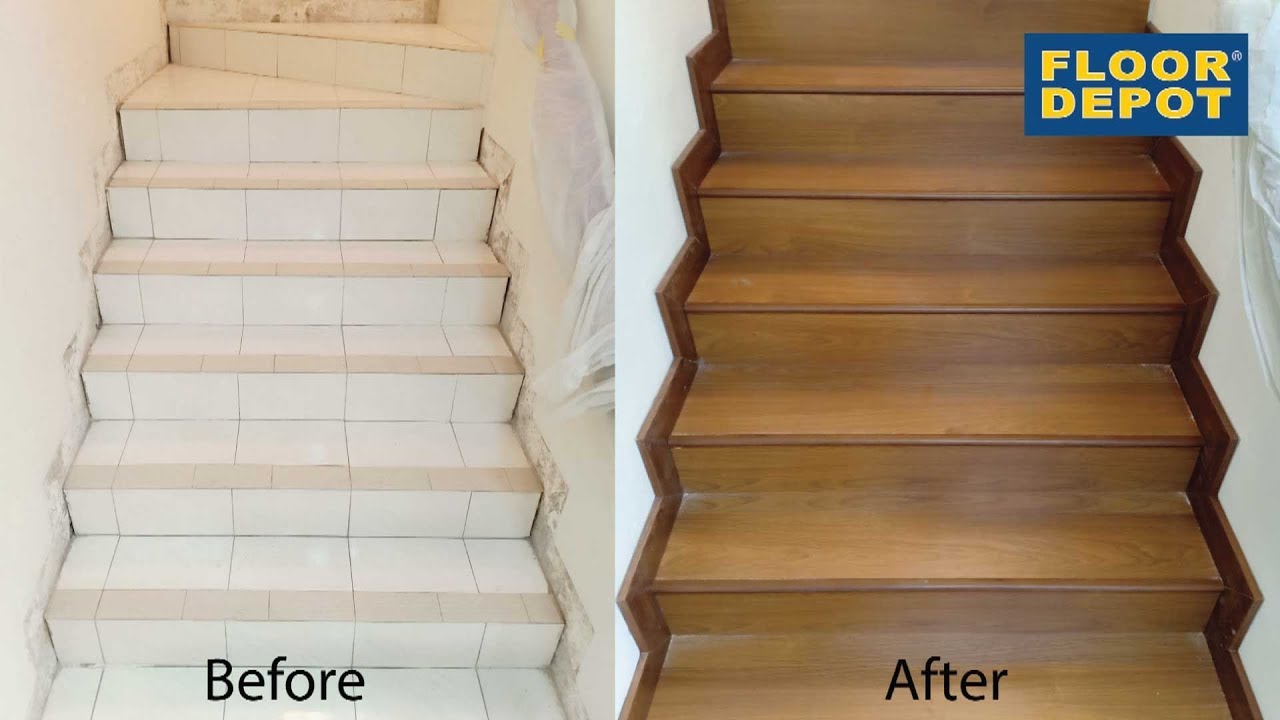
Flooring and Stairs Remodel ProSource Wholesale
Do you want to install laminate flooring on your stairs

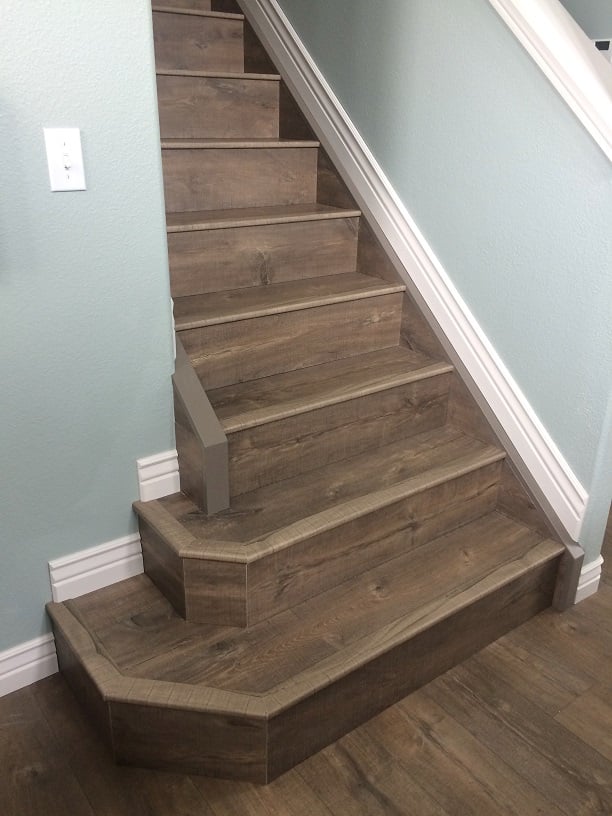
Beautiful Custom Laminate Staircase Ready to Take on High Traffic
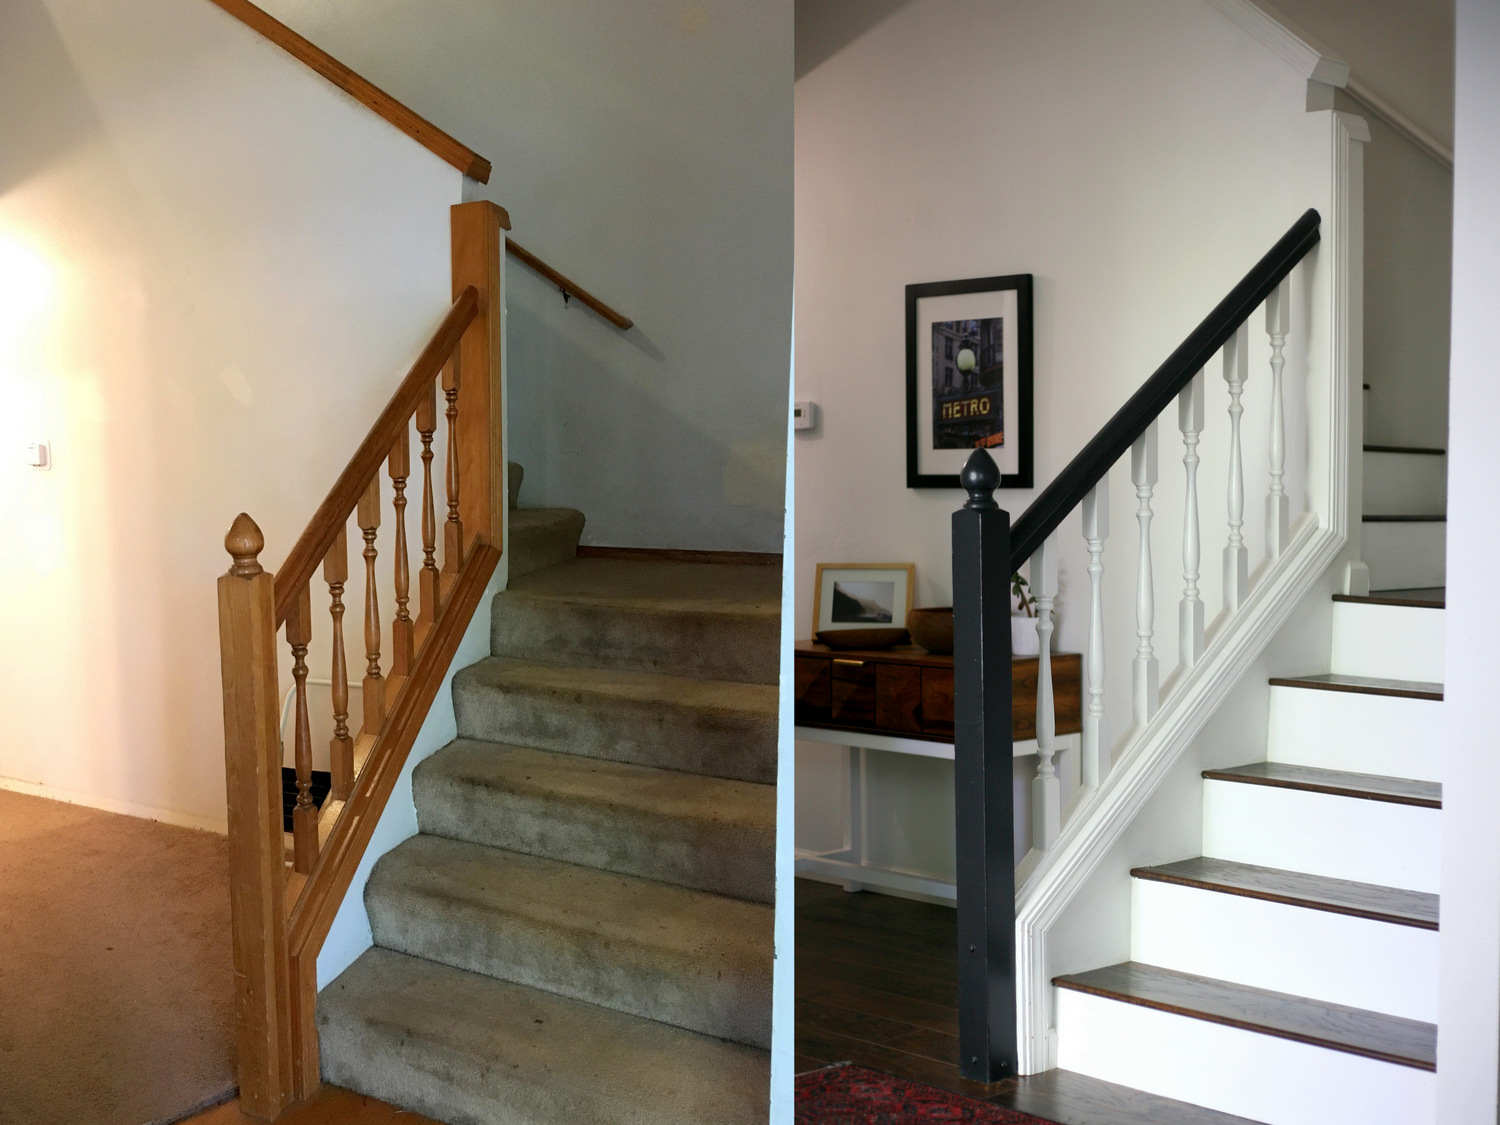
Stairway Makeover – Swapping Carpet for Laminate – The Lilypad Cottage

LAMINATE ON STAIRS HOW TO
How to install laminate flooring on stairs Direct Wood Flooring
Revamp Your Staircase: 5 Best Flooring Options for Stairs

Related Posts:
- Laminate Flooring Over Tile Install
- Bevelloc Walnut Effect Gloss Laminate Flooring
- Laminate Flooring Or Hardwood Which Is Better
- Good Laminate Flooring Thickness
- Laminate Flooring Ratings AC3
- Where Is Swiftlock Laminate Flooring Made
- Tarkett Journeys Laminate Flooring
- What Makes Laminate Floors Buckle
- Laminate Flooring Filler Oak
- Laminate Flooring By Quick Step
Laminate flooring has become an increasingly popular choice for homeowners due to its durability, affordability, and wide range of design options. While it is commonly used in living rooms, bedrooms, and hallways, many people wonder if laminate flooring can be installed on stairs as well. In this article, we will explore the process of installing laminate flooring on stairs and address some frequently asked questions on the topic.
I. Introduction to Laminate Flooring on Stairs
Laminate flooring is a synthetic alternative to hardwood that consists of multiple layers fused together. The top layer is a transparent wear layer that protects the floor from scratches and stains, while the core layer provides stability and durability. With advances in technology, laminate flooring has become more realistic-looking, mimicking the natural beauty of hardwood without the high price tag.
II. Can Laminate Flooring Be Installed on Stairs?
Yes, laminate flooring can be installed on stairs, offering a cohesive look throughout your home. However, there are some important considerations to keep in mind before embarking on this project. Let’s delve into each step involved in installing laminate flooring on stairs.
III. Step 1: Measure and Prepare
Before you begin installing laminate flooring on your stairs, it is crucial to measure the dimensions accurately. Start by measuring the width of each stair tread and riser, ensuring consistent measurements throughout. Once you have these measurements, calculate the number of laminate planks needed for each step.
Next, prepare the stairs by removing any existing carpeting or other floor coverings. Ensure that the staircase is clean and free from debris before proceeding with the installation process.
IV. Step 2: Install Underlayment
Underlayment is an essential component when installing laminate flooring on stairs as it provides cushioning and sound absorption. Begin by cutting out sections of underlayment to fit each stair tread and riser precisely. Lay down the underlayment pieces over each step, ensuring they are flush with the edges.
V. Step 3: Cut and Install Laminate Planks
Once the underlayment is in place, it’s time to cut the laminate planks to fit each step. Measure and mark the dimensions of each stair tread and riser on the laminate planks, leaving a small gap for expansion. Use a circular saw or a laminate cutter to cut the planks accurately.
Starting from the bottom step, apply a bead of adhesive along the back of each laminate plank and press it firmly onto the step. Repeat this process for each step, ensuring that the planks are tightly fitted together. Pay attention to any overhangs or gaps, making necessary adjustments as you go along.
VI. Step 4: Add Stair Nosing
Stair nosing is an essential finishing touch when installing laminate flooring on stairs. It not only enhances safety by providing an anti-slip surface but also protects the edges of the laminate planks from wear and tear. Measure and cut stair nosing pieces to fit each step precisely.
Apply adhesive along the back of each stair nosing piece and press it firmly onto the front edge of each step, covering the exposed laminate edge. Secure the nosing with finishing nails or screws, ensuring a secure hold.
VII. Step 5: Finishing Touches
To complete your laminate flooring installation on stairs, take some time to inspect each step for any imperfections or loose edges. Use a rubber mallet to tap down any raised edges or seams that may have occurred during The installation process. Additionally, use a laminate floor cleaner to clean any debris or residue off the stairs and ensure a polished finish.
It is also important to consider adding stair tread covers or rugs for added safety and traction on the stairs. These can help prevent slips and falls, especially in high traffic areas.
Overall, installing laminate flooring on stairs can be a great way to create a cohesive look throughout your home. By following these steps and taking the necessary precautions, you can achieve a professional and durable finish that will enhance both the aesthetic appeal and functionality of your stairs. Installing laminate flooring on stairs can be a great way to create a cohesive look throughout your home. Here are the steps to follow for a successful installation:
I. Step 1: Prepare the Stairs
– Remove any existing carpeting or floor coverings from the stairs.
– Ensure that the staircase is clean and free from debris before proceeding with the installation process.
IV. Step 2: Install Underlayment
– Underlayment is essential for cushioning and sound absorption.
– Cut out sections of underlayment to fit each stair tread and riser precisely.
– Lay down the underlayment pieces over each step, ensuring they are flush with the edges.
V. Step 3: Cut and Install Laminate Planks
– Measure and mark the dimensions of each stair tread and riser on the laminate planks, leaving a small gap for expansion.
– Use a circular saw or a laminate cutter to cut the planks accurately.
– Starting from the bottom step, apply a bead of adhesive along the back of each laminate plank and press it firmly onto the step.
– Repeat this process for each step, ensuring that the planks are tightly fitted together. Make necessary adjustments for overhangs or gaps.
VI. Step 4: Add Stair Nosing
– Stair nosing enhances safety and protects the edges of the laminate planks.
– Measure and cut stair nosing pieces to fit each step precisely.
– Apply adhesive along the back of each stair nosing piece and press it firmly onto the front edge of each step, covering the exposed laminate edge.
– Secure the nosing with finishing nails or screws.
VII. Step 5: Finishing Touches
– Inspect each step for imperfections or loose edges.
– Use a rubber mallet to tap down any raised edges or seams.
– Clean any debris or residue off the stairs using a laminate floor cleaner.
– Consider adding stair tread covers or rugs for added safety and traction.
By following these steps and taking necessary precautions, you can achieve a professional and durable finish that enhances both the aesthetic appeal and functionality of your stairs.