In most homes the cooking area is a space which sees plenty of traffic running through it, from folks that're doing the cooking or perhaps cleaning to men and women eating, kids running about, and also pets passing in and out to leave the house into the backyard garden. Keep reading through to find out more about some of the most favored substances for modern kitchen floors.
Images about Re Tiling Kitchen Floor

Online shopping permits you to view several of the best bamboo kitchen flooring for the very best price tag. Though it may seem tough to strike the balance between all of these different factors the excellent choices available today means you will be able to find the best kitchen flooring. If you're a cook, you will not including the thought of flooring and tiles in the kitchen that affects your legs and back.
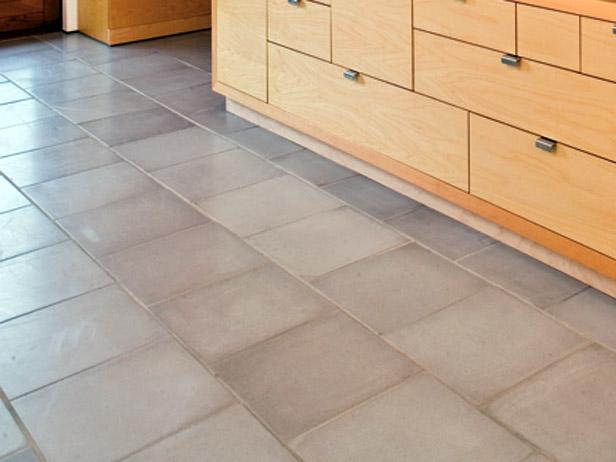
23 Tile Kitchen Floors Tile Flooring for Kitchens HGTV

Kitchen flooring choices range from the distinct stone models to the very affordable but stylish looking vinyl tiles. Provided that the floors of ours are intact and clean, we quite often do not give them a lot of consideration. A kitchen floors must be easy to clean up, proof to moisture, long-lasting, doesn't hurt the foot, and be in a position to stand up to the power of high traffic and fallen utensils.
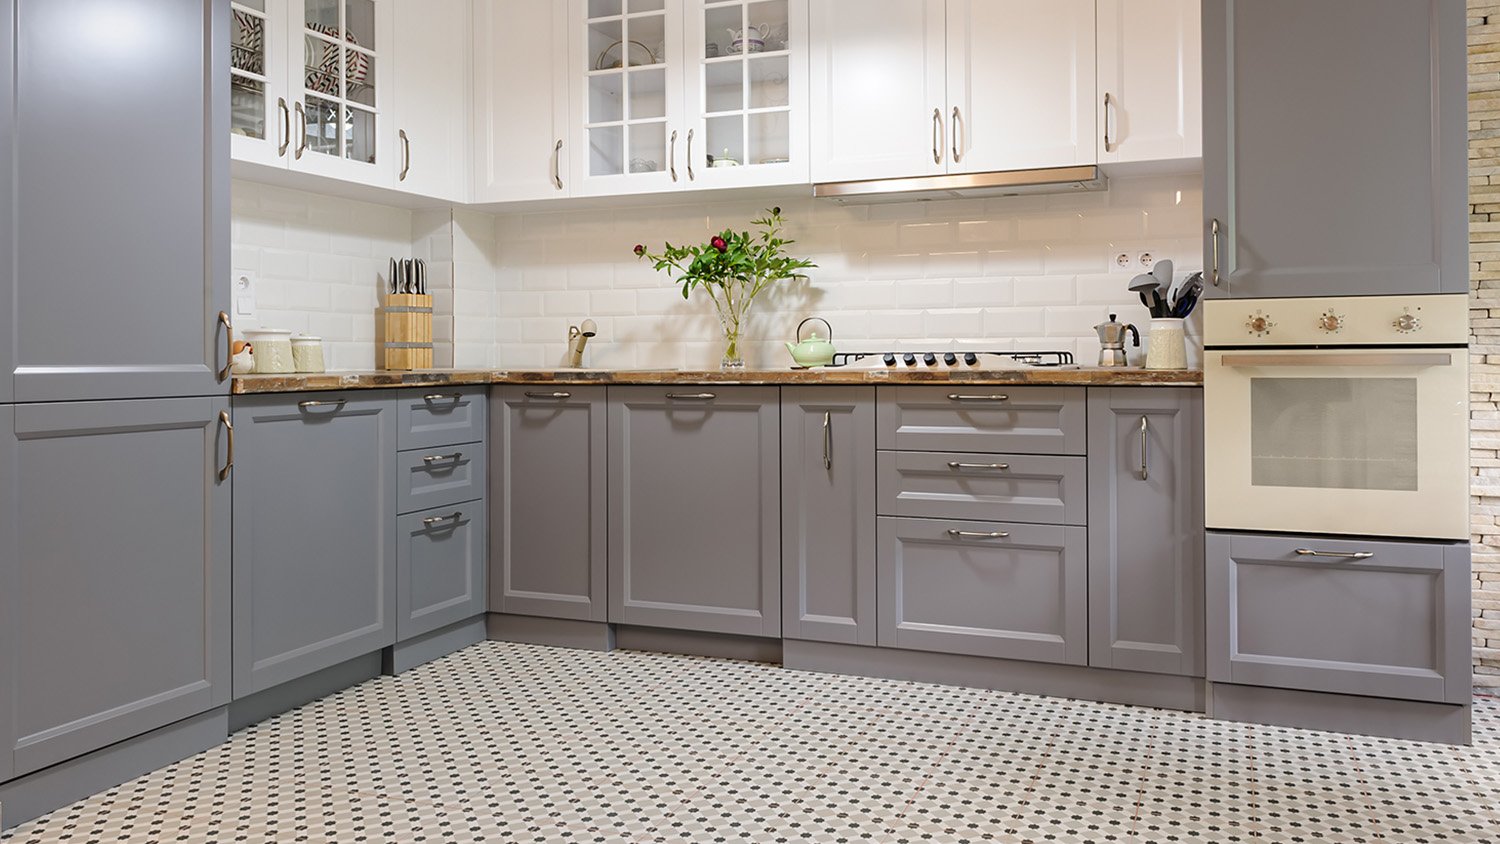
10 Timeless Kitchen Floor Tile Ideas Youu0027ll Love
/Ginny_Macdonald_Cement_Tile-1-7e924d265eac46d8816f785376d89a4f.jpeg)
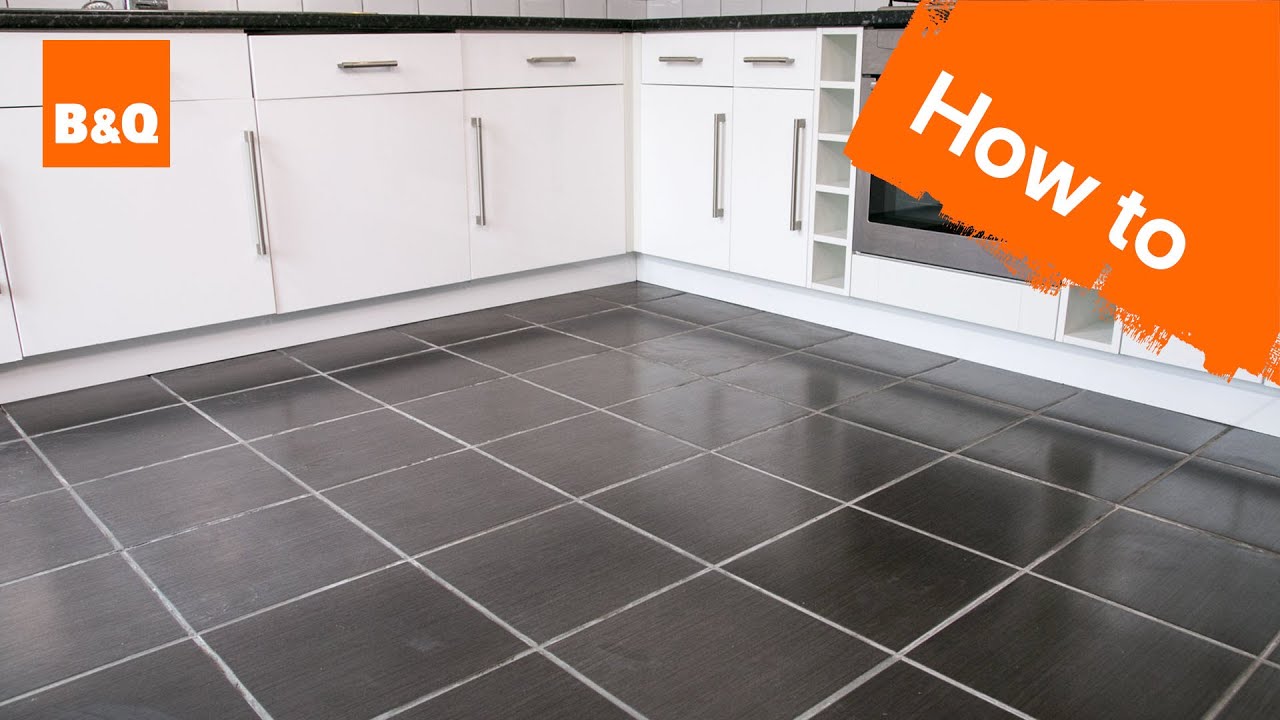
Re-tiling of a kitchen floor. – YouTube

Choosing A Retro Kitchen Floor Tile u2022 PMQ for two

How to tile a floor part 1: preparation
Kitchen Flooring Materials and Ideas – This Old House
/cdn.vox-cdn.com/uploads/chorus_asset/file/19866713/May_June2019_sleek_pulls.jpg)
10 Timeless Kitchen Floor Tile Ideas Youu0027ll Love
:max_bytes(150000):strip_icc()/reagentaylor-f6a95eaf6b534168b57278dbe0c7168b.jpeg)
Tiles or Cabinets? Which Comes First?
These peel and stick floor tiles will give your kitchen a very
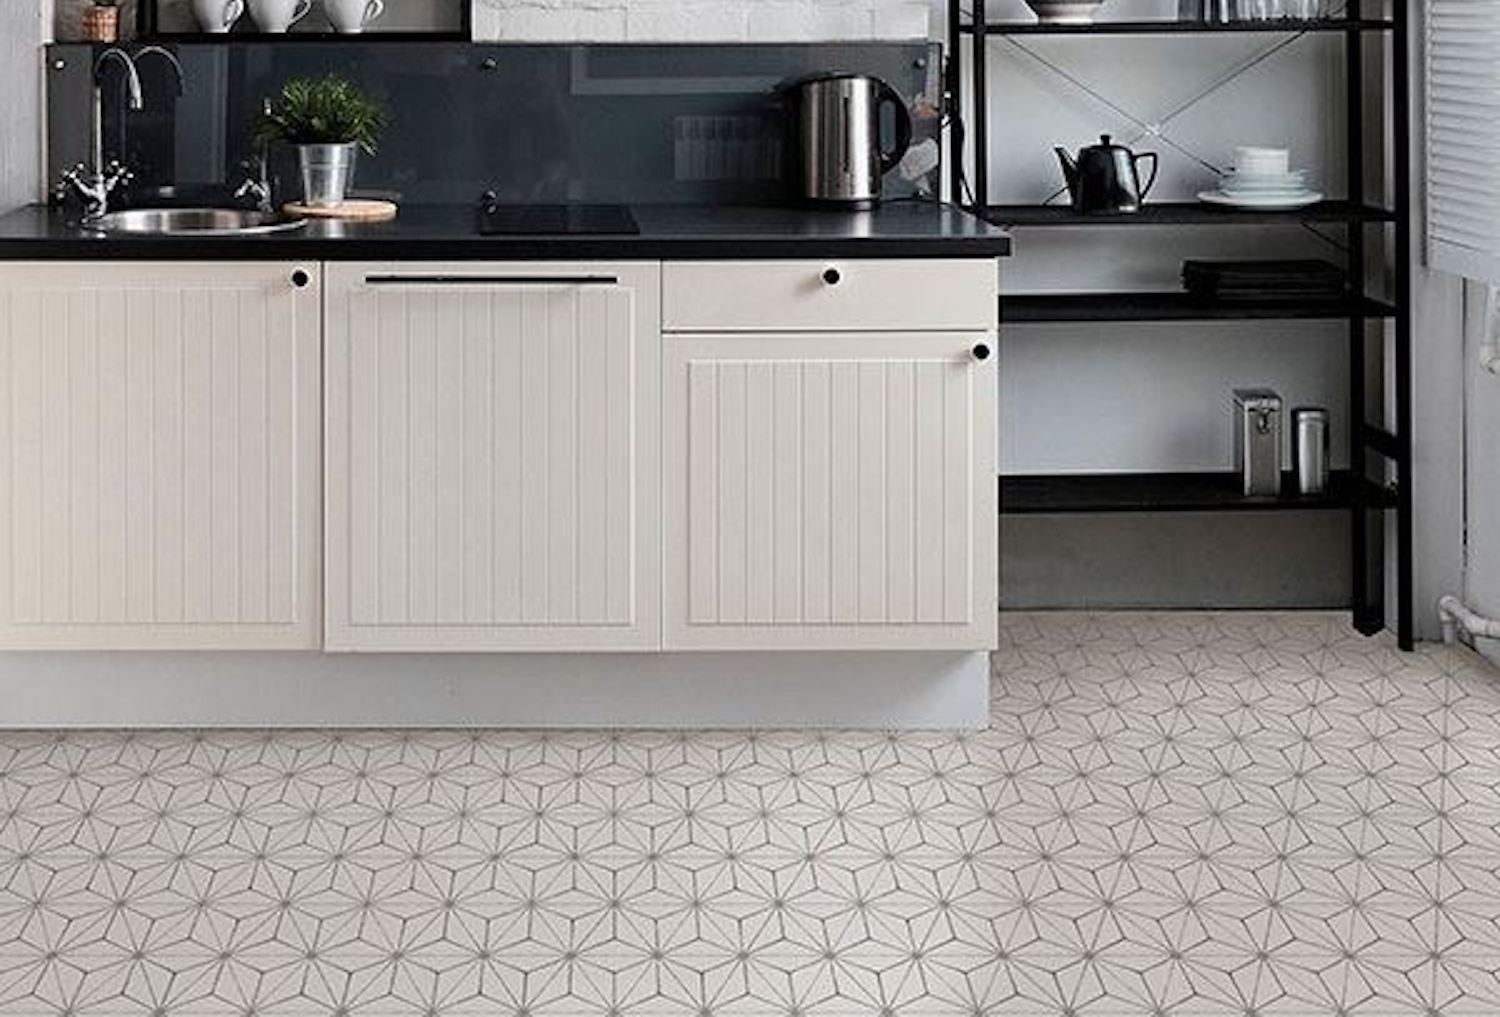
16 Kitchens that Will Make You Want to Retile Yours
/tiledkitchen-f365ff6d5a814a1dbd8895b02c9802ad.jpg)
Kitchen Tile Flooring Options How to Choose the Best Kitchen
Top Kitchen Floor Tile Designs for 2021

Which Kitchen Floor Tiles Are Best? Top 10 Kitchen Design Ideas

Related Posts:
- Kitchen Dining Living Room Combo Floor Plans
- Should I Put Hardwood Floors In My Kitchen
- Kitchen Floor Paint Concrete
- How To Clean White Grout On Kitchen Floor
- Heavy Duty Vinyl Flooring For Kitchen
- Cushion Floor Vinyl Kitchen Flooring
- Kitchen Floor Before Or After Cabinets
- How To Secure Ikea Kitchen Island To Floor
- What Size Tile For Small Kitchen Floor
- Painting Vinyl Floor Tiles In Kitchen
Re Tiling Kitchen Floor: A Comprehensive Guide to Transforming Your Space
Introduction:
The kitchen is often considered the heart of any home, a place where families come together to cook, eat, and spend quality time. Over time, the kitchen floor can start to show signs of wear and tear, affecting not only the aesthetics but also the functionality of the space. Re-tiling your kitchen floor can be a transformative project that breathes new life into your kitchen. In this comprehensive guide, we will take you through each step of the process, from preparation to installation, ensuring a successful and rewarding experience.
I. Assessing the Condition of Your Kitchen Floor:
Before embarking on a re-tiling project, it is essential to evaluate the condition of your kitchen floor. Look for signs of cracked or loose tiles, grout deterioration, or uneven surfaces. Identifying these issues beforehand will help you determine whether a complete re-tiling or minor repairs are necessary.
FAQs:
1. How do I know if my kitchen floor needs re-tiling?
Signs such as cracked or loose tiles, worn-out grout lines, or an uneven surface indicate that it might be time for a re-tiling project.
2. Can I install new tiles directly over existing ones?
It is generally recommended to remove the existing tiles before installing new ones to ensure proper adhesion and longevity of the new floor.
II. Gathering Tools and Materials:
Once you have assessed the condition of your kitchen floor and decided to proceed with re-tiling, it’s time to gather all the necessary tools and materials for the project. Here is a comprehensive list:
1. Tools:
– Chisel
– Hammer
– Pry bar
– Tile cutter
– Trowel
– Grout float
– Notched trowel
– Sponge
– Level
2. Materials:
– Tiles (make sure to measure the area accurately to determine the required quantity)
– Thinset mortar
– Grout
– Tile spacers
– Grout sealer
FAQs:
1. Can I rent the necessary tools for the re-tiling project?
Yes, many hardware stores offer tool rental services, allowing you to save money while obtaining professional-grade tools.
2. How much extra tile should I purchase?
It is recommended to purchase around 10% extra tiles to account for any breakage or future repairs.
III. Preparing the Subfloor:
A crucial step in re-tiling your kitchen floor is preparing the subfloor. This involves removing the existing tiles and ensuring a clean, level surface for the new tiles.
1. Removing Existing Tiles:
Start by using a chisel and hammer to carefully remove one tile at a time. Tap the chisel gently with the hammer to avoid damaging the subfloor. Once a few tiles are removed, use a pry bar to lift and remove larger sections.
2. Cleaning and Leveling:
After removing all the tiles, thoroughly clean the subfloor to remove any adhesive or debris. Use a level to check for any uneven areas and address them accordingly. Fill in low spots with leveling compound and sand down high spots for a smooth surface.
FAQs:
1. Can I reuse the old tiles during re-tiling?
Reusing old tiles is not recommended as they may have weakened over time and might not adhere properly To the new mortar. It’s best to use new tiles for a reliable and long-lasting result.
2. How do I remove adhesive residue from the subfloor?
You can use a scraper or adhesive remover to remove any adhesive residue left on the subfloor. Follow the manufacturer’s instructions for the specific product you choose to ensure safe and effective removal.
IV. Installing the New Tiles:
Now that your subfloor is prepared, it’s time to start installing the new tiles for your kitchen floor.
1. Applying Thinset Mortar:
Using a notched trowel, spread thinset mortar evenly on a small section of the subfloor. Make sure to only apply enough mortar that you can cover with tiles within 10-15 minutes.
2. Placing and Leveling Tiles:
Press each tile firmly into the mortar, making sure it is level and evenly spaced from neighboring tiles. Use tile spacers to maintain consistent spacing between tiles.
3. Cutting Tiles:
Use a tile cutter to trim tiles as needed for edges, corners, or irregular spaces. Measure carefully and make straight cuts to ensure a precise fit.
4. Grouting:
Once all the tiles are in place and the mortar has dried, it’s time to apply grout. Mix grout according to the manufacturer’s instructions and use a grout float to spread it into the gaps between tiles.
5. Cleaning Excess Grout:
After applying grout, use a damp sponge to wipe away excess grout from the surface of the tiles. Rinse the sponge frequently and continue until the tiles are clean and the grout lines are smooth.
FAQs:
1. How long should I wait before walking on the newly tiled floor?
It is recommended to wait at least 24-48 hours for the mortar and grout to fully cure before walking on the floor or applying any weight to it.
2. Do I need to seal the grout?
Sealing the grout is recommended to protect it from stains and moisture. Apply a grout sealer following the manufacturer’s instructions after the grout has cured for at least 48 hours.
V. Final Steps and Maintenance:
Once your new kitchen floor is installed, there are a few final steps you can take to ensure its longevity and maintain its appearance.
1. Replace Furniture and Appliances:
Wait until the mortar and grout have fully cured before placing heavy furniture or appliances back on the floor to avoid damaging the tiles.
2. Regular Cleaning:
Clean your new tiled floor regularly using a mild detergent or specific tile cleaner recommended for your tile type. Avoid using abrasive cleaners or tools that may scratch or damage the tiles.
3. Prompt Repairs:
If you notice any cracked or loose tiles or damaged grout, make repairs as soon as possible to prevent further damage and maintain the overall integrity of your kitchen floor.
FAQs:
1. How often should I reseal the grout?
The frequency of resealing grout depends on various factors such as the type of grout and the amount of foot traffic. As a general guideline, it’s recommended to reseal grout every one to three years.
2. What should I do if a tile gets damaged after installation?
If a tile gets damaged, you can carefully remove it using a chisel and replace it with a new one. Make sure to remove all the old adhesive and properly install the replacement tile using thinset mortar.