This is necessary for you to be able to calculate precisely what number of tiles you'll require. In the more traditional days, tiles were only used in rooms with a great deal of moisture, traffic, rough and tumble. There is great independence in the use of mosaic tiles in addition to majority of folks which hire artists to design their house opt to use these as the medium of theirs.
Images about Redoing Tile Floor
The men and women that are employed in the product sales departments have fairly extensive information about the items they promote, and what's necessary in order to do this yourself with good results. The better tough the substrate, the greater chance the tile has of remaining crack totally free during its life. You can use a wet ceramic saw or a utility knife to tackle the cutting.
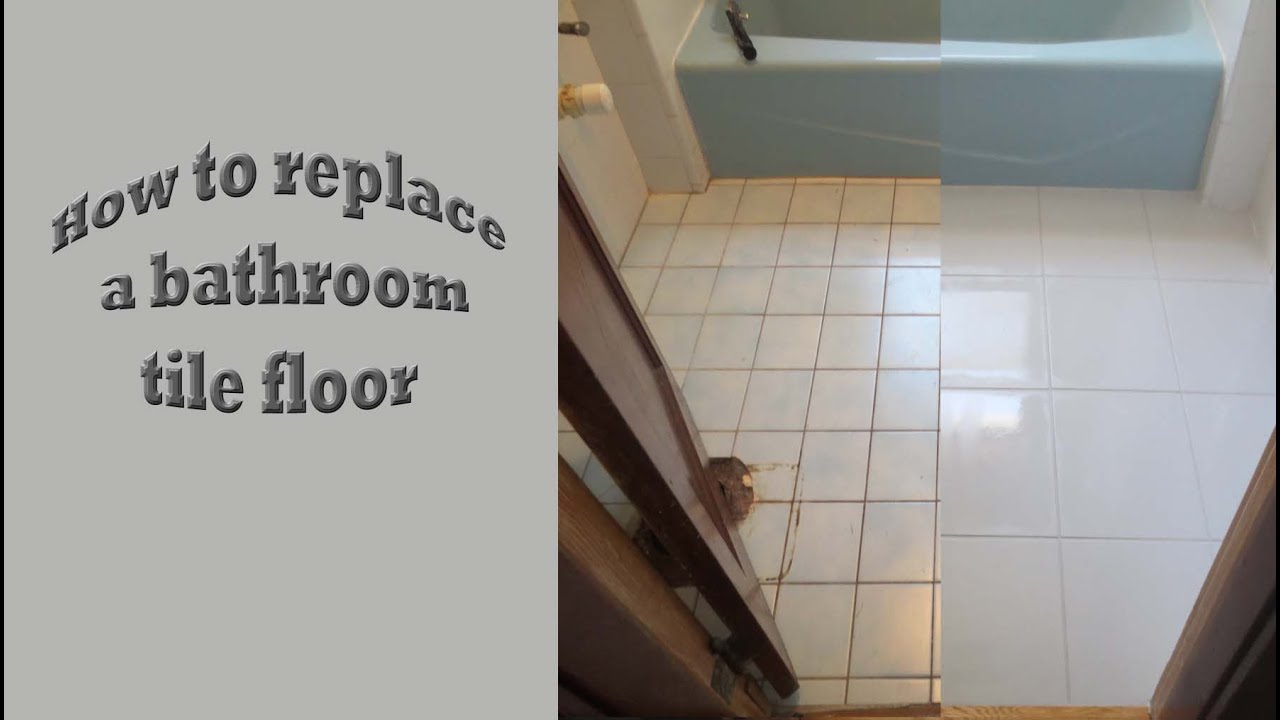
Strat to finish Replace old bath tile floor with new porcelain tile
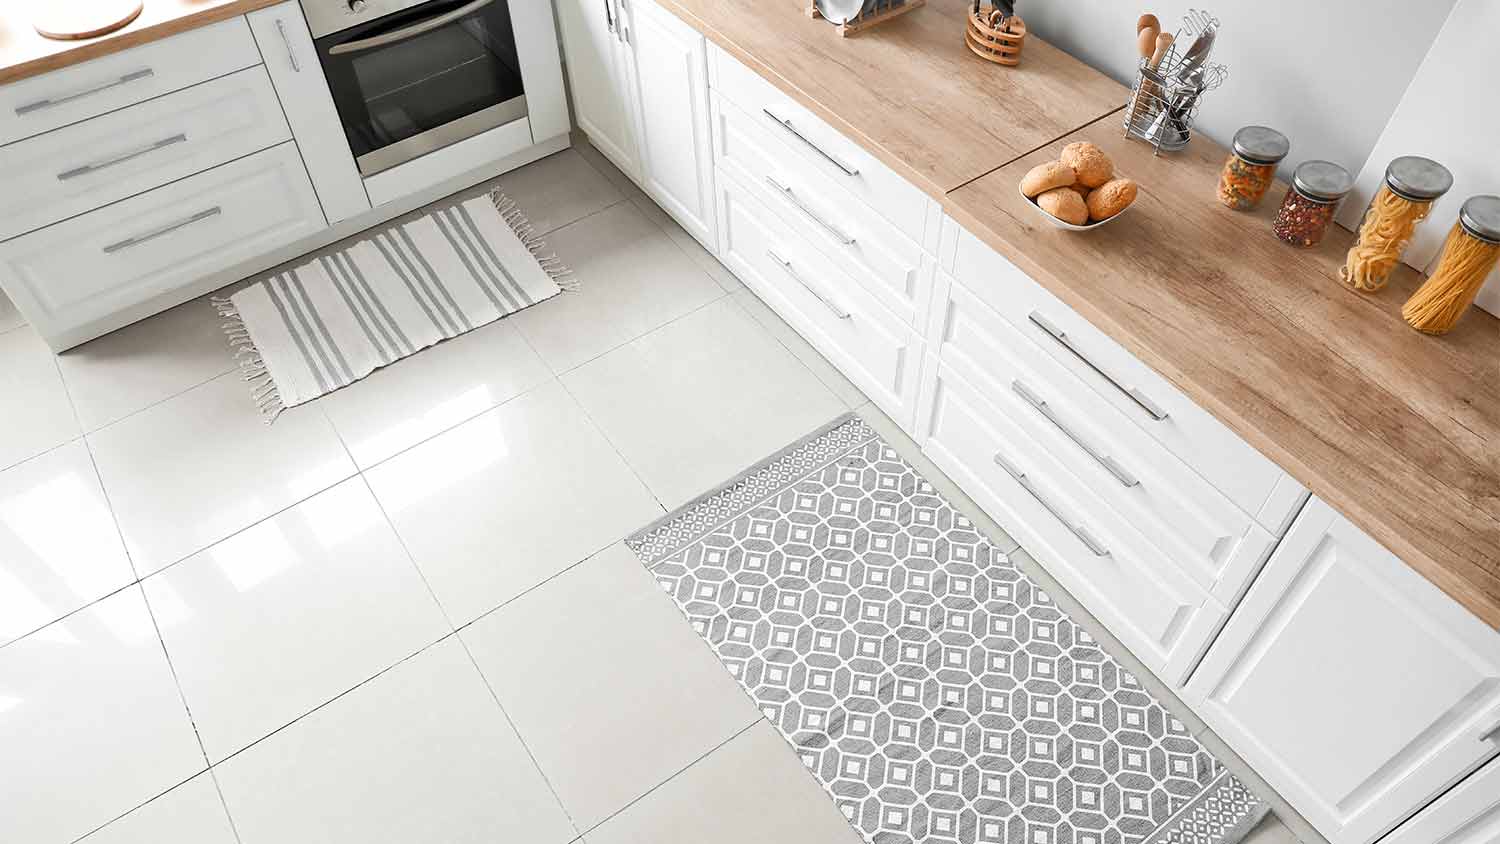
Selecting for the best pattern will make your house glance spectacular. It comes in all kinds of manufactured and natural looks, and a number of different sizes. You next want to consider the way you are going to cut the tiles for sides, edges, as well as any other specific situations. Tile floors work for can lost for years in case they're cleaned on a routine schedule.
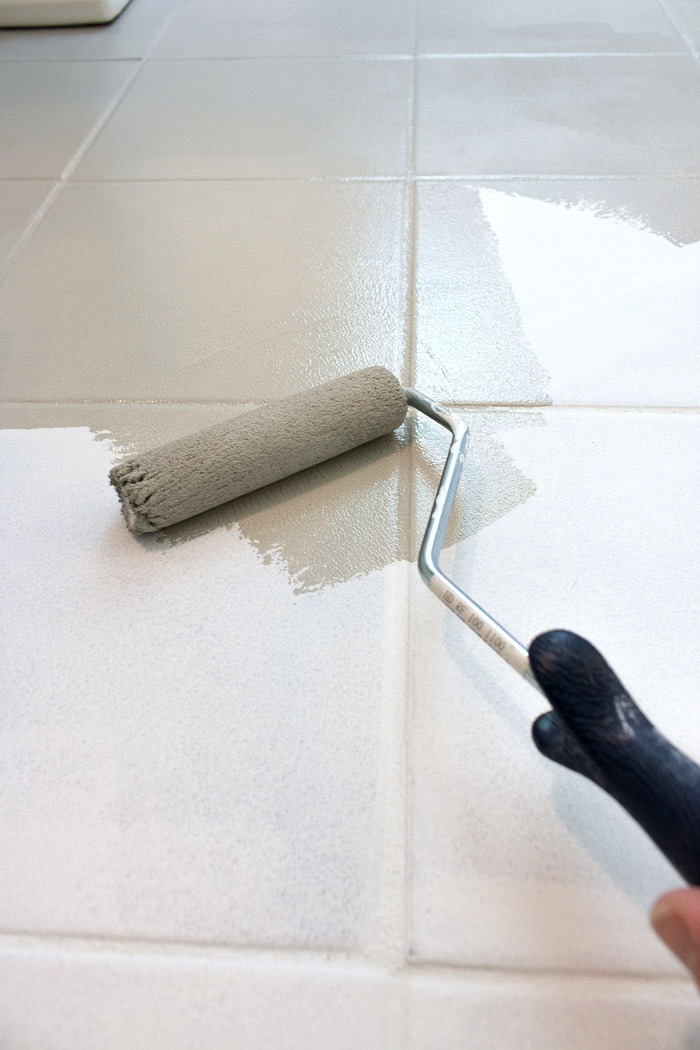
How I Painted Our Bathroomu0027s Ceramic Tile Floors: A Simple (and
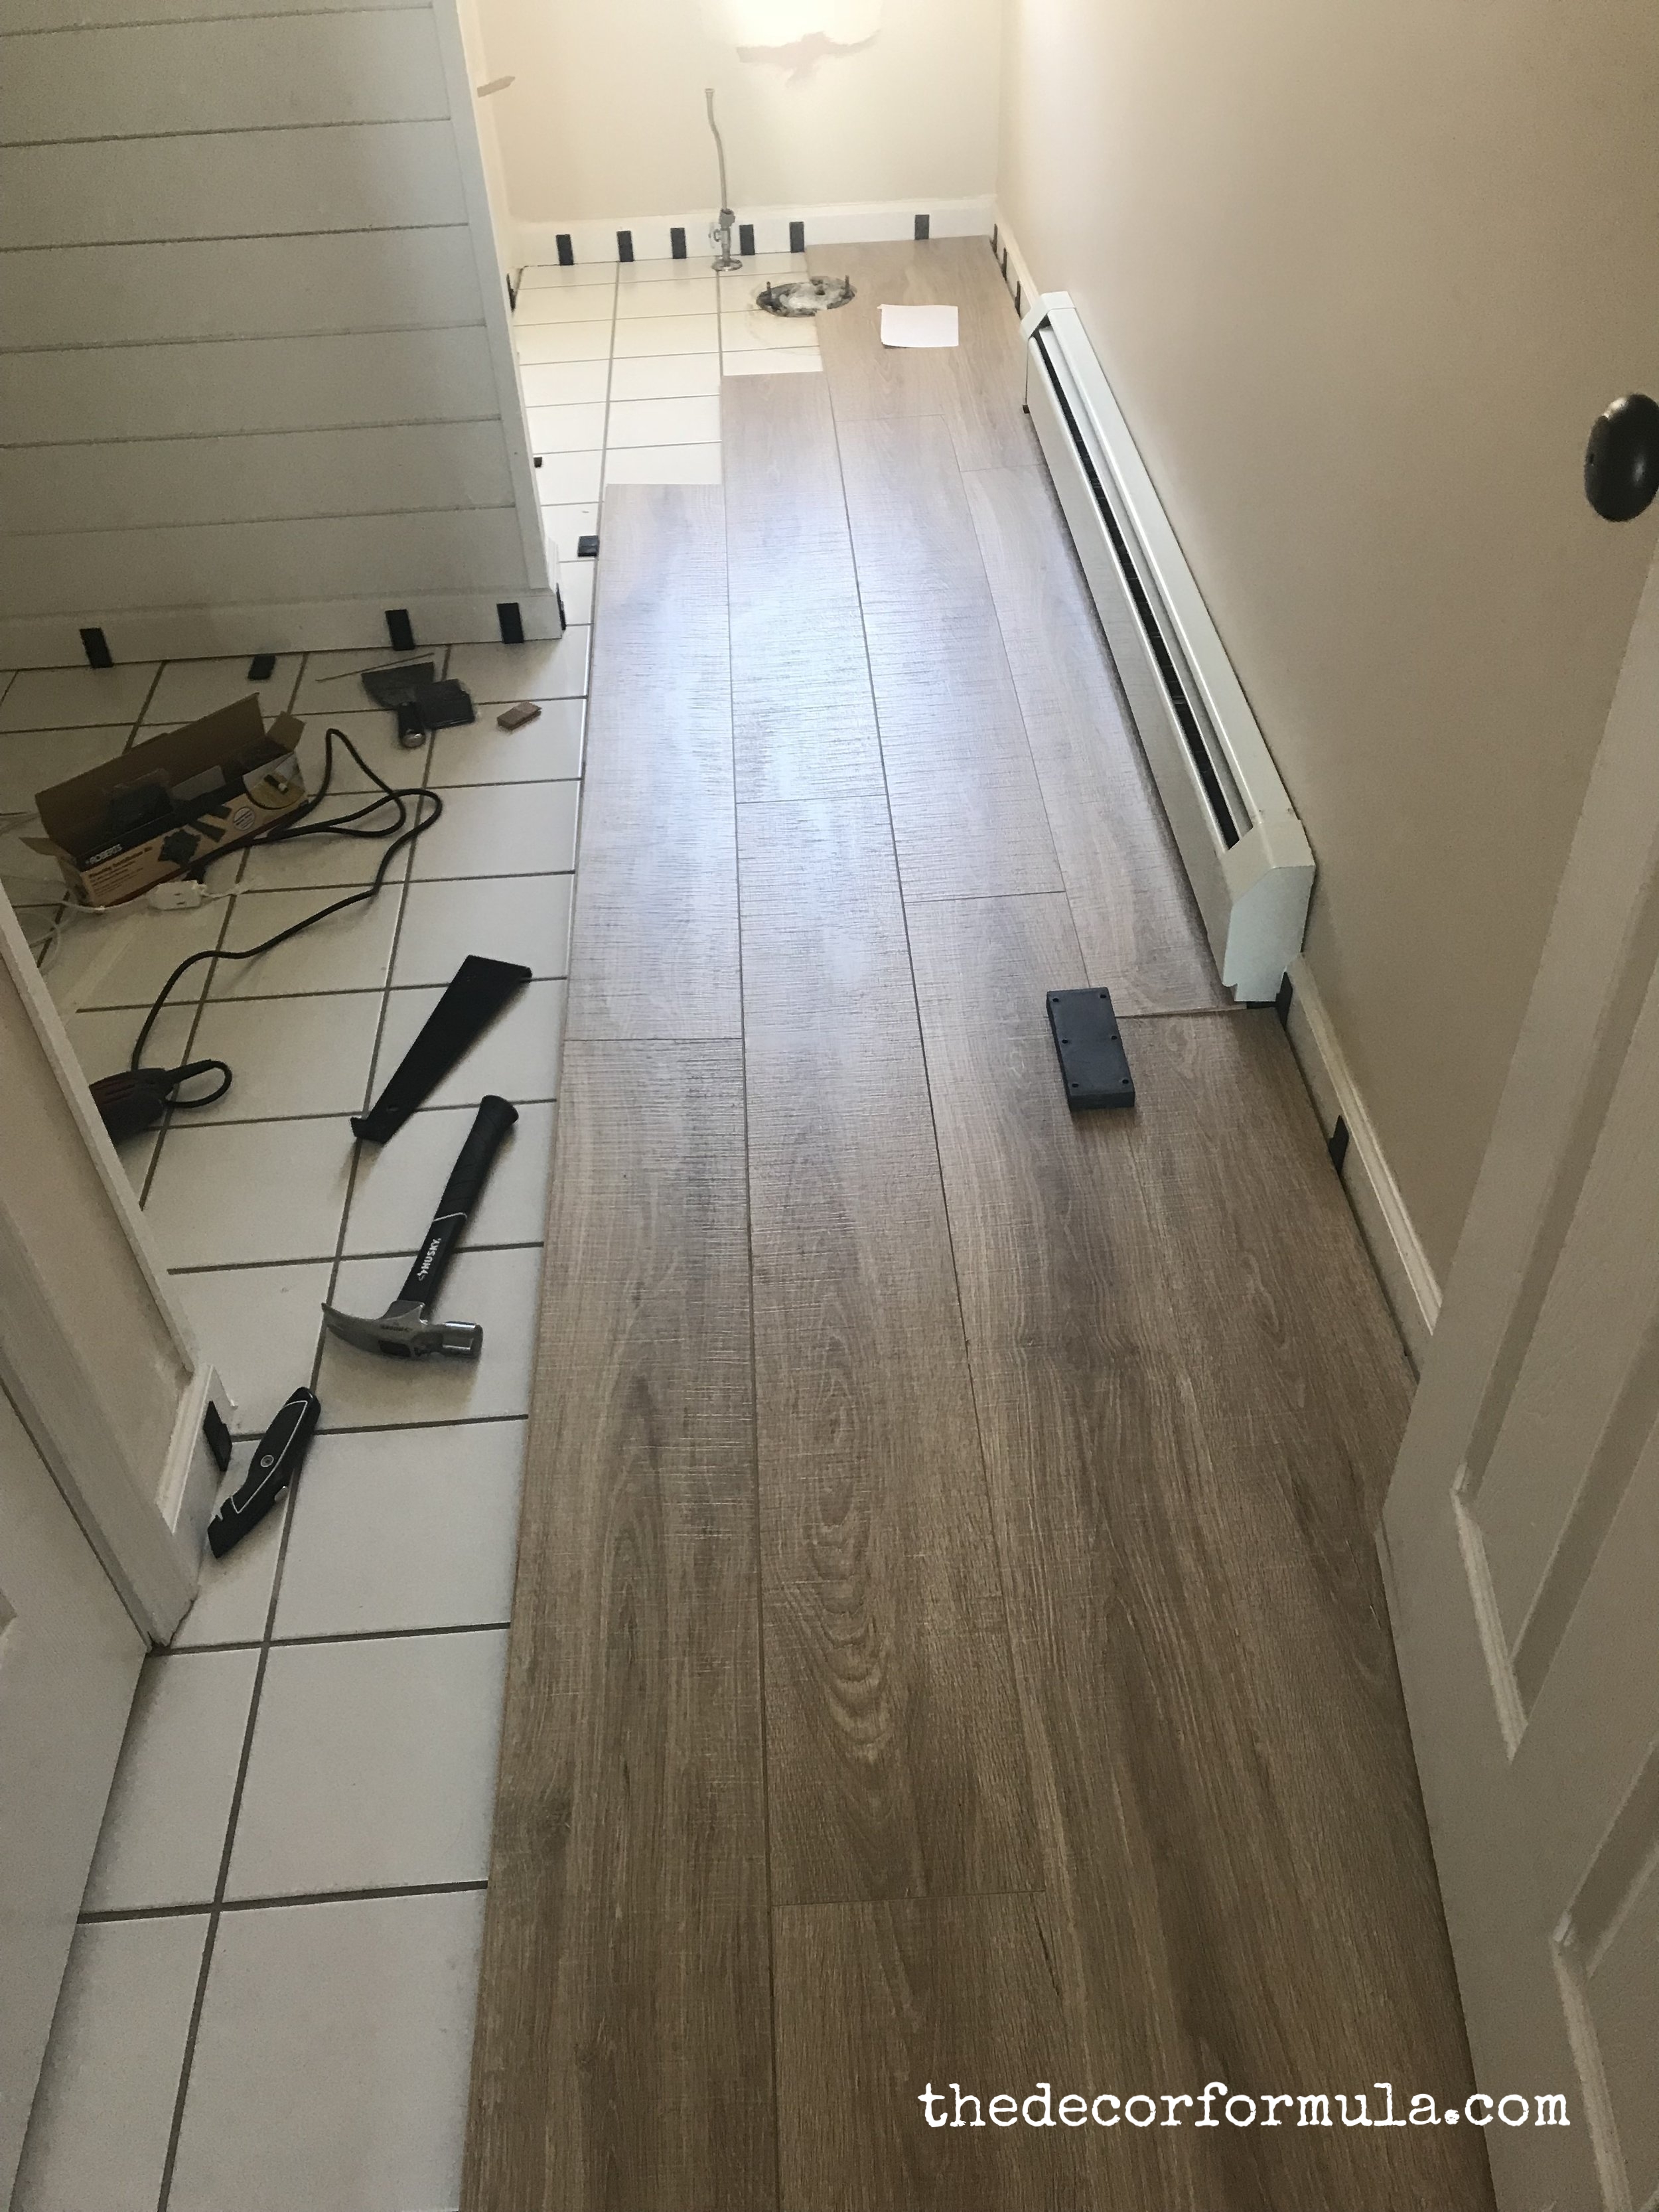
Ideas for Covering Up Tile Floors Without Removing It u2014 The Decor
How to Replace a Cracked Floor Tile – This Old House
:no_upscale()/cdn.vox-cdn.com/uploads/chorus_asset/file/22847555/Ask_Colleen_McQuaid_P1120752_inset.jpg)
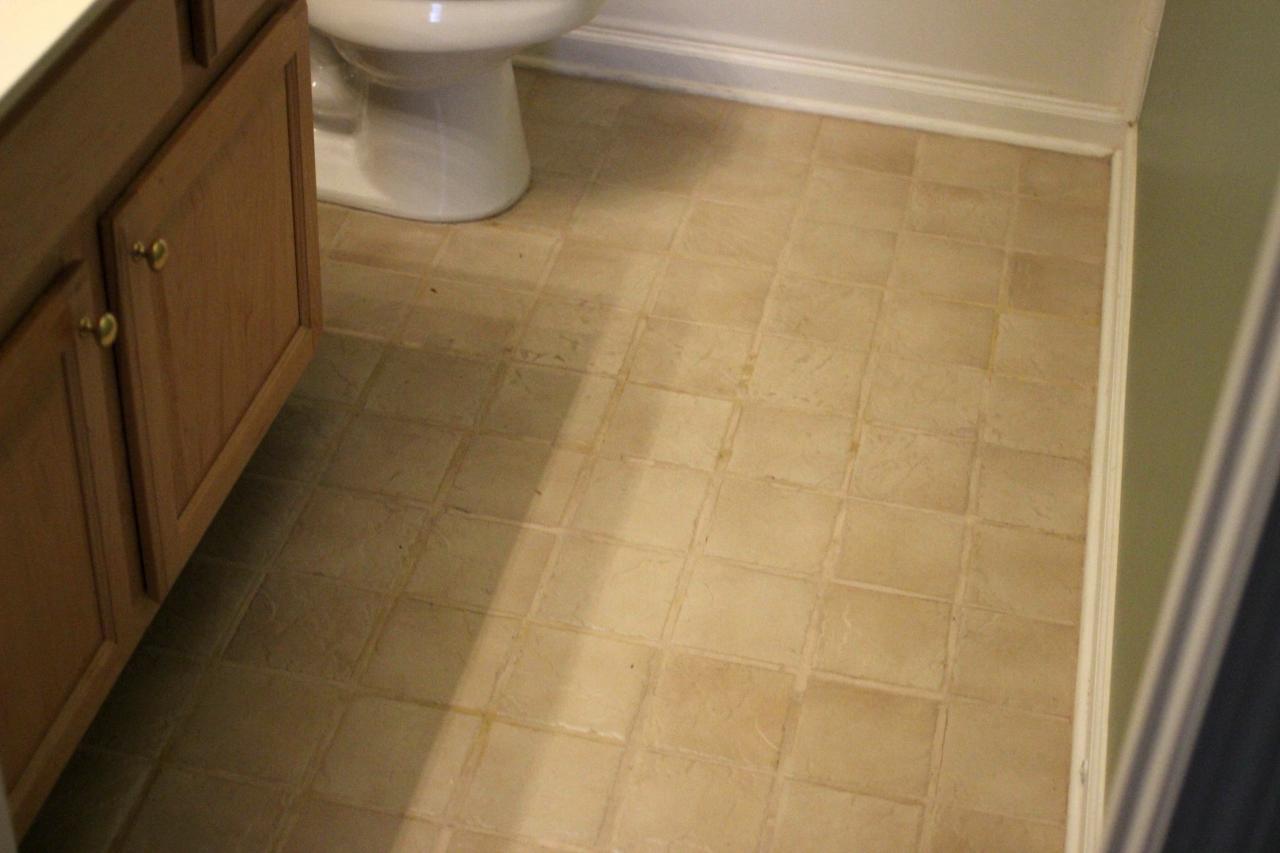
Should I Repair or Replace Floor Tile? Redoing Tile Floor
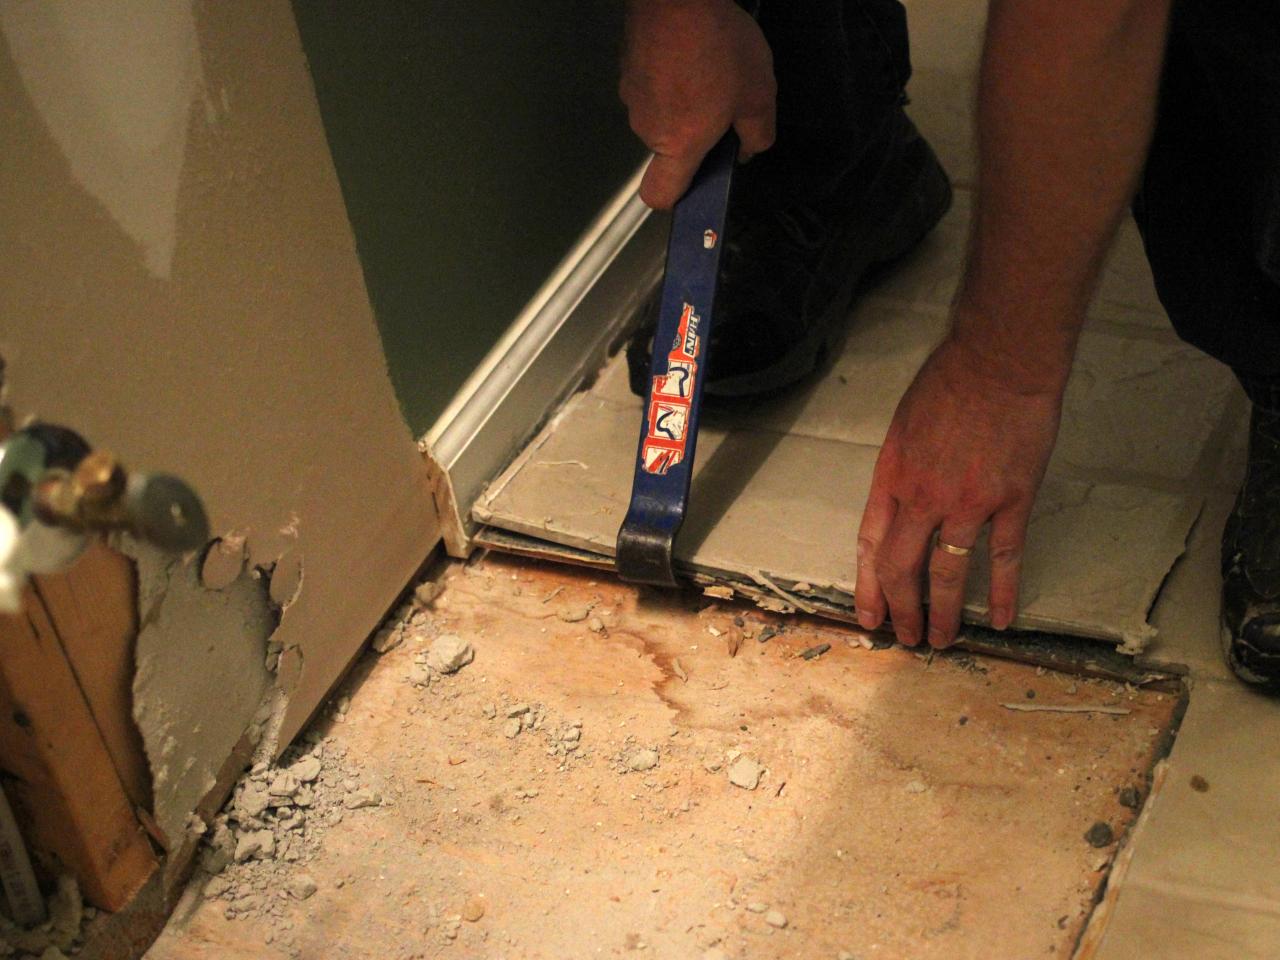
How to Remove a Tile Floor HGTV
Tile Resurfacing u0026 Restoration Ceramic Tile Resurafcing and Overlay

How to Lay a Tile Floor HGTV
How to Tile a Small Bathroom Floor DIY Bath Remodel

How I Painted Our Bathroomu0027s Ceramic Tile Floors: A Simple (and
4 Inexpensive Bathroom Flooring Ideas
/budget-bathroom-flooring-refresh-ideas-326828_porcelain_tile-8959414ed56e4ca3a018896d984f52eb.jpg)
What I Learned: Painting Ceramic Tile Using a Stencil. – Flipping

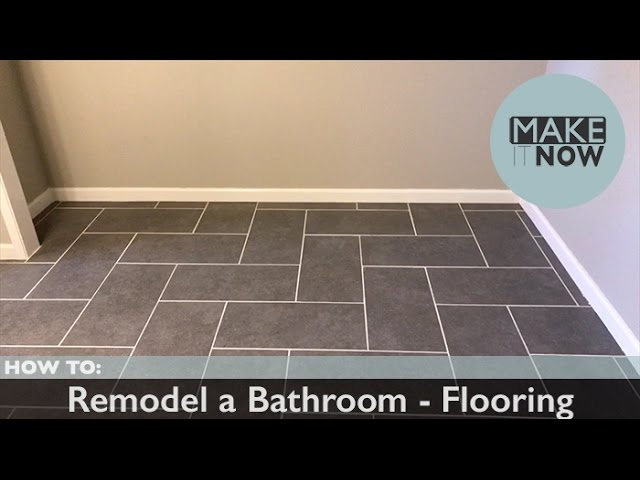
How To: Remodel A Bathroom – Flooring – YouTube
Related Posts:
- Hardwood Porcelain Tile Flooring
- Warm Tile Floors
- Large Tile Floor Designs
- Trafficmaster Resilient Tile Flooring
- Baseboard For Tile Floor
- Remove Tile Floor Machine
- How To Install Peel And Stick Vinyl Tile Flooring
- 18″x18″ Tile Floor Designs
- Best Vacuum For Sand On Tile Floors
- Best Chair Pads For Tile Floors
Redoing Tile Floor: A Guide for Homeowners
Tile floors are an attractive, durable, and low-maintenance option for homeowners. However, over time, tile can become cracked, chipped, stained, or outdated. In these cases, it’s time to redo the tile floor. In this guide, we’ll discuss the process of redoing a tile floor and how to make sure you end up with a finished product you can be proud of.
Preparing for Redoing Tile Floor
Before starting any project involving tile flooring, it’s important to properly prepare the space. This includes removing any furniture that may be in the way and covering any remaining furniture with plastic sheeting or tarps. It is also important to protect any walls or other surfaces that could be damaged by dust or debris created during the project.
Once the space is prepared, it is important to evaluate the condition of the existing tile floor. If there is damage such as cracked tiles or loose grout lines, these should be repaired before beginning work on the new tile floor. The condition of the subfloor should also be evaluated to ensure that it is in good condition and ready to support the new tile flooring.
Selecting New Tile Flooring
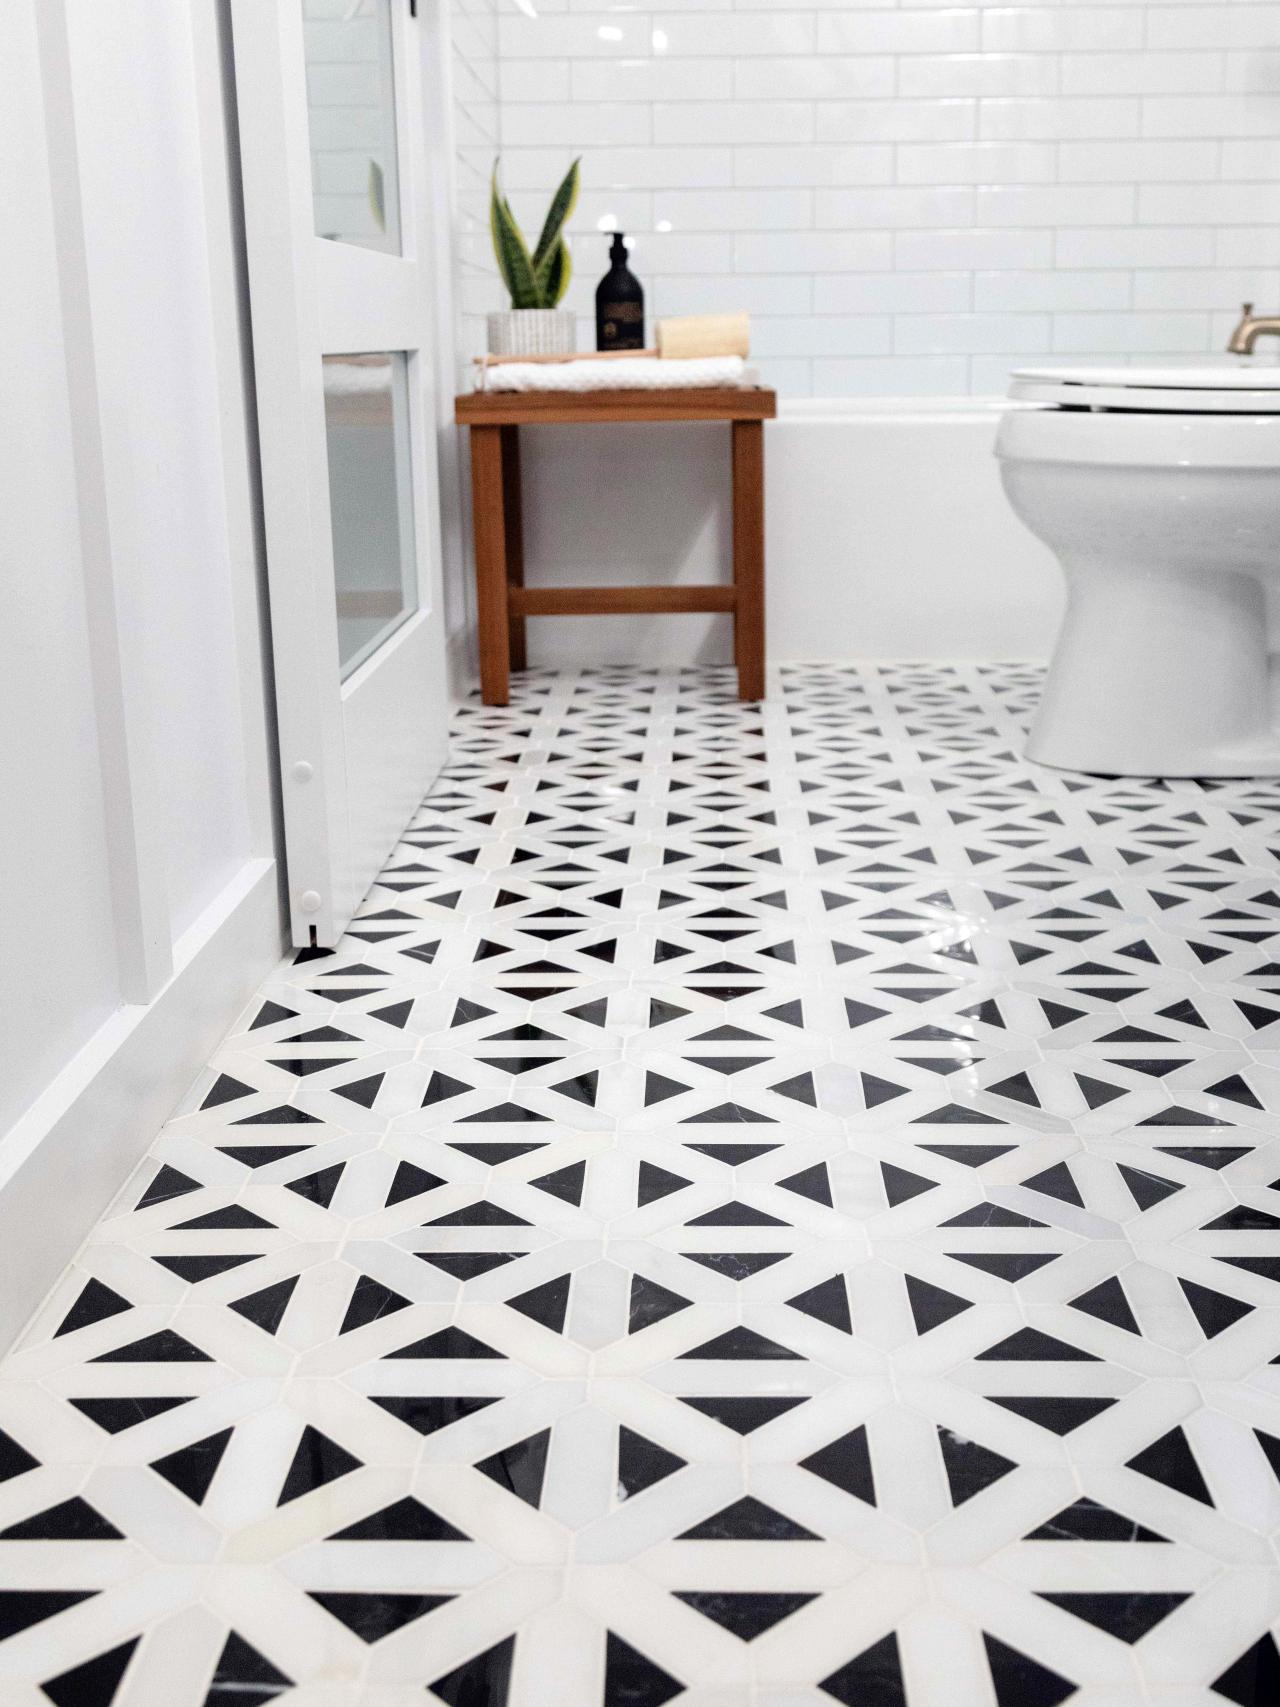
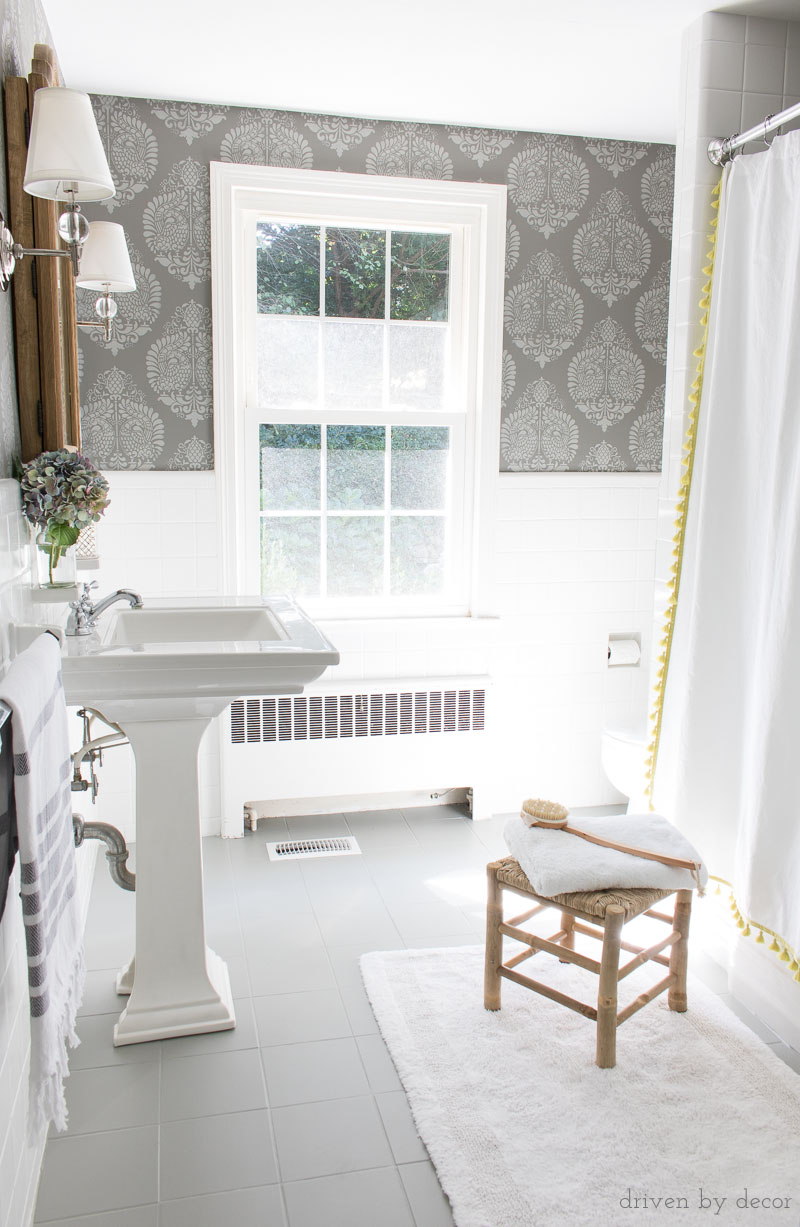
Once you have evaluated the condition of your existing tile floor and prepared your space for construction, it’s time to select your new tile flooring. There are many different types of tile available on the market today, so it is important to select a material that meets your needs and budget. Popular options include ceramic tile, porcelain tile, natural stone tile, and vinyl tile. Consider factors such as durability, maintenance requirements, cost, installation difficulty, and design when selecting your new tile flooring.
Installing New Tile Floor
Once you have selected your new tile flooring material, you can begin installing it in your home. Before beginning any installation work, make sure you have all the necessary tools and materials on hand such as tiling mortar, trowels, spacers, grout sealer, grout float and sponge. Additionally, it is important to read all manufacturer instructions carefully before beginning work.
Installation typically begins with spreading a layer of tiling mortar onto a clean subfloor using a trowel. Then tiles are placed on top of the mortar in a pattern determined by the homeowner. Spacers can be used to ensure that each tile is evenly spaced from its neighbors. Once all tiles are laid down and dried according to manufacturer instructions (typically overnight), grout can then be applied between tiles using a grout float. Finally, grout sealer should be applied over the entire area according to manufacturer instructions for best results.
FAQs About Redoing Tile Floor
Q: How long does it take to redo a tile floor?
A: The amount of time needed to redo a tile floor will depend on several factors such as size of area covered by tiles and complexity of design chosen by homeowner but generally speaking it can take anywhere from one day up to several weeks depending on how involved your project is
Q: How much does it cost to redo a tile floor?
A: The cost of red Oing a tile floor will vary depending on factors such as size of area covered and type of tile chosen but generally speaking it can range anywhere from $2-$15 per square foot.
What tools are required for redoing a tile floor?
Tools required for redoing a tile floor include:1. Safety glasses
2. Hammer
3. Chisel
4. Putty Knife
5. Notched Trowel
6. Tile Cutter or Wet Saw
7. Grout Float
8. Sponge
9. Bucket
10. Grout Sealer