In case you are excited about developing a conventional looking kitchen, you then should consider choosing solid wood flooring. This is because bamboo is susceptible to scratches to ensure that dirt, sand and other particles are able to bring about some damage. That way you can get yourself a idea along with a feel of which flooring solution will best suit the kitchen renovation plans of yours.
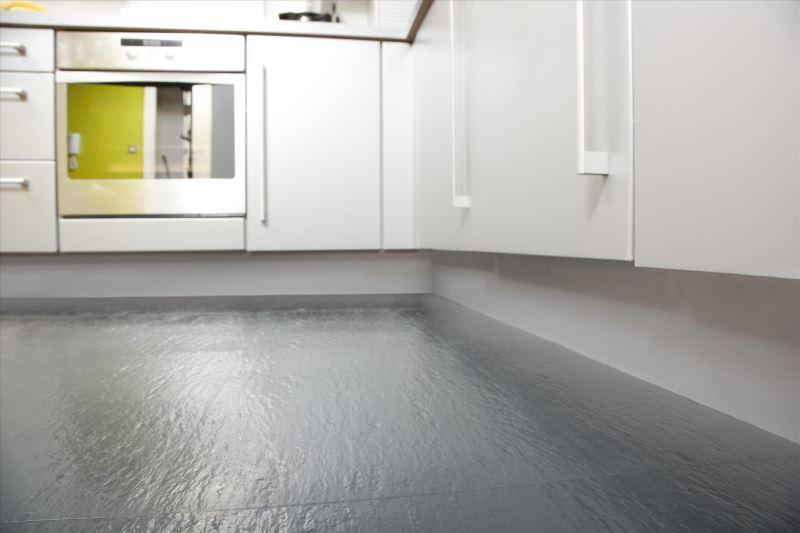
Images about Rubber Tile Flooring For Kitchen
This kind might be relatively expensive because of the distinct appeal it results in to the kitchen floor of yours. But, there’s one thing which is important that you need to remember. It can be an overwhelming conclusion to make, and in just the tile and marble choices by itself, you are going to find beautiful decorated pieces to select from.
Why Rubber Floors Are Great For Kitchens and Bathrooms Apartment

The initial basis for kitchen tiles layout is color. If the floor of yours is level with the floors belonging in the adjacent areas, you are able to create old linoleum, sheet vinyl and also cracked tiles disappear by using laminate flooring properly over them. They beautifully display the remarkable wood grain that completes that traditional kitchen look. Ask for the measurement necessary for your kitchen and make your decision about the product to make use of.
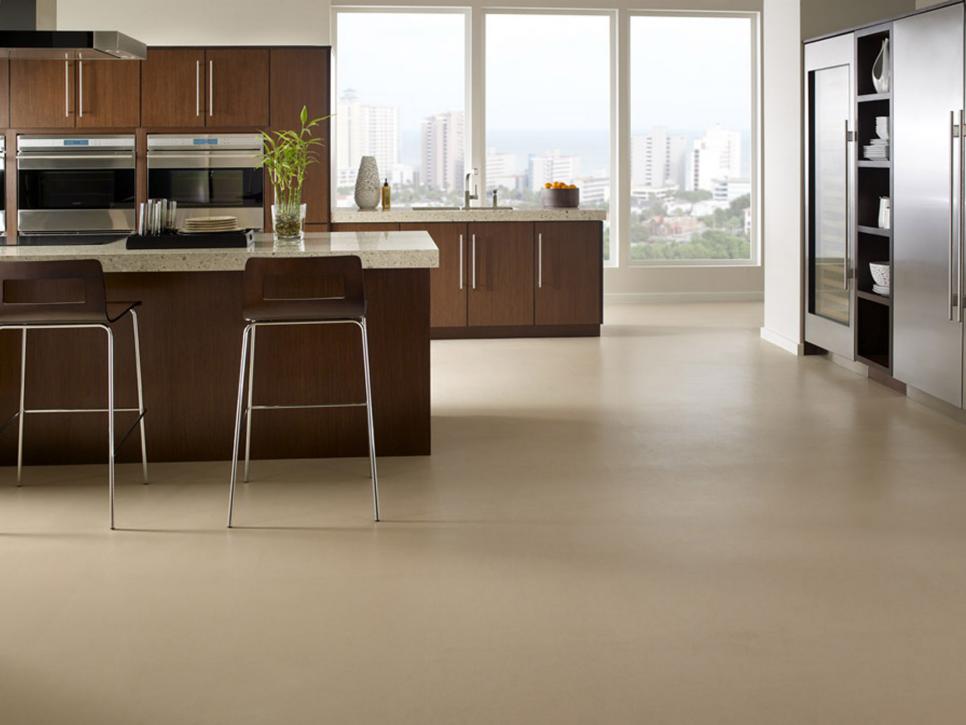
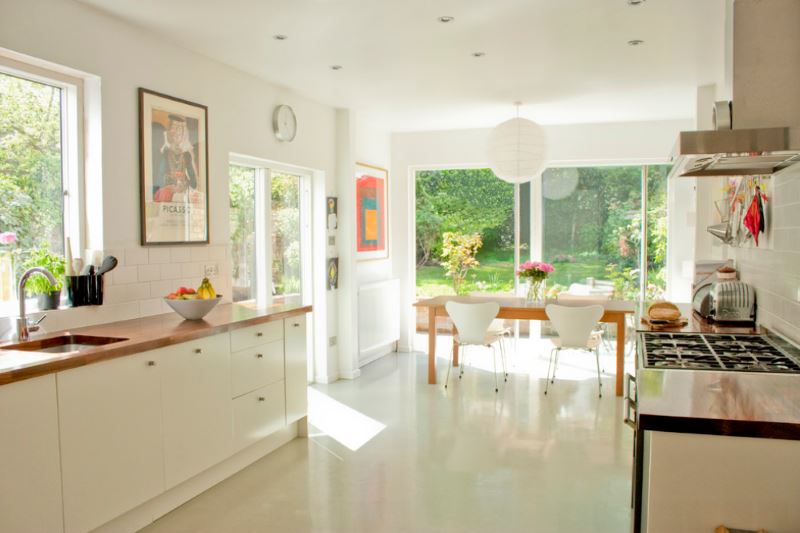
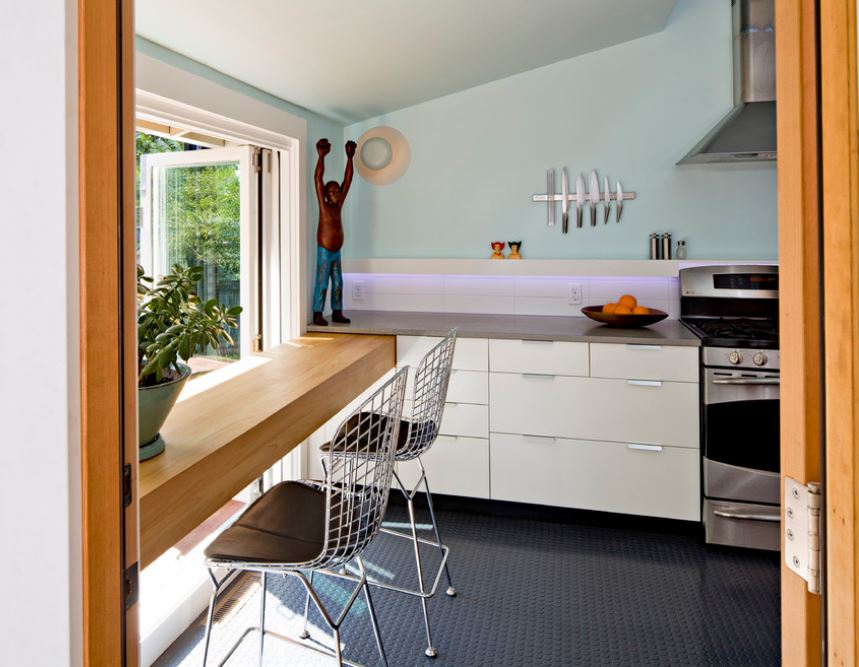
Pictures of Alternative Kitchen Flooring Surfaces HGTV
Roppe Raised Design Rubber Tile Roppe Rubber Tile
Kitchen: Rubber Flooring – Remodelista
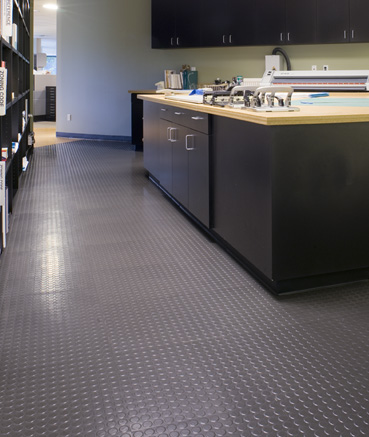
10 Rooms With Rubber Flooring
All About: Rubber Kitchen Floors Kitchn
Using Rubber Flooring in Kitchens
/GettyImages-185226874-5a3d698b7d4be800365f1e00.jpg)
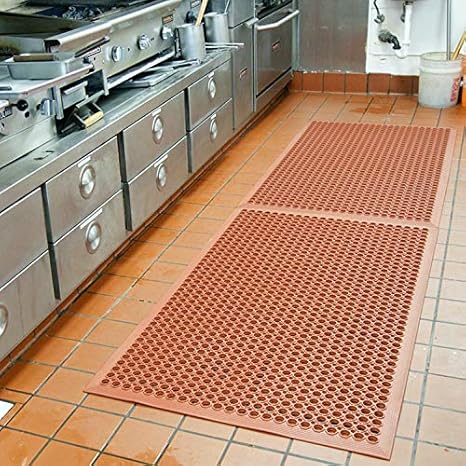
Rubber Kitchen Mats Anti-Fatigue Floor Mat New Bar Floor Mats Commercial Heavy Duty Door Mat Red 36″ x 60″
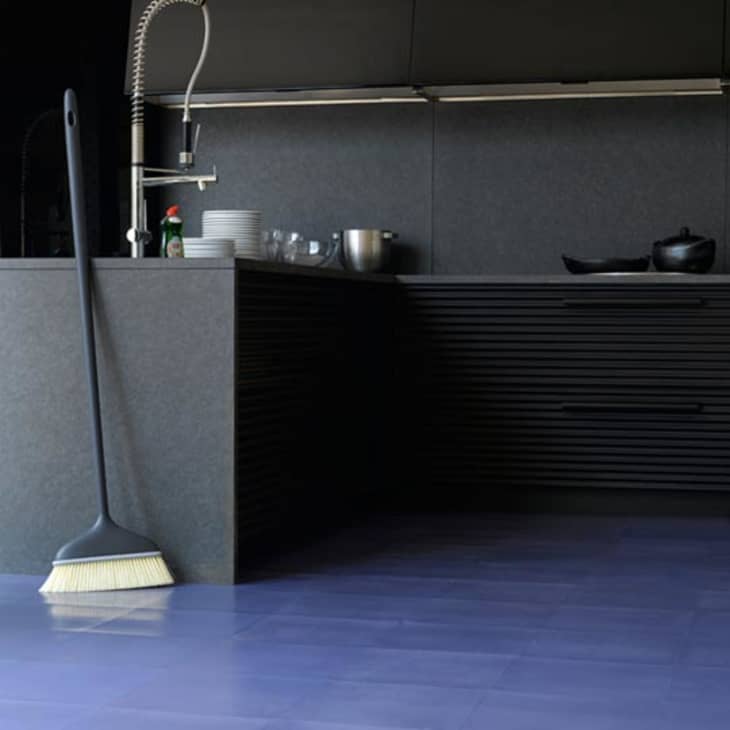
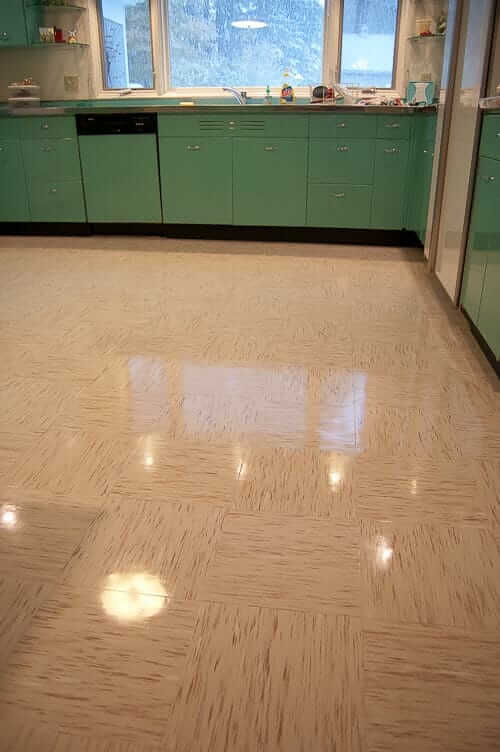
Rubber flooring – another good midcentury choice – Retro Renovation
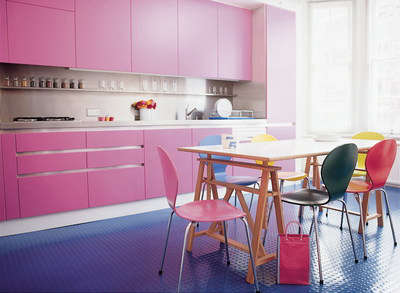
Pin on Home and Room Makeovers

China Commercial Hollow Safety Anti Slip Rubber Interlocking

Comporta Rubber Triangle Tiles

10 Rooms With Rubber Flooring
Related Posts:
- White Kitchens With Light Floors
- Floor To Ceiling Corner Kitchen Cabinet
- White Washed Floors In Kitchen
- Merit Flooring Kitchen And Bath
- 5th Wheel Floor Plans With Front Kitchen
- How To Clean Hardwood Floors In Kitchen
- Espresso Kitchen Cabinets With Wood Floors
- Great Kitchen Floors
- How To Clean Dirty Kitchen Floor Tiles
- Fresh Floor Kitchen & Bath
Rubber Tile Flooring For Kitchen: A Durable and Versatile Choice
Introduction:
When it comes to kitchen flooring, choosing the right material is essential. The kitchen is a high-traffic area that requires a durable and easy-to-maintain flooring option. Rubber tile flooring has gained popularity in recent years due to its numerous advantages. This article will explore the benefits of rubber tile flooring for kitchens, its installation process, maintenance tips, and address some frequently asked questions.
Benefits of Rubber Tile Flooring:
1. Durability: Rubber tiles are renowned for their exceptional durability. Made from high-quality synthetic rubber, they can withstand heavy foot traffic without showing signs of wear and tear. Their resilience makes them an ideal choice for busy kitchens where spills, dropped utensils, and constant movement are commonplace.
2. Slip Resistance: Safety is paramount in the kitchen, as it is an area prone to spills and splashes that can create slippery surfaces. Rubber tile flooring offers excellent slip resistance due to its textured surface. This not only minimizes the risk of accidents but also provides added grip and stability while cooking or moving around the kitchen.
3. Comfort: Standing for long periods in the kitchen can be strenuous on the feet and joints. Rubber tiles have inherent cushioning properties that provide a comfortable surface to stand on. This ergonomic feature reduces fatigue and discomfort, making it easier to spend extended periods in the kitchen without feeling tired.
4. Sound Absorption: Kitchens can often be noisy spaces with appliances running, utensils clattering, and conversations taking place simultaneously. Rubber tile flooring helps absorb sound, minimizing noise levels within the room. This creates a more peaceful environment and prevents noise from traveling to other areas of the house.
5. Easy Maintenance: Keeping a kitchen clean is vital for maintaining hygiene standards. Rubber tile flooring simplifies this task as it is resistant to stains, spills, and dirt accumulation. Regular sweeping or vacuuming, along with occasional mopping using a mild detergent, is sufficient to keep the floor looking pristine. Additionally, rubber tiles are resistant to most chemicals, making them easy to clean without worrying about damage.
Installation Process:
Installing rubber tile flooring in your kitchen can be a straightforward process. However, it is recommended to hire a professional for optimal results. Here is an overview of the installation steps:
1. Preparation: Ensure that the subfloor is clean, dry, and level before installation. Remove any existing flooring and repair any imperfections or cracks.
2. Adhesive Application: Apply adhesive to the subfloor using a trowel, following the manufacturer’s instructions. It is crucial to use an adhesive specifically designed for rubber flooring.
3. Tile Placement: Start at one corner of the room and press the rubber tiles firmly onto the adhesive. Use a rolling pin or rubber mallet to ensure proper adhesion and remove any air bubbles.
4. Cutting Tiles: Measure and cut tiles as needed to fit around fixtures, corners, or walls using a utility knife or a specialized rubber tile cutter.
5. Finishing Touches: Install baseboards or molding around the perimeter of the room to provide a polished look and protect the edges of the tiles.
Maintenance Tips:
To maintain the beauty and functionality of your rubber tile flooring in the kitchen, follow these maintenance tips:
1. Regular Cleaning: Sweep or vacuum the floor regularly to remove loose dirt and debris. This prevents scratches caused by abrasive particles.
2. Spill Cleanup: Clean up spills immediately using a damp cloth or Mop. Do not let liquids sit on the rubber tiles for extended periods as it can cause staining or damage.
3. Mild Detergent: For more thorough cleaning, use a mild detergent diluted in water. Avoid using harsh chemicals or abrasive cleaners as they can degrade the rubber surface.
4. Avoid Excessive Moisture: Rubber tiles are water-resistant, but excessive moisture can still seep through the seams and cause damage over time. Wipe up any spills or excess water promptly and ensure the kitchen is properly ventilated to prevent moisture buildup.
5. Prevent Scratches: Place felt pads under furniture legs to prevent scratches on the rubber flooring when moving or rearranging items.
6. Avoid High Heels: While rubber tiles are durable, high heels can cause indentations or damage to the surface. Try to avoid walking on the rubber floor with high heels or use heel protectors to distribute weight more evenly.
7. Regular Inspections: Periodically inspect the rubber tiles for any signs of wear, damage, or loose edges. Replace any damaged tiles promptly to maintain the integrity of the flooring.
By following these maintenance tips, you can ensure that your rubber tile flooring remains in excellent condition and provides all the benefits it has to offer in your kitchen space.