Bathroom flooring, more than nearly anything else, could have a stunning impact on the overall appearance of a bathroom; select bathroom flooring wisely and you are going to achieve the bathroom of the dreams of yours – or perhaps a bathroom that will meet your temporary needs. The bulk of floors need specific cuts to fit correctly.
Images about Tiling A Bathroom Floor DIY

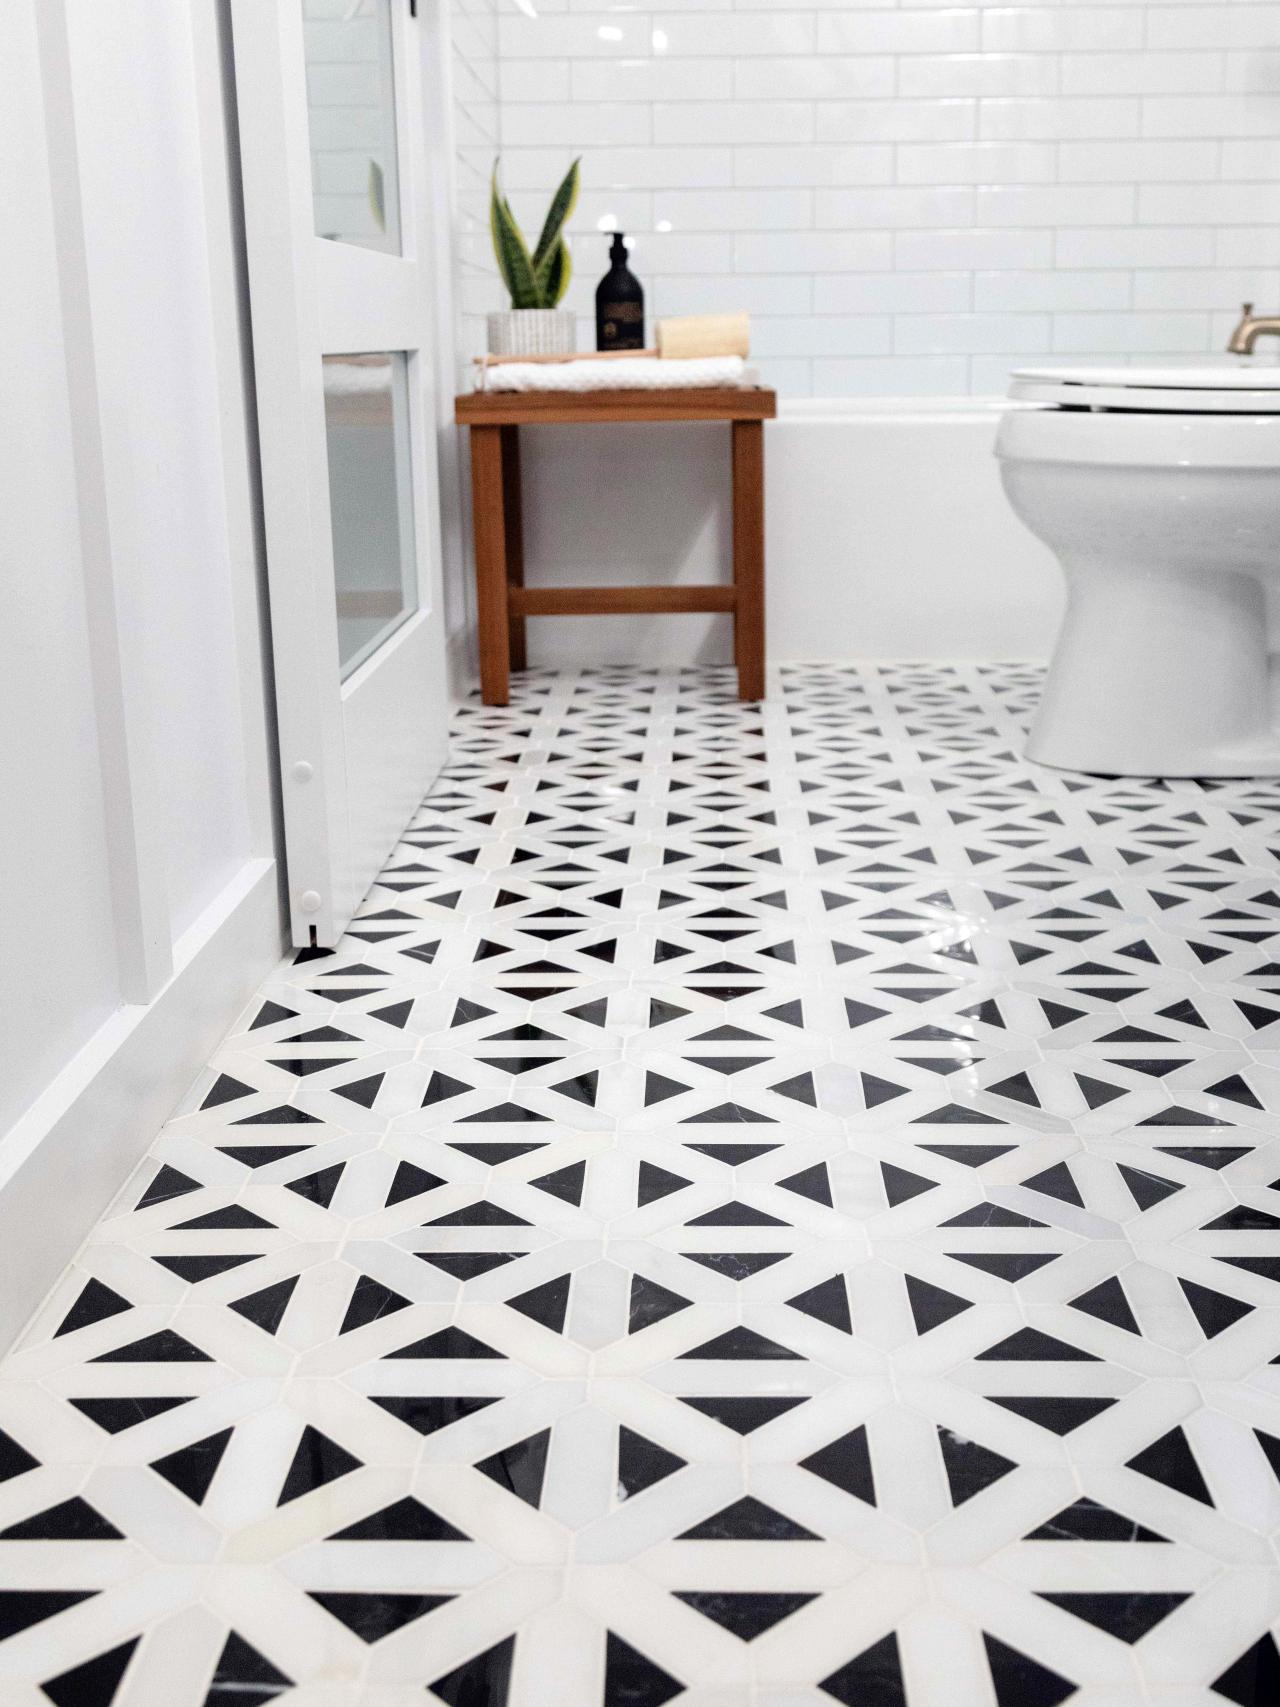
Bathroom flooring tile shapes could be squares, rectangles, octagons and hexagons while accent parts can be narrow as well as small diamond shaped. Space can also be an additional factor to take into consideration as particular kinds of flooring is able to leave an already tiny bathroom wanting a lot more cramped while others can add a part of room to a small bathroom.
Installing a Tile Floor

At the more expensive end of the cost line there is granite, marble and some higher end tiles. Mixing different kinds of mosaic tiles are furthermore a great strategy. Glass mosaic tiles are perfect for accents and boarders. Hardwood floors are fabulous as they produce a classic and warm look in your bath room. You can select if you decide to use marble, granite, limestone and other stone flooring options supplied by firms.
How to Install Ceramic Tile Flooring in 9 Steps – This Old House
:no_upscale()/cdn.vox-cdn.com/uploads/chorus_asset/file/19496947/color_gutters_illo_web_1.jpg)
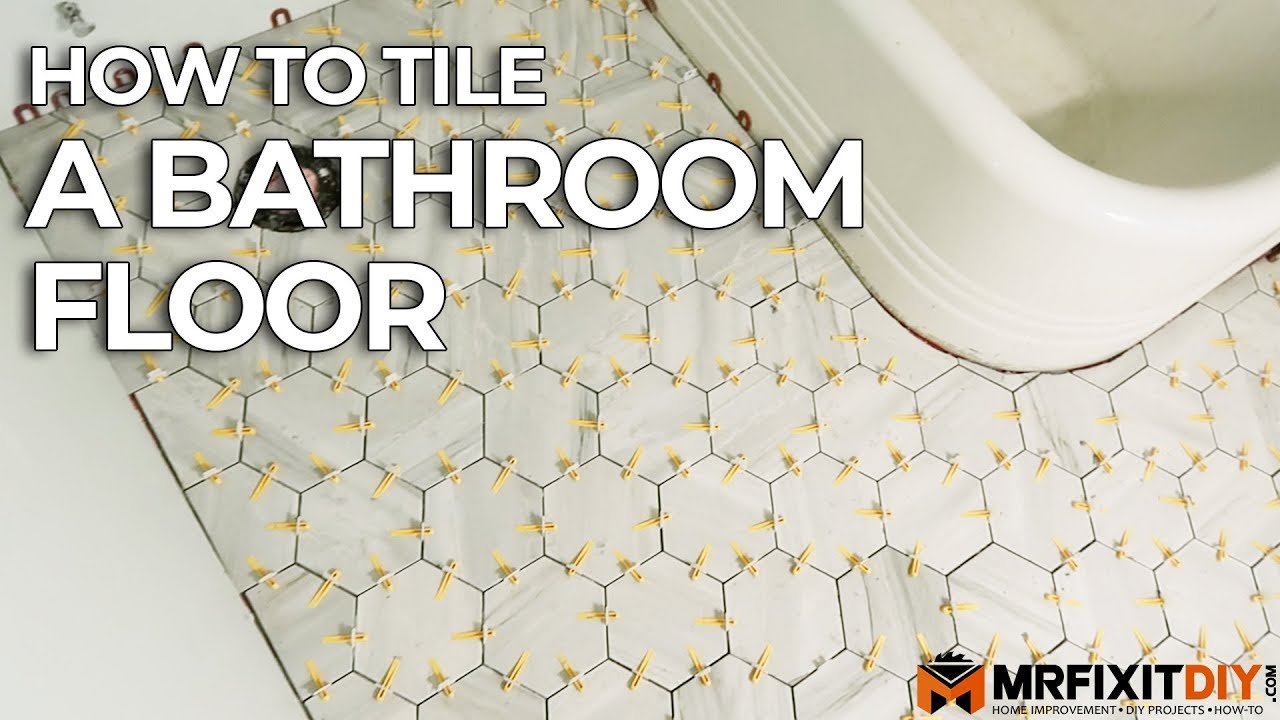
How to Tile a Bathroom Floor DIY Bathroom Remodel
How To Update Your Bathroom Floor Tiles – 6 DIY ideas

How to Tile a Bathroom Floor with Wickes

How to Lay Tile: Install a Ceramic Tile Floor In the Bathroom (DIY)

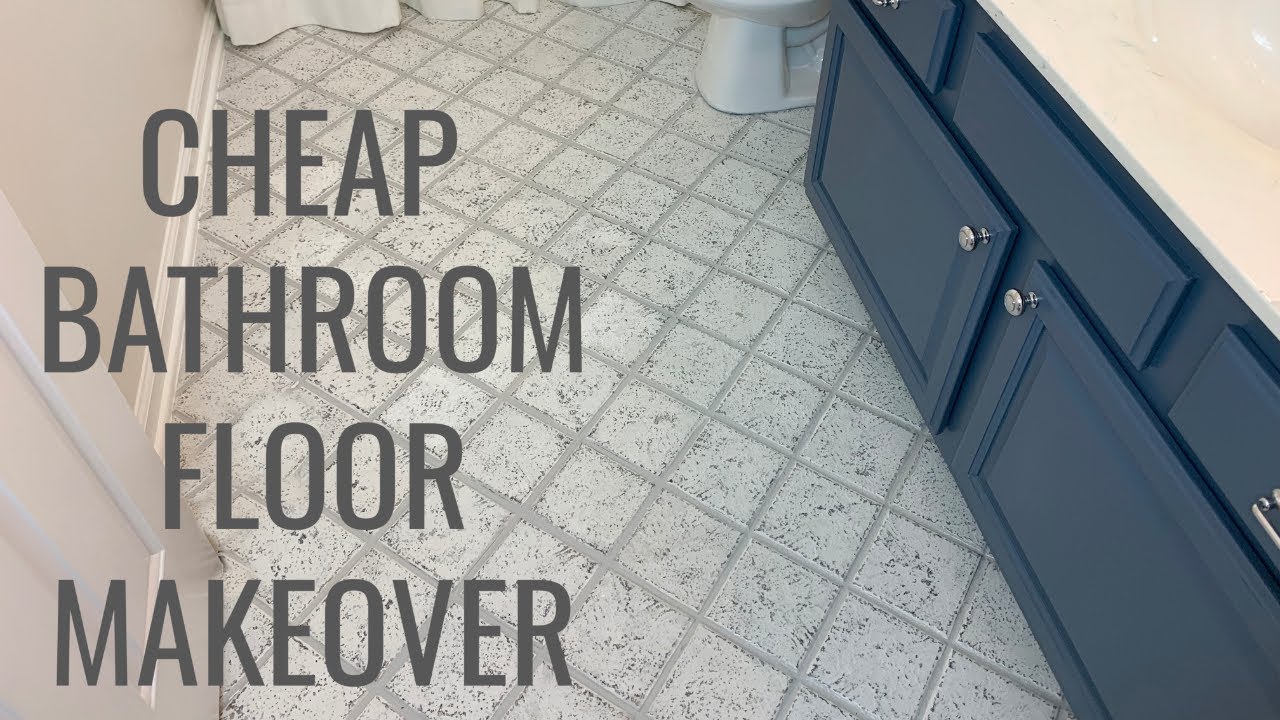
Cheap Bathroom Floor Makeover Easy DIY
How to Lay a Tile Floor HGTV
Easy DIY Bathroom Floor Makeover Idea on a Budget Floor makeover

DIY Painted Bathroom Floor
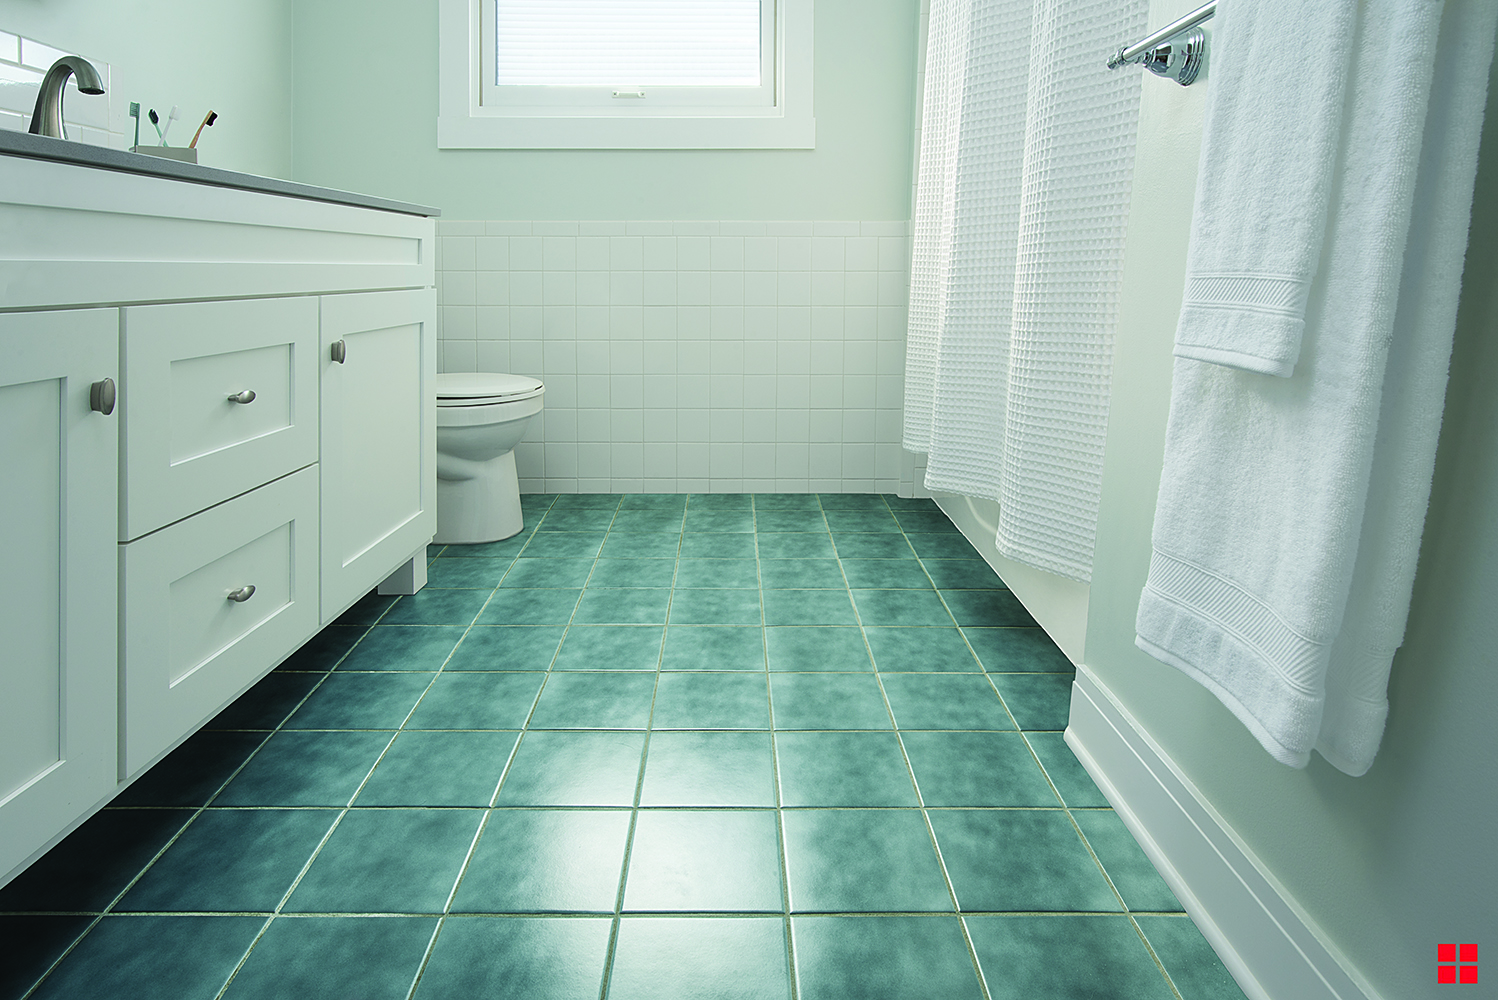
4 Inexpensive Bathroom Flooring Ideas
:max_bytes(150000):strip_icc()/budget-bathroom-flooring-refresh-ideas-326828_porcelain_tile-8959414ed56e4ca3a018896d984f52eb.jpg)
How to Lay Tile: DIY Floor Tile Installation Loweu0027s

How to Install Ceramic Tile Flooring in 9 Steps – This Old House
:no_upscale()/cdn.vox-cdn.com/uploads/chorus_asset/file/19496978/howto_tile_01.jpg)
Related Posts:
- Black Bathroom Floor Mats
- Rotten Bathroom Floor
- Environmentally Friendly Bathroom Flooring
- Small Bathroom Flooring Options
- Spanish Bathroom Floor Tiles
- Stick Down Bathroom Floor Tiles
- Bathroom Floor Tiles Wood Effect
- Tiling A Bathroom Floor DIY
- Farmhouse Bathroom Floor Ideas
- Glitter Vinyl Bathroom Flooring
Tiling A Bathroom Floor DIY: Transform Your Space with a Personal Touch
Are you tired of the old, worn-out flooring in your bathroom? Do you want to give your space a fresh, new look? Tiling a bathroom floor is a great DIY project that can instantly transform the overall aesthetics of your bathroom. Whether you’re an experienced DIY enthusiast or a beginner looking for a new challenge, this article will guide you through every step of the process, from preparation to finishing touches. So roll up your sleeves and get ready to create a stunning bathroom floor that reflects your personal style and taste.
1. Planning and Preparation: Lay the Foundation for Success
Before diving into any DIY project, it’s crucial to plan and prepare adequately. Here’s what you need to do:
a) Measure and Calculate: Start by measuring the dimensions of your bathroom floor accurately. This will help you calculate the amount of tile needed as well as provide guidance on where to start tiling.
b) Choose the Right Tile: Consider the style, color, and material of the tile that will best complement your bathroom design. Ceramic, porcelain, and natural stone tiles are popular choices due to their durability and water resistance.
c) Gather the Necessary Tools and Materials: To ensure a smooth tiling process, make sure you have all the tools and materials required. This may include tile adhesive, grout, spacers, notched trowel, tile cutter or wet saw, sponge, level, measuring tape, and safety equipment such as goggles and gloves.
d) Prepare the Surface: The key to a successful tiling project lies in preparing the surface properly. Remove any existing flooring or carpeting from the bathroom floor. Ensure that the subfloor is clean, dry, level, and free from any cracks or imperfections. If necessary, use self-leveling compound or patching material to achieve a smooth surface.
FAQs:
Q: Can I tile over an existing floor?
A: It is generally not recommended to tile over an existing floor, as it can lead to issues with height and stability. Removing the old flooring ensures a level surface for the new tiles.
Q: How do I determine if my subfloor is level?
A: Use a long, straight board or a level to check for any unevenness. If you notice any significant dips or bumps, consider using self-leveling compound to create a smooth surface.
2. Tile Layout: Create a Visual Masterpiece
Once you have prepared the surface, it’s time to plan and lay out your tiles. This step is crucial as it determines the overall aesthetic appeal of your bathroom floor.
a) Dry Lay the Tiles: Before applying adhesive, dry lay your tiles on the floor to visualize the layout and make adjustments if needed. This will help you avoid any surprises during the actual installation process.
b) Find Your Starting Point: It’s important to choose a starting point that allows for balanced tile placement and avoids small, awkward cuts near walls or fixtures. Many experts recommend starting in the center of the room or at the focal point, such as under the vanity or toilet.
c) Mark Guidelines: Use a chalk line or straight edge to mark guidelines on the floor, ensuring straight lines and proper alignment of tiles. This will serve as a reference point during installation.
d) Consider Tile Spacing: Leave consistent gaps between tiles using tile spacers. The size of these gaps will depend on personal preference and tile size but typically ranges from 1/16 inch to 1/4 inch. These gaps will be filled with grout later on.
FAQs:
Q: What is the best tile layout for a small bathroom?
A: For small bathrooms, a diagonal or herringbone pattern can create the illusion of more space. Additionally, using larger tiles can make the room appear larger.
Q: Should I use the same tile for the floor and walls?
A: It is not necessary to use the same tile for both the floor and walls. You can choose different tiles that complement each other for a visually interesting design.
3. Tile Installation: Bring Your Design to Life
Now that you have prepared the surface and planned your tile layout, it’s time to start installing the tiles.
a) Apply Tile Adhesive: Use a notched trowel to apply tile adhesive to a small section of the floor. Spread it evenly, following the guidelines previously marked.
b) Place and Press Tiles: Carefully place each tile onto the adhesive, pressing them firmly into place. Make sure they are aligned with the guidelines and have consistent spacing between them.
c) Cut Tiles if Necessary: Use a tile cutter or wet saw to cut tiles as needed for edges, corners, or obstacles. Measure carefully and make precise cuts for a professional-looking finish.
d) Grout the Tiles: Once all the tiles are installed and adhesive has dried, mix grout according to manufacturer’s instructions. Use a grout float to spread grout over the tiles, ensuring it fills all the gaps. Wipe away excess grout with a sponge and let it dry.
e) Seal the Grout: To protect the grout from moisture and staining, apply a grout sealer according to manufacturer’s instructions. This will help maintain the appearance and longevity of your tiled floor.
FAQs:
Q: How long does tile adhesive take to dry?
A: The drying time for tile adhesive can vary depending on the brand and specific product. Follow the manufacturer’s instructions for the recommended drying time.
Q: How soon can I walk on my newly tiled floor?
A: It is best to wait at least 24 hours after grouting before walking on the tiled floor. This allows the adhesive and grout to fully cure and set.