Kitchen flooring is able to make it possible to develop a totally brand new feel to the kitchen of yours, whether you want to add the impression of light and space, or whether you wish to create a cozier, much more homely feel. Cork floor can also be yet another new flooring material in the market. For more modern kitchens, homeowners can try using glass and resins. It is not necessary for you to wax the floors.
Images about Vinyl Flooring Kitchen Over Tiles
![]()
It's accessible in a wide assortment of food grains and shades and it might be introduced around strips, boards, or perhaps parquet squares. You just have to purify the floor with frequent mop when it's filthy. Because it holds such a great effect on your home as well as kitchen area design, it could be rather a challenging task to pick the correct flooring option to install.
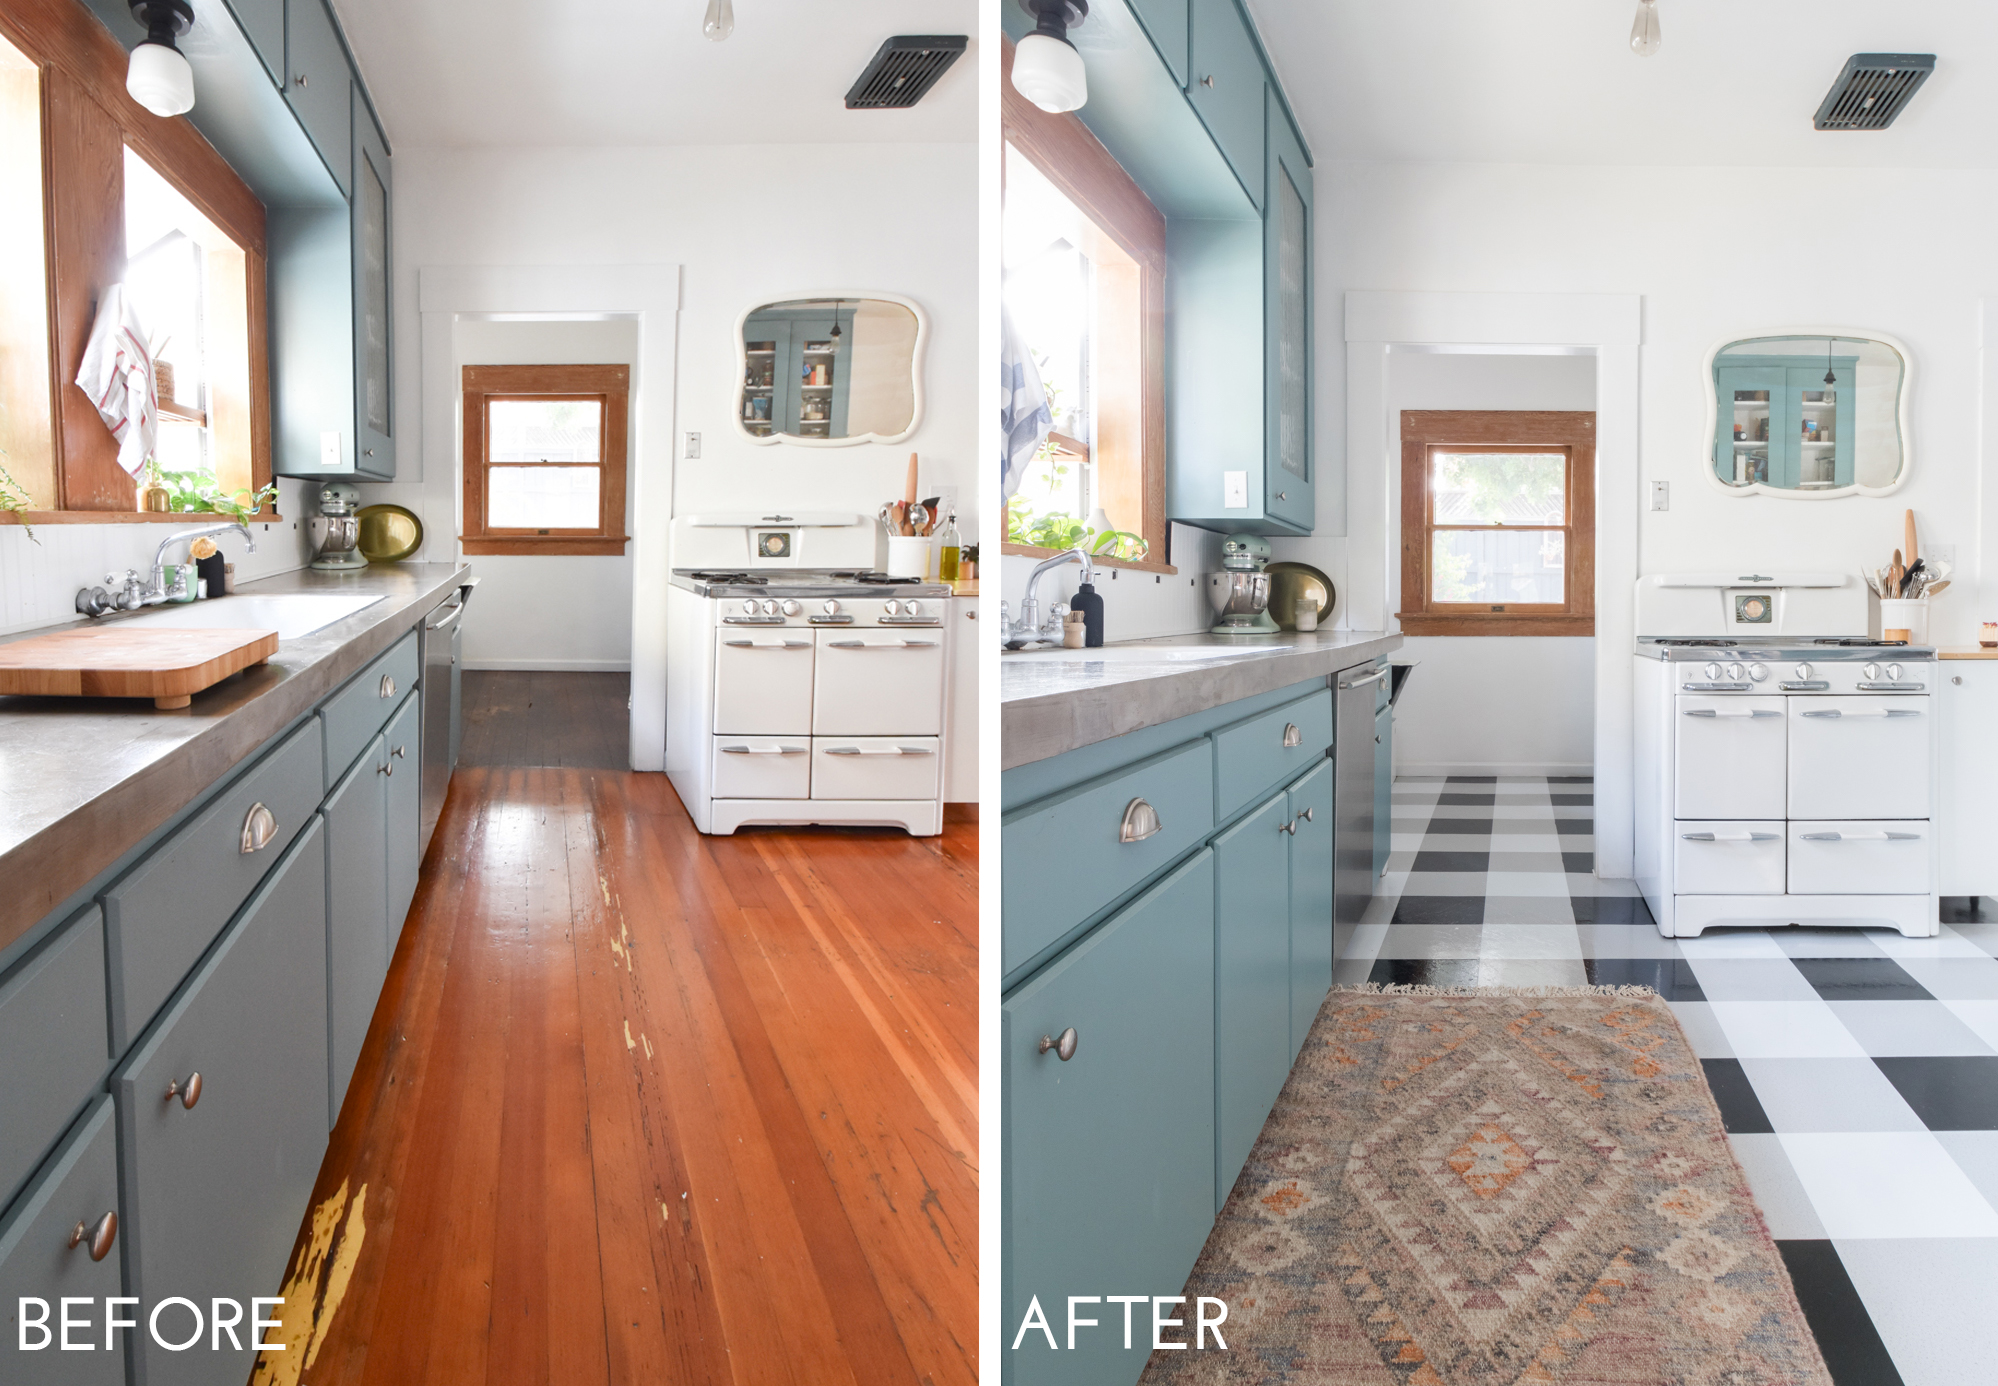
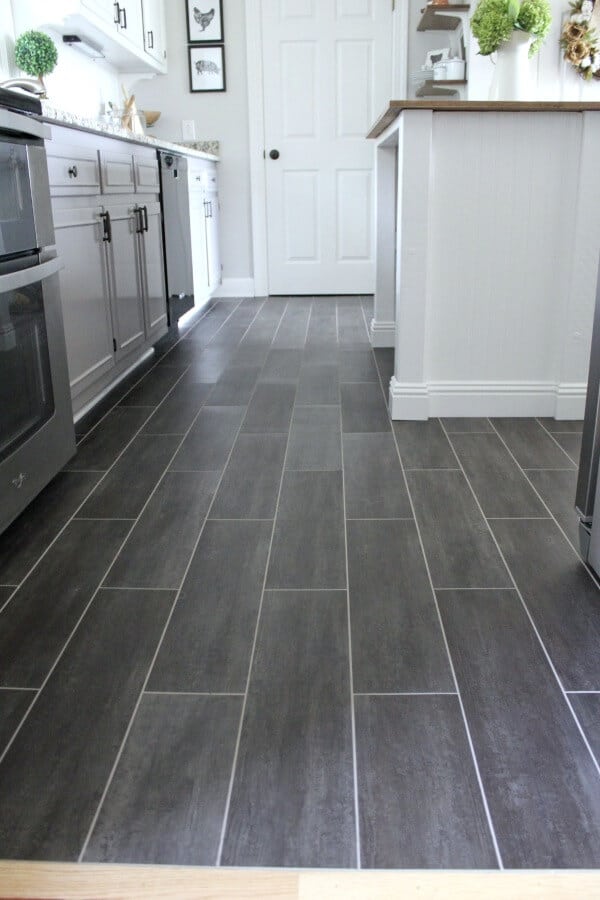
A DIY Kitchen Transformation Using Vinyl Floor Tiles + A Video
They are available in plank, strip, tile, and parquet types with the actual attributes of each are discussed in more detail below. This flooring type should be easy to clean up and in addition slip resistant. When updating the kitchen floor design of yours, you might find yourself overwhelmed with the many existing kitchen flooring solutions we have today.
How to Use Peel and Stick Vinyl Tile to Transform Your Floors

Everything you need to know about Vinyl flooring Tarkett
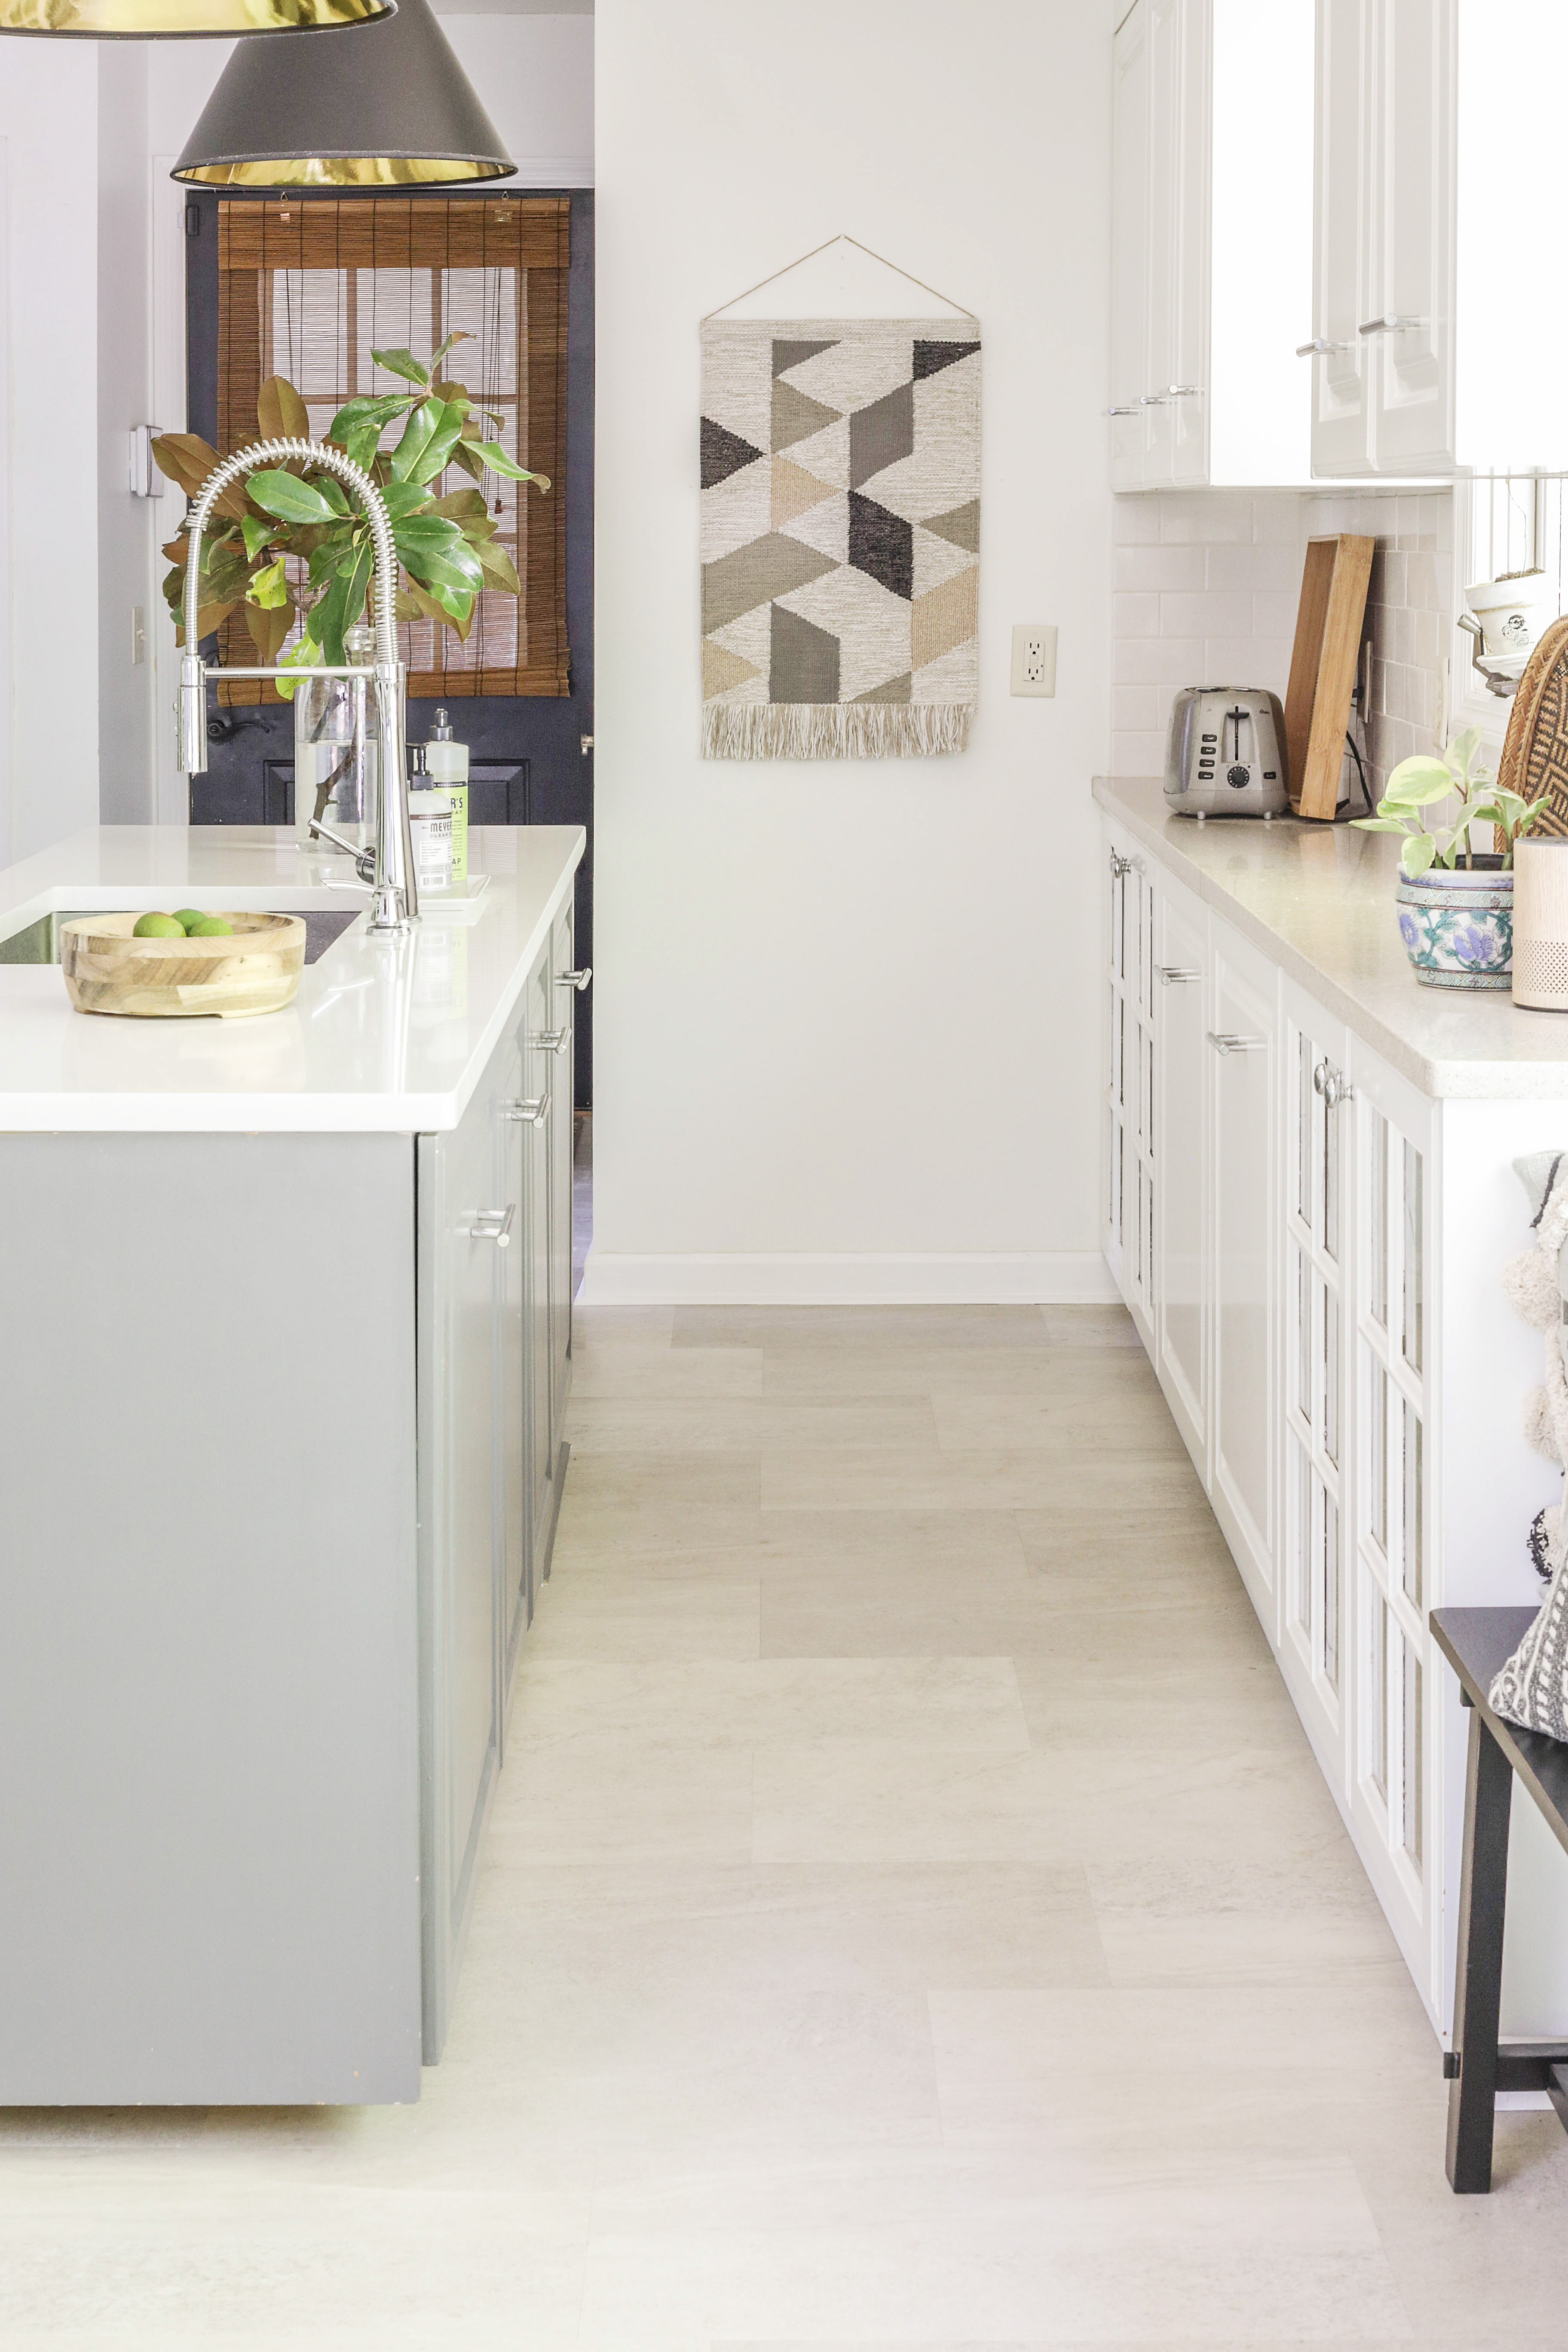
Luxury Vinyl Tile Over Existing Flooring- One Year Review
7 Vinyl Flooring Pros and Cons Worth Considering – Bob Vila

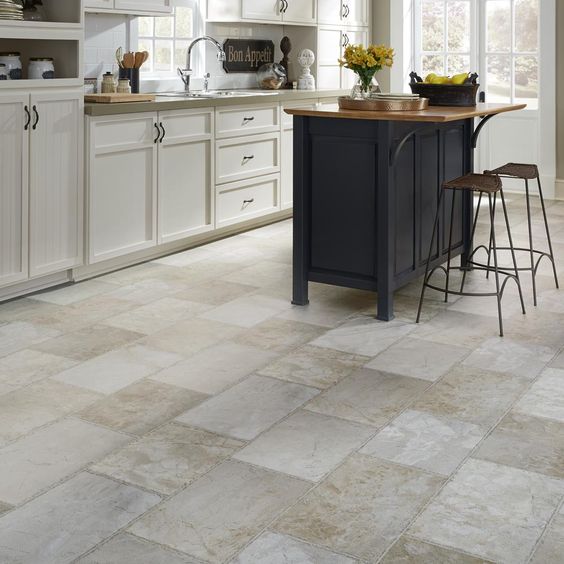
Choosing vinyl flooring for your kitchen- Tarkett Tarkett
DIY Flooring: How We Changed our Kitchen in 3 days for Less than
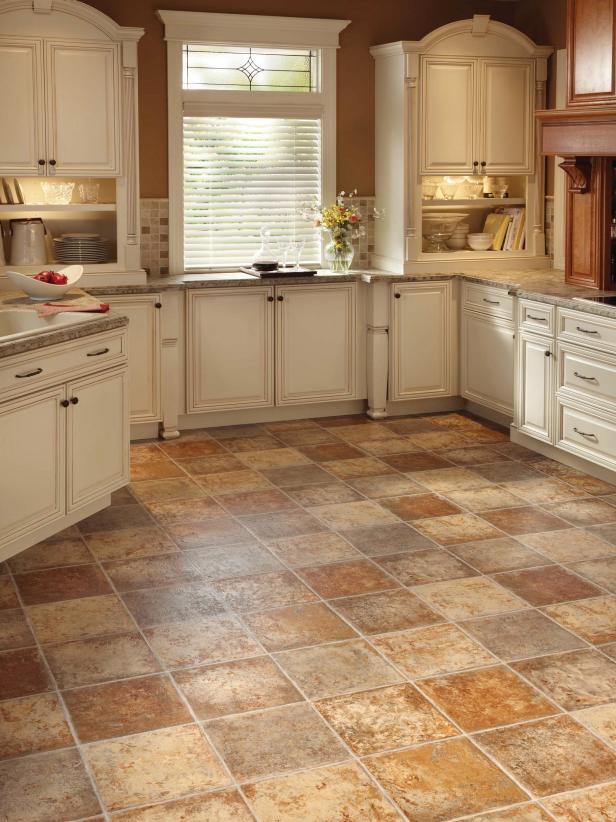
Vinyl Flooring in the Kitchen HGTV
Tips For Installing A Kitchen Vinyl Tile Floor merrypad

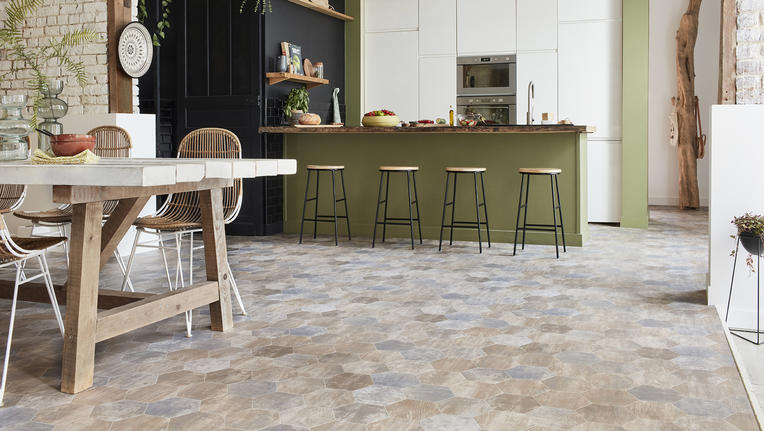
29 Vinyl Flooring Ideas With Pros And Cons – DigsDigs
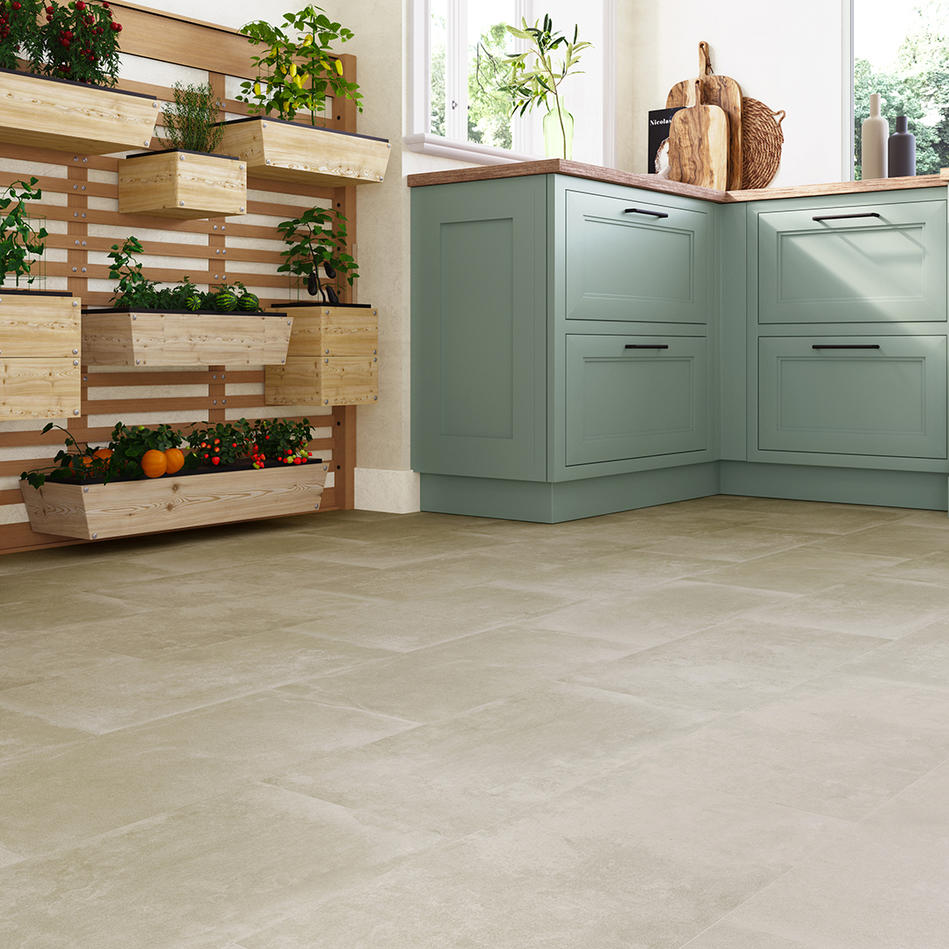
Stone Flex Tiles – Classic Collection
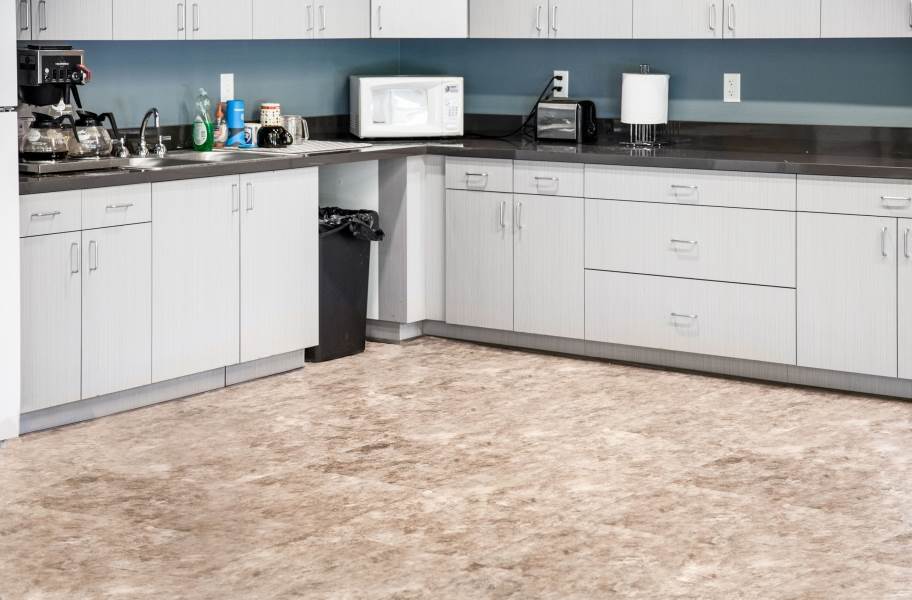
LVT Flooring Over Existing Tile the Easy Way – Vinyl Floor
Luxury Vinyl Flooring Tile LVT Flooring Harvey Maria

Related Posts:
- Commercial Kitchen Floor Paint
- Pictures Of Flooring For Kitchens
- How To Clean Sticky Kitchen Floor
- Light Grey Wood Floor Kitchen
- Decorative Padded Kitchen Floor Mats
- How To Clean Kitchen Floor With Baking Soda
- Carpetright Kitchen Flooring
- Kohls Kitchen Floor Mats
- Kitchen Floor Repair
- Brick Kitchen Floor Tile
Vinyl Flooring Kitchen Over Tiles: A Perfect Solution for a Stylish and Practical Upgrade
Introduction:
Vinyl flooring has become increasingly popular in recent years, thanks to its durability, affordability, and versatility. One area where vinyl flooring truly shines is in the kitchen, where it can be installed directly over existing tiles. This innovative solution offers homeowners a cost-effective way to transform their kitchen’s appearance without the hassle and expense of removing the existing tiles. In this article, we will explore the benefits of vinyl flooring in the kitchen, explain how to install it over tiles, address common concerns, and provide some useful tips for maintenance.
1. Why Choose Vinyl Flooring for Your Kitchen?
Vinyl flooring is an excellent choice for kitchens due to its many advantages. Firstly, it is highly durable and resistant to stains, water damage, scratches, and dents. This makes it ideal for areas prone to spills and heavy foot traffic like the kitchen. Secondly, vinyl flooring comes in a wide range of styles, colors, and patterns, allowing you to create a customized look that complements your kitchen decor. Whether you prefer a rustic hardwood appearance or a sleek modern design, there is a vinyl flooring option to suit every taste. Additionally, vinyl flooring is relatively easy to install and maintain compared to other flooring materials.
2. Installing Vinyl Flooring Over Existing Tiles:
Installing vinyl flooring over existing tiles is a cost-effective way to update your kitchen’s look without the need for extensive renovations. Here are the steps involved in this process:
Step 1: Preparation
Before starting the installation process, ensure that the existing tiles are clean and free from any debris or grease. Thoroughly sweep or vacuum the surface and mop it with a mild detergent solution if necessary. It is essential to have a smooth and level base for proper installation.
Step 2: Measure and Cut
Measure the dimensions of your kitchen carefully to determine how much vinyl flooring you will need. Allow for a 5-10% extra material to account for any mistakes or future repairs. Use a utility knife or vinyl cutter to cut the vinyl flooring into the desired shape and size, following the manufacturer’s instructions.
Step 3: Apply Adhesive
Apply a suitable adhesive recommended by the vinyl flooring manufacturer onto the back of the first piece of flooring using a trowel or roller. Start at one corner of the kitchen and work your way across, ensuring an even coat of adhesive is spread.
Step 4: Lay Down the Vinyl Flooring
Carefully lay down the first piece of vinyl flooring onto the adhesive, aligning it with the walls and any other reference points you may have marked. Press down firmly on the entire surface to ensure proper adhesion. Repeat this step for each subsequent piece, ensuring they are tightly butted together without any gaps.
Step 5: Trim Excess Material
Once all the vinyl flooring pieces are installed, trim any excess material along the edges using a utility knife or vinyl cutter. Take care not to damage the walls or cabinets during this process.
Step 6: Finishing Touches
After installation, use a heavy roller to press down on the entire surface of the vinyl flooring. This will help eliminate any air bubbles and ensure proper adhesion. Install baseboards or molding along the edges to give a polished finish to your new vinyl kitchen floor.
3. Frequently Asked Questions:
Q1: Will installing vinyl flooring over tiles cause any damage to them?
A1: No, properly installed vinyl flooring will Not cause any damage to the existing tiles. However, it is important to make sure that the tiles are clean and in good condition before installation to ensure a smooth and level base.
Q2: How durable is vinyl flooring in a kitchen setting?
A2: Vinyl flooring is known for its durability and resistance to moisture, stains, and scratches, making it an ideal choice for a kitchen. It can withstand heavy foot traffic and is easy to clean, making it a practical option for busy kitchens.
Q3: Can vinyl flooring be installed over other types of flooring besides tiles?
A3: Yes, vinyl flooring can be installed over various types of existing flooring, including hardwood, laminate, and concrete, as long as the surface is clean, dry, and level. However, it is recommended to consult with the manufacturer or a professional installer for specific guidelines based on the type of existing flooring.
Q4: How long does vinyl flooring typically last?
A4: With proper installation and maintenance, vinyl flooring can last anywhere from 10 to 20 years or more. Regular cleaning and avoiding excessive moisture can help prolong its lifespan.
Q5: Can vinyl flooring be repaired if it gets damaged?
A5: In most cases, vinyl flooring can be repaired if it gets damaged. Small scratches or cuts can often be repaired using a vinyl floor repair kit or by replacing individual planks or tiles. It is recommended to keep some extra pieces of the original vinyl flooring for future repairs.
Overall, installing vinyl flooring over existing tiles is a cost-effective and convenient way to update your kitchen’s look. With its wide range of design options and durability, vinyl flooring provides both style and practicality for any kitchen decor.