Wood Flooring is becoming more popular in homes all over the world. Lots of people choose a flooring material solely based on looks. Custom designs as include strips, medallions, accents as well as borders are ideal for foyers or perhaps entry areas because these are formal places. Distressed or aged flooring, the distinct collections of parquet flooring, there's engineered wood flooring as well as strip floors along with mosaic panels and end grains wood block floors.
Images about Wood Floor Texture Tile

The wood look comes from a thin veneer of the selected wood, which is pressed upon several levels of substrate. You'll additionally save the money that you will have spent on supplies as well as applications that are necessary for the installation. In case the flooring is porous, including hardwoods, it is a fort for harboring germs as well as microorganisms. The tough, worn, lived in overall look won't show the scratches as well as marks caused by day use.
ceramic wood floors tiles textures seamless
The types include solid wood, acrylic impregnated and engineered. Don't be shocked when a doctor recommends a wood floor for your joints and spine. If you already have a Reclaimed or perhaps Antique wood floor or perhaps are thinking about purchasing one, consider a small amount of History that is american is now or might be part of the home of yours.
Fine Wood Floor Texture: Background Images u0026 Pictures
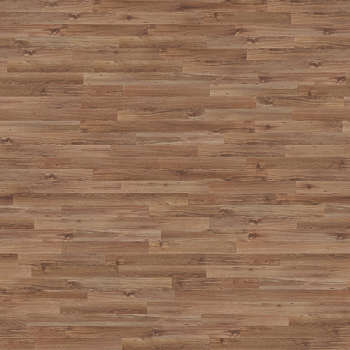
seamless wood texture u2013 wooden flooring
ceramic wood floors tiles textures seamless
Wood Texture Tile Images u2013 Browse 126,346 Stock Photos, Vectors
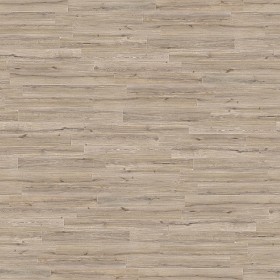
Oak Stretcher Seamless Texture u203a Architextures Wood tile texture

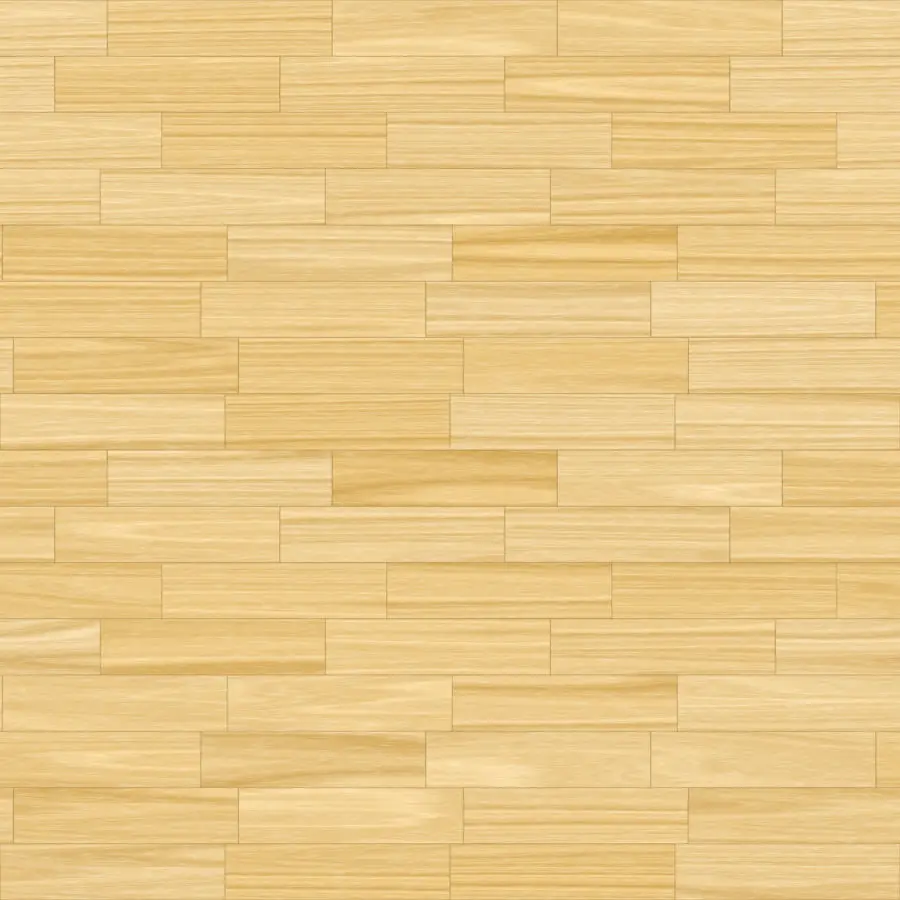
Bright Wooden Floor Texture [Tileable 2048×2048] by FabooGuy on

7,727 Wood Floor Texture Illustrations u0026 Clip Art – iStock

Fine Wood Floor Texture: Background Images u0026 Pictures
ceramic wood floors tiles textures seamless
Buy Wholesale China 150x800mm Ceramic Floor Tiles,ceramic Wooden

Nature Texture Laminate Wood Tile Rustic Ceramic Floor Tiles (600*150mm)

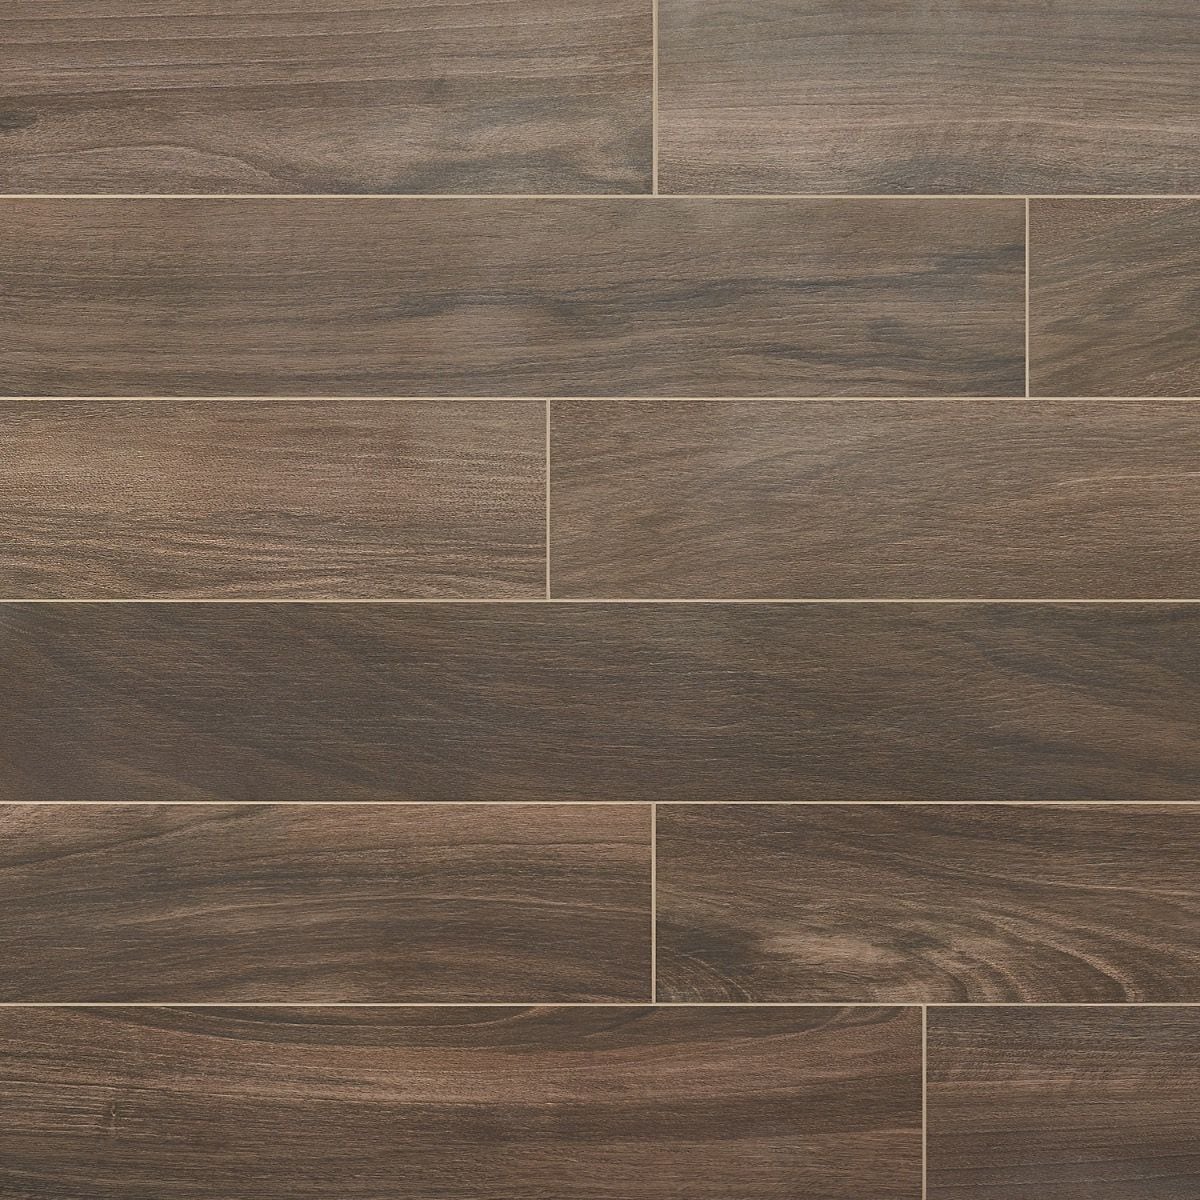
Artmore Tile Mulberry 6-Pack Walnut 8-in x 48-in Matte Porcelain Wood Look Floor and Wall Tile
Related Posts:
- Dark Hand Scraped Engineered Wood Flooring
- What Underlay Should I Use For Solid Wood Flooring
- Engineered Wood Flooring Installation Instructions
- Parquet Oak Wood Flooring
- Tileable Wood Floor Texture
- Industrial Wood Floor Cleaner
- Homes With Wood Flooring Pictures
- Engineered Wood Flooring Best Brands
- Laying Engineered Wood Flooring On Joists
- Pledge Wood Floor Cleaner Gallon
Wood Floor Texture Tile: Enhancing the Beauty and Elegance of Your Space
Introduction:
When it comes to interior design, few things can match the timeless appeal and natural warmth of wood flooring. However, installing traditional hardwood floors can be a costly and time-consuming process. Thankfully, there is a solution that combines the beauty of wood with the convenience of tiles – wood floor texture tiles. In this article, we will explore everything you need to know about wood floor texture tiles, from their benefits and installation process to maintenance tips and frequently asked questions.
Benefits of Wood Floor Texture Tiles:
1. Authentic Appearance:
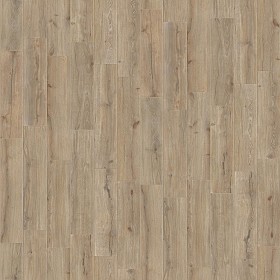
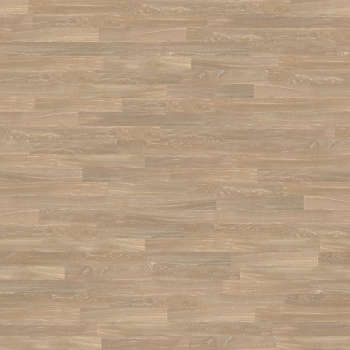
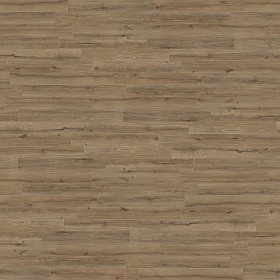
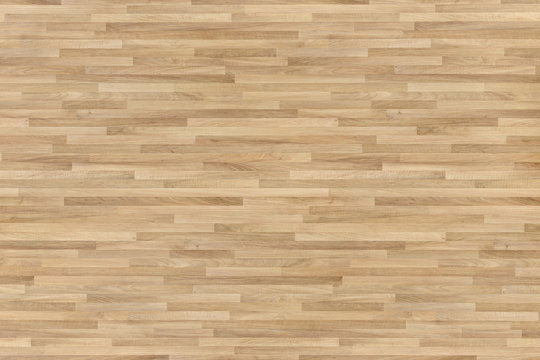
Wood floor texture tiles are meticulously designed to replicate the look and feel of natural hardwood flooring. With their intricate grain patterns, knots, and realistic textures, these tiles offer an authentic aesthetic that can easily fool even the most discerning eye.
2. Versatility:
One of the key advantages of wood floor texture tiles is their versatility. Unlike traditional hardwood flooring, these tiles can be installed in any room of your home, including areas with high moisture levels such as bathrooms and kitchens. This makes them an ideal choice for achieving a cohesive look throughout your living space.
3. Durability:
Wood floor texture tiles are engineered to withstand heavy foot traffic, making them a durable flooring option for both residential and commercial settings. These tiles are resistant to scratches, stains, fading, and moisture damage, ensuring longevity and reducing the need for frequent repairs or replacements.
4. Easy Installation:
Installing wood floor texture tiles is a straightforward process that can be completed without professional assistance. These tiles often come in a convenient interlocking design, allowing for easy DIY installation. With just a few simple tools and basic knowledge, you can transform your space with minimal effort.
FAQs:
Q: Can wood floor texture tiles be installed over existing flooring?
A: Yes! Wood floor texture tiles can be installed directly over existing flooring such as laminate, vinyl, or even concrete. However, it is important to ensure that the surface is clean, level, and free from any debris before installation.
Q: Can wood floor texture tiles be used in high-moisture areas?
A: Absolutely! One of the greatest advantages of wood floor texture tiles is their ability to withstand moisture. These tiles are typically made from materials like porcelain or ceramic, which are naturally resistant to water damage. As a result, they can be safely installed in bathrooms, kitchens, and other areas prone to moisture.
Q: Are wood floor texture tiles suitable for radiant heating systems?
A: Yes! Wood floor texture tiles are compatible with radiant heating systems. In fact, these tiles can help enhance the efficiency of your heating system by conducting heat more effectively compared to traditional hardwood flooring.
Installation Process:
1. Preparing the Subfloor:
Before installing wood floor texture tiles, it is crucial to prepare the subfloor properly. Start by removing any existing flooring material and ensuring that the subfloor is clean and level. If necessary, use a self-leveling compound to correct any unevenness.
2. Measuring and Planning:
Measure the dimensions of your room accurately to determine the number of tiles required. Additionally, plan the layout of the tiles to ensure a balanced and visually pleasing arrangement. Remember to account for expansion gaps around the perimeter of the room.
3. Applying Adhesive:
Apply a suitable adhesive recommended by the tile manufacturer onto the subfloor using a trowel. Spread an even layer of adhesive over a small area at a time to prevent Any of it from drying before the tiles are installed. Make sure to follow the manufacturer’s instructions for the adhesive application process.
4. Installing the Tiles:
Start by laying the first tile in one corner of the room, pressing it firmly into the adhesive. Use spacers to maintain consistent gaps between tiles for grout lines. Continue installing the tiles, working your way across the room, making sure they are aligned and level.
5. Cutting Tiles:
If necessary, use a tile cutter or wet saw to cut tiles to fit around corners, edges, or obstacles. Measure carefully and mark the tiles before cutting to ensure accurate and precise cuts.
6. Grouting:
Once all the tiles are installed and the adhesive has dried, remove the spacers and mix grout according to the manufacturer’s instructions. Apply the grout using a grout float, spreading it over the tile surface and filling in the gaps between tiles. Remove excess grout with a damp sponge and let it dry according to the manufacturer’s recommendations.
7. Finishing Touches:
After the grout has dried completely, clean the tiles with a damp cloth or mop to remove any remaining residue. Seal the grout if desired for added protection against stains and moisture. Finally, install any necessary transition strips or moldings to complete the installation process.