It’s your responsibility to let your creativity flow and choose flooring which best suits the bathroom of yours. This is much better than the other three options because moisture finds it challenging to penetrate through this sort of bathroom flooring. The best part about utilizing bathroom floor vinyl tiles is that you can do it yourself. The most used bathroom floor tiles suggestions is using ceramic flooring.
Images about Bathroom Flooring Wood Look
These tiles come in a variety of colors and are Environmentally friendly too. Lastly, if you’re after design as well as quality for the luxury bath room designs of yours, stone flooring. Sky blue, reddish, yellow or green grout adds color and an aspect of enjoyable to the bathroom.
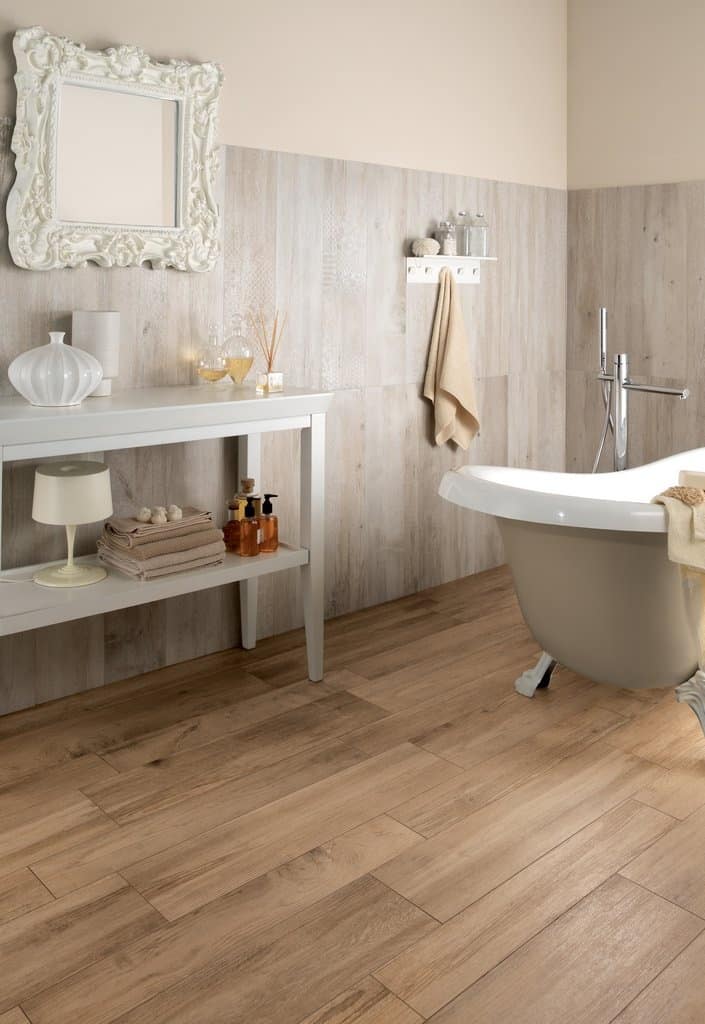
Wood-Look Floor Tile at the Festive Farmhouse Atlas Concorde USA

You will find numerous things that have to be taken into account when choosing the floor for the bathroom of yours. It’s readily available in many wood-style finishes that will help make your bathroom look impressive. You are able to likewise go in for hardwood floors for your bathroom. to be able to squeeze in a dash of color, combine light solid colors like white or perhaps cream with colored flooring at the border.
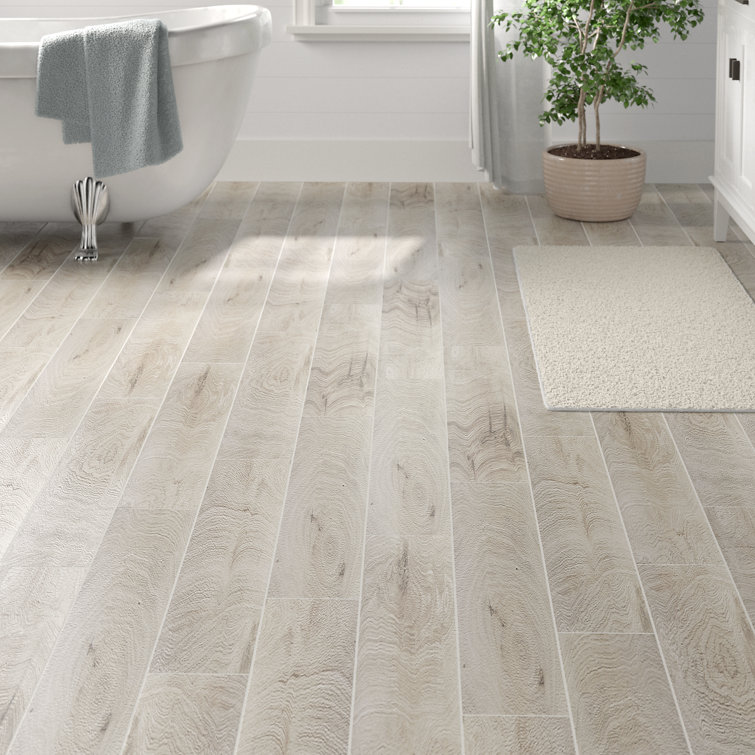
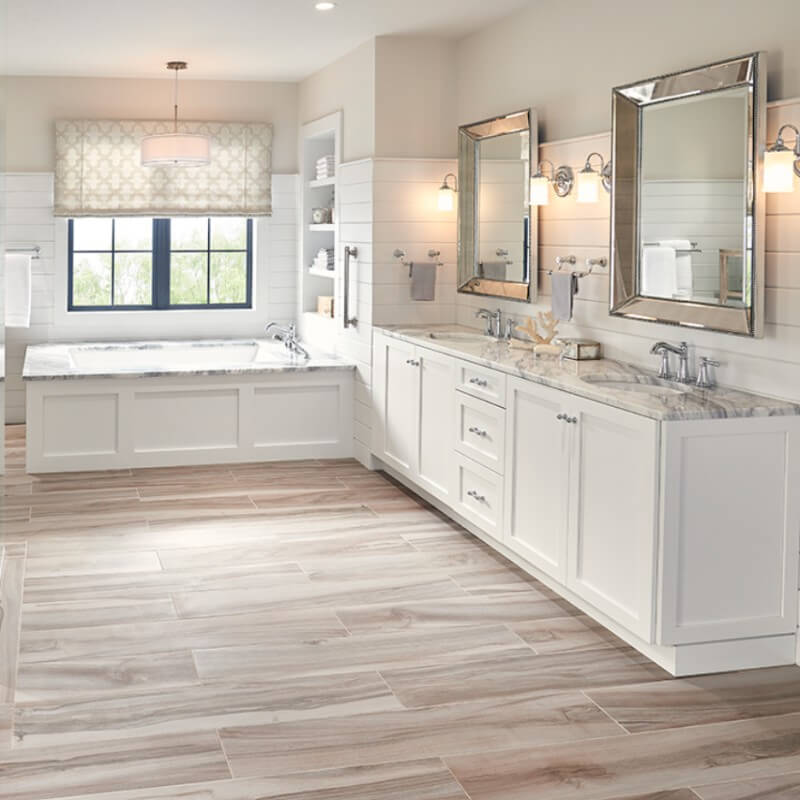
Willow Kilauea 12×24 Wood Look Porcelain Tile

How to Keep Bathroom Floors Warm in the Winter

Elements of Design: Fun Bathroom Flooring – Sinkology

Design Style In-Depth: Bathroom Flooring Re-Bath

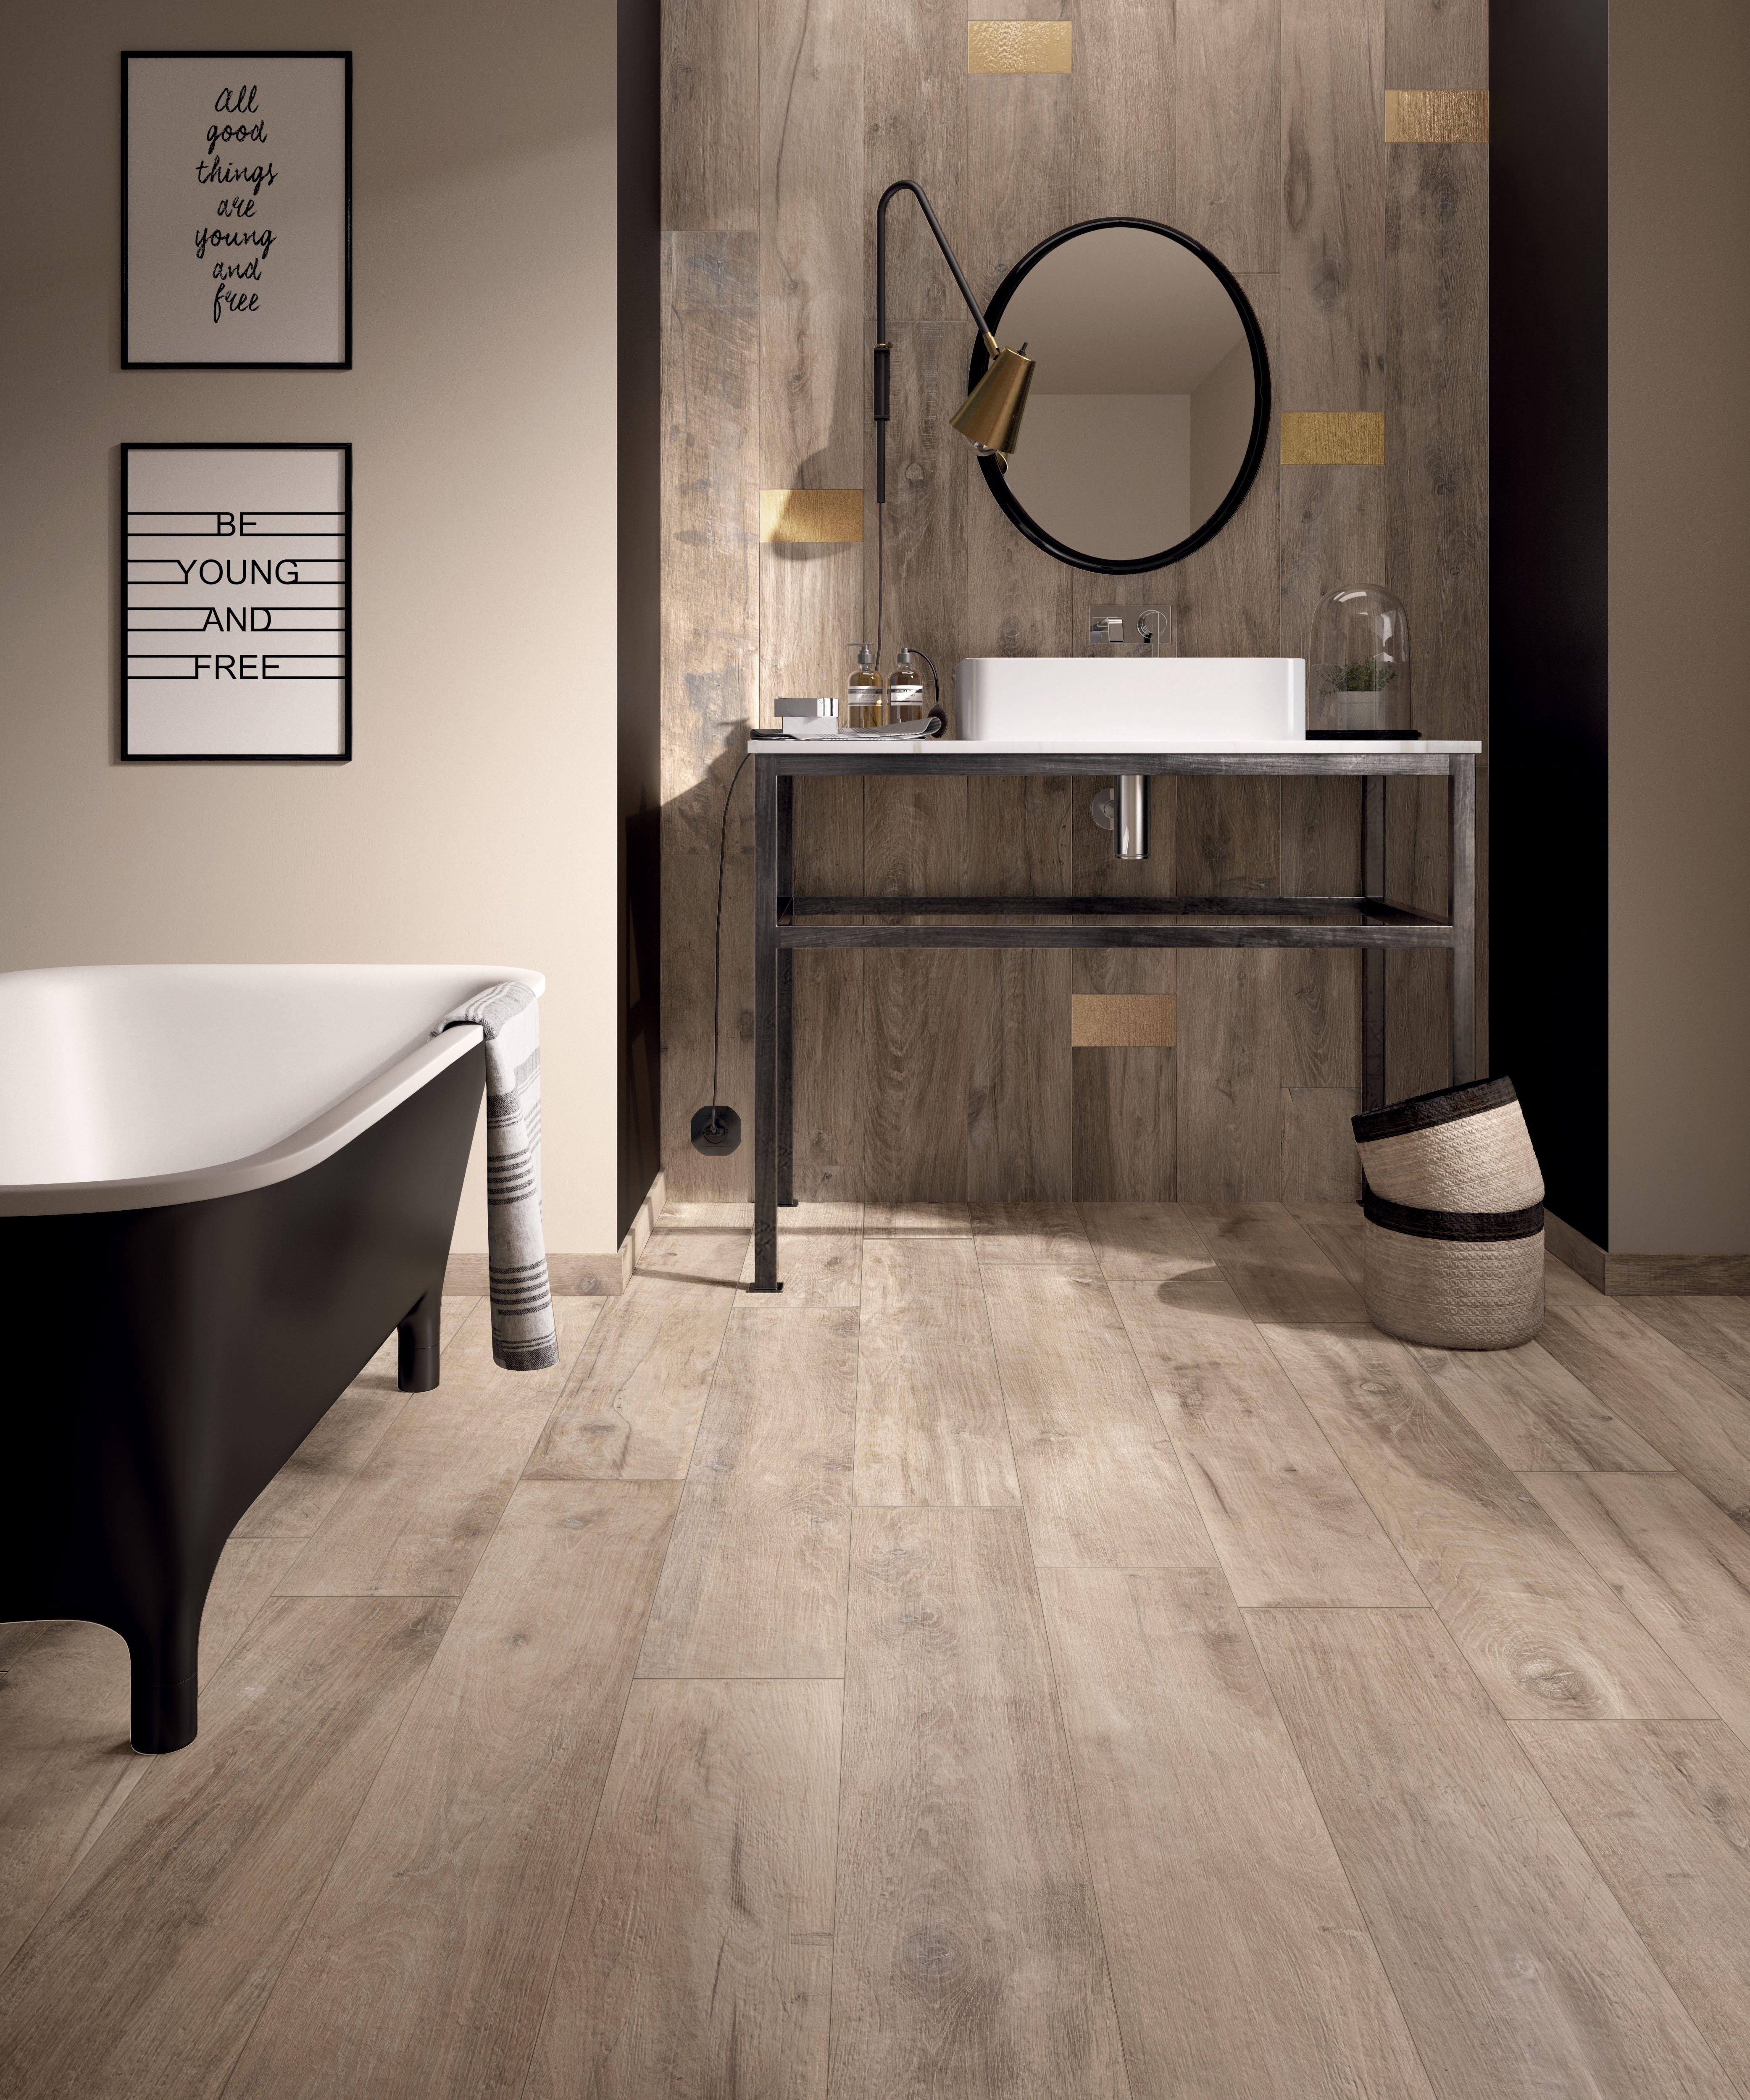
Wood Look Tile: 17 Distressed, Rustic, Modern Ideas
The Word on Wood-look Tile
Is Wood Look Porcelain Tile A Good Choice When Remodeling
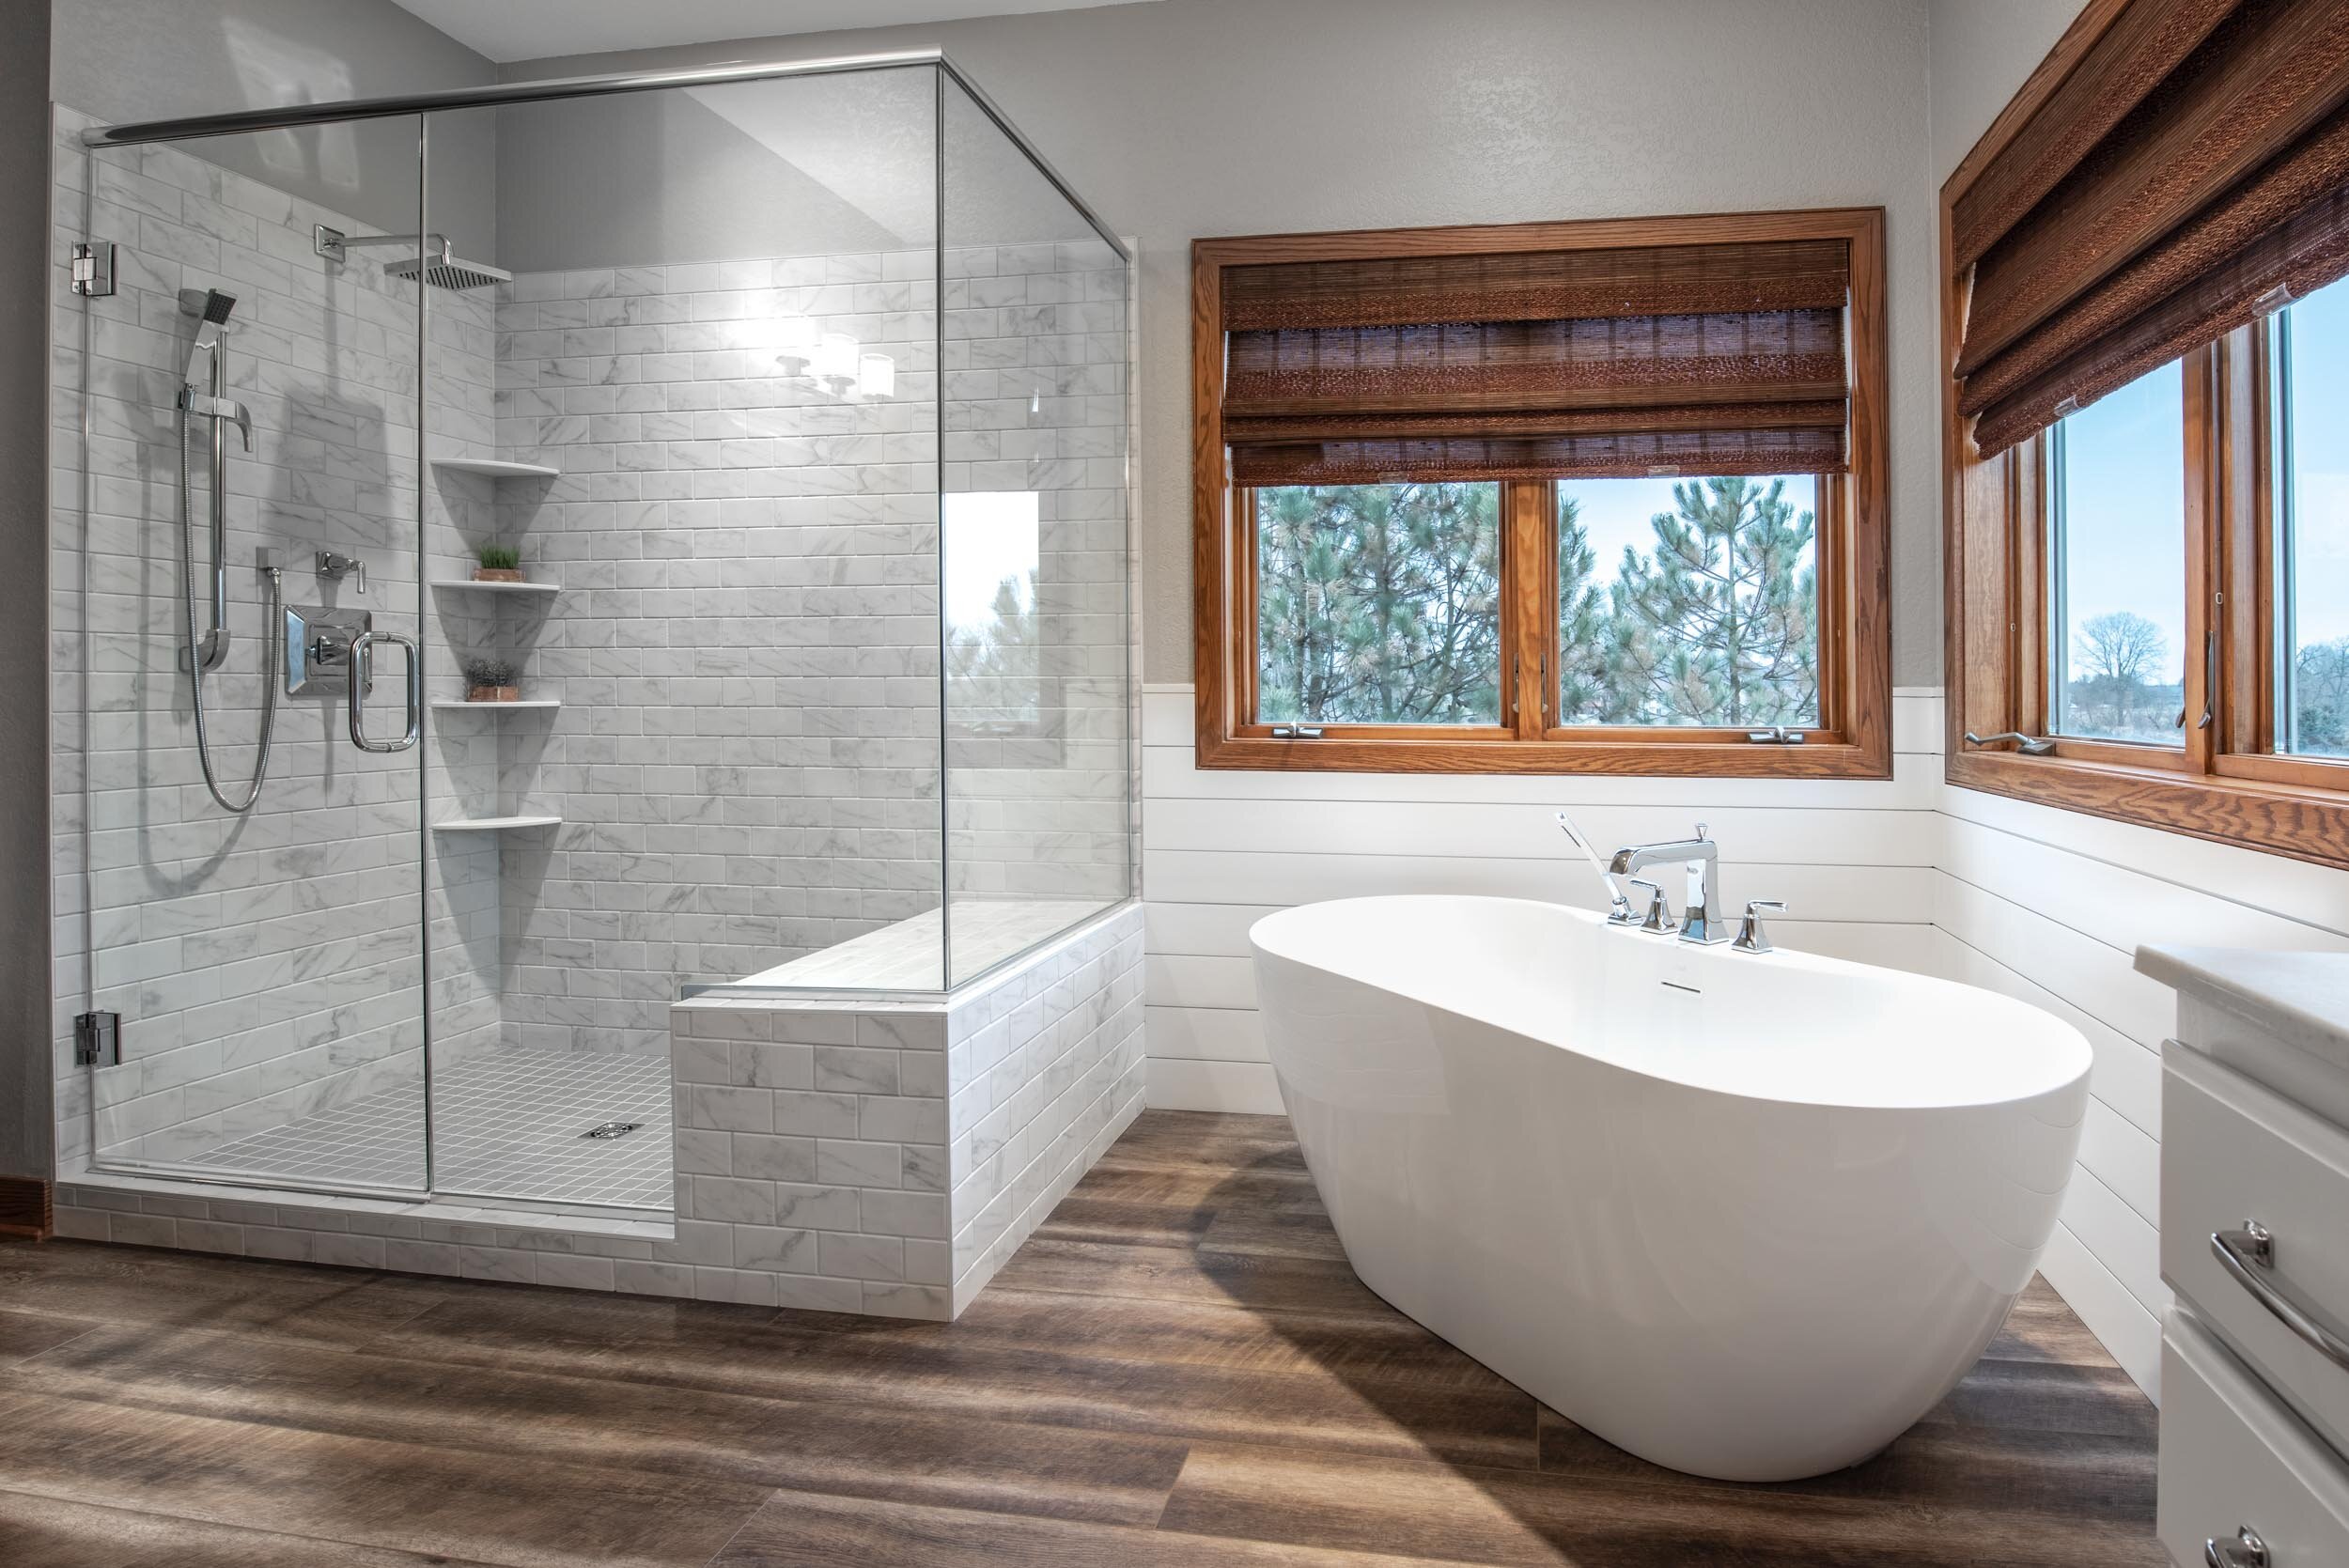
15 Ideas for Wood Floors in Bathrooms
:max_bytes(150000):strip_icc()/traditional-bathroom-57feaca03df78cbc286997d1.jpg)
Wood Tile Bathroom Floor on Sale, 57% OFF www.ingeniovirtual.com

15 Ideas for Wood Floors in Bathrooms
/luxurious-bathroom-157434905-5c55ffc146e0fb0001c089a0.jpg)
Lux Wood Faux wood tiles, Bathroom flooring, Home

Wood Look Ceramic Tile: All the Warmth and Style of Real Wood
Related Posts:
- Modern Bathroom Floor Tile Ideas
- Small Ensuite Bathroom Floor Plans
- Jack And Jill Bathroom Floor Plan Ideas
- Ensuite Bathroom Floor Plans
- Bathroom Flooring Wickes
- Warm Feel Bathroom Floor Tiles
- Black Tile Bathroom Floor Ideas
- Luxury Bathroom Floor Plans
- Bathroom Floor Heating System
- Small Grey Floor Tiles
Bathroom Flooring Wood Look: The Perfect Blend of Elegance and Durability
Introduction:
When it comes to bathroom flooring, it is important to strike a balance between style and functionality. One option that has gained immense popularity in recent years is bathroom flooring with a wood look. This innovative flooring solution offers the timeless beauty of wood while providing the durability and water resistance required for a bathroom environment. In this article, we will explore the various aspects of bathroom flooring with a wood look, from its benefits and installation process to maintenance tips and frequently asked questions.
Benefits of Bathroom Flooring Wood Look:
1. Aesthetics: One of the key advantages of bathroom flooring with a wood look is its ability to add warmth and elegance to any bathroom space. With advancements in technology, manufacturers have successfully replicated the natural patterns, textures, and colors found in real wood, providing homeowners with a wide range of options to choose from.
2. Water Resistance: Unlike traditional hardwood floors, bathroom flooring with a wood look is specifically designed to withstand moisture and water exposure. These floors are typically made from materials such as luxury vinyl planks (LVP), porcelain tile, or engineered hardwood, all of which offer excellent water resistance properties. This ensures that your bathroom floor remains free from warping, swelling, or damage caused by water spills or high humidity levels.
3. Durability: Another significant advantage of bathroom flooring with a wood look is its exceptional durability. The materials used in these floors are engineered to withstand heavy foot traffic, making them ideal for bathrooms that experience frequent use. Additionally, they are resistant to scratches, stains, and fading, ensuring that your floor retains its pristine appearance for years to come.
4. Easy Maintenance: Cleaning and maintaining bathroom flooring with a wood look is a breeze compared to traditional hardwood floors. These floors can be easily swept or vacuumed to remove dust and debris. Additionally, they can be mopped using gentle cleaning solutions, making it convenient for homeowners to keep their bathroom floors spotless.
Installation Process:
The installation process of bathroom flooring with a wood look will vary depending on the chosen material. Here, we will discuss the installation process for two popular options: luxury vinyl planks and porcelain tile.
1. Luxury Vinyl Planks (LVP):
a. Prepare the Subfloor: Ensure that the subfloor is clean, dry, and level. Remove any existing flooring and repair any imperfections or unevenness.
b. Acclimate the Planks: Allow the LVP to acclimate to the room temperature and humidity for at least 48 hours before installation.
c. Measure and Cut: Measure the dimensions of the room and cut the planks accordingly, leaving a small gap around the edges for expansion.
d. Install Underlayment: Lay down a suitable underlayment to provide additional cushioning and moisture protection.
e. Install the Planks: Begin installing the planks from one corner of the room, using adhesive or a click-lock system as per manufacturer instructions.
f. Trim and Finish: Trim any excess planks along the edges and install baseboards or trim to complete the look.
2. Porcelain Tile:
a. Prepare the Subfloor: Similar to LVP installation, ensure that the subfloor is clean, dry, and level.
b. Plan Layout: Plan the layout of your tiles, considering factors such as tile size, pattern, and transitions between different areas.
c. Apply Mortar or Thinset: Apply mortar or thinset To the subfloor using a trowel, ensuring even coverage.
d. Lay the Tiles: Begin laying the tiles, starting from one corner and working your way across the room. Use tile spacers to maintain consistent spacing between tiles.
e. Cut Tiles as Needed: Use a tile cutter or wet saw to cut tiles to fit along edges and corners.
f. Allow Mortar to Cure: Allow the mortar to cure for the recommended time before proceeding.
g. Apply Grout: Apply grout to the spaces between tiles, using a grout float and wiping away excess grout with a damp sponge.
h. Seal the Grout: Once the grout has dried, apply a grout sealer to protect against stains and moisture.
i. Clean and Finish: Clean the tiles thoroughly and apply any desired finishing touches, such as baseboards or trim.
Overall, bathroom flooring with a wood look offers numerous benefits in terms of style, water resistance, durability, and easy maintenance. The installation process may vary depending on the chosen material but generally involves preparing the subfloor, measuring and cutting the flooring, installing underlayment (if necessary), laying down the planks or tiles, trimming and finishing, and cleaning and sealing as needed. When installing luxury vinyl planks (LVP), it is important to prepare the subfloor by ensuring it is clean, dry, and level. Any existing flooring should be removed and any imperfections or unevenness should be repaired. The LVP should then be acclimated to the room temperature and humidity for at least 48 hours before installation. Measure the dimensions of the room and cut the planks accordingly, leaving a small gap around the edges for expansion. Lay down a suitable underlayment to provide additional cushioning and moisture protection. Begin installing the planks from one corner of the room, using adhesive or a click-lock system as per manufacturer instructions. Trim any excess planks along the edges and install baseboards or trim to complete the look.
When installing porcelain tile, similar steps should be followed for preparing the subfloor. Plan the layout of your tiles, considering factors such as tile size, pattern, and transitions between different areas. Apply mortar or thinset to the subfloor using a trowel, ensuring even coverage. Begin laying the tiles from one corner and work your way across the room. Use tile spacers to maintain consistent spacing between tiles. Cut tiles as needed using a tile cutter or wet saw to fit along edges and corners. Allow the mortar to cure for the recommended time before proceeding. Apply grout to the spaces between tiles, using a grout float and wiping away excess grout with a damp sponge. Once the grout has dried, apply a grout sealer to protect against stains and moisture. Clean the tiles thoroughly and apply any desired finishing touches, such as baseboards or trim.
Overall, both luxury vinyl planks and porcelain tile offer benefits in terms of style, water resistance, durability, and easy maintenance for bathroom flooring with a wood look. The installation process may vary depending on the chosen material but generally involves preparing the subfloor, measuring and cutting the flooring, installing underlayment (if necessary), laying down the planks or tiles, trimming and finishing, and cleaning and sealing as needed.