Honestly speaking, choosing the perfect flooring is important because it determines your comfort level and it influences the hygiene of your home sweet home. It is accessible in a large mixed bag of shades and grains and yes it may be created doing strips, boards, or parquet squares. It will additionally be long lasting and long-lasting and even being easy to clean and maintain.
Images about Best Way To Tile A Kitchen Floor

This sort of flooring is an excellent choice for kitchen, particularly for people who love to walk bare footed. Just to illustrate, floors with light or neutral hues create an impression of room & light, whilst more powerful colors may perhaps work in a compact kitchen area, however not in a bigger one. When selecting materials for kitchen flooring, you must consider materials that are both durable and beautiful.
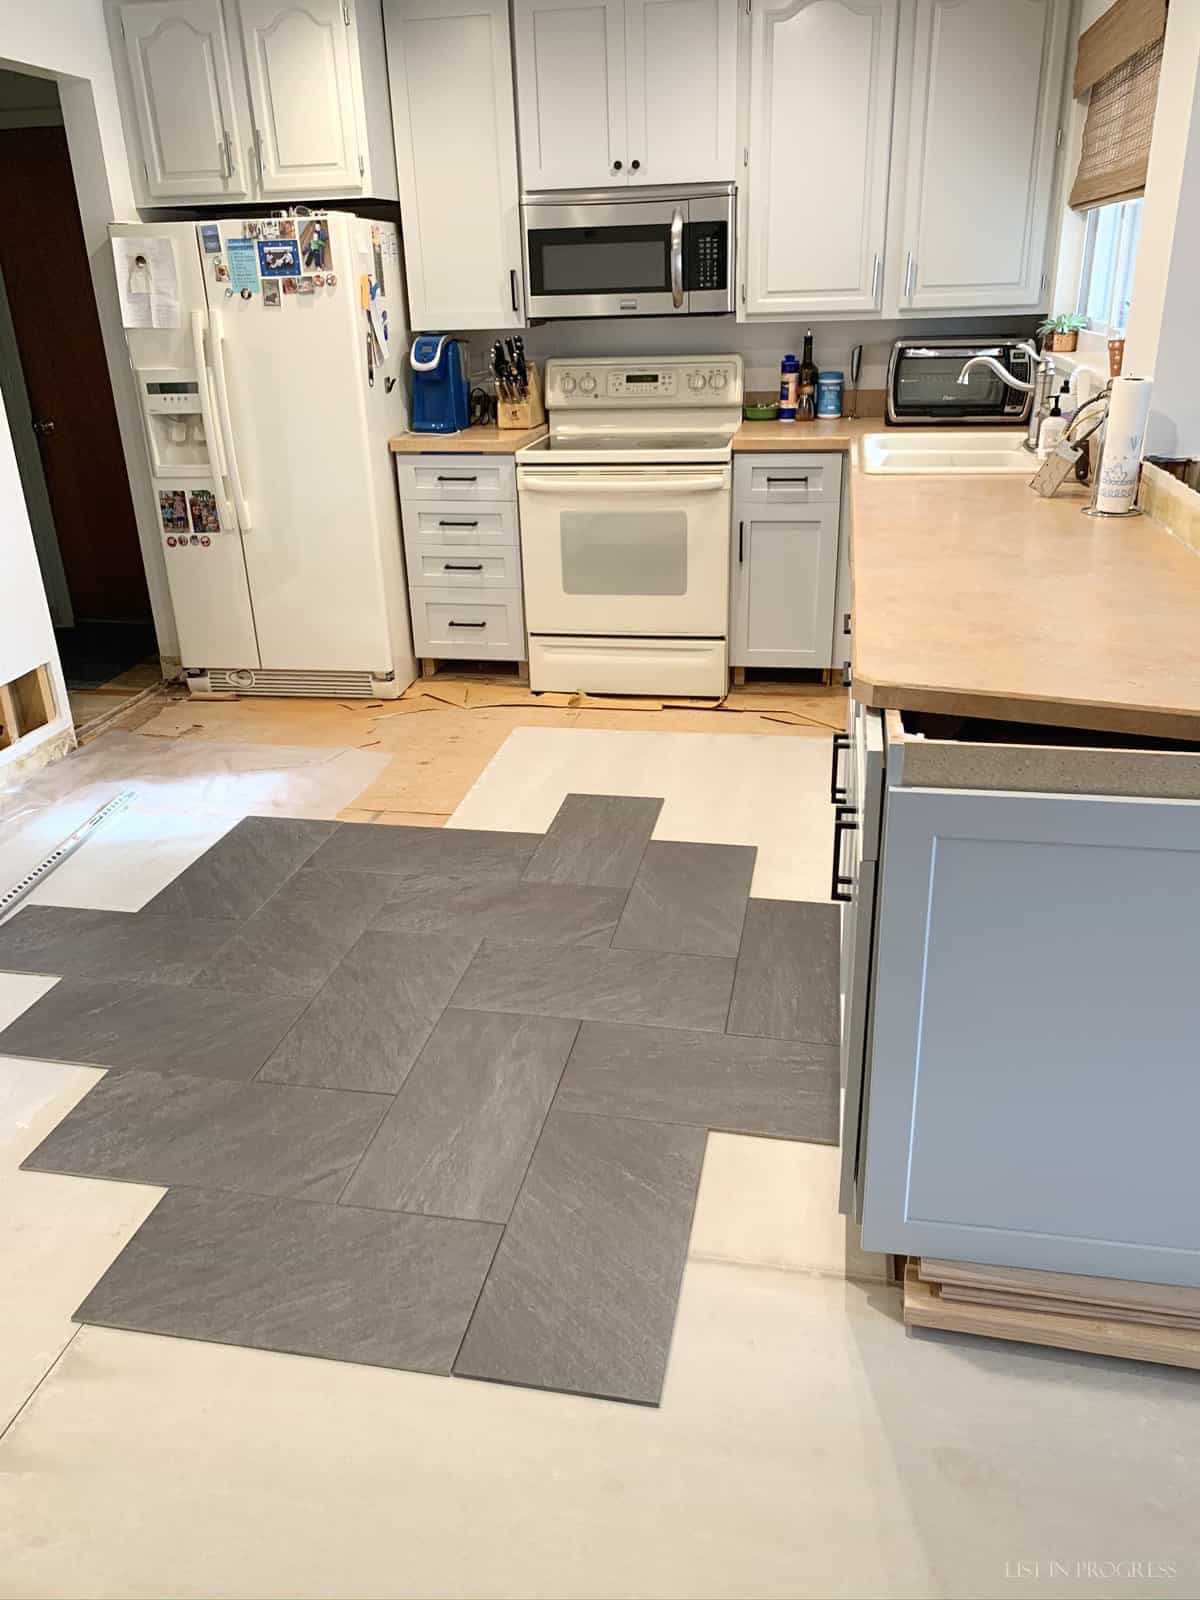
Choosing a Kitchen Floor Tile Layout – List in Progress
Laminate features a thick plastic coating to make it easy to clean and maintain. One of the primary appeals of laminate is the point that it is able to mimic many other kitchen flooring selection with ease and at a significantly lower cost. You should in addition stay away from using household cleaners on the bamboo kitchen floor of yours. Don't forget to make an actual structure to finalize the kitchen flooring structure of yours before permanently attaching them on the floor.
Kitchen Tile Flooring Options How to Choose the Best Kitchen
10 Timeless Kitchen Floor Tile Ideas Youu0027ll Love
/Ginny_Macdonald_Cement_Tile-1-7e924d265eac46d8816f785376d89a4f.jpeg)
Kitchen Tile Flooring Options How to Choose the Best Kitchen

10 Best Kitchen Floor Tile Ideas u0026 Pictures – Kitchen Tile Design

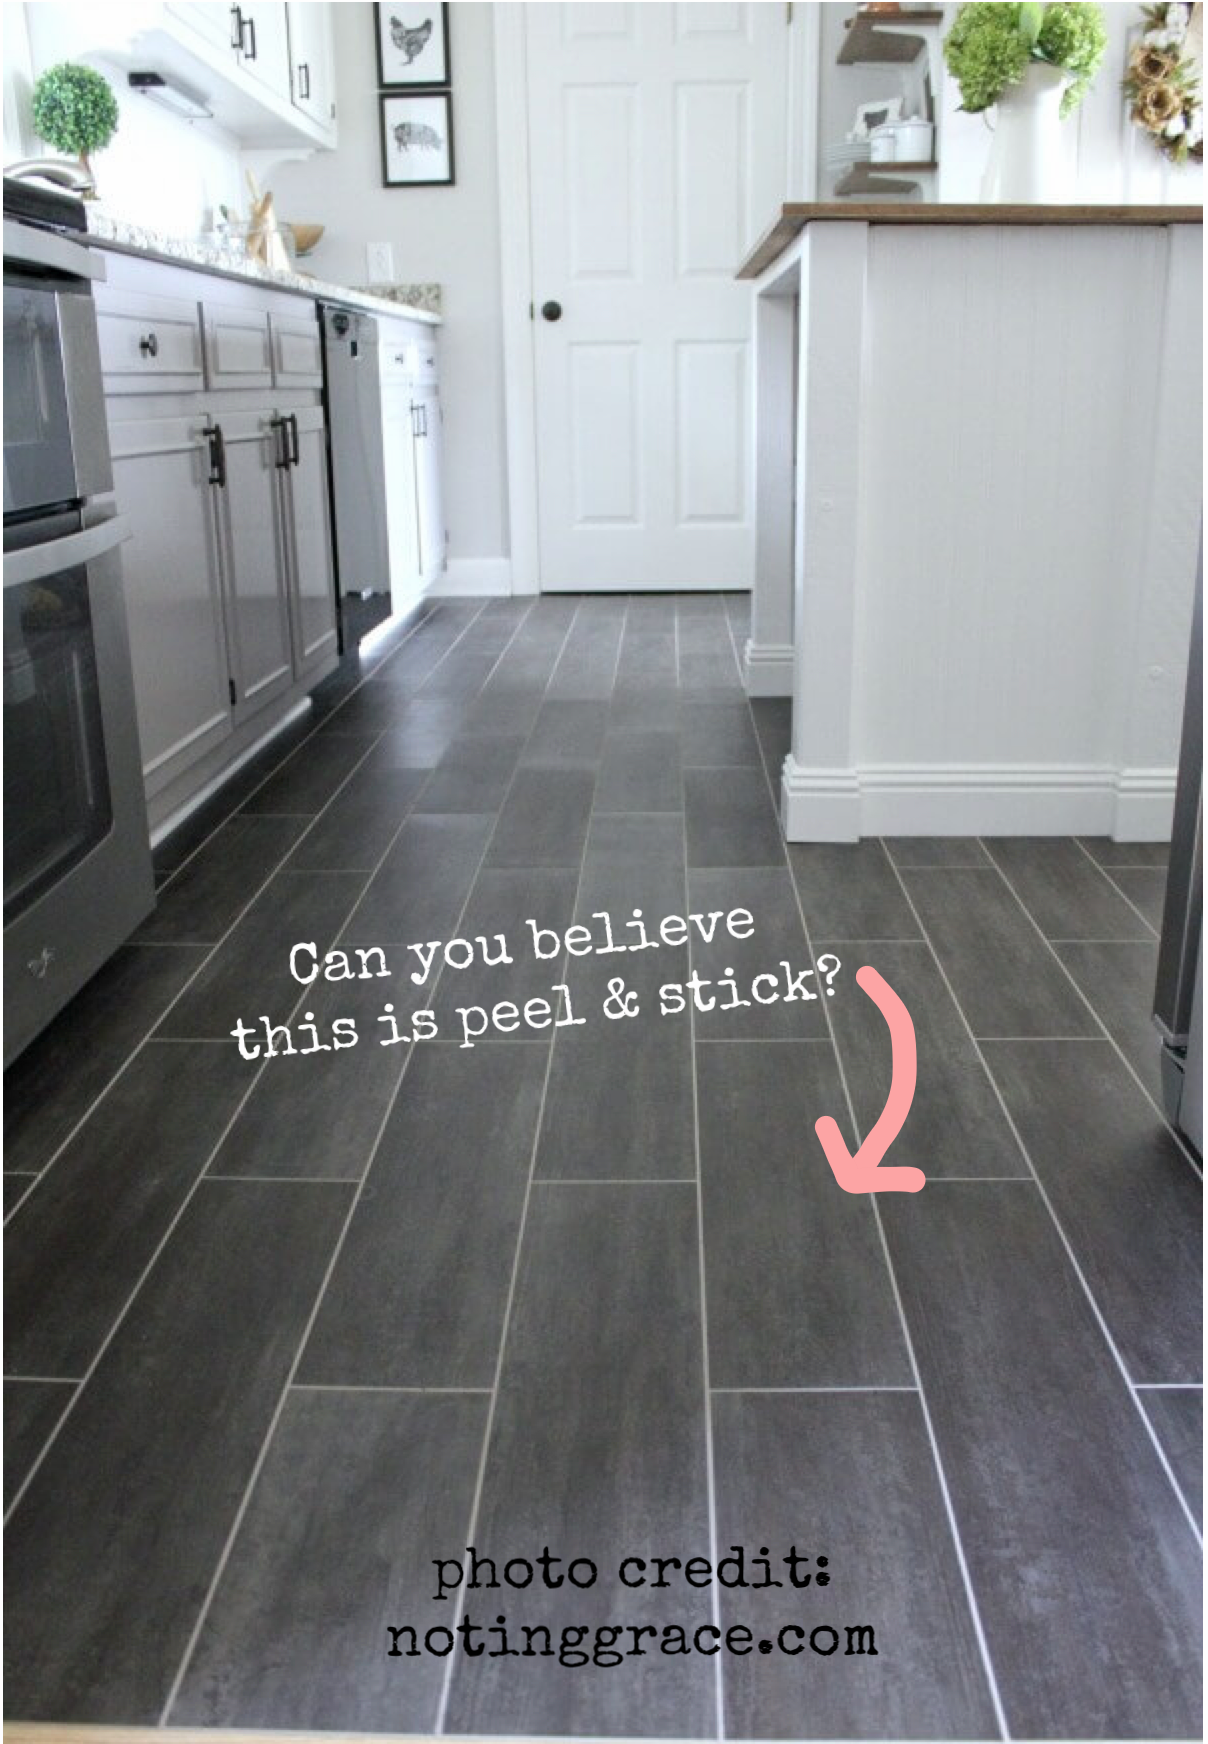
Tips For Installing A Kitchen Vinyl Tile Floor merrypad

Kitchen Flooring Materials and Ideas – This Old House
/cdn.vox-cdn.com/uploads/chorus_image/image/66592835/May_June2019_sleek_pulls.0.jpg)
Ideas for Covering Up Tile Floors Without Removing It u2014 The Decor
Tiles or Cabinets? Which Comes First?
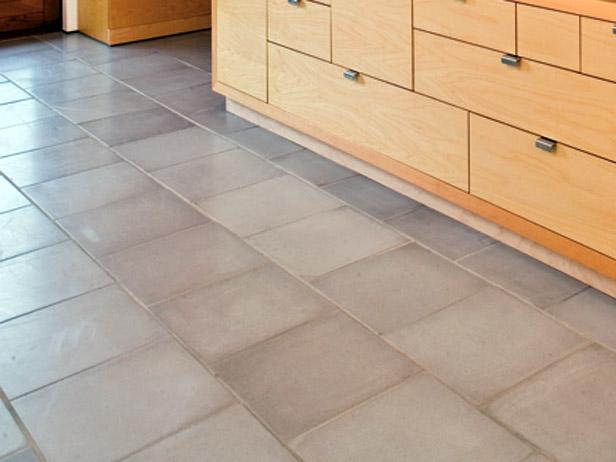
The Complete Guide to Kitchen Floor Tile Why Tile®

10 Timeless Kitchen Floor Tile Ideas Youu0027ll Love
:max_bytes(150000):strip_icc()/reagentaylor-f6a95eaf6b534168b57278dbe0c7168b.jpeg)
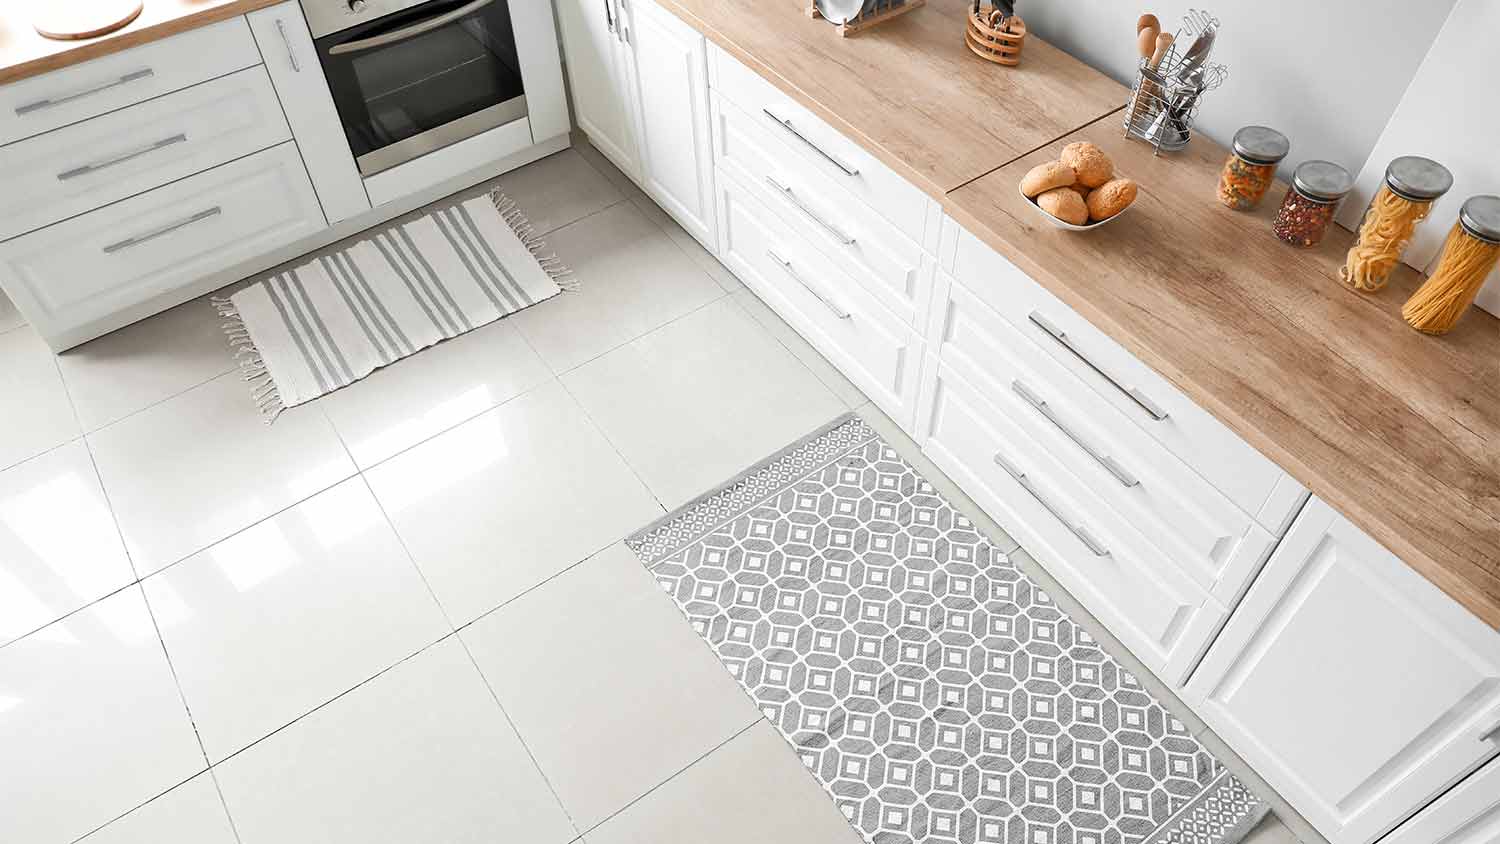
Kitchen Floor Tiles: How To Choose Easy Maintenance Tiles

10 Best Kitchen Floor Tile Ideas u0026 Pictures – Kitchen Tile Design

Related Posts:
- Blue Vinyl Kitchen Flooring
- Tile Colors For Kitchen Floor
- Floor Tiles To Match Cream Kitchen
- How To Fit Vinyl Flooring In Kitchen
- Free Kitchen Floor Plan Templates
- Best Way To Clean Kitchen Floor Mats
- Sustainable Kitchen Flooring
- Kitchen Bath And Flooring Canoga Park
- Tiling Kitchen Floor Without Removing Cabinets
- Covering Floor Tiles In Kitchen
Title: Mastering the Art of Tiling: The Best Way to Tile a Kitchen Floor
Introduction:
The kitchen is the heart of any home, and a well-tiled floor can enhance its beauty, durability, and functionality. However, tiling a kitchen floor requires careful planning and execution to achieve professional results. In this comprehensive guide, we will explore the best way to tile a kitchen floor, covering everything from preparation to grouting and maintenance.
I. Preparing the Subfloor:
Before diving into the tiling process, it is crucial to ensure that the subfloor is clean, level, and properly prepared. Follow these steps for an optimal foundation:
1. Remove existing flooring: Start by removing any old flooring material, such as vinyl or carpet, down to the bare subfloor. Use a pry bar or scraper to lift off any residue or adhesive.
2. Repair and level the subfloor: Inspect the subfloor for any damages or unevenness. Fill in cracks or gaps using a suitable filler compound and sand down any high spots to create a smooth surface.
3. Clean the subfloor: Thoroughly clean the subfloor with a broom or vacuum cleaner to remove all dust, debris, and loose particles. This step ensures proper adherence of tiles.
FAQs:
Q1: Can I tile over an existing kitchen floor?
A1: It is generally recommended to remove the existing flooring before tiling a kitchen floor. Tiling over an old floor may result in unevenness and compromise the overall integrity of your new tile installation.
Q2: How do I determine if my subfloor is level?
A2: To check for levelness, place a long straightedge (such as a level) across various points on the subfloor. If you notice gaps between the straightedge and the floor surface exceeding 1/8 inch, you may need to address those areas before proceeding with tiling.
II. Selecting the Right Tiles:
Choosing the right tiles for your kitchen floor is essential for both aesthetics and practicality. Consider the following factors:
1. Material: Opt for tiles that are durable, water-resistant, and suitable for high-traffic areas. Popular options include ceramic, porcelain, and natural stone tiles.
2. Size and shape: Determine the ideal tile size based on your kitchen’s dimensions. Larger tiles can create an illusion of spaciousness, while smaller tiles offer more design flexibility.
3. Style and color: Coordinate your tile choice with the overall kitchen theme and color scheme. Light-colored tiles can make a small kitchen appear larger, while darker shades add warmth and depth.
FAQs:
Q1: Are porcelain tiles better for kitchen floors than ceramic tiles?
A1: Porcelain tiles are generally denser, more durable, and less porous than ceramic tiles, making them an excellent choice for kitchen floors. However, both options can be suitable depending on your specific needs and preferences.
Q2: What is the best tile size for a small kitchen?
A2: In a smaller kitchen, using larger-sized tiles (such as 12×24 inches) can visually expand the space. However, it’s advisable to choose a size proportionate to your kitchen’s dimensions to maintain balance.
III. Planning the Tile Layout:
Proper planning of the tile layout is crucial to ensure symmetry, avoid awkward cuts, and achieve a professional finish. Follow these steps:
1. Measure the room: Accurately measure the length and width of your Kitchen floor to determine the total square footage. This will help you calculate the number of tiles needed for the project.
2. Consider tile orientation: Decide whether you want to lay the tiles horizontally or vertically. Horizontal layouts are more common and can make a room appear wider, while vertical layouts can make a room appear taller.
3. Find the center point: Use a measuring tape to find the center point of your kitchen floor. Mark this point with a chalk or pencil to serve as a starting point for your tile installation.
4. Dry lay the tiles: Place several tiles in your desired pattern and arrangement without adhesive to get an idea of how they will look once installed. Make any necessary adjustments to ensure a balanced and visually pleasing layout.
5. Plan for cuts: Measure any areas where you will need to cut tiles, such as around cabinets or appliances. Use a tile cutter or wet saw to make precise cuts, ensuring a seamless fit.
FAQs:
Q1: How much extra tile should I purchase for my project?
A1: It is recommended to purchase an additional 10% of tiles to account for any mistakes, breakages, or future repairs.
Q2: Should I use spacers between tiles?
A2: Yes, using tile spacers is essential for maintaining consistent grout lines and ensuring proper alignment between tiles. These spacers can be easily removed once the adhesive has dried.
IV. Installing the Tiles:
Once you have prepared the subfloor, selected your tiles, and planned the layout, it’s time to start installing the tiles. Follow these steps:
1. Apply adhesive: Use a trowel to spread a layer of tile adhesive on a small section of the subfloor, starting from the center point. Ensure the adhesive is evenly distributed and has proper coverage.
2. Lay the tiles: Press each tile firmly into the adhesive, using a slight twisting motion to ensure strong adhesion. Insert spacers between tiles to maintain consistent grout lines.
3. Cut and trim tiles: As you reach the edges or encounter obstacles, use a tile cutter or wet saw to cut or trim tiles as needed. This will ensure a precise fit and professional finish.
4. Allow for drying time: Give the adhesive enough time to dry according to the manufacturer’s instructions before proceeding to grouting. This may take several hours or even overnight.
FAQs:
Q1: Can I walk on newly installed tiles immediately?
A1: It is best to wait at least 24 hours before walking on newly installed tiles to allow the adhesive to fully set and prevent any shifting or damage.
Q2: How long should I wait before grouting?
A2: The drying time for tile adhesive can vary depending on factors such as humidity and temperature. Refer to the adhesive manufacturer’s instructions for recommended drying times before grouting.