Nevertheless, if you remove the stress, the floor will spring back to its original condition quickly, and leave no long lasting mark or perhaps impression! This's available in case you plan to put any weighty furniture on the floor of yours. If you also intend on installing your brand new floor by yourself then a cork floating floor is the perfect option.
Images about Cork Floor Repair Kit
This cellular structure in addition makes cork very durable and quite comfortable; in case you don't believe us visit a showroom now and evaluate it out. Nevertheless, we cannot forget to mention three more issues, the beauty, the usefulness and the longevity of organic cork flooring. The kitchen to aid in force on the back as well as legs.
Dr Schutz Floor Repair Kit for Wood u0026 more

There's a range of styles, textures and patterns for the household to choose one which fits the taste of theirs. Since cork flooring costs roughly the just like a hardwood floor, but is actually cheaper compared to bamboo flooring, you will want to protect your investment. This particular sort of floor may be fitted over a variety of kinds of existing sub floors as wood, vinyl, concrete, etc.
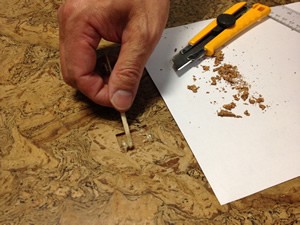
Repair Cork Floor – How To Patch A Cork Floor – Cancork

Furniture pads under all furnishings is highly recommended. Hence, if you're the one in the household cleaning up all of the time you won't need to be concerned about extra work with this particular floor. A waxy category material known as Suberin is actually a naturally occurring compound in cork. Well, to completely understand just how natural cork based flooring can do this you need to recognize more about cork.
Home DIY Floor Furniture Cabinet Wood Laminate Cork Filler Solutions Repair Kit eBay

ERK Engineered Wood Floor Repair Kit u2013 Flexiwise Flooring Ltd

Dr Schutz Floor Repair Kit for Wood u0026 more

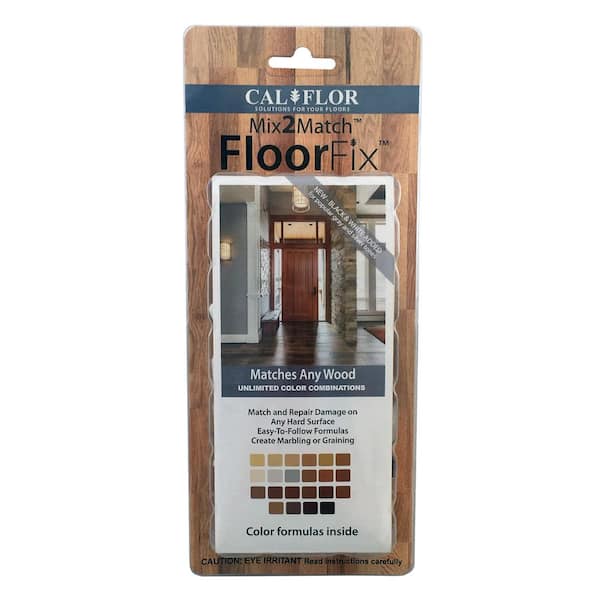
FloorFix Wood and Laminate Floor Repair Kit
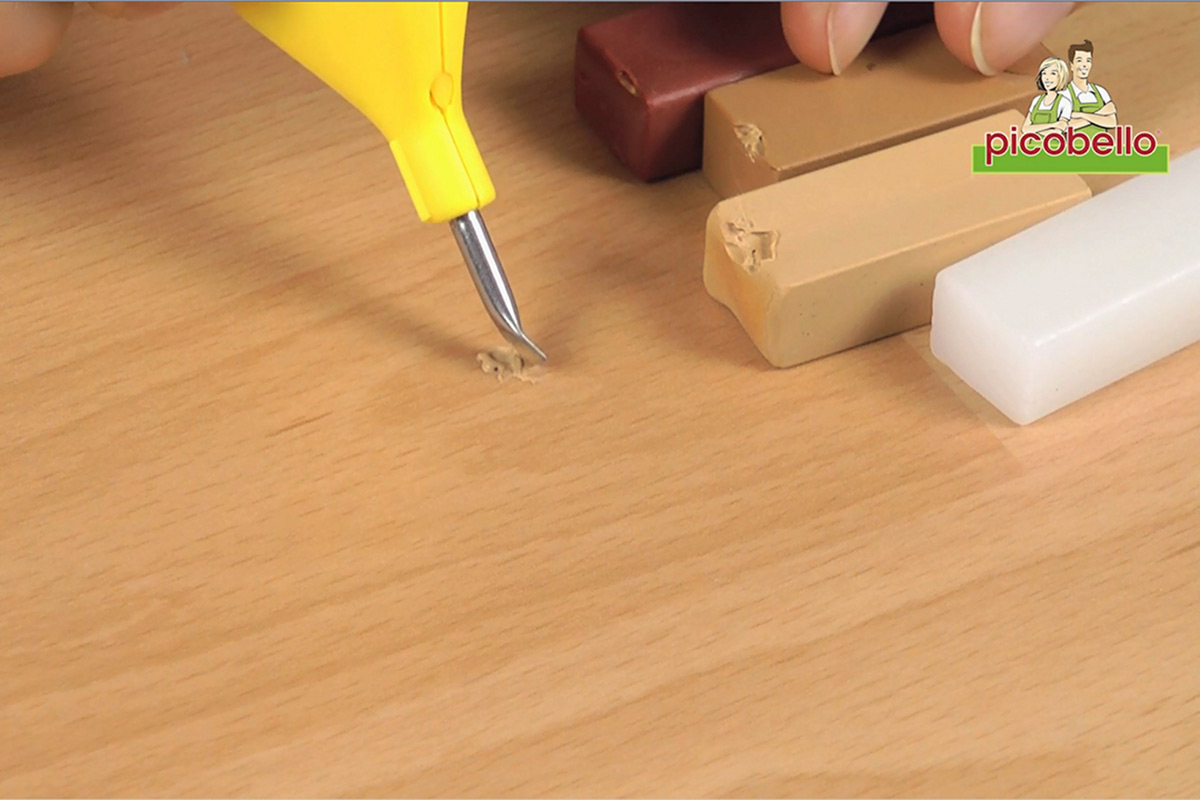
PREMIUM Repair Kit picobello-Shop
Repair Cork Floor – How To Patch A Cork Floor – Cancork
Repairing a Damaged Laminate Floor BuildDirectLearning Center

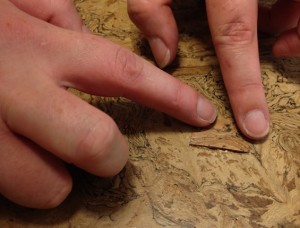
Repair Cork Floor – How To Patch A Cork Floor – Cancork
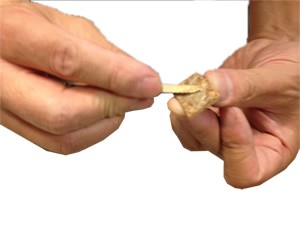
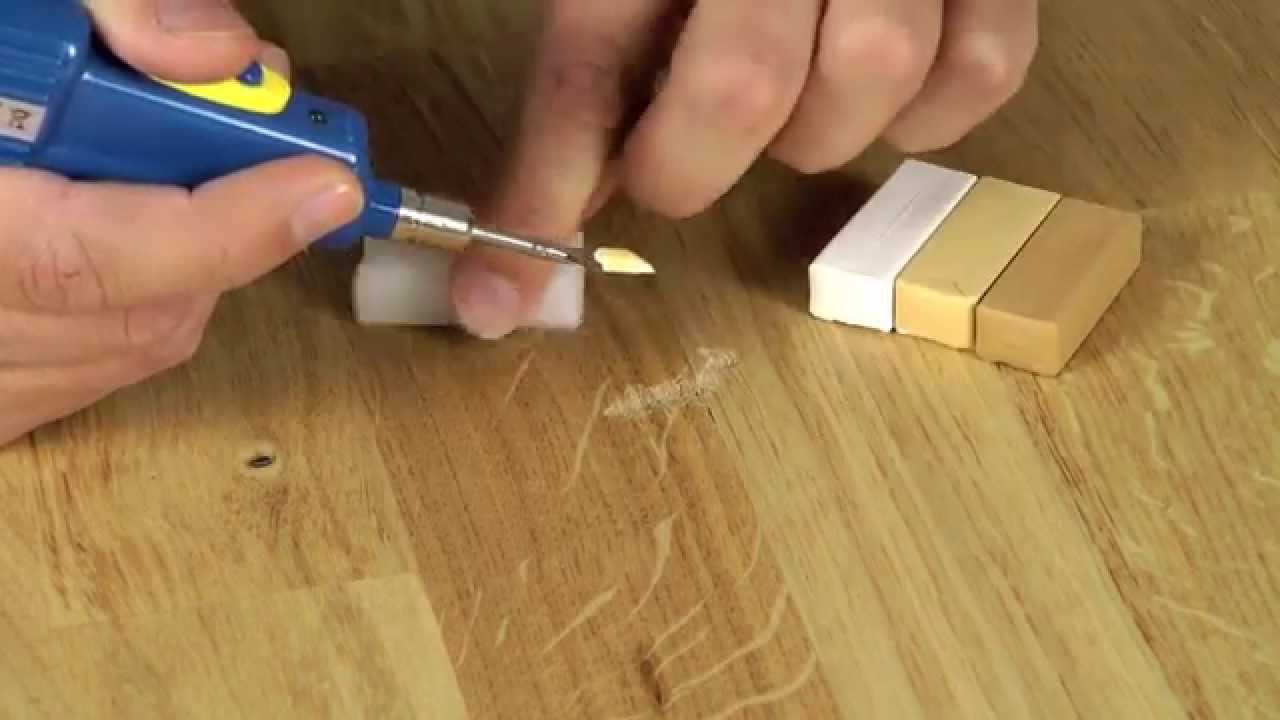
Mini Repair Kit picobello-Shop
Mini Repair Kit picobello-Shop
3 easy steps to restore a cork floor

Related Posts:
- Cork Flooring Brands
- Formaldehyde Free Cork Flooring
- Cork Floor Varnish
- Natural Cork Flooring Pros And Cons
- Cheap Cork Flooring Tiles
- Dogs And Cork Flooring
- Floating Cork Flooring Home Depot
- Prefinished Cork Floor Tiles
- Best Way To Remove Cork Floor Tiles
- Easy Cork Flooring
Title: Restoring the Beauty of Your Cork Floor with a Cork Floor Repair Kit
Introduction:
Cork flooring is a popular choice for homeowners due to its natural beauty, durability, and eco-friendly properties. Over time, however, it may start to show signs of wear and tear, such as scratches, dents, or chips. Fortunately, with the help of a cork floor repair kit, you can easily restore your cork floor’s original charm and extend its lifespan. In this article, we will explore the benefits of using a cork floor repair kit and provide a step-by-step guide on how to repair common issues. Additionally, we’ll address frequently asked questions to ensure you have all the information you need for successful restoration.
I. Understanding the Benefits of a Cork Floor Repair Kit:
Cork floor repair kits are specifically designed to address common issues that arise with cork flooring. These kits typically consist of various tools and materials necessary for repairing scratches, dents, and chips. By investing in a quality repair kit, you can save money on professional repairs while maintaining your cork floor’s aesthetic appeal.
II. Identifying Common Cork Floor Problems:
1. Scratches: Everyday foot traffic and furniture movement can lead to surface scratches on your cork floor. While these scratches are usually shallow, they can accumulate over time and affect the overall appearance.
2. Dents: Heavy objects dropped or dragged across the floor may cause dents in the cork surface. These depressions can be unsightly and compromise the floor’s integrity.
3. Chips: Sharp objects or accidental impacts may result in chips along the edges or corners of your cork flooring. These areas require immediate attention to prevent further damage.
III. Step-by-Step Guide to Repairing Cork Floor Issues:
1. Preparing the Area:
– Clear the damaged area of any furniture or obstacles.
– Thoroughly clean the damaged area using a mild cleanser and soft cloth.
– Allow the area to dry completely before proceeding.
2. Repairing Scratches:
– Apply a small amount of specialized cork floor repair putty to the scratch using a plastic spatula or putty knife.
– Gently spread and blend the putty with the surrounding cork surface until it is level and smooth.
– Let the putty dry according to the manufacturer’s instructions.
– Lightly sand the repaired area with fine-grit sandpaper to achieve a seamless finish.
– Clean the area again to remove any dust or debris.
3. Fixing Dents:
– Use a heat gun or hairdryer on a low setting to warm up the dent area, making it more pliable.
– Place a damp cloth over the dented area and apply gentle pressure using an iron on the lowest heat setting.
– Once heated, remove the cloth and use your fingers or a soft cloth to reshape the cork, working from the center towards the edges.
– Allow the cork to cool and set in its new shape before moving on to any additional repairs.
4. Treating Chips:
– Carefully remove any loose or damaged cork particles around the chip using a utility knife or razor blade.
– Apply a thin layer of specialized cork adhesive into the chip, ensuring complete coverage.
– Gently press down on the repaired area with your fingers or a small block of wood to ensure proper adhesion.
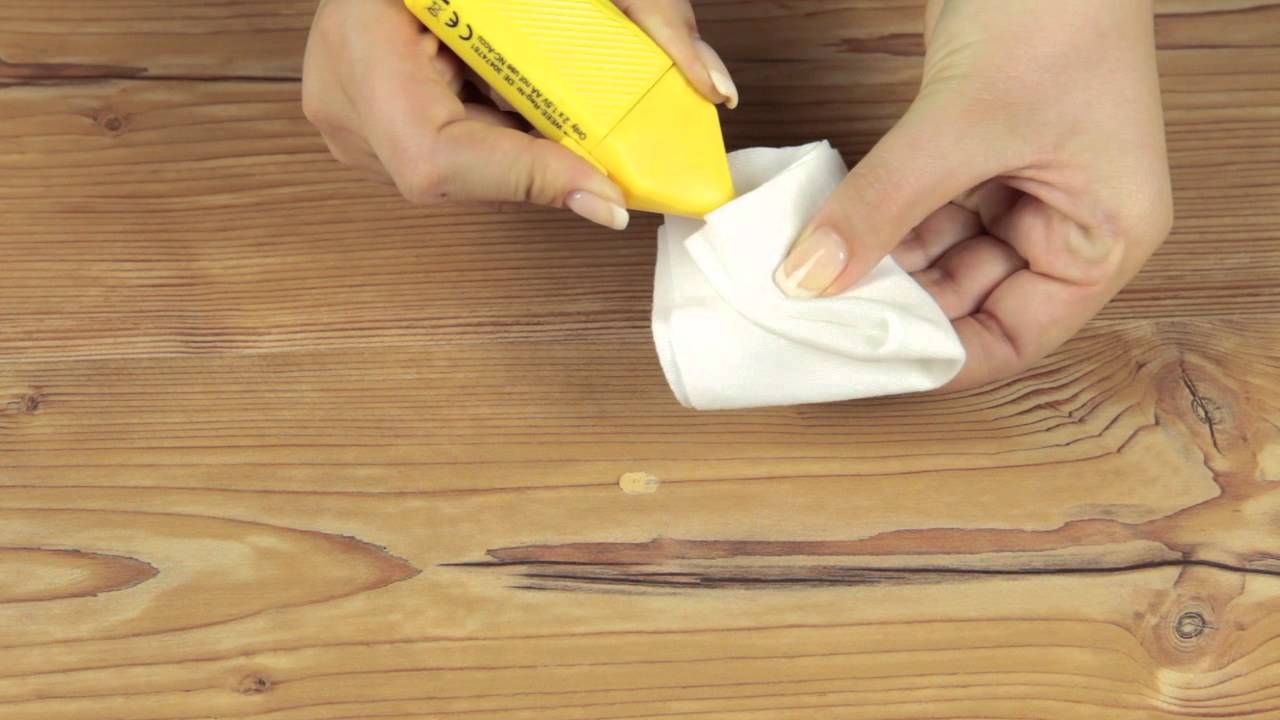
– Wipe away any excess adhesive from the surface using a damp cloth.
– Allow sufficient drying time before resuming regular use of the floor.
IV. Frequently Asked Questions:
1. Can I use regular wood putty to repair scratches on my cork floor?
No, it is recommended to use specialized cork floor repair putty for the best results. Regular wood putty may not adhere properly to the cork surface and can affect the overall appearance and durability of the repair.
2. How long does it take for the cork floor repair putty to dry?
The drying time for the cork floor repair putty can vary depending on the manufacturer’s instructions. It is important to follow these instructions and allow sufficient drying time before sanding or using the repaired area.
3. Can I use a hairdryer to fix dents in my cork floor?
Yes, a hairdryer on a low setting or a heat gun can be used to warm up the dent area and make it more pliable. This will allow you to reshape the cork and remove the dent. However, it is important to use caution and not overheat or apply too much heat to avoid damaging the cork.
4. What should I do if I have multiple problems on my cork floor?
If you have multiple problems on your cork floor, it is best to address them one at a time. Start with the most noticeable or severe issue and follow the appropriate steps for repair. Once that problem is resolved, move on to the next one until all issues are addressed.
5. Can I prevent future damage to my cork floor?
Yes, there are several steps you can take to prevent future damage to your cork floor:
– Use furniture pads or felt protectors under heavy furniture to prevent scratches and dents.
– Avoid dragging heavy objects across the floor.
– Place doormats at entrances to trap dirt and debris before it can scratch the floor.
– Clean spills immediately to prevent liquid from seeping into the cork and causing damage.
– Regularly sweep or vacuum your cork floor to remove dirt and dust that can cause scratches over time.