Even if you spill some viscous solution that is a substance agent, you will be able to get rid of the fluid in a jiffy. Epoxy is made from a blend of liquid hardening chemicals and liquid polymer resin. It will make your flat and sedentary concrete floor look stylish and harm free. Epoxy flooring comes with powerful adhesive characteristics that make it durable, dirt & dust resistant as well as inflammable.
Images about DIY Epoxy Flooring Systems

The product is quick and simple to use and can cure faster than elastomeric coatings. To improve its resilience, this particular covering is done with a part of both base and curative components blended at the ideal ratio resulting into an exothermic reaction that hardens the coat providing it a hard plastic-made quality. This can ruin the general attractiveness of this floor.
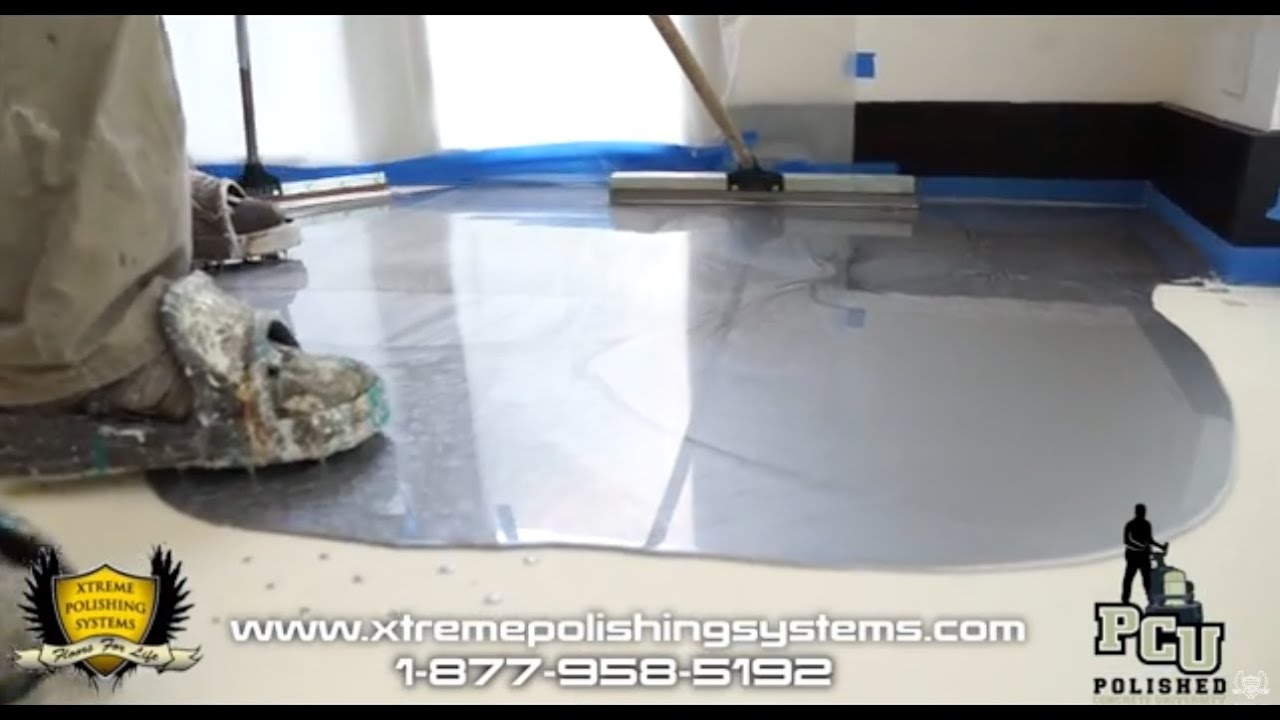
How to Residential Metallic Epoxy Floor Installation Start to Finish Xtreme Polishing Systems
The functionality of your epoxy flooring is going to be immediately affected by the way you prepare the surface. Epoxy flooring is definitely becoming more popular every single day. One is the fact that an epoxy flooring will repel water, dirt, dust, chemicals and any other kind of stain that carpet will soak within. Epoxy flooring for businesses has a lot of advantages.
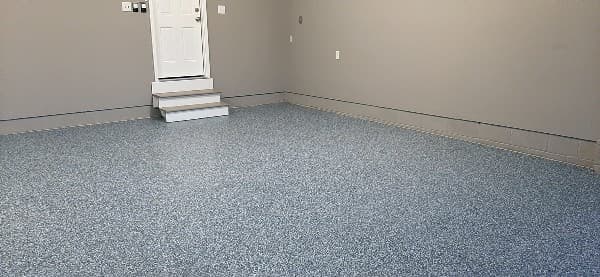
DIY vs. Professional Garage Floor Coatings u2014 Advanced Flooring Systems
Poly urea pains normally cost up to four times the amount of epoxy flooring and homeowners or business owners do not see any added benefits of coming from the improved price. Regrettably this only comes in a single color, tan, although it might end up being utilized either by itself or perhaps with other epoxy floorings.
Designer Epoxy Floor Installation That You Can Do Yourself
Coatings Pro v. DIY Epoxy Garage Floor Kits CoatingsPro Magazine
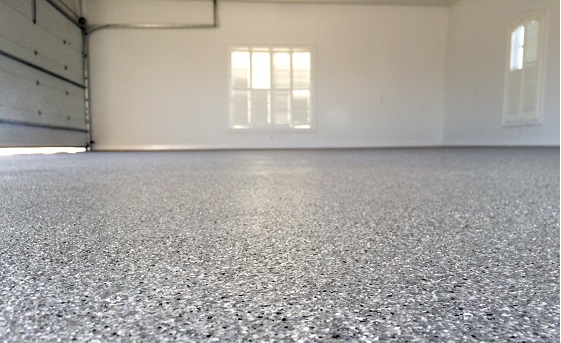
DIY Epoxy Stone Flooring » Everlast® Editorial

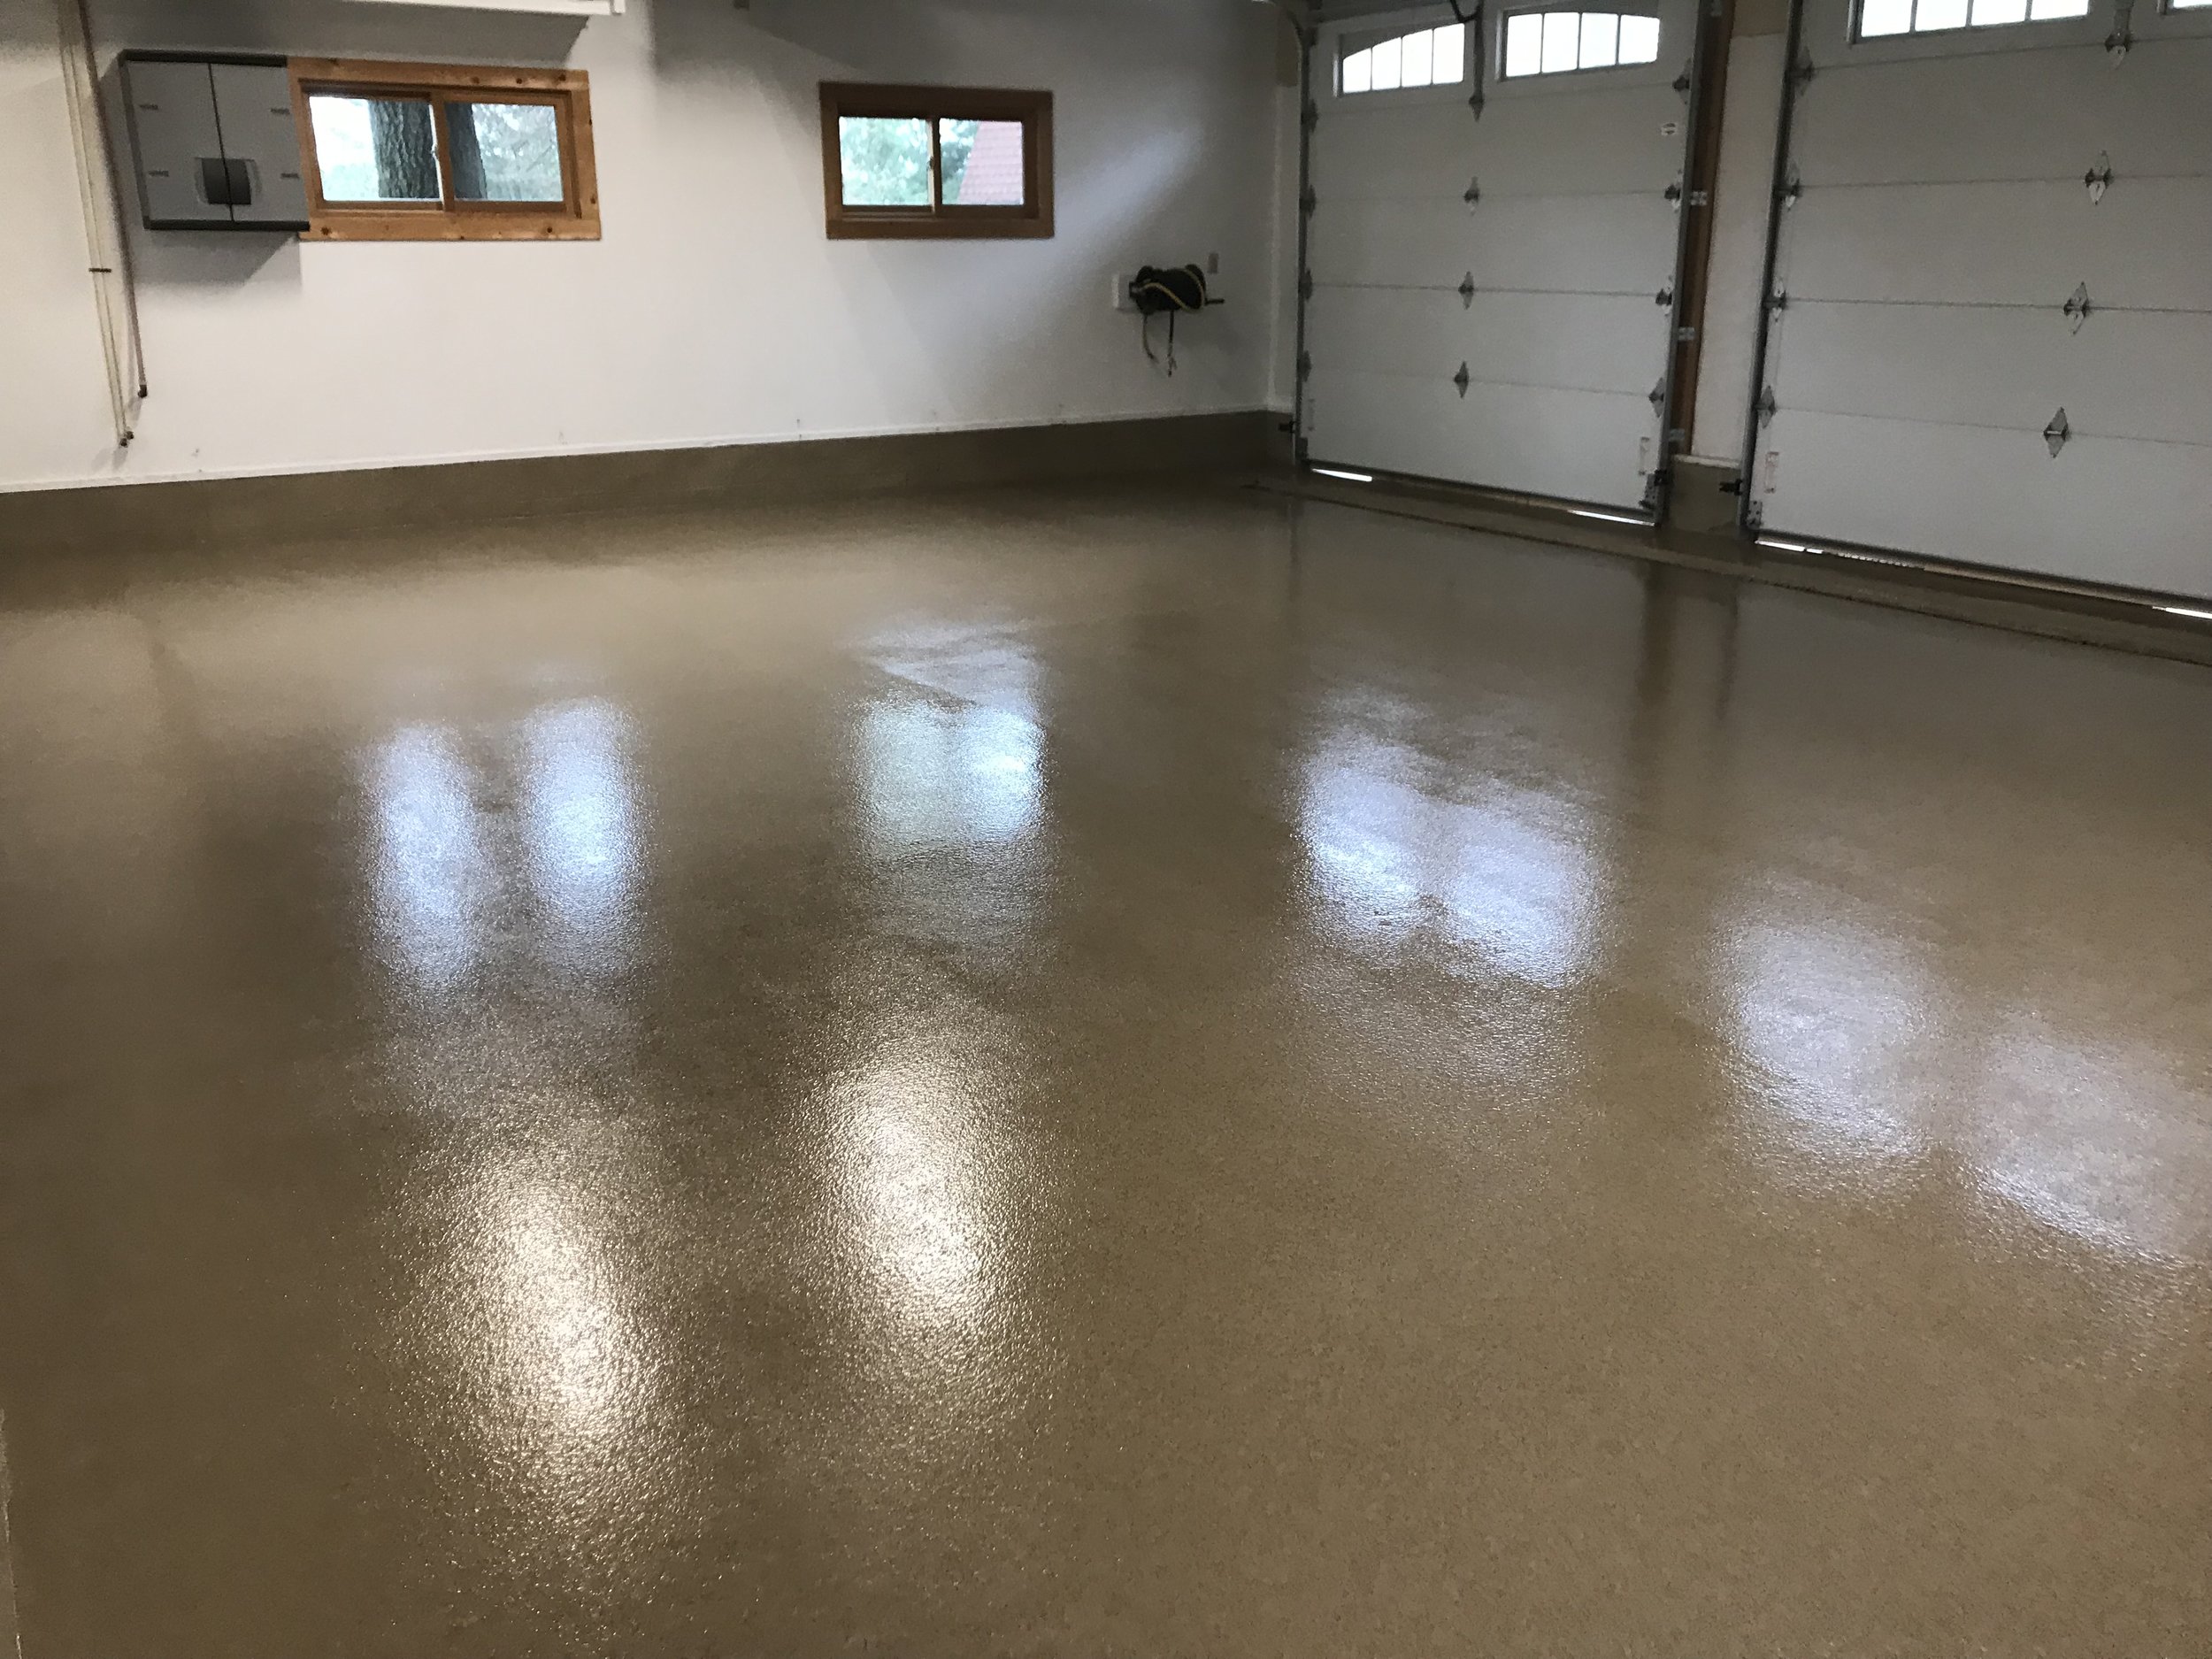
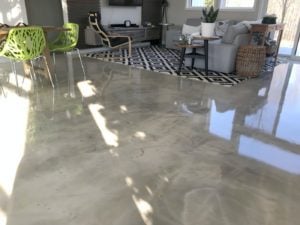
DIY: Homeowner Installs Designer Metallic Epoxy Floor Coating
A DIY Epoxy and Nohr-S Hybrid Garage Floor Coating System All
Epoxy Floor Installation Over Old Concrete
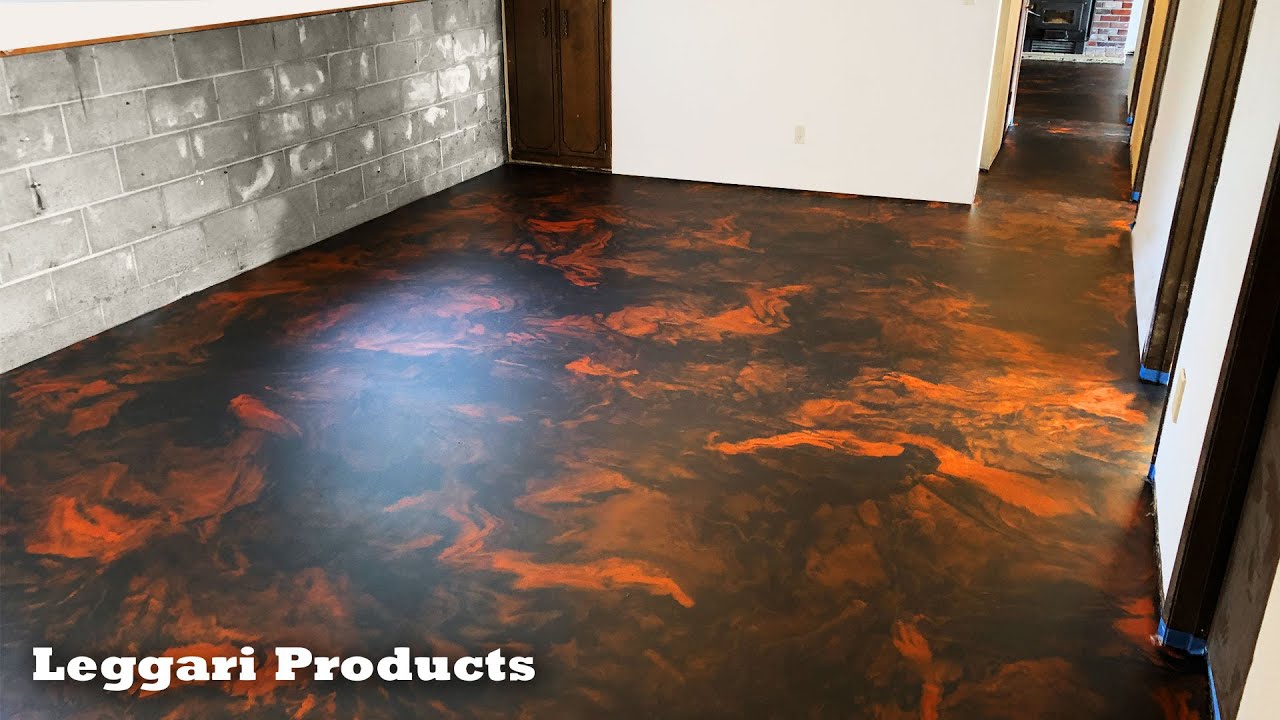
How to Apply Metallic Epoxy Floors DIY Instructions by EpoxyPRO

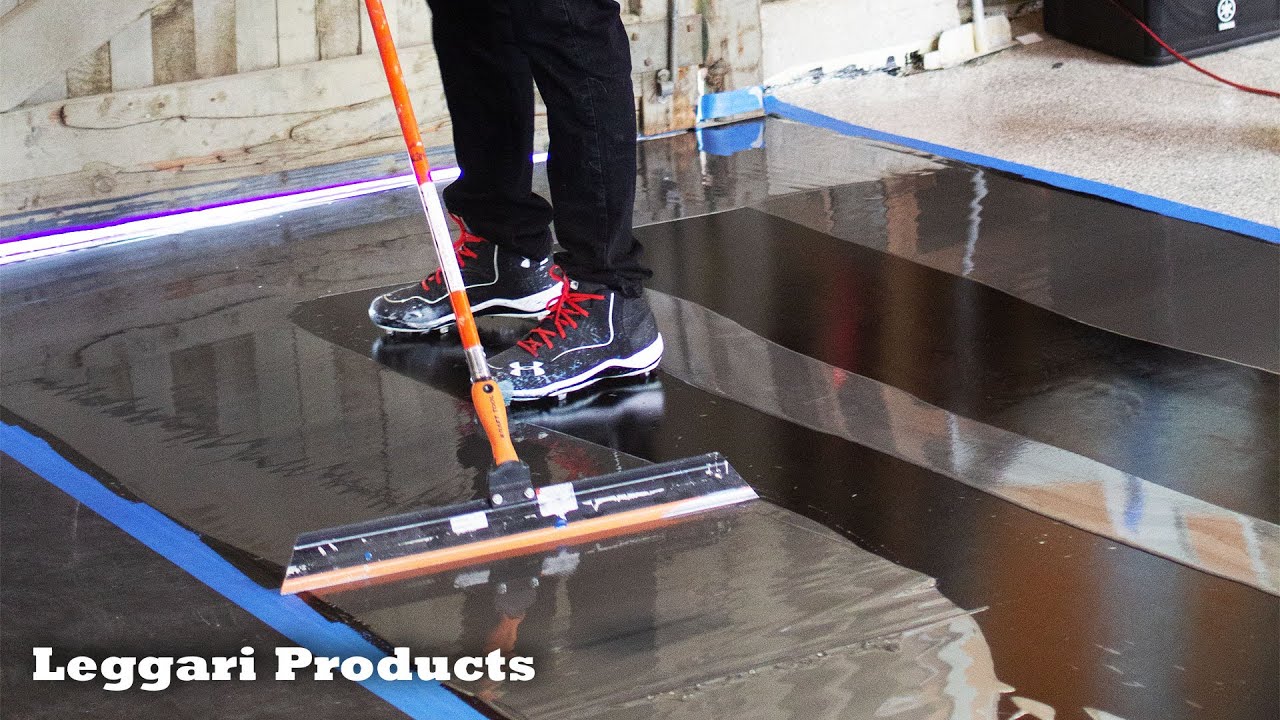
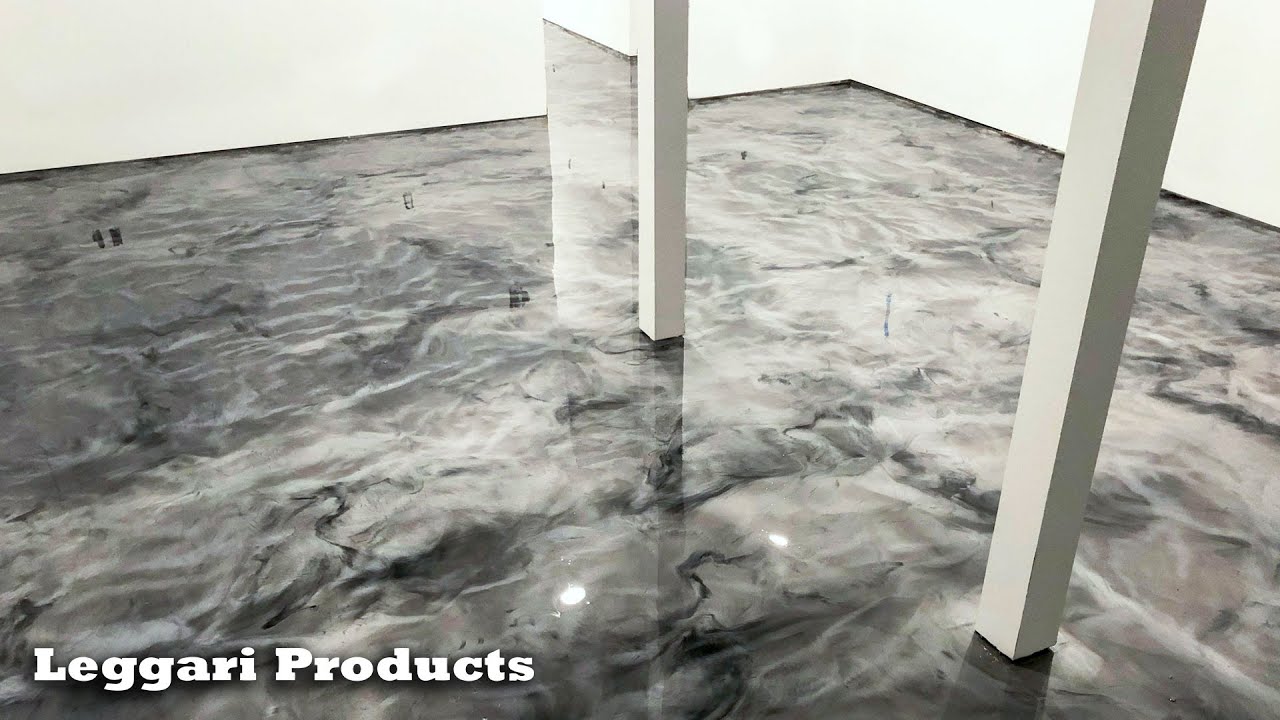
Entire Basement Coated Using Leggariu0027s Epoxy Floor Kit Silver u0026 Black Epoxy Floor Installation
DIY Epoxy Floor Epoxy Flooring DIY Designer Resin Flooring

Garage Floor Solutions Our Coatings Stronghold Floors

How to Epoxy Your Garage Floor in 9 Steps
Related Posts:
- Epoxy Flooring Courses
- Garage Floor Paint Or Epoxy
- Industrial Epoxy Floor Coating Contractors
- How To Paint A Basement Floor With Epoxy
- Speckled Epoxy Garage Floor Paint
- Armorpoxy Garage Floor Epoxy
- Epoxy Concrete Garage Floor Coating
- Epoxy Floor Coating Application
- Behr Two Part Epoxy Garage Floor Paint
- Two Part Epoxy Floor Coatings That Are 100 Solids
Introduction
DIY epoxy flooring systems have become a popular choice for residential and commercial spaces looking to give their floors a unique look that stands out. Epoxy floors are durable, easy to clean, and can last for decades with proper maintenance. With the right tools and materials, it’s easy to create your own epoxy flooring system. In this article, we will discuss the steps involved in creating a DIY epoxy flooring system, as well as the benefits of using epoxy in your home or business.
Benefits of DIY Epoxy Flooring Systems
Epoxy flooring is gaining popularity due to its many benefits. It’s highly durable and can last decades with proper maintenance. It’s also waterproof, making it perfect for kitchens, bathrooms, and other areas prone to water damage. Additionally, it’s easy to clean and maintain. Finally, epoxy flooring will give your home or business a unique look that will stand out from the rest.
Tools & Materials Needed for DIY Epoxy Flooring Systems
Before beginning any DIY project, it’s important to make sure you have all the necessary tools and materials on hand. For a DIY epoxy flooring system, you will need:
• Epoxy resin
• Epoxy hardener
• Masking tape
• Roller or brush
• Rags or cloths
• Paint tray
• Paint stirrer
• Drop cloths
• Safety glasses
• Necessary protective gear (gloves, mask)
Once you have all your supplies ready to go, you can begin the process of creating your DIY epoxy flooring system!
Step-by-Step Guide for Creating Your DIY Epoxy Flooring System
1. Prep the area: Before beginning any painting job, make sure to prep the area. This includes cleaning the surface of any dirt or debris and making sure it’s free of any oil or grease. You may also need to sand down the area if it’s not smooth enough for painting. Once you’ve prepped the area, you can begin mixing your epoxy resin and hardener together in a paint tray according to the product instructions on the package.
2. Apply primer: Once you’ve mixed your epoxy resin and hardener together in a paint tray according to the product instructions on the package, you can begin applying primer to the surface using a roller or brush. Make sure to cover every inch of the surface evenly with primer for best results. Let dry completely before moving on to step 3.
3. Apply first coat of epoxy: Once your primer has dried completely, it’s time to apply your first coat of epoxy using a roller or brush. Again, make sure to cover every inch of the surface evenly with epoxy for best results. Let dry completely before moving on to step 4.
4. Apply second coat of epoxy: Once your first coat has dried completely, you can apply your second coat of epoxy using a roller or brush in just the same fashion as before—making sure To cover every inch of the surface evenly. Let dry completely before moving on to step 5.
5. Apply topcoat: Once your second coat of epoxy has dried completely, you can apply a topcoat using a roller or brush in just the same fashion as before—making sure to cover every inch of the surface evenly. Let dry completely before moving on to step 6.
6. Clean up: Once your topcoat has dried completely, it’s time to clean up any remaining materials and tools that you used throughout the process. Be sure to dispose of all materials and tools properly according to local regulations.
7. Enjoy your new epoxy flooring system: After completing all of the steps above, you can now enjoy your new epoxy flooring system! With proper care and maintenance, your epoxy flooring should last for years to come.
What are the advantages of DIY epoxy flooring systems?
1. Durability: DIY epoxy flooring systems are extremely durable and can withstand heavy wear and tear, making them a great choice for high-traffic areas.2. Easy to clean: Epoxy is non-porous, so it is easy to clean with a damp mop or cloth. This makes it a great choice for busy homes or businesses.
3. Low maintenance: Once the epoxy is applied, it requires little to no maintenance. It will not require sanding, staining, or sealing over time.
4. Versatile: DIY epoxy flooring systems can be used in many different applications, such as garages, basements, bathrooms, and even kitchens. It also comes in a variety of colors and finishes to suit any décor.
5. Affordable: DIY epoxy flooring systems are relatively inexpensive compared to other types of flooring materials. This makes them an attractive option for those on a budget.
What tools are needed to install DIY epoxy flooring systems?
1. Sander2. Dust Mask
3. Wet/Dry Vacuum
4. Paint Roller
5. Paint Tray
6. Floor Primer
7. Epoxy Resin
8. Hardener
9. Paintbrush
10. Stencils and Tape
11. Polyurethane Topcoat
12. Safety Goggles and Gloves
What types of epoxy flooring systems can be installed DIY?
1. Self-leveling epoxy flooring2. Roll-on epoxy floor coating
3. Polyurea polyaspartic floor coating
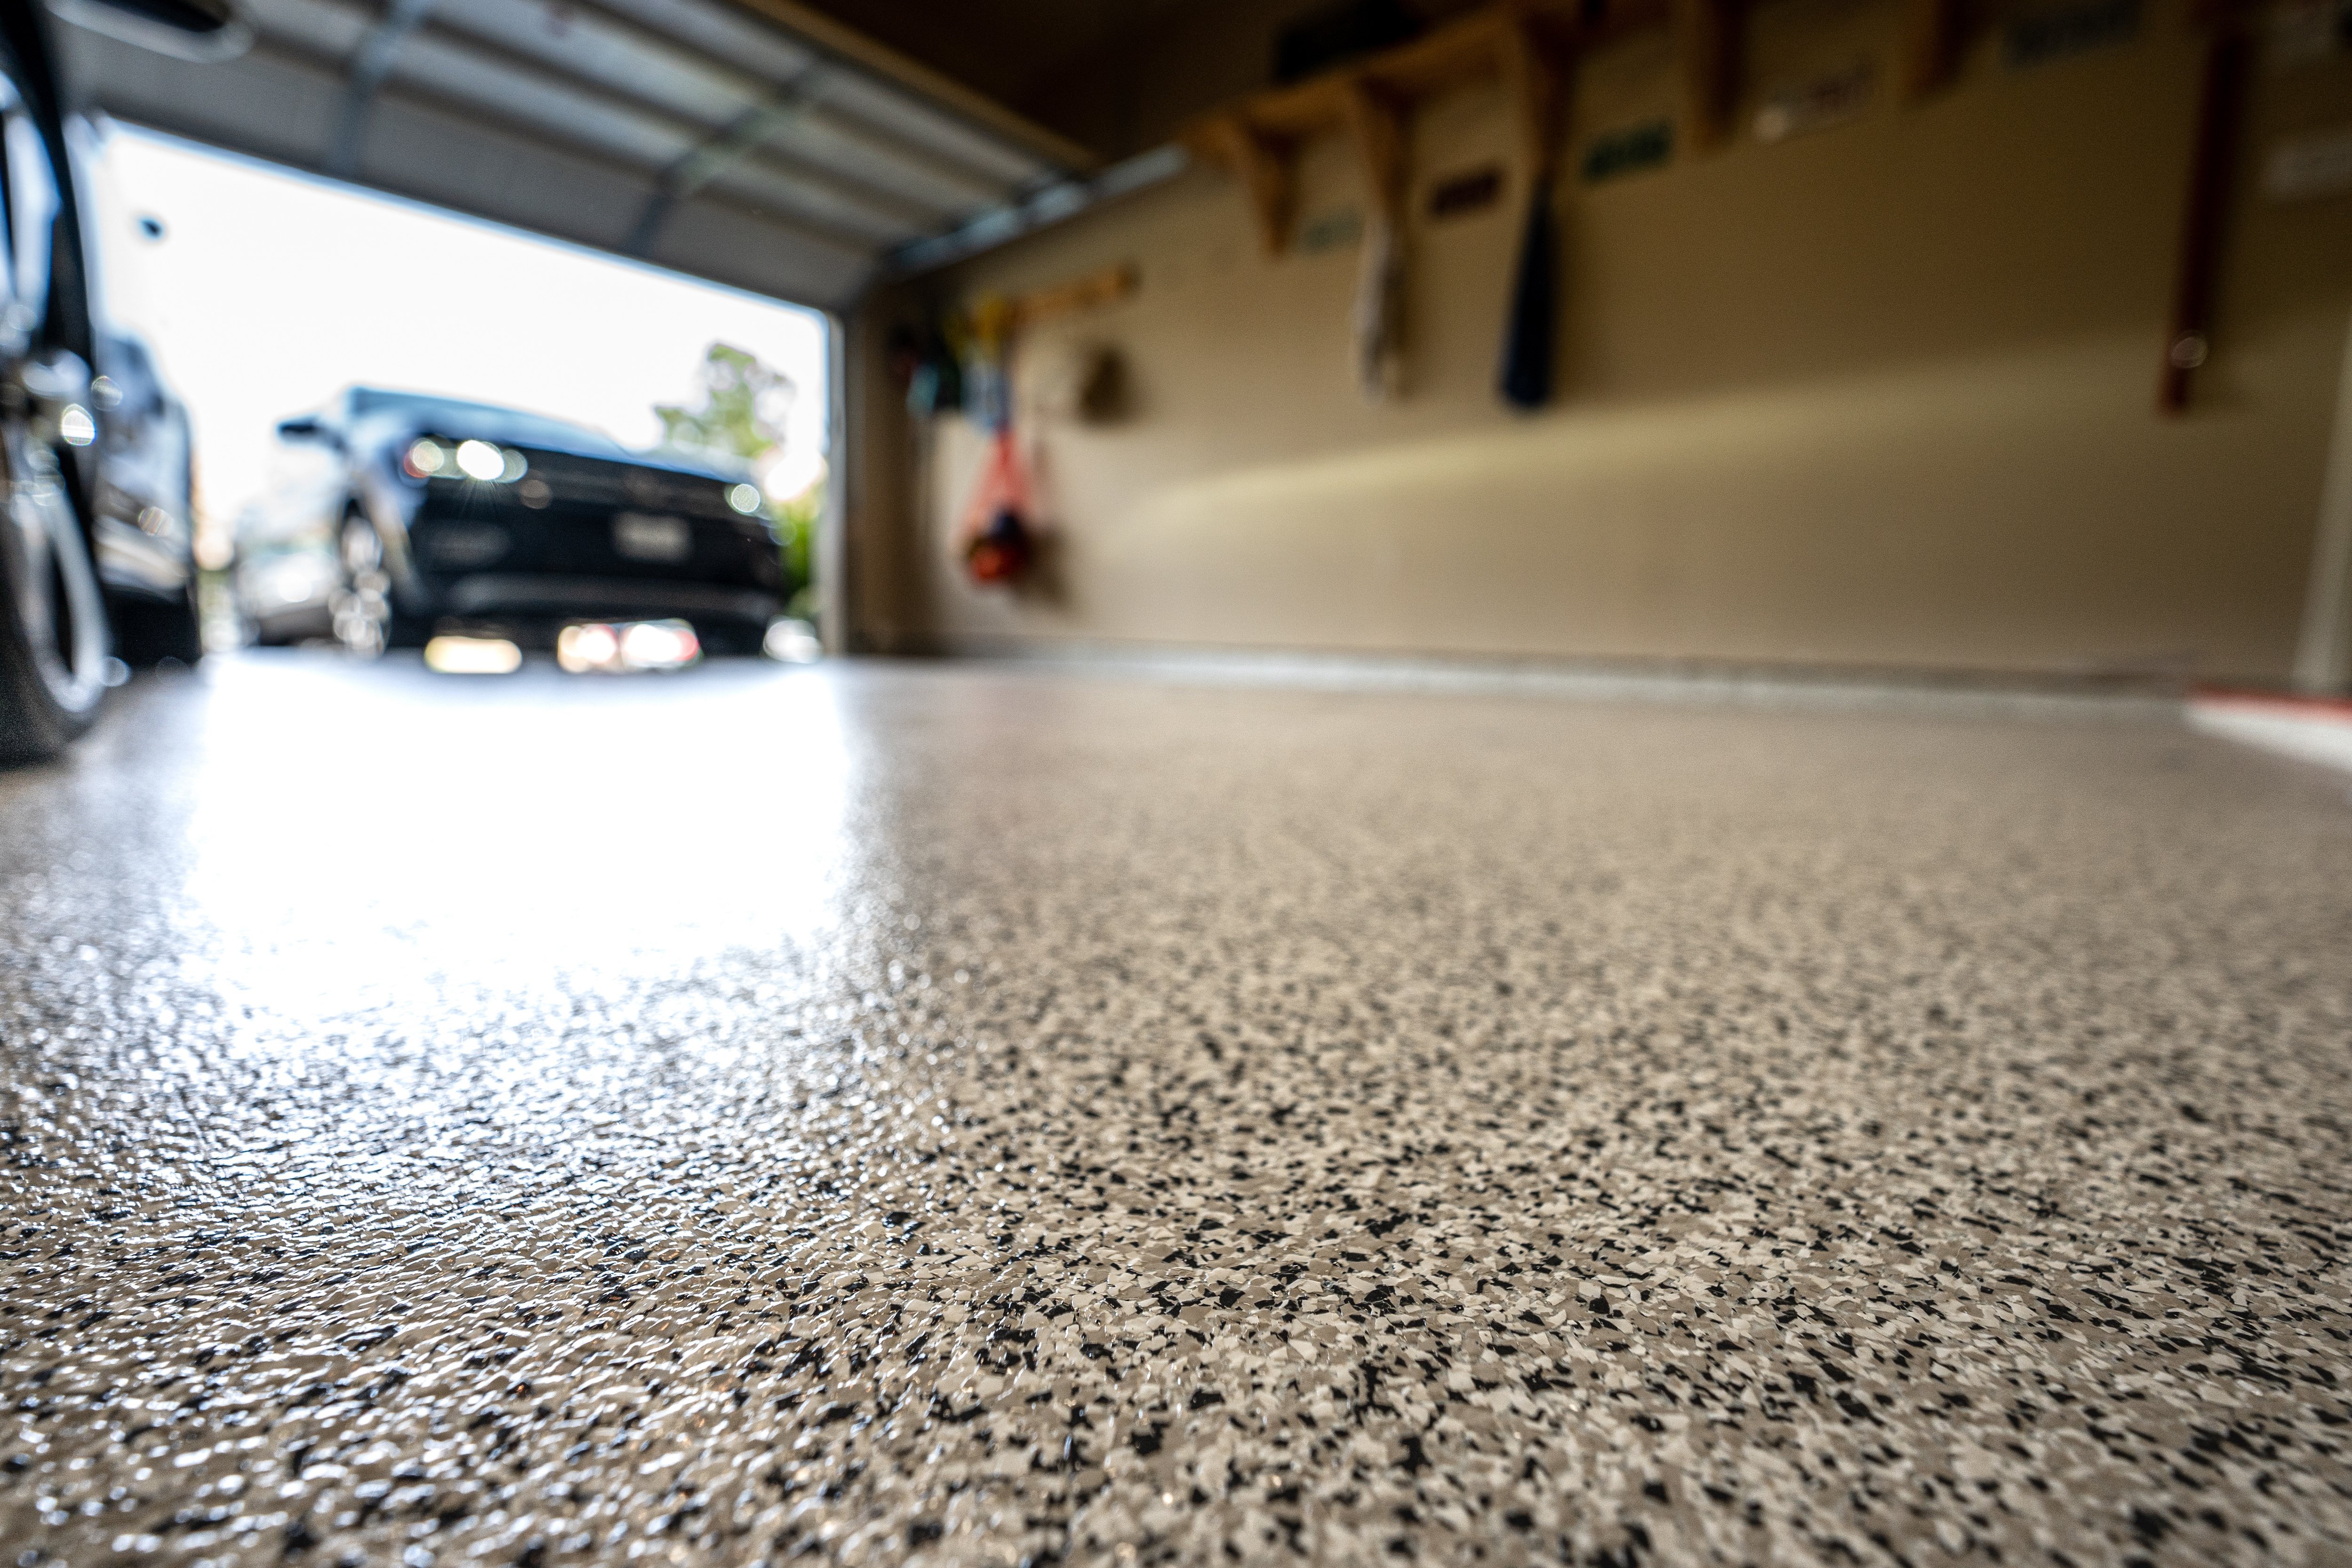
4. Flaked epoxy flooring
5. Metallic epoxy flooring
6. Quartz epoxy flooring