This report zeroes in on several of the issues and solutions which you might have to deal with concerning your dog and your hardwood floor. Engineered floors is pre-coated which makes it more reluctant to scratches and provides for greater longevity. If you go through the whole warranty and every one of the exclusions it truly provides the client the impression that there's in fact no guarantee at all.
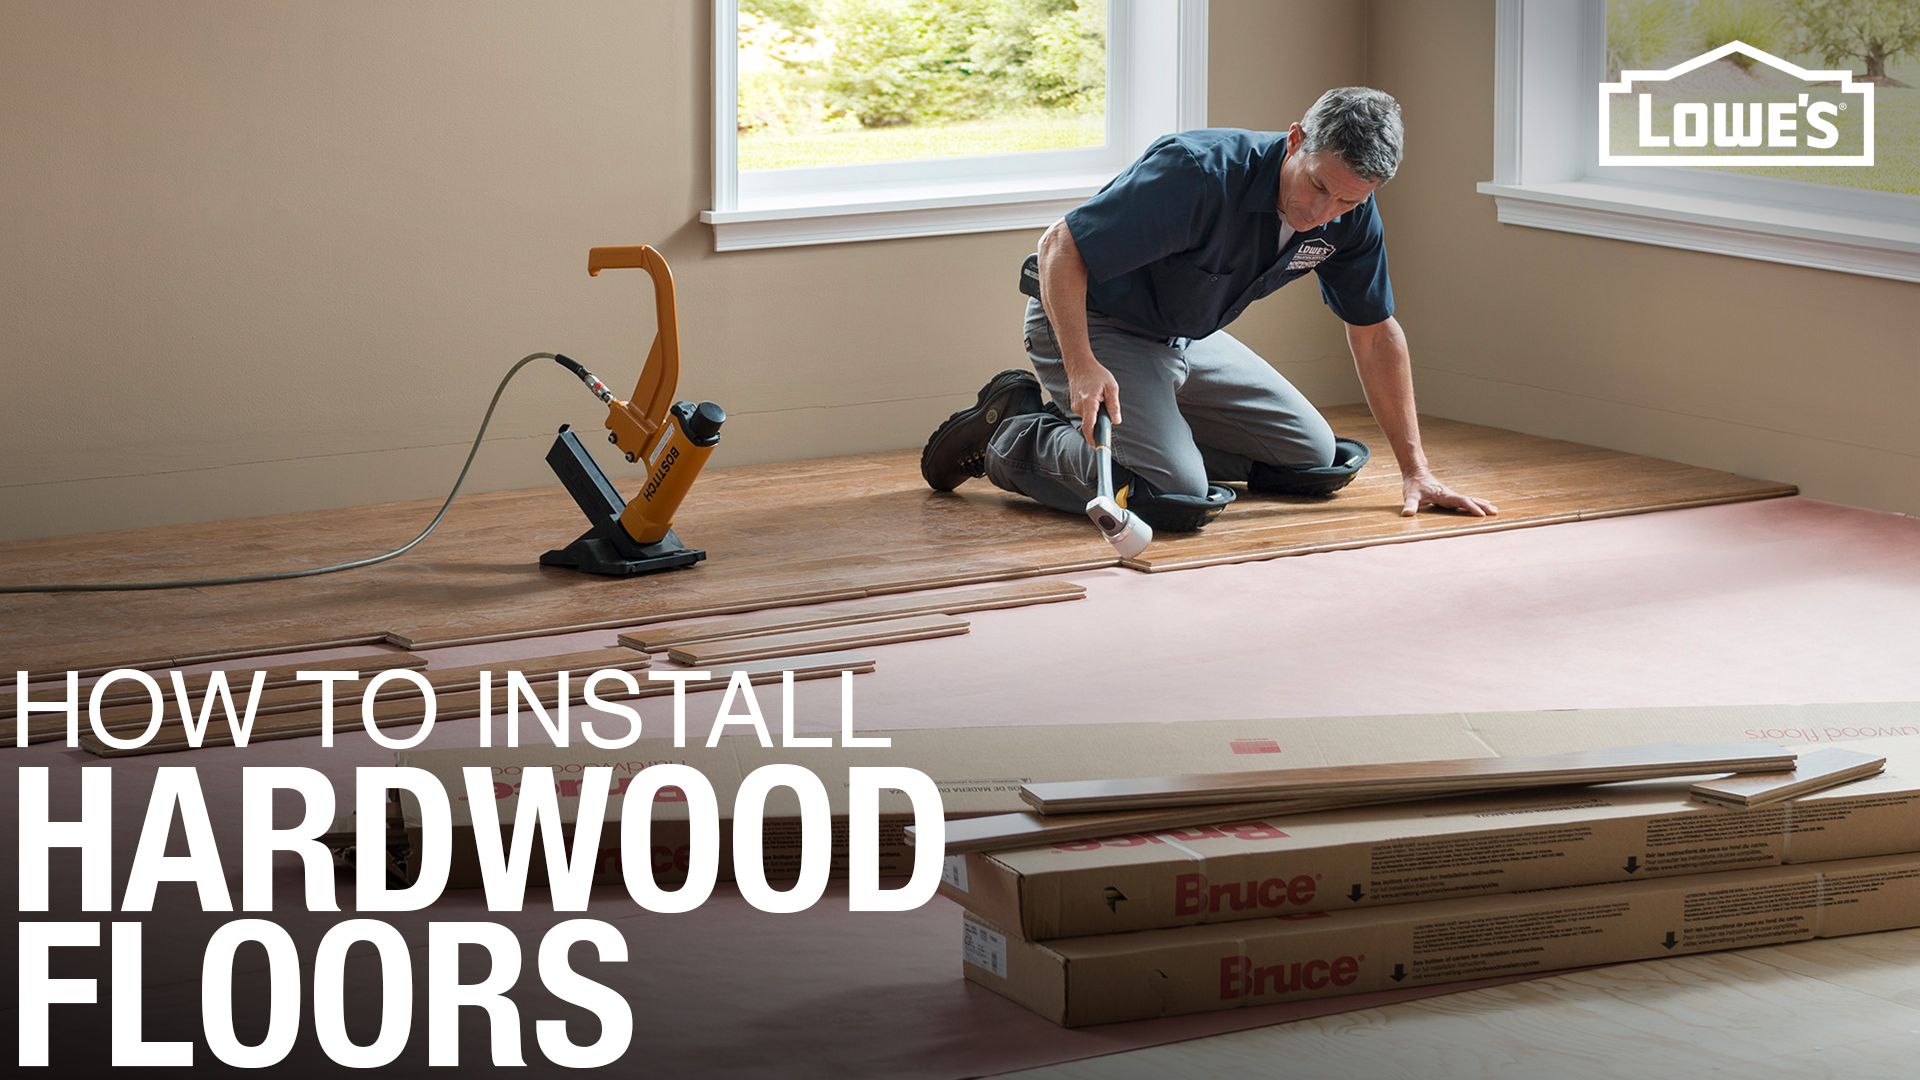
Images about Engineered Hardwood Flooring Installation Tools
And so if you're going for a rustic look in the family room of yours or perhaps an elegant atmosphere in your dining room, the local hardwood experts of yours are able to help! Many may also do historical renovations. Savings that are significant are actually obvious when installed by the household, reducing overall costs to approximately $2. One can still purchase unfinished hardwoods today.
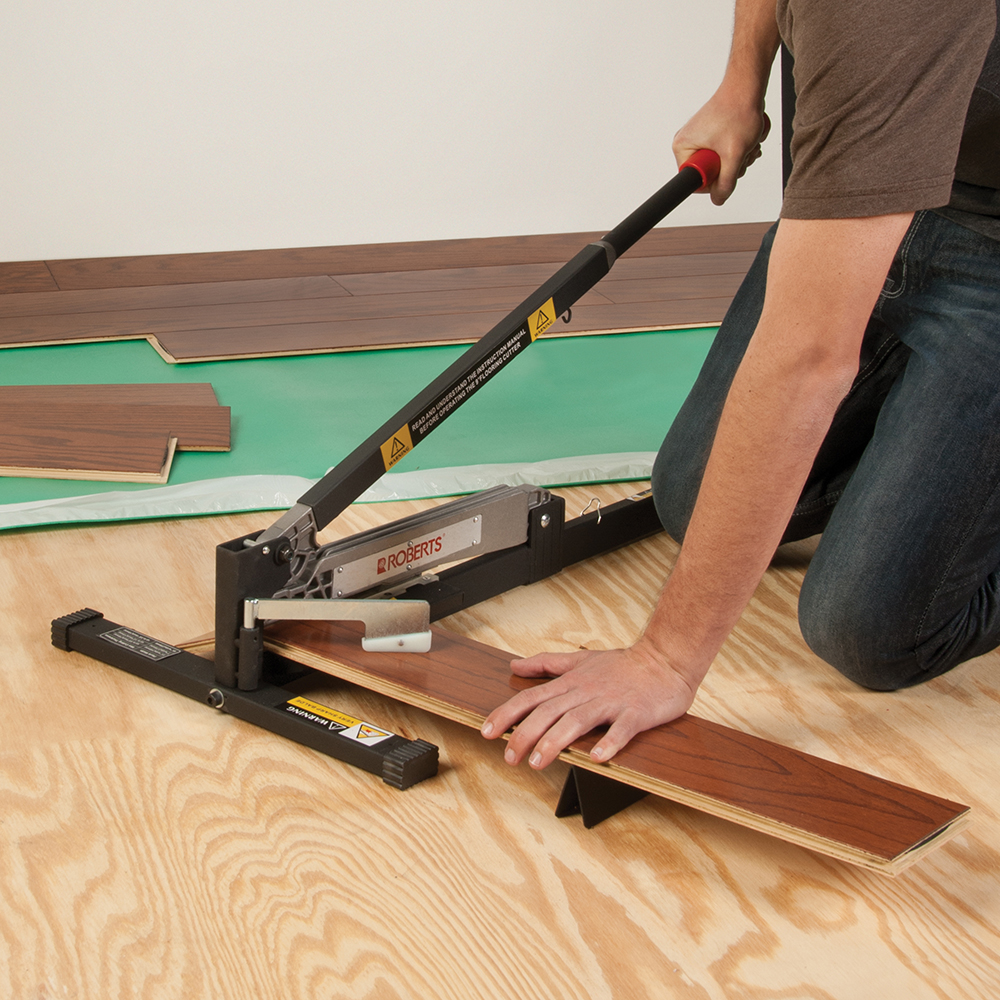
9″ Flooring Cutter – Roberts Consolidated
What exactly are the styles of your wall space and furniture? You wouldn't wish to purchase hardwood flooring surfaces with a color which doesn't match those of your furniture as well as walls. Engineered hardwood flooring tends to be much slimmer compared to reliable hardwood flooring and it's regularly glued to the subsurface though it is able to additionally be nailed or perhaps stapled.
How to Lay Engineered Wood Floors – This Old House
/cdn.vox-cdn.com/uploads/chorus_asset/file/19494255/wood_floors_toutxlbanner.jpg)
Which Tools Do You Need to Install Engineered Hardwood Floors

How To Install Click Lock Engineered Hardwood Flooring
How to Install an Engineered Hardwood Floor
How to Install an Engineered Hardwood Floor
Engineered Hardwood Floor Installation: Part 2
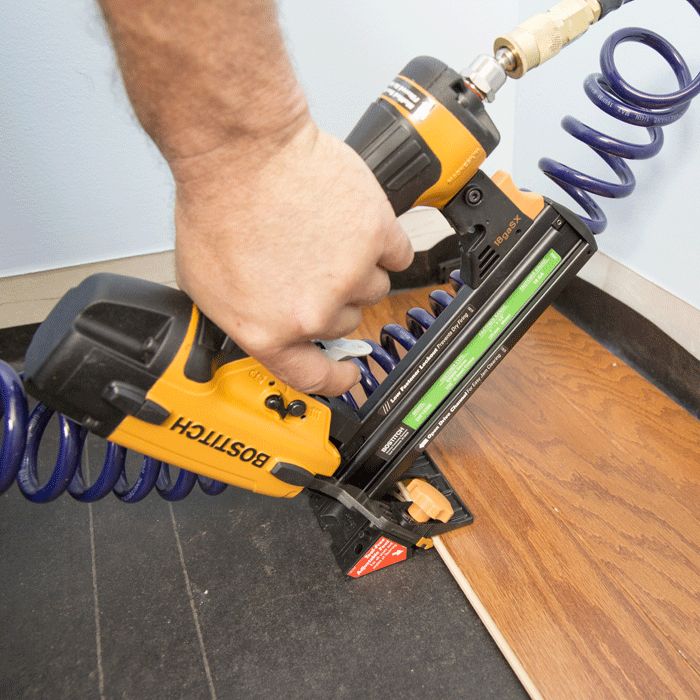
Installing Solid Hardwood Floors – Fastening By Nails Or Staples

How To Install Click Lock Engineered Hardwood Flooring

Engineered Hardwood Floors Installation – Hardwood Floor
How to Install an Engineered Hardwood Floor
Best Engineered Wood Flooring for Your Home

ENGINEERED WOOD FLOOR An Architect Explains And Reviews
Related Posts:
- Refinishing Hardwood Floors DIY Cost
- Engineered Hardwood Floors Scratch Easily
- Hardwood Floor And Cabinet Color Matching
- Asian Walnut Hardwood Flooring Reviews
- Best Hardwood Floor Cleaner For Pet Hair
- Hardwood Floor Face Nailer
- 5 Inch White Oak Hardwood Flooring
- Hardwood Floor Cost And Installation
- Hardwood Floor Pictures Homes
- Hardwood Flooring Pictures Kitchen
Engineered hardwood flooring is a popular choice for homeowners looking to add beauty and durability to their homes. However, installing engineered hardwood flooring requires the use of specific tools to ensure a successful and professional installation. In this article, we will explore the various tools needed for engineered hardwood flooring installation, along with some frequently asked questions and detailed answers.
1. Moisture Meter:
One of the most important tools for engineered hardwood flooring installation is a moisture meter. This tool measures the moisture content of both the subfloor and the engineered hardwood planks. It is crucial to ensure that the moisture levels are within an acceptable range before installing the flooring. High moisture levels can lead to warping, buckling, or cupping of the planks over time.
FAQ: Why is it important to measure moisture levels before installing engineered hardwood flooring?
Answer: Moisture content plays a significant role in the long-term performance of engineered hardwood flooring. Installing the flooring on a subfloor with high moisture levels can lead to several issues, including excessive expansion or contraction of the planks, which can result in damage to the floor.
2. Tapping Block and Rubber Mallet:
A tapping block and rubber mallet are essential tools for gently tapping the engineered hardwood planks into place during installation. The tapping block helps distribute force evenly across the plank, preventing any damage or distortion while ensuring a tight fit between planks.
FAQ: Can I use a regular hammer instead of a rubber mallet?
Answer: While a regular hammer may seem like an alternative, it is not recommended for engineered hardwood installation. The rubber mallet provides controlled force without damaging the surface of the planks or leaving any marks.
3. Pry Bar:
A pry bar is useful for removing baseboards, shoe moldings, or any existing flooring before installing engineered hardwood. It allows you to carefully lift these materials without causing damage, making it easier to install the new flooring seamlessly.
FAQ: Can I reuse the baseboards and shoe moldings after removing them?
Answer: In most cases, it is possible to reuse the baseboards and shoe moldings if they are in good condition. However, it is essential to handle them with care during removal to prevent any damage.
4. Circular Saw or Miter Saw:
A circular saw or miter saw is necessary for cutting engineered hardwood planks to size. These tools provide clean and precise cuts, ensuring that the planks fit perfectly along walls, doorways, or other obstacles.
FAQ: Can I use a regular handsaw instead of a circular saw or miter saw?
Answer: While a handsaw may be used for small cuts or trimmings, it is not recommended for cutting engineered hardwood planks. The precision and speed provided by a circular saw or miter saw make the installation process more efficient and accurate.
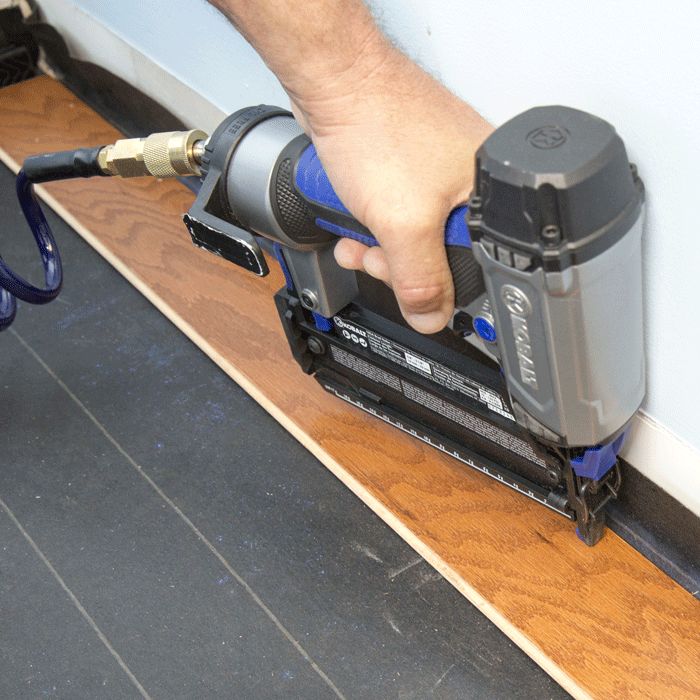
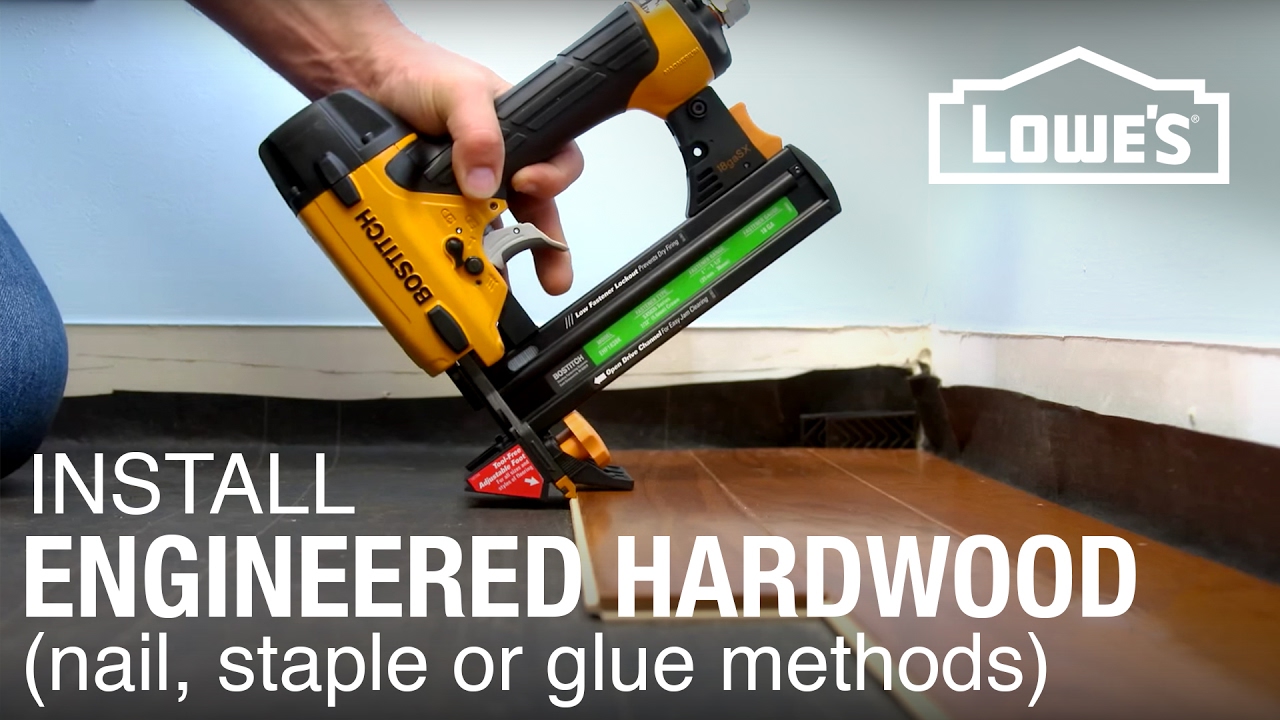
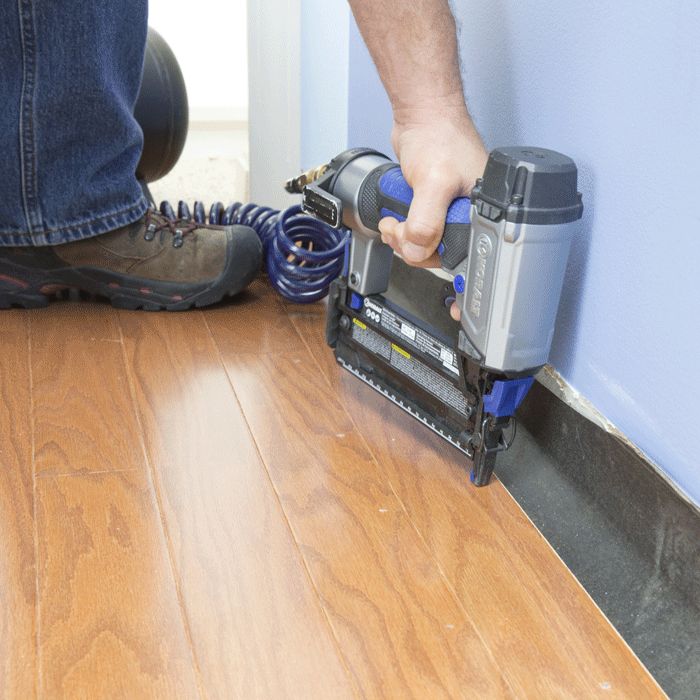
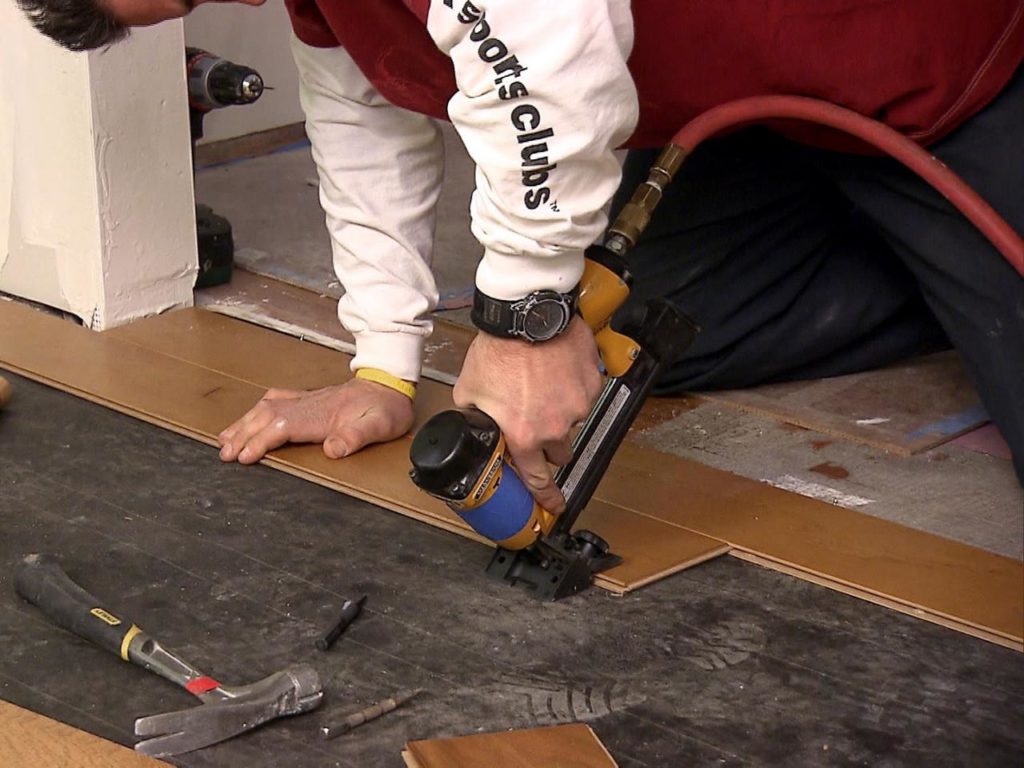
5. Flooring Nailer:
A flooring nailer is a specialized tool designed specifically for fastening engineered hardwood planks to the subfloor. It uses nails or staples to secure the planks securely in place without damaging their surface.
FAQ: Can I use a regular hammer and nails instead of a flooring nailer?
Answer: While it is technically possible to use a regular hammer and nails, using a flooring nailer saves time and effort while minimizing the risk of damaging the planks. A flooring nailer ensures consistent pressure when fastening the planks, resulting in a more professional installation.
6. Underlayment:
Underlayment is not necessarily a tool but an essential Material that is often used when installing engineered hardwood flooring. It is a thin layer of material that is placed between the subfloor and the hardwood planks. Underlayment helps to provide cushioning, reduce noise, and protect against moisture. It also helps to smooth out any imperfections in the subfloor, creating a more even surface for installation.
FAQ: Is underlayment necessary for engineered hardwood flooring?
Answer: While it is not always necessary, underlayment is highly recommended for engineered hardwood flooring. It provides additional benefits such as soundproofing and moisture protection. Additionally, some manufacturers may require the use of underlayment to maintain warranty coverage.
Overall, having the right tools and materials is crucial for a successful installation of engineered hardwood flooring. Using the correct tools helps ensure that the planks are installed properly without causing any damage or distortion. It also allows for a more efficient and professional-looking installation. Additionally, it’s important to follow the manufacturer’s instructions and guidelines for installation to ensure that the flooring is installed correctly and to maintain any warranty coverage. It’s always a good idea to consult with a professional or do thorough research before attempting to install engineered hardwood flooring yourself.