Ceramic tile flooring is resistant to moisture, normal water spillage and unexpected intense changes in heat and are mostly used in bathrooms or kitchens, and frequently in other areas of the home also. The combinations of patterns and colors are endless with tile flooring. Without appropriate maintenance they will become awful. This polished granite tiles have darker color than marble tiles.
Images about How To Do Tile Flooring In Bathroom

In addition, carpeting absorbs high temperature and tends to make the room feel warmer. You are able to mix as well as match this tile with various other kinds of flooring to accent the floor and create the attempt of interest in the room. Have some sandpaper handy for smoothing out there cut edges. You have to assess the length as well as width of the section of floor you are planning to tile and furthermore, the length as well as breadth of each tile.
How to Tile Floors u0026 Walls – Sincerely, Sara D. Home Decor u0026 DIY
As said before, you can usually find a big choice of tile flooring choices close to home. Now and then, a gentle detergent remedy might be implemented with your tiled flooring – and a little bit of scrubbing should help get rid of the random stain. But, you can now purchase especially shaped and sanded stones to avoid these types of issues.
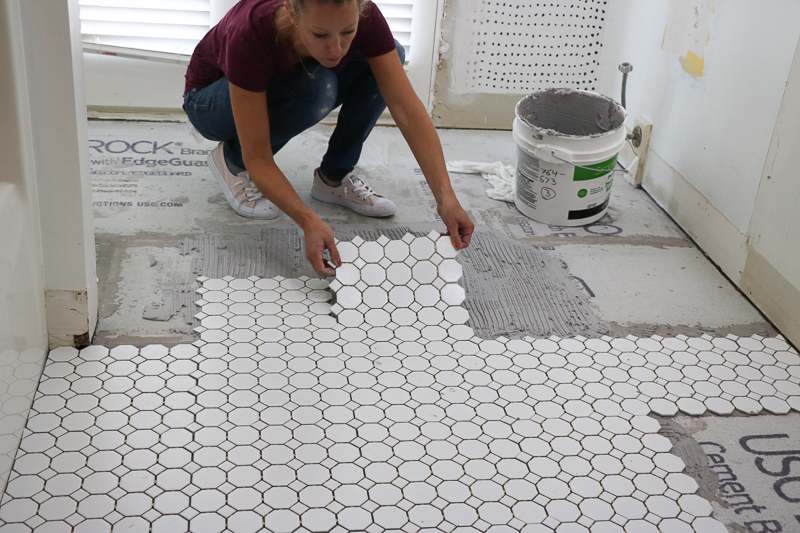
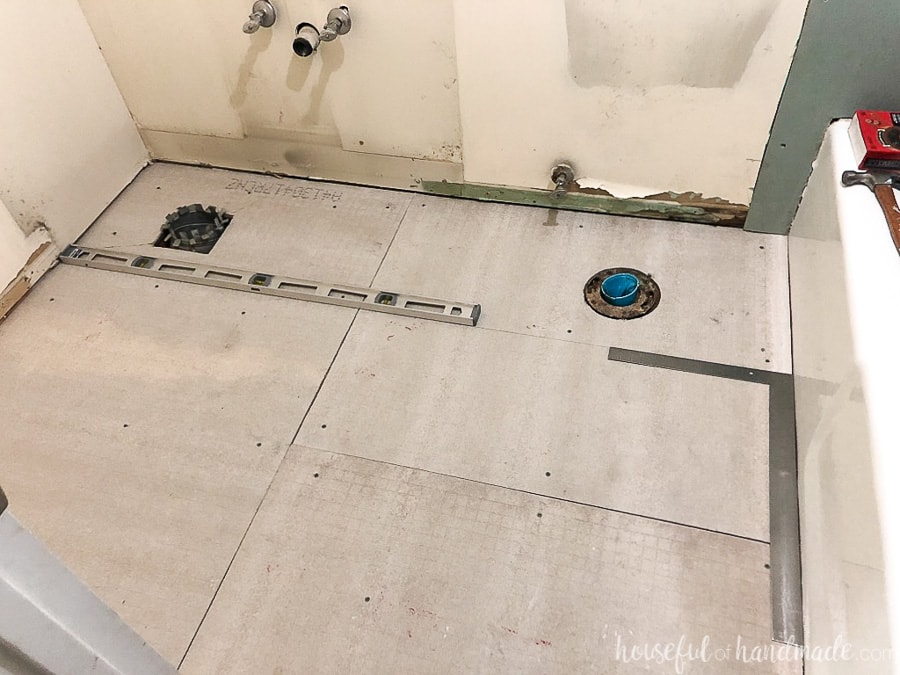
Laying Floor Tiles in a Small Bathroom – Houseful of Handmade
How to Tile a Bathroom Floor with Wickes

How to Lay a Tile Floor HGTV
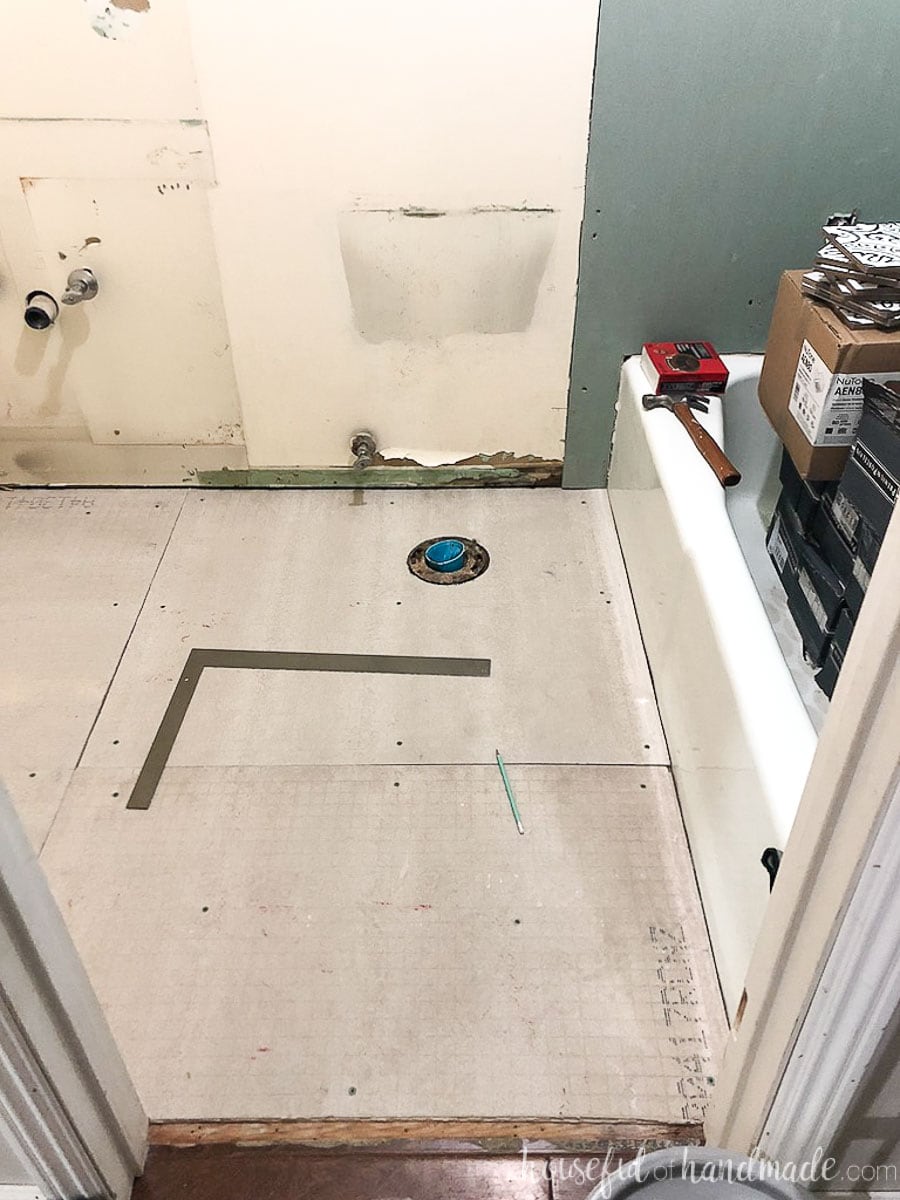
Laying Floor Tiles in a Small Bathroom – Houseful of Handmade
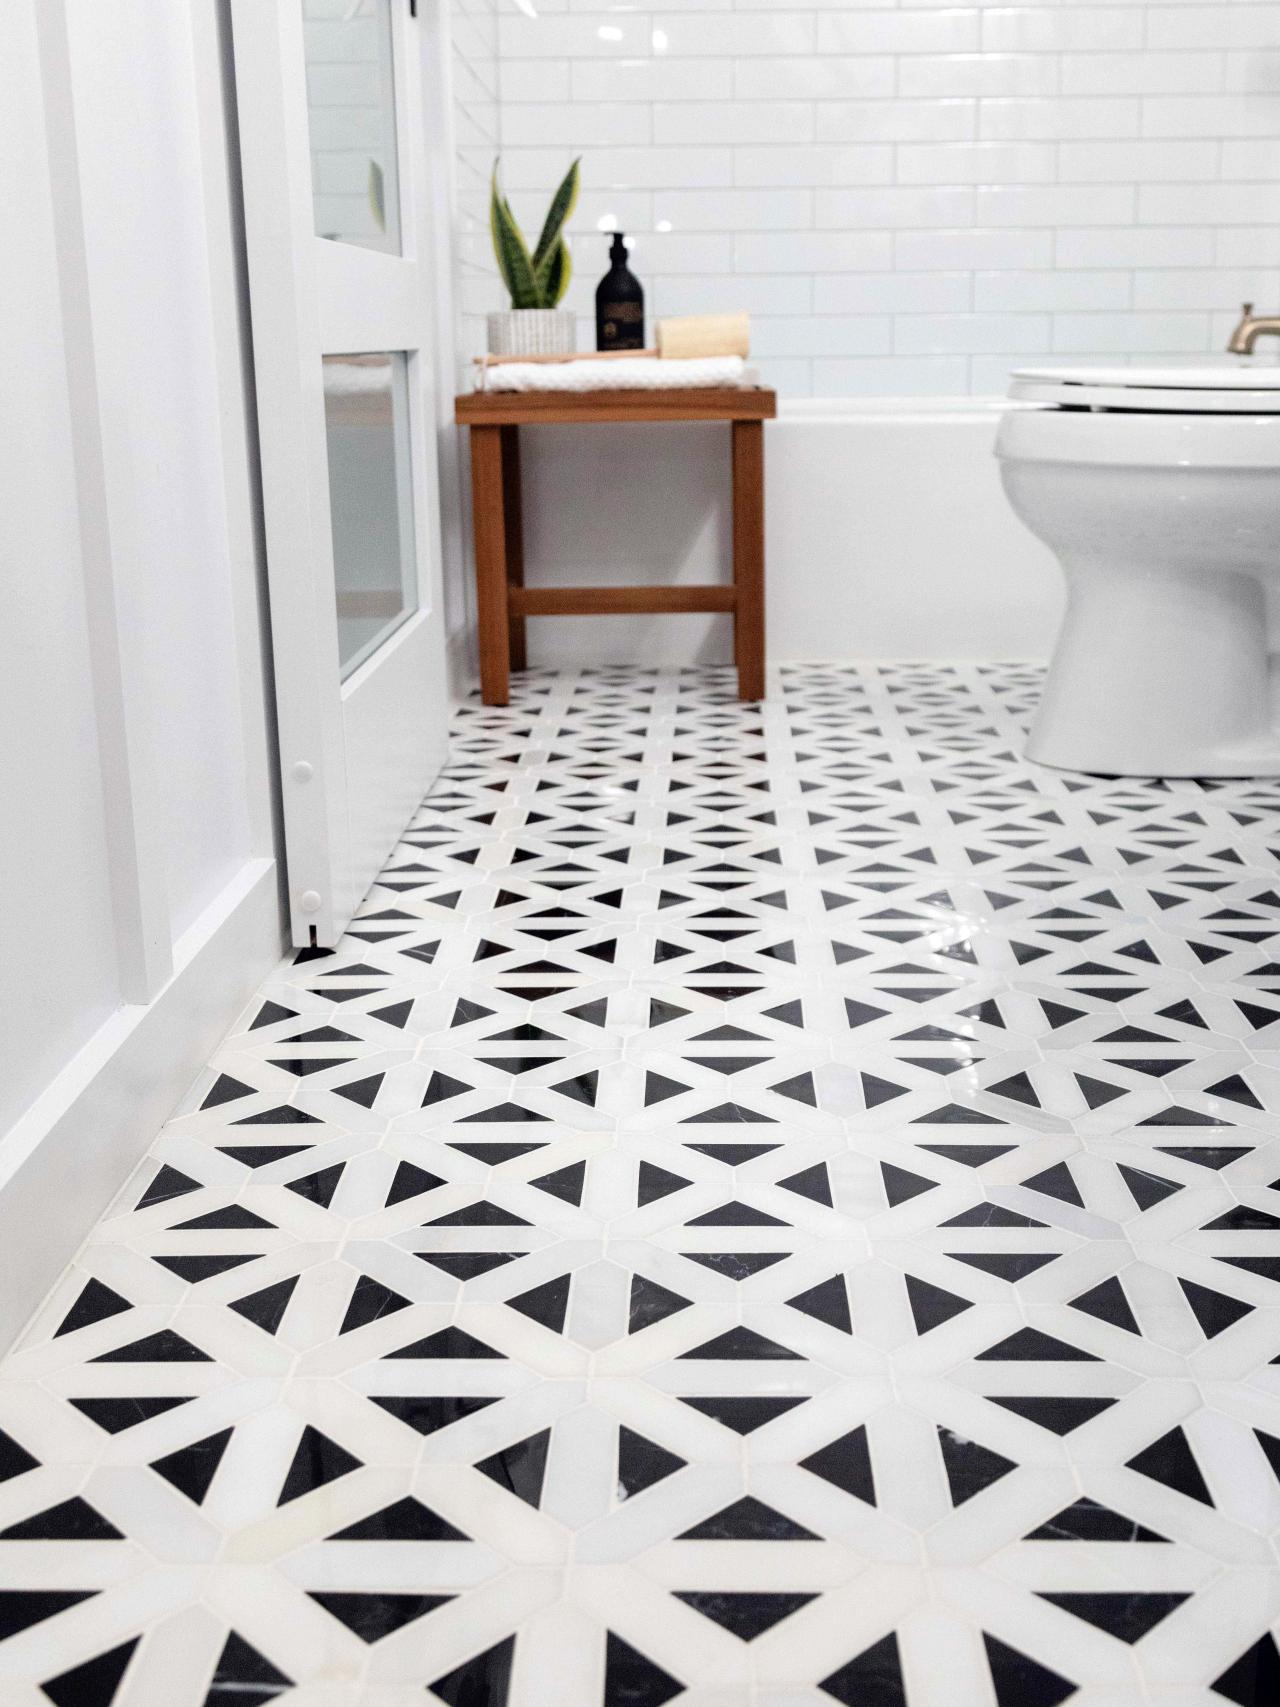
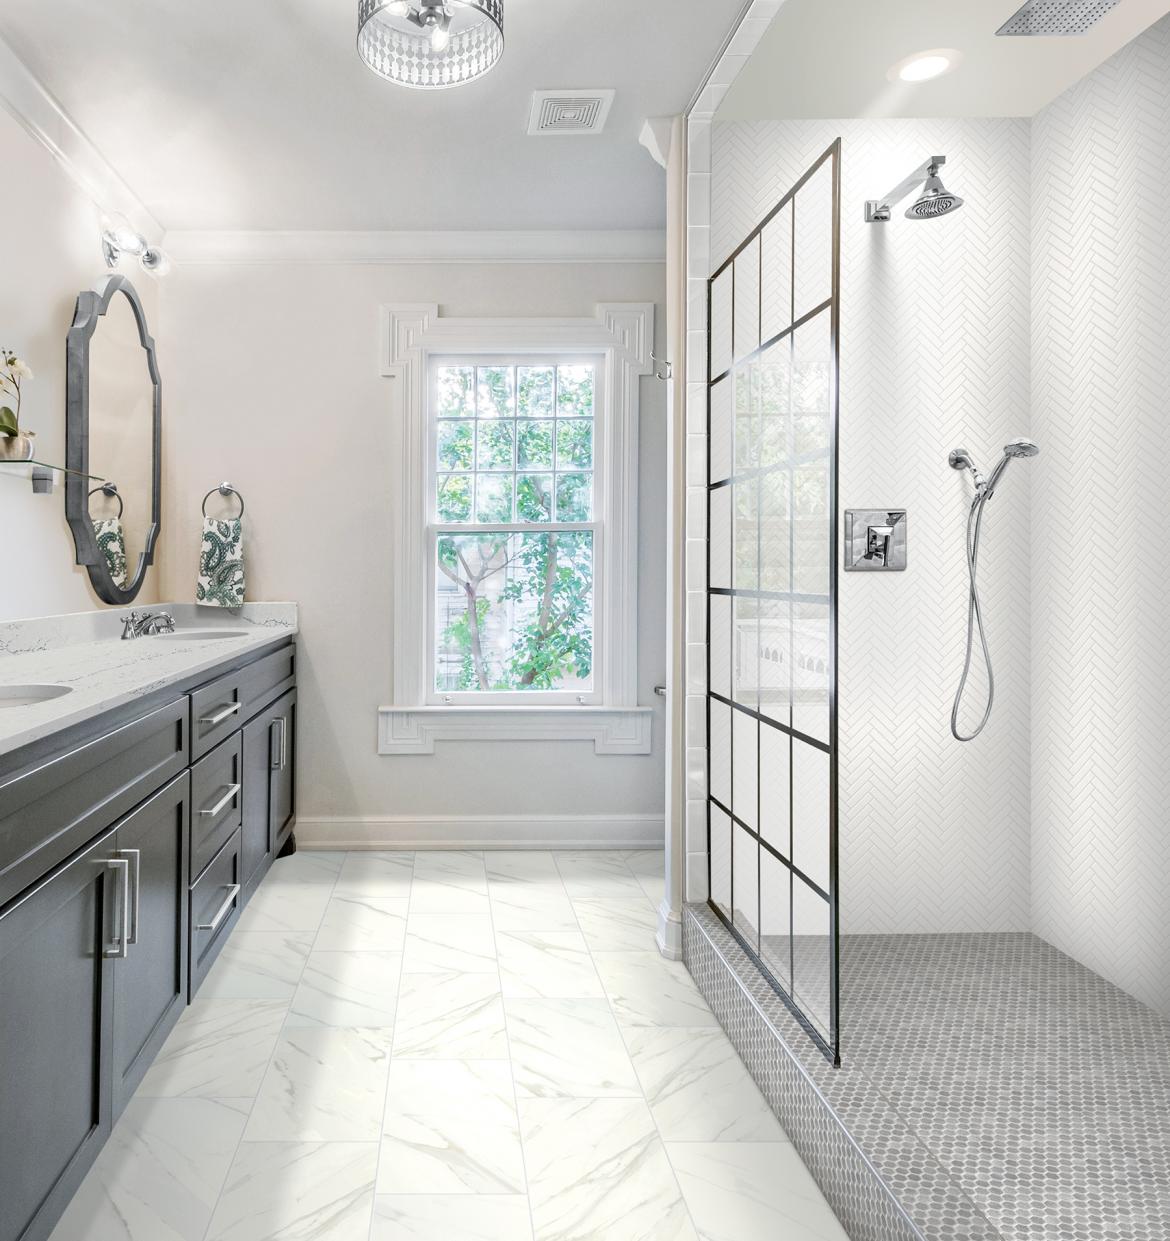
How To Update Your Bathroom Floor Tiles – 6 DIY ideas

How to Install Ceramic Tile Flooring in 9 Steps – This Old House
:no_upscale()/cdn.vox-cdn.com/uploads/chorus_asset/file/19496978/howto_tile_01.jpg)
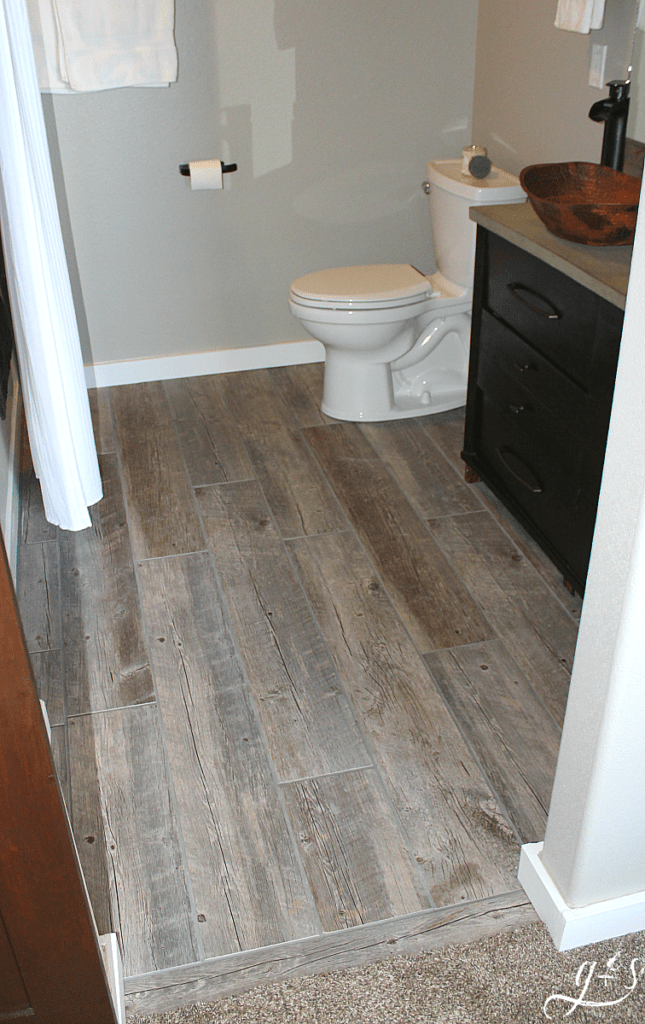
Plank Tile Bathroom Flooring – HappiHomemade with Sammi Ricke
How to Install Ceramic Tile on a Tile Floor
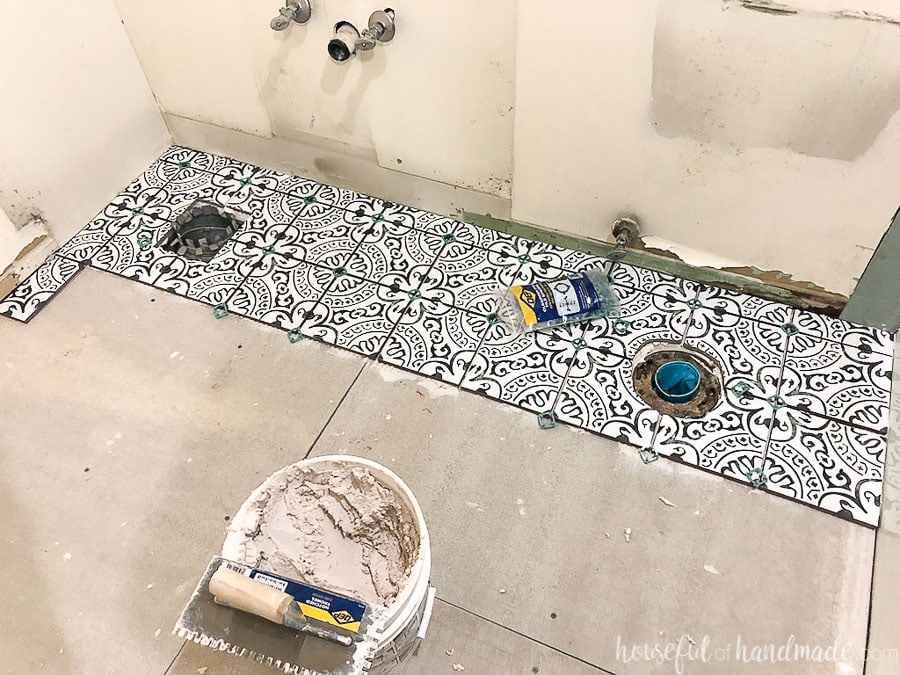
Laying Floor Tiles in a Small Bathroom – Houseful of Handmade
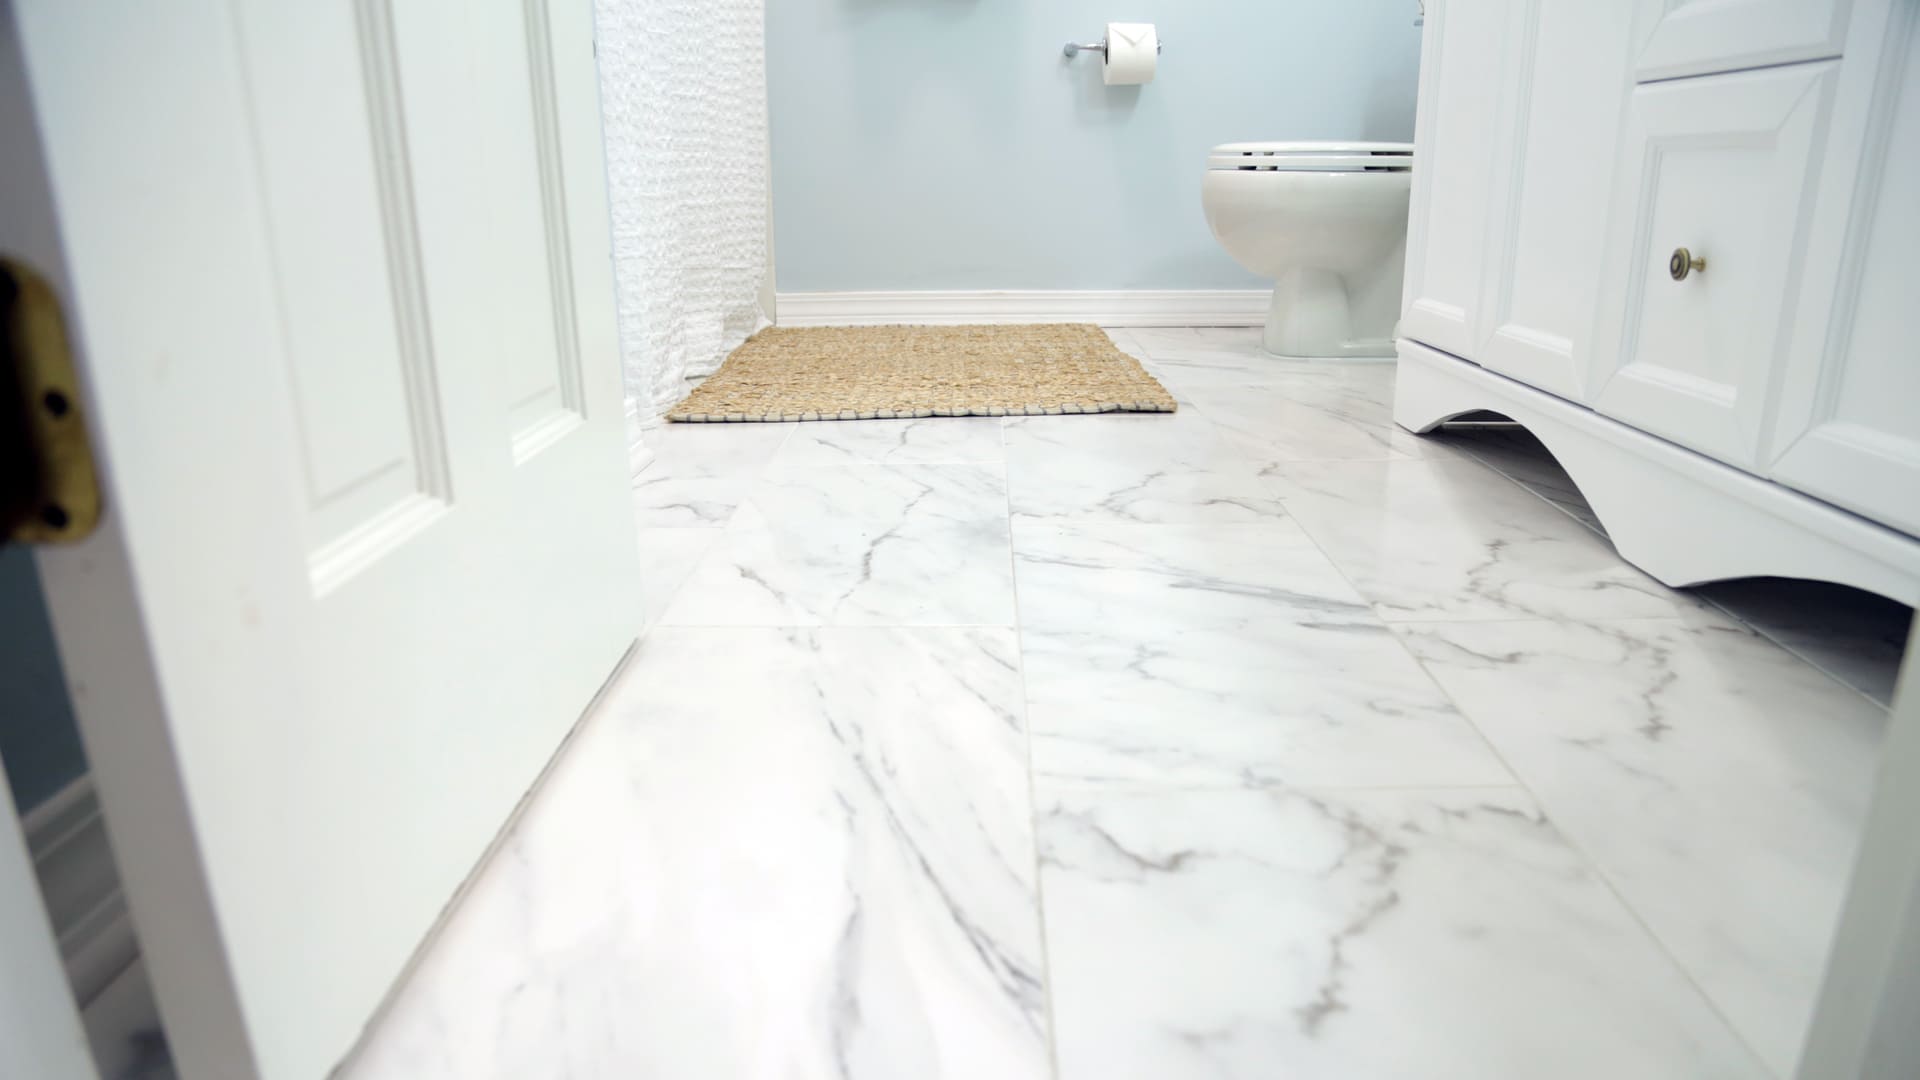
How to Tile a Bathroom Floor
/BathroomTileFloor-092a6b5be9a843e69b583431fa59c5d7.jpg)
How To Update Your Bathroom Floor Tiles – 6 DIY ideas

A Ceramic Tile Floor That Installs Twice As Fast Residential
Related Posts:
- Wet Mops For Tile Floors
- Cement Over Tile Floor
- Stripping Wax Off Tile Floor
- How To Clean Saltillo Tile Floors
- Stripping Ceramic Tile Floors
- Cheap Tile Flooring Ideas
- How To Clean Grout On Tile Floor With Bleach
- Shark For Tile Floors
- Regrouting Tile Floor Without Removing Old Grout
- Chesapeake Tile Flooring
How To Do Tile Flooring In Bathroom
Tile flooring is one of the most popular flooring options for bathrooms. It’s durable, resistant to moisture, and easy to clean. But before you start tiling your bathroom floor, there are a few things you should know to ensure you get the best result. This article will provide an overview of what you need to do to tile a bathroom floor properly.
Preparing The Floor
Before you can begin tiling, it’s important to prepare the bathroom floor properly. This includes cleaning it thoroughly and removing any existing tiles or other materials that may be in the way. Be sure to fill any cracks or holes with a grout-filled patching compound and make sure the surface is free from dust and debris. Once you’ve prepared the floor, you’re ready to start tiling.
Laying The Tiles
Once your floor is prepped and ready to go, it’s time to start laying down the tiles. Begin by marking out where you want your tiles to go with a pencil or chalk line. Make sure each tile is level and even with the ones around it by using a leveler tool or straight edge. Once all of your tiles are laid out, it’s time to start adhering them in place.
Adhering The Tiles
The next step is to adhere your tiles in place. This can be done with either thinset mortar or mastic adhesive, depending on the type of tile you’re using. If you’re using thinset mortar, spread it evenly across the floor with a notched trowel and then press each tile into place with firm pressure from your hands or a rubber mallet. If you choose mastic adhesive, spread it directly onto the back of each tile with a putty knife and press them into place as before.
Grouting The Tiles
Once all of your tiles are in place, it’s time to grout them. Start by mixing up a batch of grout according to the manufacturer’s instructions and then spread it over the tiles with a rubber float or grout sponge. Be sure to get into all of the nooks and crannies between each tile so that no gaps remain between them when they’re finished drying. Once they are dry, use a damp cloth to wipe away any excess grout from the surface of the tiles and leave them to set overnight before using them again.
Sealing The Tiles
Now that your tiles are laid and grouted, it’s important to seal them properly so that they last longer and look better for longer too. Apply two coats of sealer onto each tile using a sponge or paint brush being careful not to overlap sealer onto adjacent tiles as this can affect their appearance over time. Leave each coat of sealer to dry completely before applying another one for best results.
FAQs
Q: What type of adhesive should I use when tiling my bathroom?
A: It depends on what type of tile you’re using but generally speaking thinset mortar or mastic adhesive will work best for most types of tiles. Be sure To check the manufacturer’s instructions before starting your project so that you use the correct adhesive for your tiles.
Q: How long should I leave my grout to set before using the bathroom again?
A: Generally speaking, you should leave your grout to set for at least 12 hours before using the bathroom again. This ensures that the grout has properly dried and sealed and is ready for use.