Garage floor covers come in a lot of textures – coin pattern, Levant, diamond, ribbed, and obvious. If you see a lot more garages are now being renovated into workshops, offices etc. Still another typical type used for storage area flooring needs are actually the wood composite floor tiles, that provide a barrier trying to keep the top surface dry. Hence parking the vehicle of yours on rubber garage flooring is not appealing.
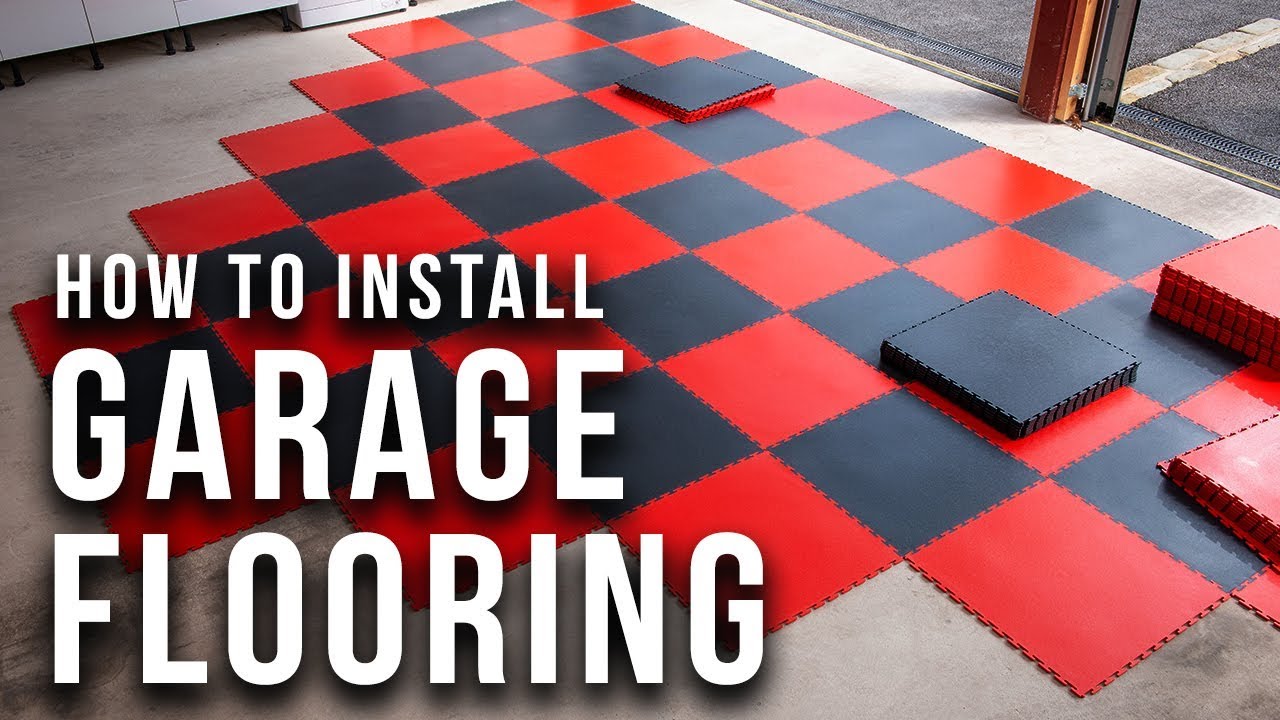
Images about How To Install Garage Flooring
The reality however is that the epoxy garage floor solution requires no more knowledge than what is required to pain a wall structure. Floor mats are good to go after laying them on the floors. Rubber garage flooring or an epoxy-coating is durable. The personal tastes of yours will be respected because you can personalize the way you coat your floor. Garage flooring doesn’t have to be old fashioned.
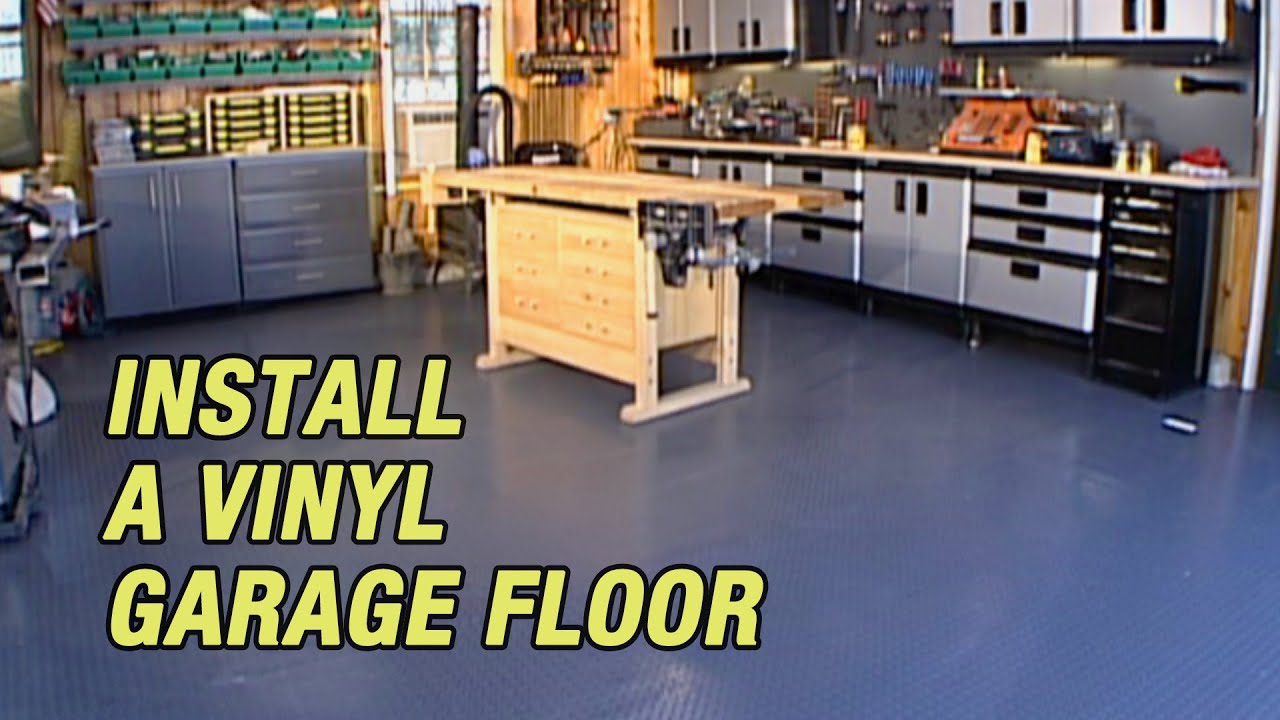
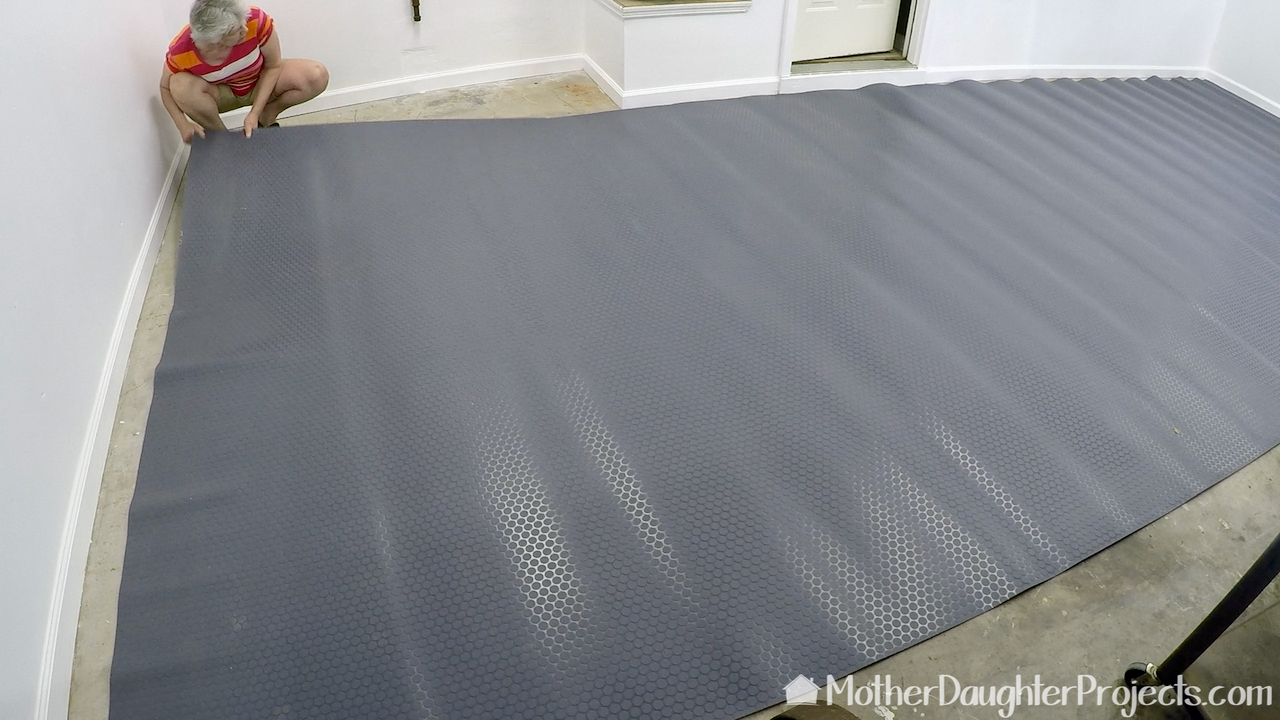
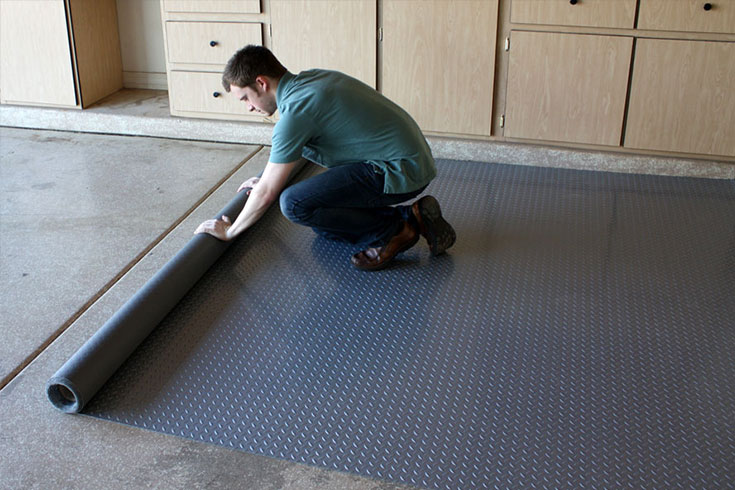
Install a Vinyl Garage Floor
So now picture a shiny brand new searching garage floor, boxes nicely stored, as well as ample storage space shelves on the walls. By placing adequate shelter on the floor you are going to be able to hold fluids that leak out of automobiles from staining or even causing unbearable smells. In either case, the mat is possibly the simplest as well as cheapest.
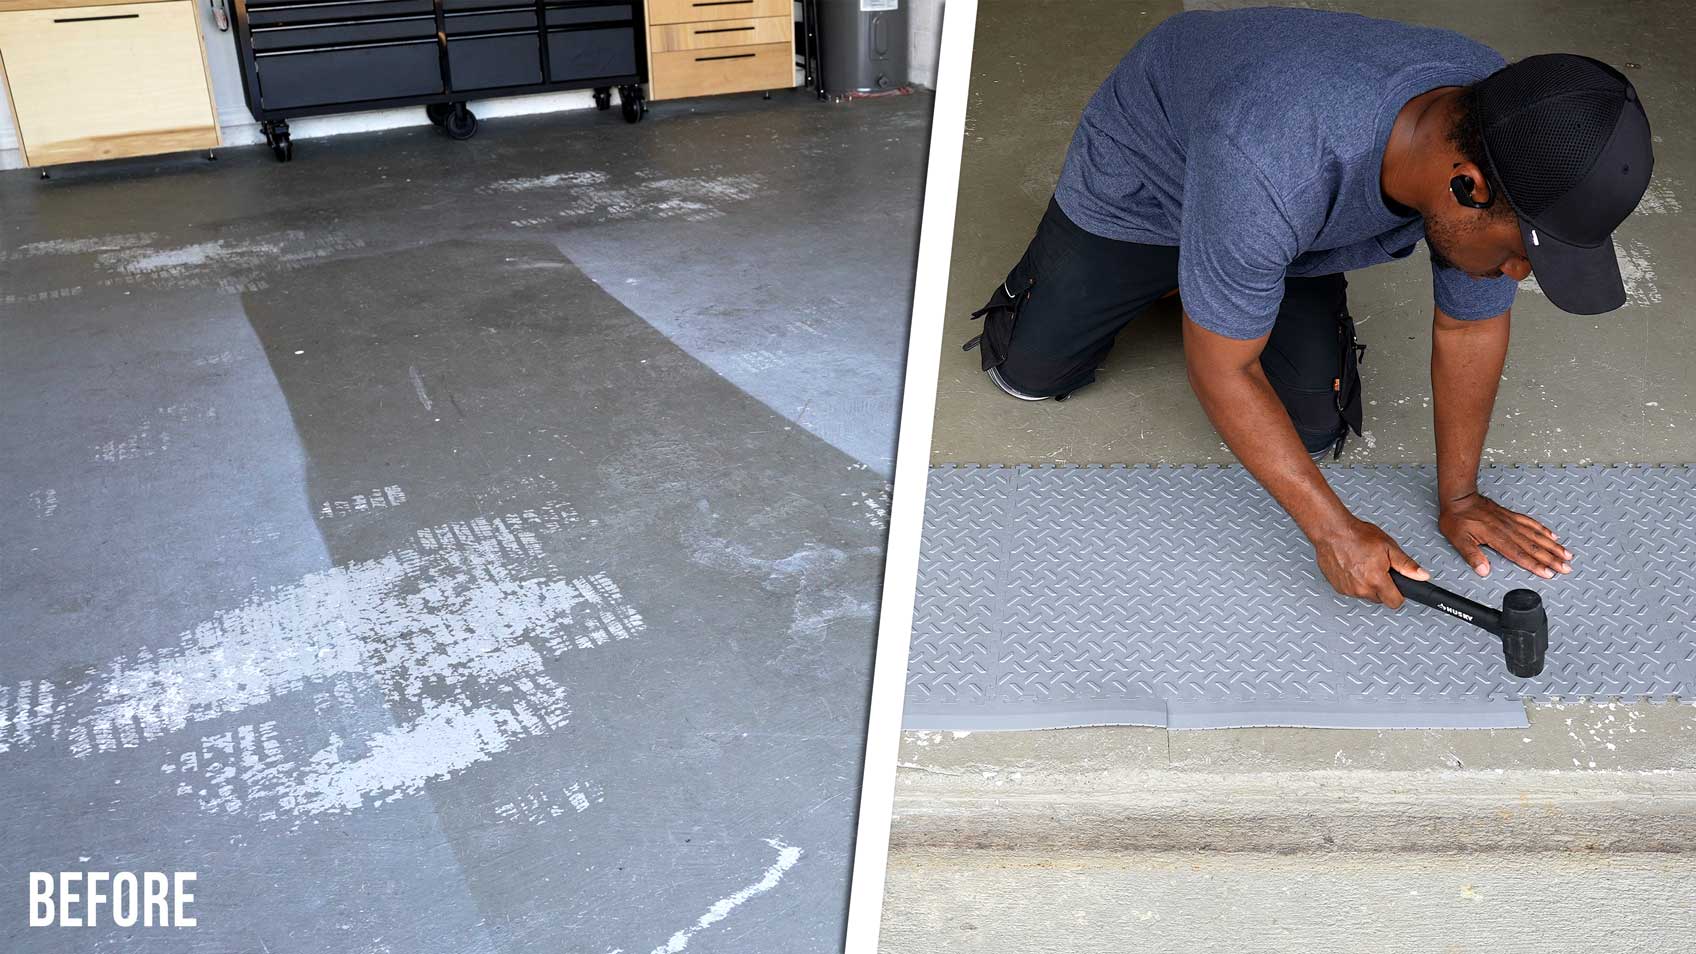
How to Install Husky PVC flooring
How to Install Flex Tile Garage Flooring
How to Install Plastic Garage Flooring: Raised Tile Floor Guide
How to Apply Garage Floor Epoxy Coatings The DIY Guide All
How To Install Interlocking Garage Floor Tiles – LockTile

DIY Vinyl Garage Flooring – Mother Daughter Projects
How To Install Diy Vinyl Garage Flooring u2013 Otosection

Garage Floor Installation Guide: Tiles, Rolls, and Epoxy
How to Choose Garage Flooring – Flooring Inc
Garage flooring: how to install and repair Weber UK

How to Apply Epoxy Coating to a Garage Floor – This Old House
/cdn.vox-cdn.com/uploads/chorus_asset/file/19496068/h0308stepbystep07_1.jpg)
How To Install An Epoxy Garage Floor u2013 Forbes Home

Related Posts:
- Epoxy Garage Floor Ideas
- Custom Garage Floor Paint
- Enamel Garage Floor Paint
- Loft Over Garage Floor Plans
- Garage Floor Slope To Drain
- Garage Floor Painting Kit
- Garage Floor Vinyl Tiles
- Cleaning Garage Floor For Epoxy Paint
- Garage Floor Plans With Living Space Above
- Garage Floor Oil Remover
Title: Transform Your Garage with Stunning and Durable Flooring: A Comprehensive Guide
Introduction:
Are you tired of looking at your dull and worn-out garage floor? It’s time to give it a makeover! Installing garage flooring not only enhances the visual appeal of your space but also adds durability and functionality. In this comprehensive guide, we will walk you through the step-by-step process of installing garage flooring, ensuring a seamless and long-lasting transformation.
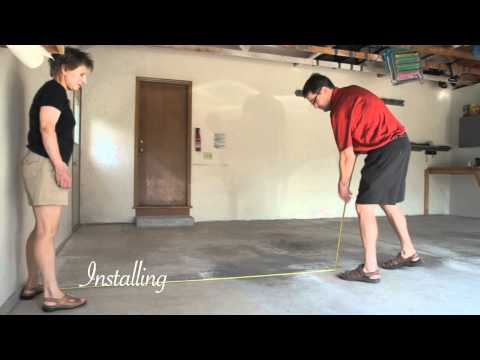
I. Preparing for Installation:
Before diving into the installation process, it is crucial to prepare your garage properly. Follow these steps to ensure a smooth installation:
1. Clearing out the Garage:
Begin by removing all items from your garage, including vehicles, tools, and other belongings. This will provide you with ample space to work efficiently while minimizing any potential damage during the installation process.
2. Thorough Cleaning:
Next, sweep or vacuum the entire garage floor to remove loose dirt, debris, and dust. Then, use a degreaser or an appropriate cleaning solution to eliminate any oil stains or other contaminants. Rinse the floor thoroughly and allow it to dry completely before proceeding.
FAQs:
Q1: Can I install garage flooring over an existing coating?
A1: Yes, as long as the current coating is in good condition and adheres well to the concrete surface. However, it is recommended to consult with a professional or refer to the manufacturer’s guidelines for specific product compatibility.
Q2: Is it necessary to repair cracks in the concrete before installing garage flooring?
A2: Ideally, it is best to repair any significant cracks or damage in the concrete prior to installation. Filling them with an appropriate concrete patching compound will ensure a smoother and more even surface for your new flooring.
II. Choosing the Right Garage Flooring Type:
Selecting the suitable type of garage flooring is essential to meet your specific requirements and preferences. Here are some popular options:
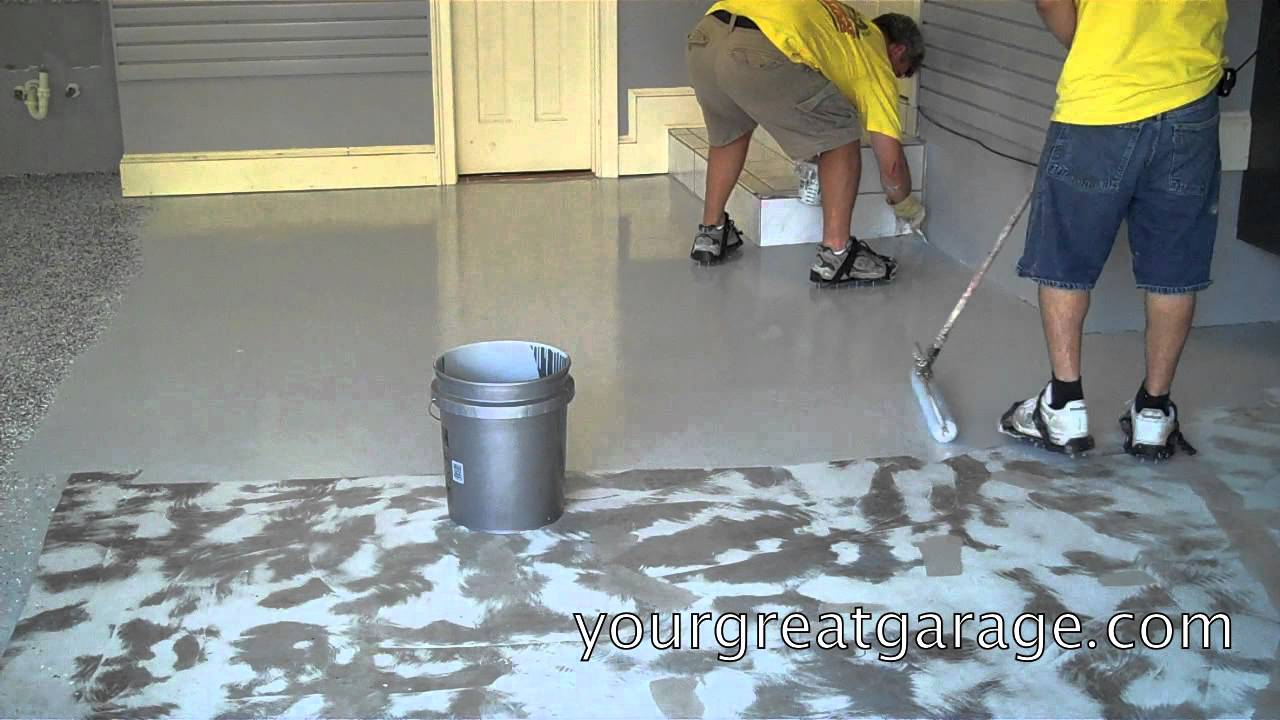
1. Epoxy Coatings:
Epoxy coatings provide a glossy and durable finish, protecting your garage floor from stains, chemicals, and abrasions. They are available in a wide range of colors and can be customized with decorative flakes for added visual appeal.
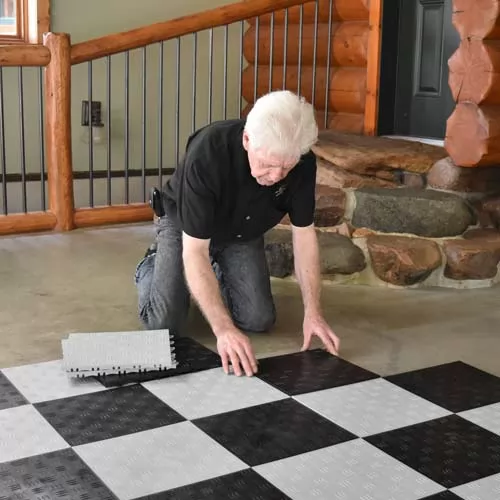
2. Interlocking Tiles:
Interlocking tiles offer versatility and ease of installation. Made from durable materials like PVC or rubber, these tiles can withstand heavy loads and are resistant to stains and spills. They come in various designs, allowing you to personalize your garage’s look.
3. Rubber Mats:
Rubber mats provide excellent protection against impact and are particularly suitable for areas where heavy machinery or equipment is present. They absorb sound, reduce fatigue, and are easy to clean.
FAQs:
Q1: How long does an epoxy coating last?
A1: The lifespan of an epoxy coating depends on factors such as usage, maintenance, and environmental conditions. With proper care, most high-quality epoxy coatings can last up to 10 years or more.
Q2: Can I install interlocking tiles myself?
A2: Yes, interlocking tiles are designed for easy DIY installation. They typically feature a snap-together system that requires no adhesives or special tools. However, it is essential to follow the manufacturer’s instructions carefully for a successful installation.
III. Installing Garage Flooring:
Now that you have prepared your garage and chosen the ideal flooring type, let’s delve into the installation process:
1. Epoxy Coating Installation:
– Begin by mixing the epoxy components according to the manufacturer’s instructions. – Clean the concrete surface thoroughly, removing any dirt, oil, or previous coatings.
– Apply a primer coat to the concrete, following the manufacturer’s guidelines.
– Once the primer has dried, apply the epoxy coating using a roller or brush.
– Allow the coating to dry and cure according to the manufacturer’s instructions. This usually takes around 24-48 hours.
– Apply a second coat for added durability and shine, if desired.
2. Interlocking Tile Installation:
– Start by cleaning the concrete surface and ensuring it is dry and level.
– Lay out the interlocking tiles in your desired pattern, starting from one corner of the garage.
– Connect the tiles together by firmly pressing down on the interlocking tabs.
– Use a rubber mallet or a tapping block to ensure all tiles are securely locked in place.
– Trim any excess tiles to fit along walls or obstacles using a utility knife or a saw.
3. Rubber Mat Installation:
– Begin by cleaning and drying the concrete surface.
– Lay down the rubber mats in your desired configuration, ensuring they cover the entire garage area.
– Secure the mats in place using double-sided adhesive tape or adhesive-backed Velcro strips.
– Trim any excess mat material using a utility knife if needed.
Remember to refer to the specific installation instructions provided by the manufacturer for each flooring type for detailed guidance.
FAQs:
Q1: How long does it take to install epoxy flooring?
A1: The time required for epoxy flooring installation depends on factors such as the size of your garage and the number of coats applied. On average, it can take anywhere from 2 to 5 days for complete installation and curing.
Q2: Can I drive my car on newly installed garage flooring immediately?
A2: It is recommended to wait at least 24 hours for epoxy coatings to cure before driving vehicles on them. For interlocking tiles and rubber mats, you can use your garage immediately after installation.
By following these guidelines and taking proper care of your garage flooring, you can enjoy a durable, functional, and visually appealing space for years to come.