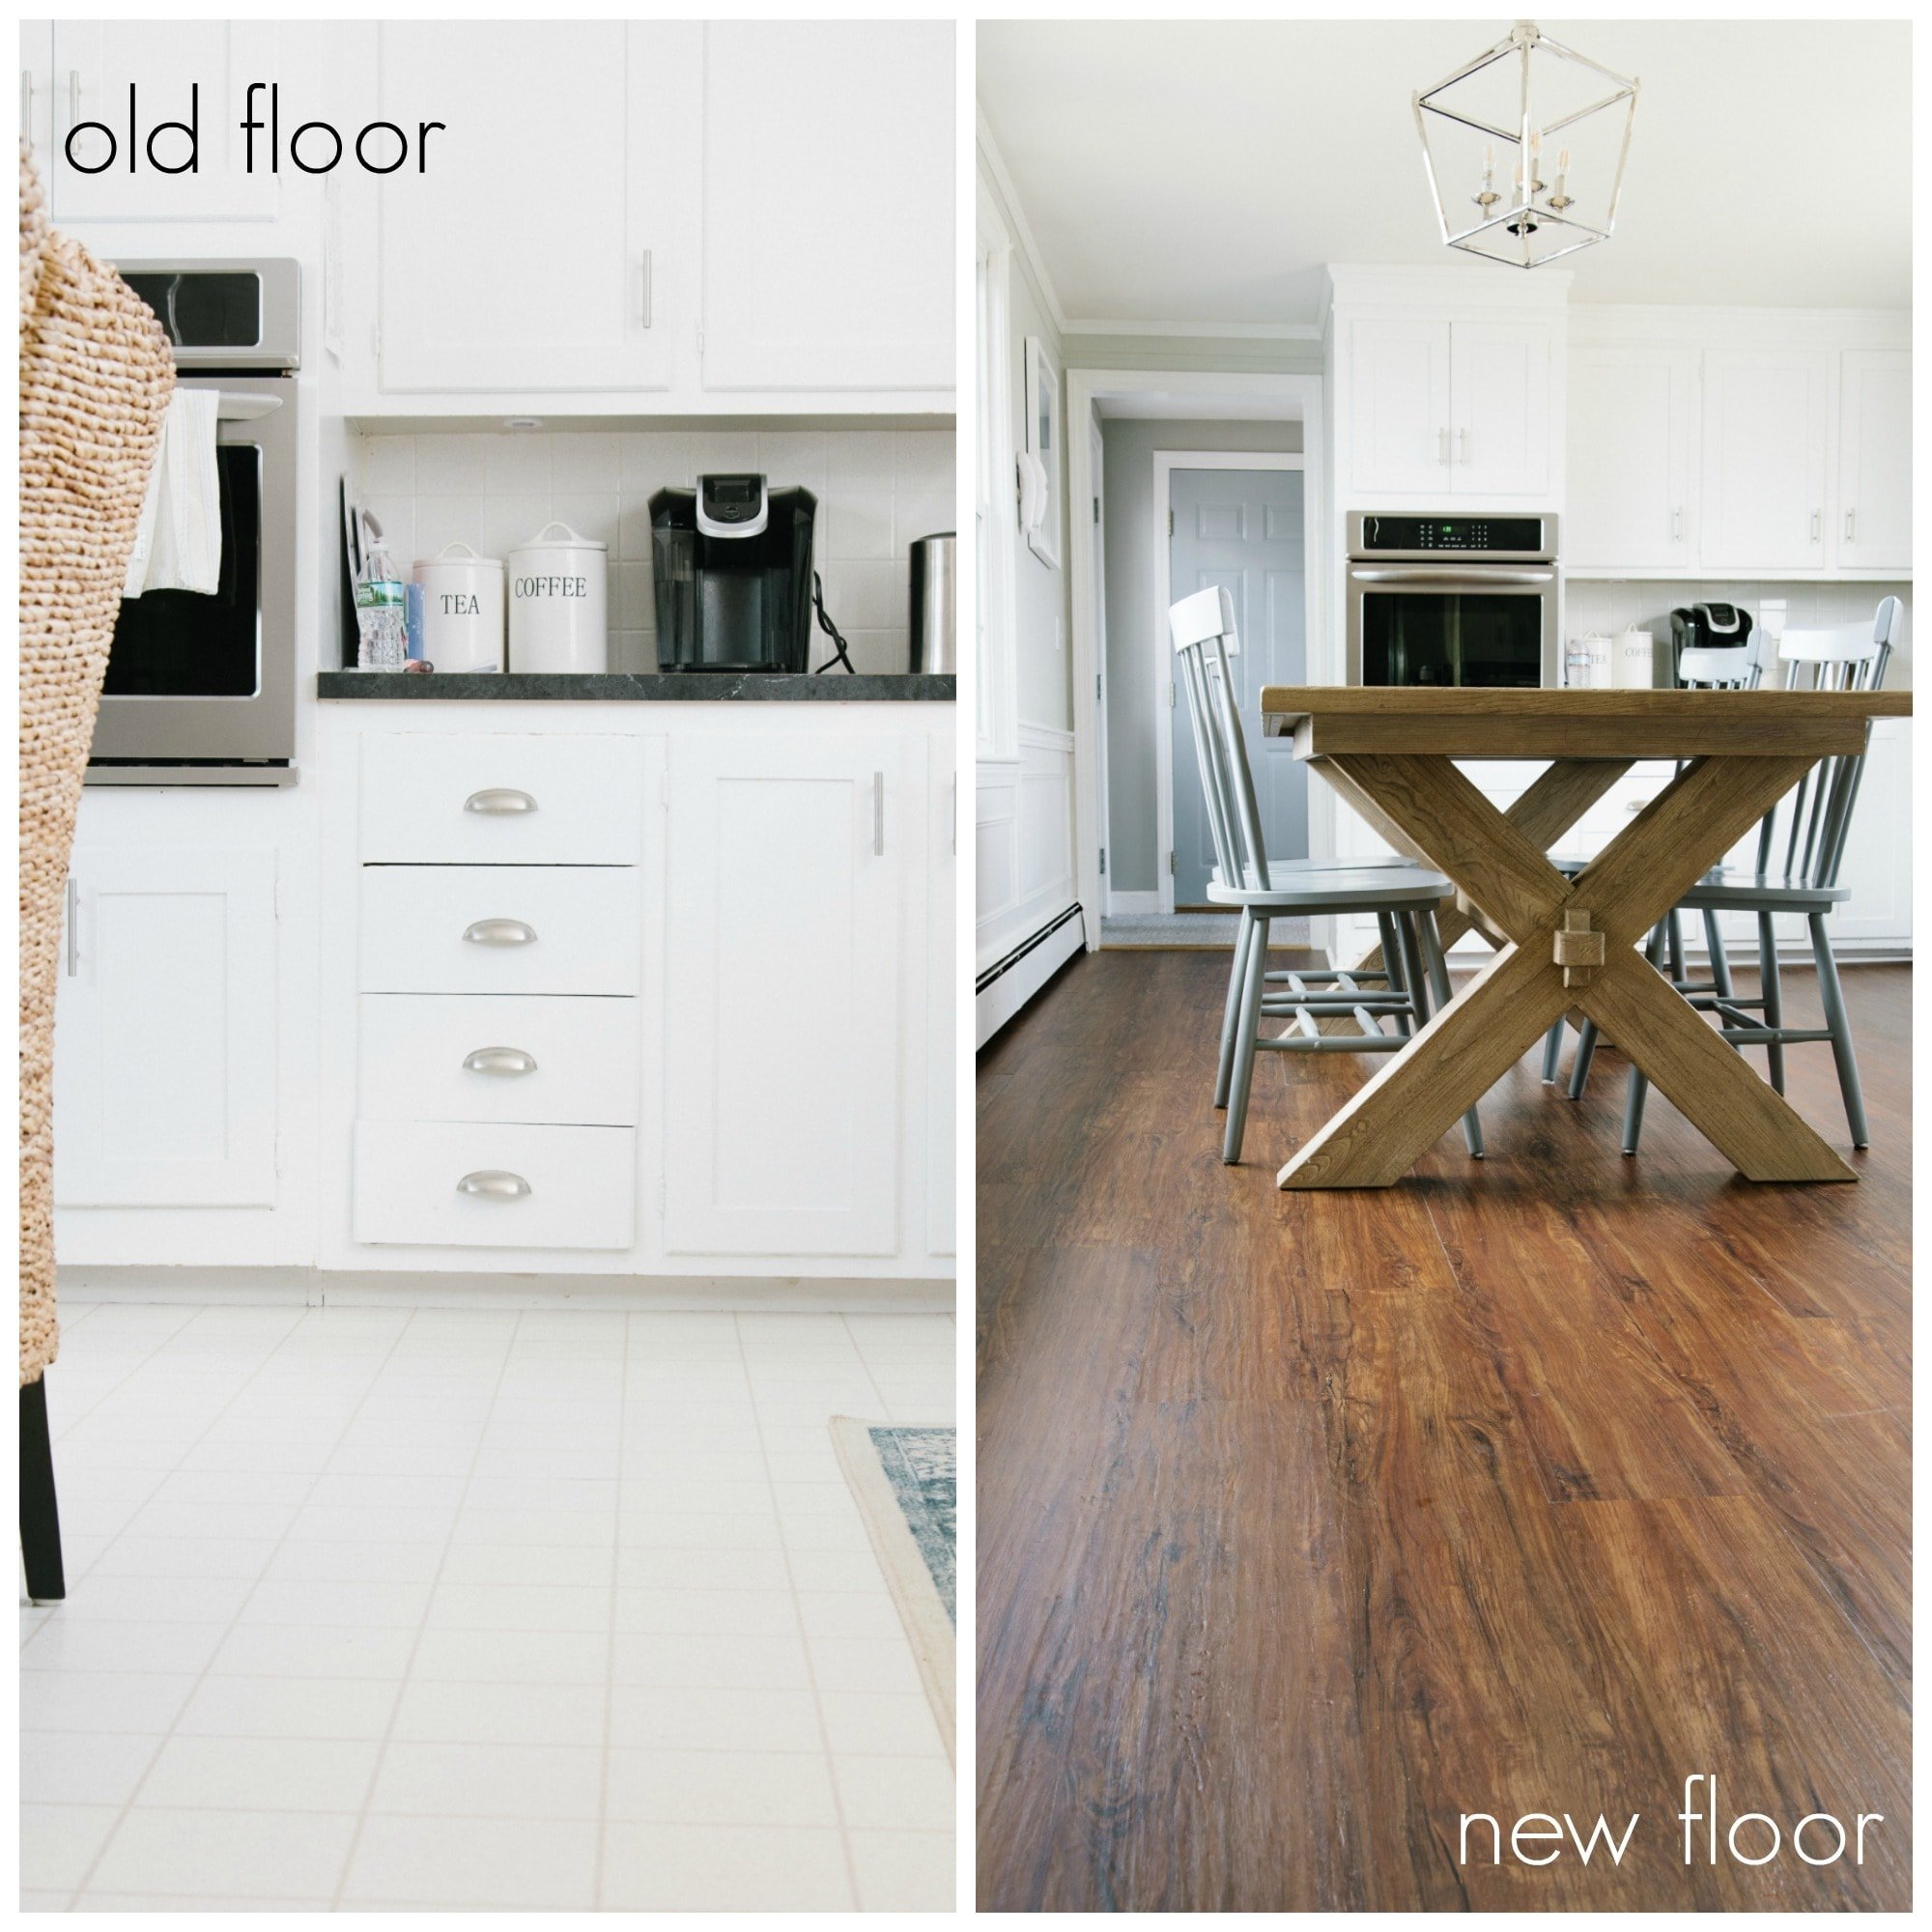
Wood kitchen flooring delivers some of the biggest number of options of any flooring content on the market nowadays. There's kitchen laminate flooring which is a wonderful blend of attractive appearance of affordable and sturdy wood, low maintenance advantages of laminate. Special attention, however, has to be done when keeping the state of laminate flooring since it's really vulnerable to scratches as well as dirt.
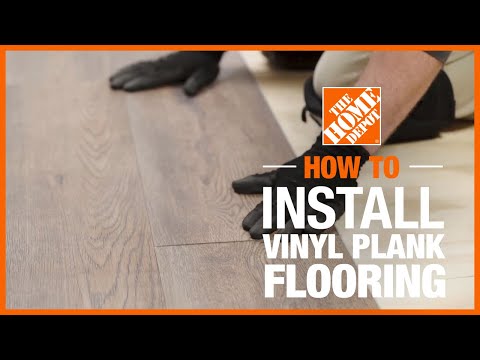
Images about How To Install Vinyl Flooring In Kitchen

The substance that you choose in a cooking area flooring renovation project can make or break the whole point, thus you have to weigh the elements that have been mentioned against the inherent traits for the different materials that are available to you. Since hardwood is utilized to make the surface area of these floors, they're less slippery than tiles and will provide a better grip.
Tips For Installing A Kitchen Vinyl Tile Floor merrypad

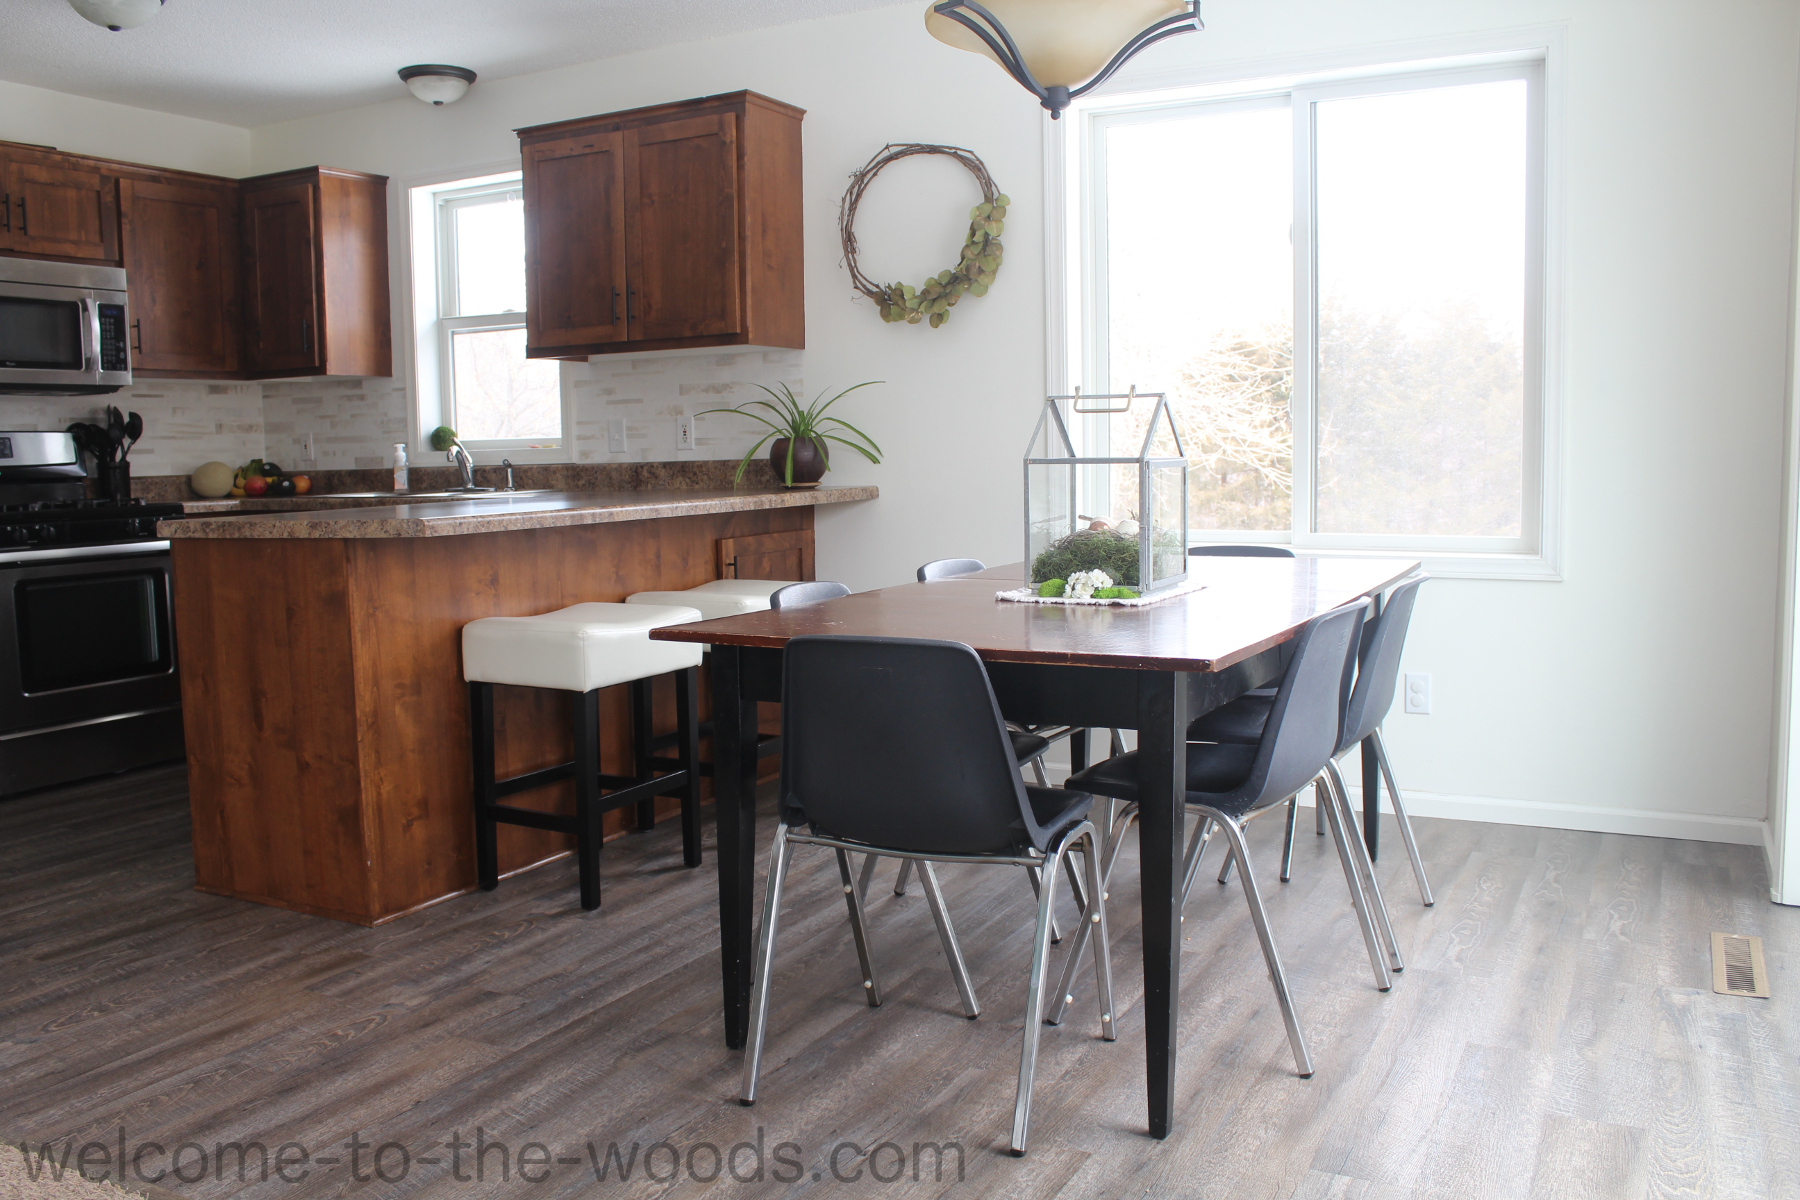
Professional kitchen flooring used to always be hard to locate. There are several shades and species of colors which could produce the best kitchen you want. It is going to need to match up with the adjoining areas if it is not exactly the same choice of flooring. It's great for use in kitchen flooring. Saltillo tiles are for Mediterranean designed kitchens which should be sealed as well as cleaned with wet cloth without chemicals.
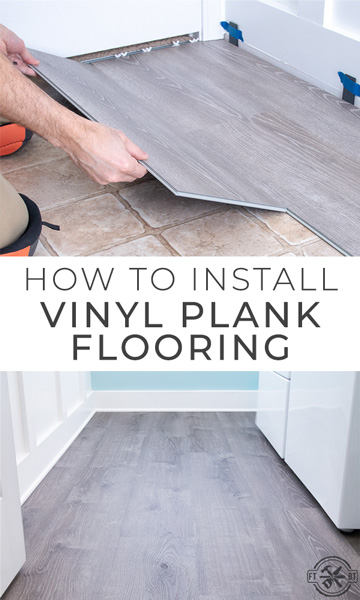
How to Install Vinyl Plank Flooring – This Old House
/cdn.vox-cdn.com/uploads/chorus_asset/file/23200107/ASK_2016_VinylFlooring_SFa.jpg)
How to Install Luxury Vinyl Plank Flooring – Jenna Kate at Home
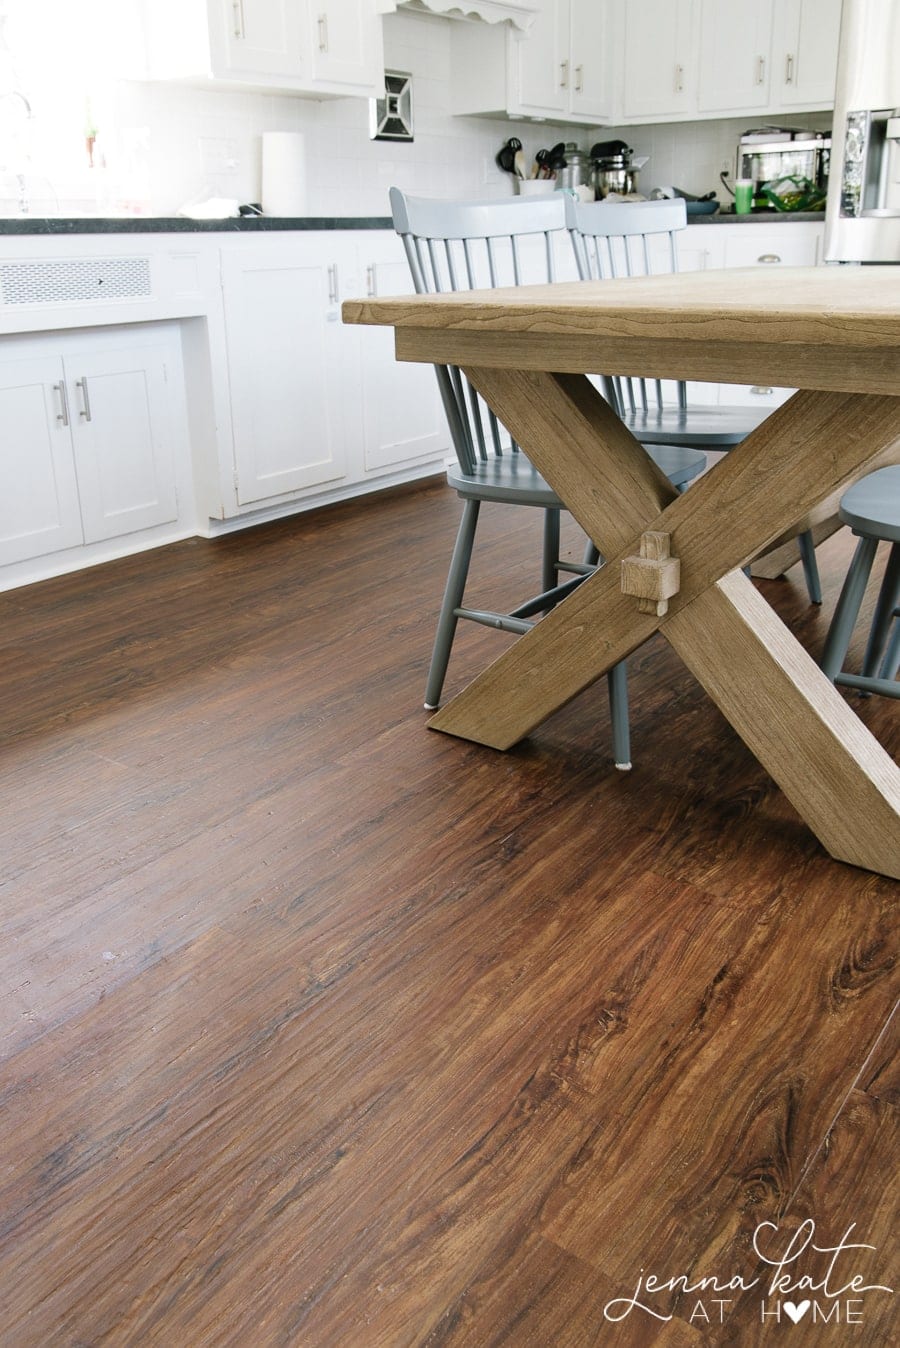
How To Install Vinyl Plank Flooring – Kitchen Infinity
:max_bytes(150000):strip_icc()/easy-install-plank-vinyl-flooring-1822808-06-3bb4422ca1bd49b080bfa73bce749acc.jpg)
How to Install Luxury Vinyl Plank Flooring
How to Install Vinyl Plank Flooring
/easy-install-plank-vinyl-flooring-1822808-10-6cfb7acfac434155a53e0ef80bfbc825.jpg)
How to Install Vinyl Plank Flooring
How To Install Vinyl Plank Flooring In A Kitchen And Living Room As A Beginner Home Renovation
How to Install Luxury Vinyl Plank Flooring – Jenna Kate at Home
How to Install Vinyl Plank Flooring
LVT Flooring Over Existing Tile the Easy Way – Vinyl Floor

Installing Vinyl Plank Flooring – How To FixThisBuildThat
DIY Luxury Vinyl Plank Installation –
Related Posts:
- Kitchen Floor Ideas For Dark Cabinets
- What Is The Most Popular Kitchen Flooring
- Kitchen Floor Runner Mats
- Kitchen Floor Repair Water Damage
- Plastic Floor Tiles Kitchen
- Installing Hardwood Floors In Kitchen
- Kitchen Rugs For Wood Floors
- Penny Kitchen Floor DIY
- How To Match Kitchen Cabinets With Hardwood Floors
- Pvc Floor Tiles Kitchen
How To Install Vinyl Flooring In Kitchen
Vinyl flooring is a popular choice for kitchens due to its durability, water resistance, and easy maintenance. Installing vinyl flooring in your kitchen can be a rewarding DIY project that will give your space a fresh and updated look. In this article, we will guide you through the step-by-step process of installing vinyl flooring in your kitchen, along with some helpful tips and FAQs.
Materials Needed:
– Vinyl flooring
– Underlayment (if necessary)
– Utility knife
– Tape measure
– Straight edge or T-square
– Floor roller
– Adhesive (if using glue-down method)
– Notched trowel (if using glue-down method)
– Safety goggles
– Knee pads
– Broom or vacuum cleaner
– Mop and bucket
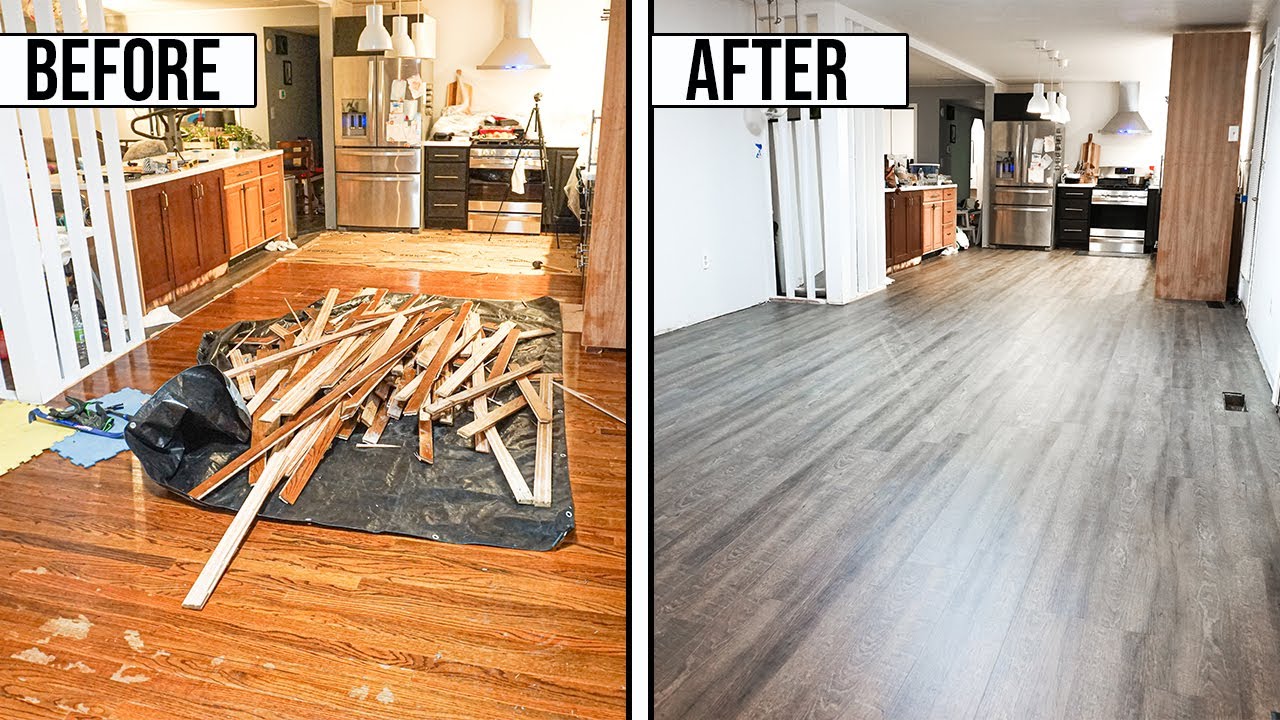
Step 1: Prepare the Subfloor
Before installing vinyl flooring, it is crucial to prepare the subfloor properly. Start by removing the existing flooring, including any carpet, tiles, or laminate. Ensure that the subfloor is clean, dry, and level. Use a broom or vacuum cleaner to remove any debris or dust from the surface. If there are any uneven areas or cracks, fill them with a suitable floor leveling compound and allow it to dry thoroughly.
FAQ: Do I need underlayment for vinyl flooring in the kitchen?
In most cases, underlayment is not necessary when installing vinyl flooring in the kitchen. However, if you have a concrete subfloor or want additional noise reduction and insulation properties, you can opt for an underlayment specifically designed for vinyl flooring.
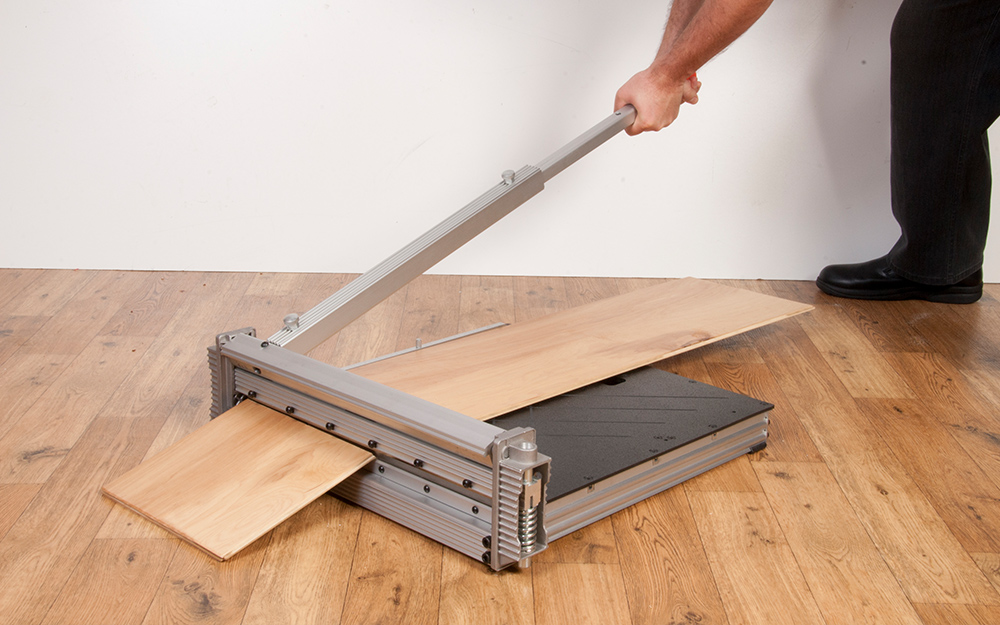
Step 2: Measure and Cut the Vinyl Flooring
Carefully measure your kitchen space to determine how much vinyl flooring you will need. It is recommended to add an extra 5% to your measurements to account for any mistakes or waste during installation. Roll out your vinyl flooring on a clean surface and allow it to acclimate to the room temperature for at least 24 hours. This will prevent any expansion or contraction after installation. Use a tape measure and straight edge or T-square to mark the dimensions on the vinyl flooring. Cut the vinyl using a utility knife, ensuring precise and clean cuts.
FAQ: Can I install vinyl flooring over existing tiles in the kitchen?
Yes, you can install vinyl flooring over existing tiles in the kitchen. However, it is essential to ensure that the tiles are firmly adhered to the subfloor and not loose or cracked. If there are any damaged tiles, they should be replaced or repaired before installing vinyl flooring.
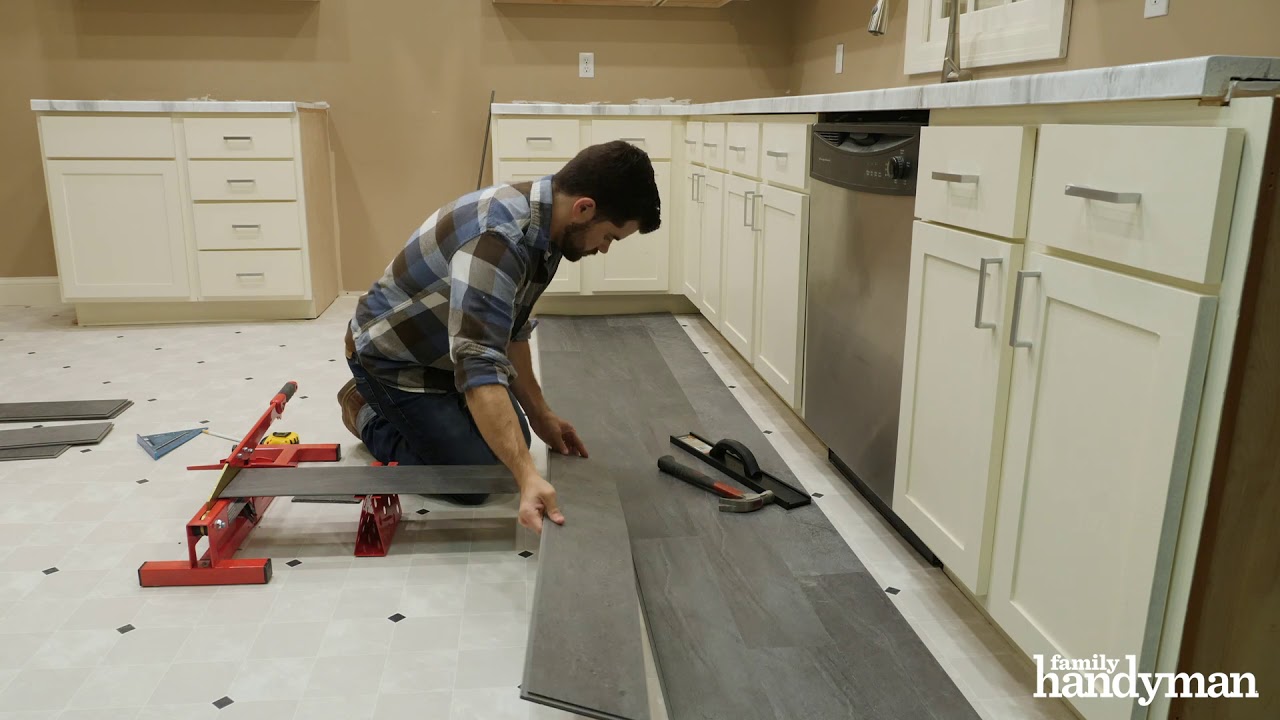
Step 3: Install the Vinyl Flooring
There are two main methods of installing vinyl flooring: floating and glue-down. The method you choose depends on the type of vinyl flooring you have selected.
Floating Method:
If you have chosen click-lock or loose lay vinyl planks/tiles, you can use the floating method. Start by laying out your vinyl planks/tiles from one side of the kitchen, leaving a small gap around the edges for expansion. Connect each plank/tile by clicking or fitting them together tightly. Use a floor roller to ensure proper adhesion and eliminate any air pockets.
Glue-Down Method:
For sheet vinyl or glue-down planks/tiles, apply adhesive directly to the subfloor using a notched trowel. Begin at one corner of the kitchen and spread the adhesive evenly with the notched side of the trowel. Lay down your vinyl flooring carefully, aligning it with your markings and smoothing It out with a flooring roller to ensure proper adhesion. Continue this process until the entire kitchen floor is covered with vinyl flooring.
FAQ: How long does it take for vinyl flooring adhesive to dry?
The drying time for vinyl flooring adhesive can vary depending on the specific product and environmental conditions. It is recommended to follow the manufacturer’s instructions for drying times. Generally, it can take anywhere from 24 to 48 hours for the adhesive to fully dry and cure.
Step 4: Trim and Finish the Edges
Once the vinyl flooring is installed, you will need to trim and finish the edges. Use a utility knife or vinyl trim cutter to carefully trim any excess vinyl along the walls or cabinets. For a clean and professional finish, consider installing baseboards or quarter round molding around the edges of the kitchen floor.
Step 5: Clean and Maintain
To keep your vinyl flooring in optimal condition, it is important to clean and maintain it regularly. Sweep or vacuum the floor to remove any dirt or debris. Use a damp mop with a mild cleaner specifically formulated for vinyl flooring to clean any spills or stains. Avoid using harsh chemicals or abrasive cleaners that could damage the surface of the vinyl.
FAQ: Can I use a steam mop on vinyl flooring in the kitchen?
It is generally not recommended to use a steam mop on vinyl flooring as excessive heat and moisture can cause damage. Instead, stick to regular mopping with a damp mop and mild cleaner.
By following these steps and taking proper care of your vinyl flooring, you can enjoy a beautiful and durable kitchen floor that will last for years to come.