Tile goes with other flooring. That's on the list of major reasons why houses even in modern times, choose tile flooring, no matter if they've many additional choices offered to them such as carpeting. Many hardware stores have tile cutters that you can utilize or even lease for 1 day. Of course one would need to look at quality, design and brand too.
Images about How To Lay Down Tile Flooring
Before you begin your ceramic tile flooring installation, you should make sure that the tiles you've picked are actually well suited for the department of the residence you are going to use them for. First of all they combine a lot to the valuation of the house. Removing all of the furniture and also the existing flooring on your own can actually save several hundred dollars. The mats are much easier to clean as opposed to the floors.
Installing Tile Floor for the First Time // How To Lay Tile Floor
Lots of professional installers are able to get you floor tile at a fantastic discount, particularly when they are installing the tile floor. A number of the choices are inventory products therefore you will not need to hold out for a specific order to come in. You can work with a tile cutter or a glasscutter for tiny jobs, but for bigger tasks you may have to have a wet saw.
How to Install Ceramic Tile Flooring in 9 Steps – This Old House
:no_upscale()/cdn.vox-cdn.com/uploads/chorus_asset/file/19496978/howto_tile_01.jpg)
How to Lay Tile: Install a Ceramic Tile Floor In the Bathroom (DIY)

DIY Guide: How to Install Tile Flooring u2013 The Good Guys
How to Install Ceramic Tile Flooring in 9 Steps – This Old House
/cdn.vox-cdn.com/uploads/chorus_asset/file/19497110/howto_tile_07.jpg)
Installing Tile Floor for the First Time // How To Lay Tile Floor
10 Most Common Mistakes When Installing Tile Floor
How to Install a Tile Floor
How to Install Ceramic Tile Flooring in 9 Steps – This Old House
:no_upscale()/cdn.vox-cdn.com/uploads/chorus_asset/file/19496947/color_gutters_illo_web_1.jpg)
How to Lay Tile: DIY Floor Tile Installation Loweu0027s
How To Install Tile Flooring
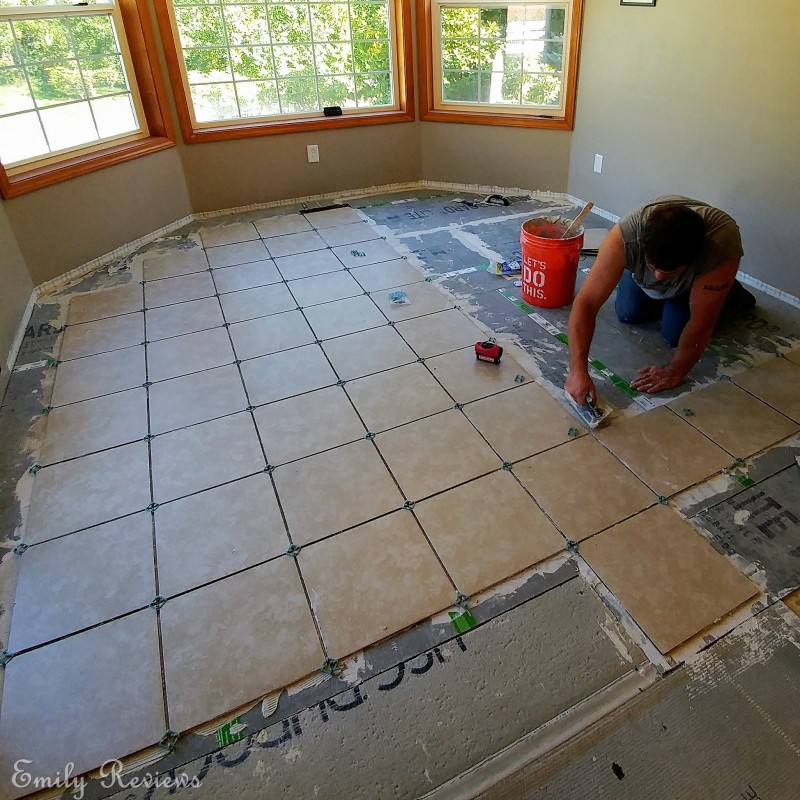
DIY ~ 8 Steps To Laying A New Tile Floor Emily Reviews
How To Lay Floor Tiles RONA

Related Posts:
- Swiffer Wet Jet Reviews For Tile Floors
- Best House Shoes For Tile Floors
- Barn Wood Look Tile Flooring
- Cleaning Saltillo Tile Floors
- How To Warm Tile Floors
- How To Do Grouting On Tile Floor
- How Do You Get Nail Polish Off Tile Floor
- What Do You Use To Clean Tile Floors
- Furniture Sliders For Tile Floors
- Removing Rust Stains From Tile Flooring
How to Lay Down Tile Flooring: A Step-by-Step Guide
Tile flooring can transform the look of your home, adding a touch of class and sophistication to any room. Installing tile can be a daunting task for even the most experienced DIY enthusiast, but with the right tools, materials, and knowledge, it is possible to lay down a beautiful tile floor in no time. This guide will walk you through the entire process of laying down tile flooring, from preparation and installation to grouting and sealing.
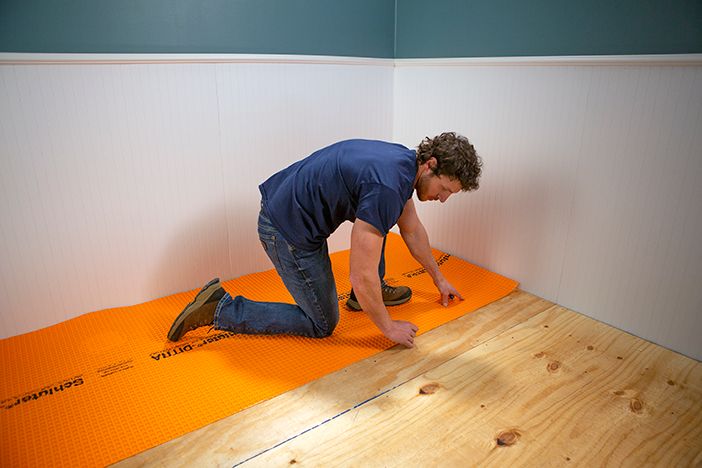
Preparing for Installation
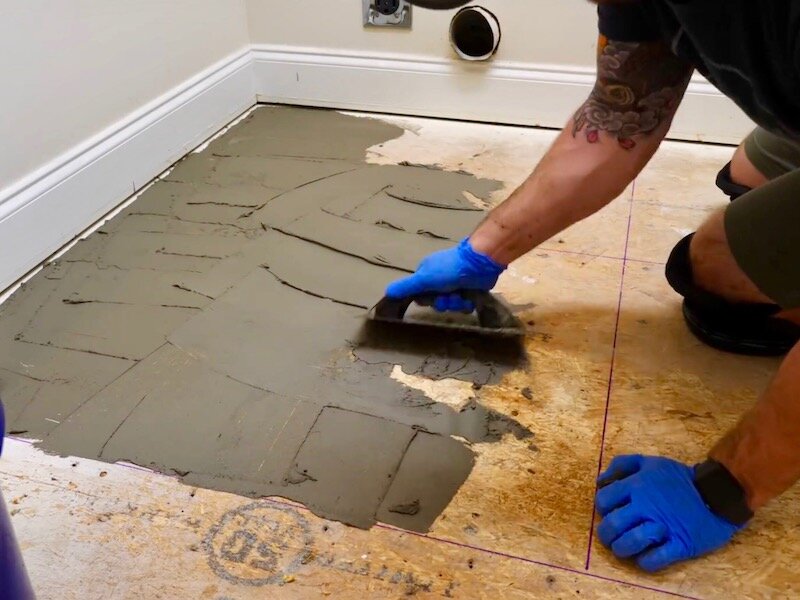
Before you begin laying down tile, there are several steps you must take to ensure your project is successful. First, make sure the subfloor is clean and level. If the subfloor is not level, use a self-leveling compound to even it out before proceeding. Next, inspect all of the tiles for any defects or damage. Discard any tiles that are cracked or chipped. Finally, calculate how much tile you need and purchase an extra 10% for cuts and waste.
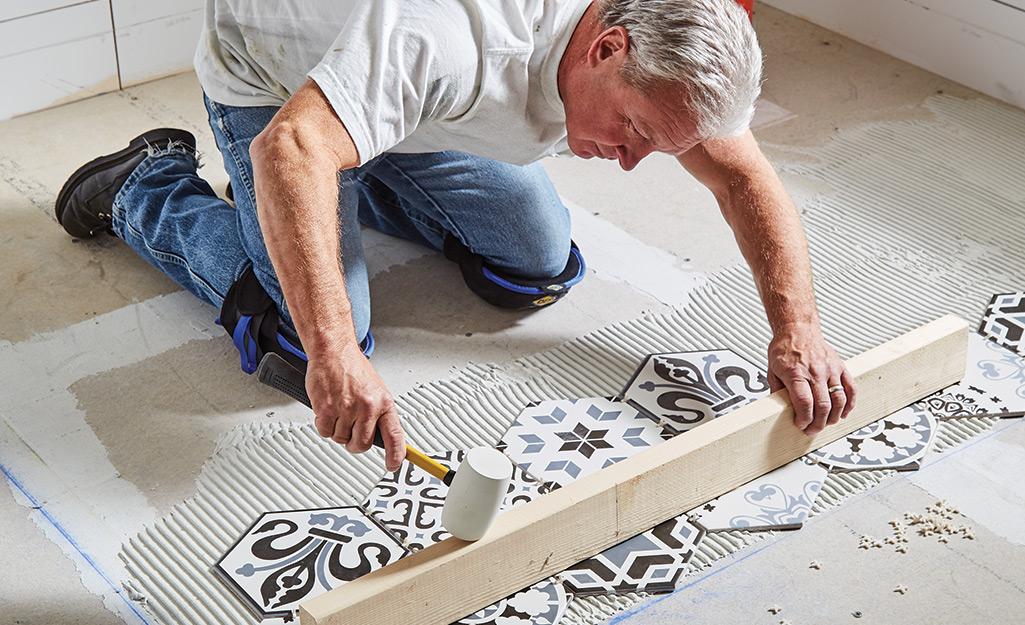
Lay Out Tiles
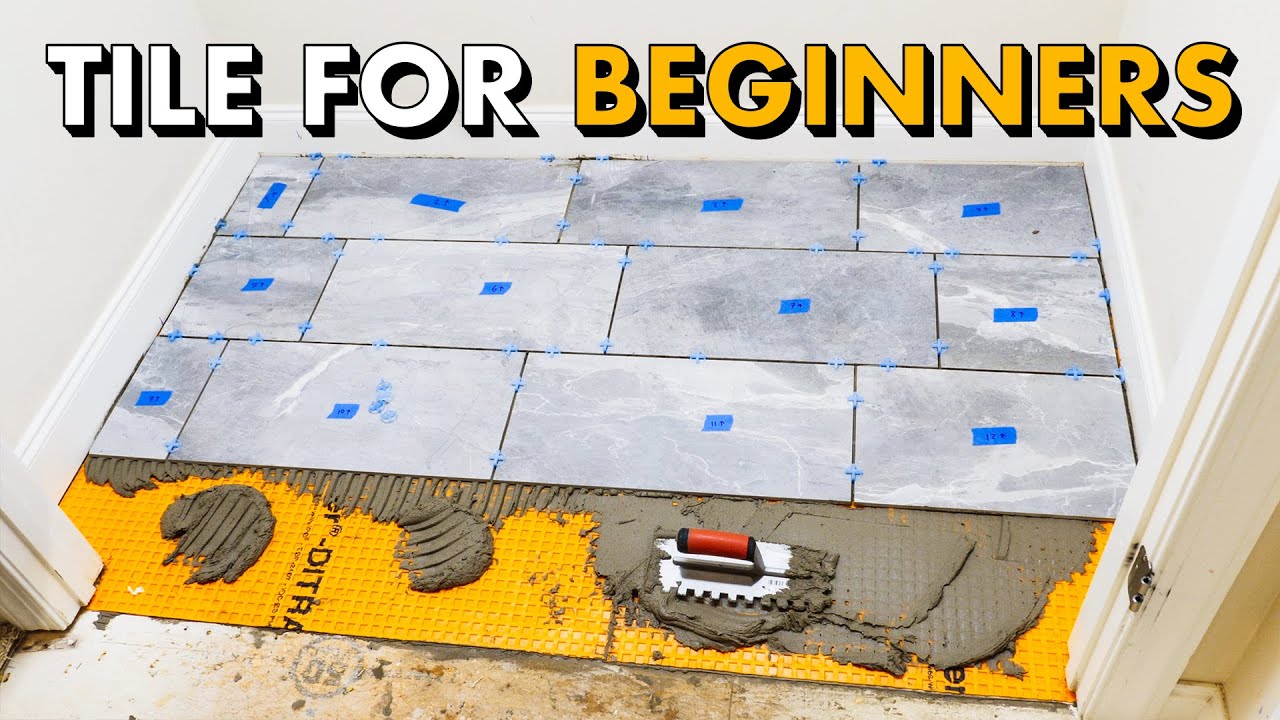
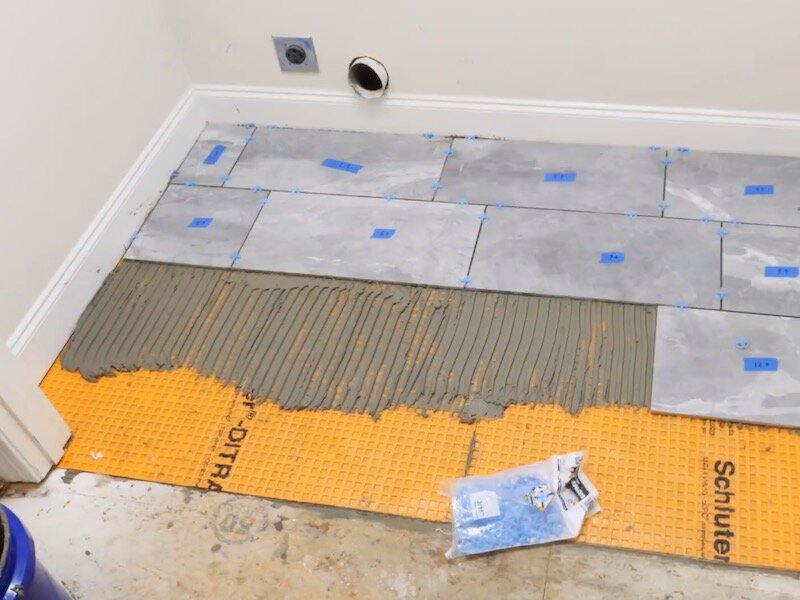
Once the subfloor is prepped and ready to go, it’s time to begin laying out the tiles. Start by finding the center point of the room and snapping two lines that intersect at this point – one line should run along the length of the room, and one along the width. This will help you ensure that your tile pattern is symmetrical across all four walls. Once these lines are established, it’s time to start laying out your tile pattern. Use spacers between each tile to ensure that they are evenly spaced apart as you lay them out on the floor.
Cutting Tiles
Once all of your tiles are laid out on the floor in their desired pattern, it’s time to cut any tiles that don’t fit perfectly around doorways or edges. To cut tiles accurately, use a wet saw with a diamond blade made for cutting porcelain or ceramic tile. If you don’t have access to a wet saw, you can also use a manual masonry saw or even an electric jigsaw with a carbide-tipped blade for smaller cuts. For curved cuts or intricate shapes, use a nipper tool to break off small pieces one at a time until you have achieved your desired shape or size.
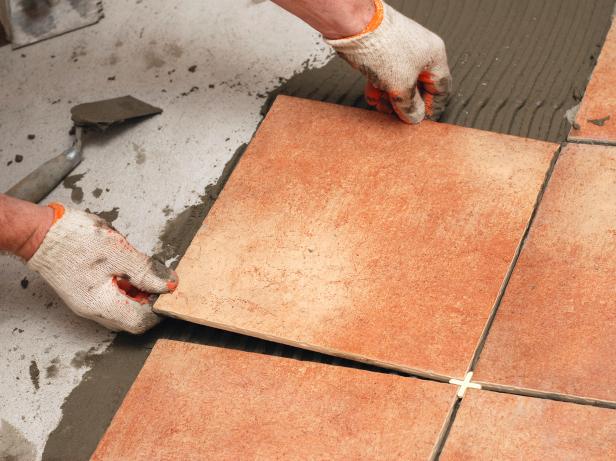
Laying Tiles
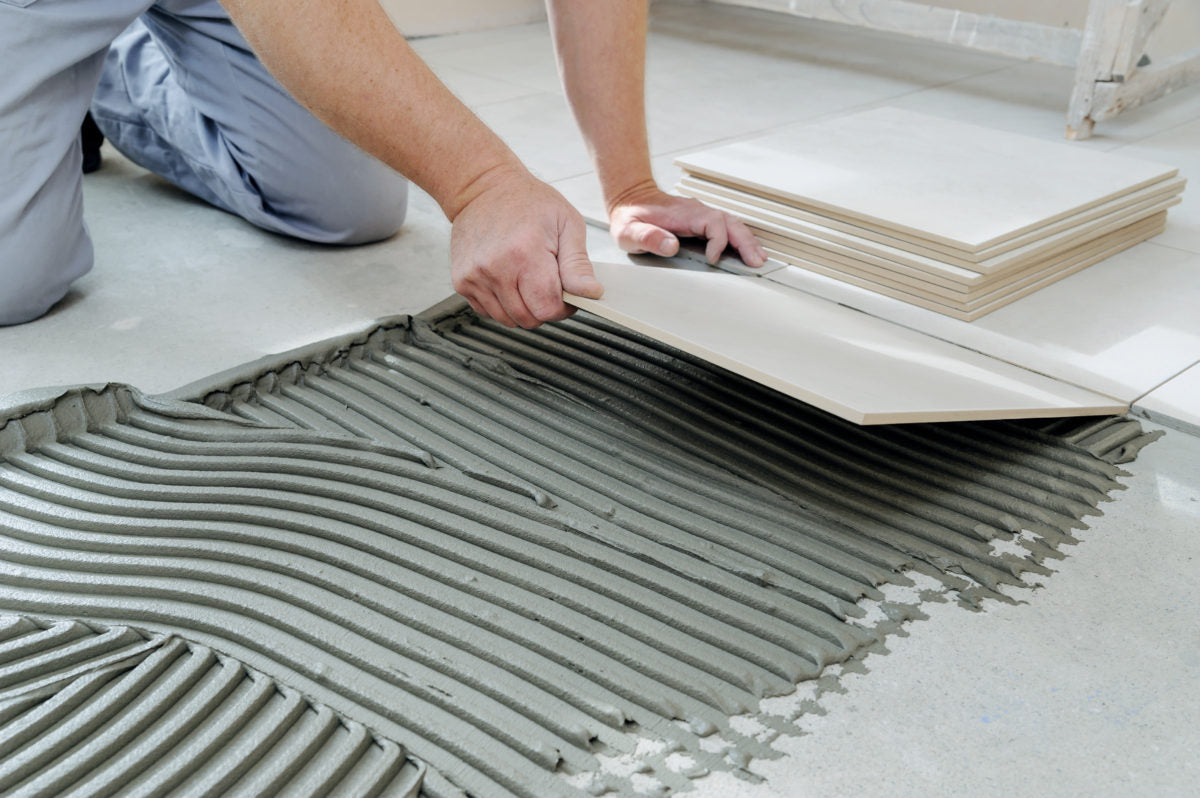
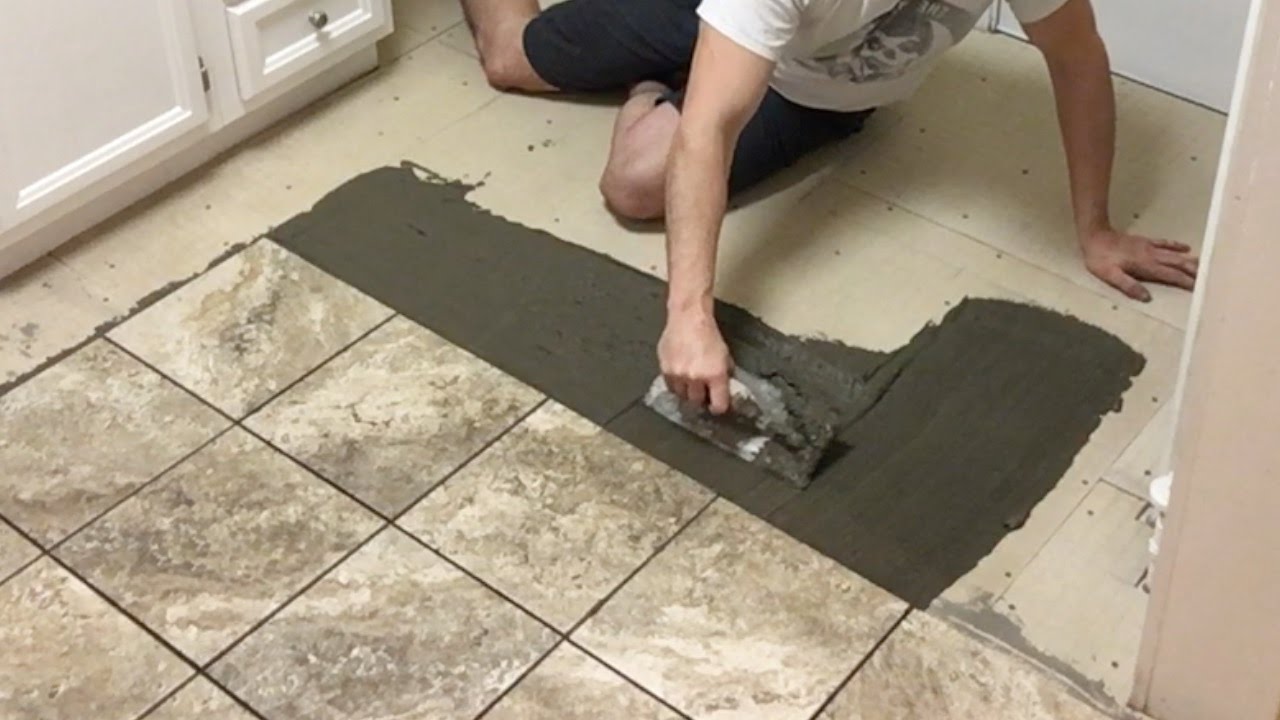
Once all of your tiles have been cut and laid out in their desired pattern on the floor, it’s time to start laying them down permanently. Begin in one corner of the room and spread adhesive over an area slightly larger than one tile sheet using a notched trowel. Place each sheet onto the adhesive with gentle pressure and use plastic spacers between each sheet as you go along to ensure even spacing between them all. Continue this process until all of your tiles are laid down on the adhesive and leave them undisturbed for at least 24 hours so they can dry completely before proceeding.
Grouting Tiles
Once your tiles have dried completely after 24 hours, it’s time to grout them together using a special grout formulated specifically for ceramic tiles (make sure you choose one that matches or complements your chosen tile color). Mix up enough Grout to cover the entire floor and spread it over the tiles using a rubber float, making sure to force it into all of the grout lines. Once all of the grout lines are filled, use a damp sponge to wipe away any excess grout from the surface of the tiles. Leave the grout to dry completely for at least 24 hours before proceeding.
Sealing Tiles
The final step in tiling your floor is to seal it with a special sealant formulated specifically for ceramic tiles. This will help protect your tiles from water damage and staining, as well as improve their overall appearance. Apply the sealant to your floor using a clean cloth or brush and make sure you cover all of your grout lines as well. Once the sealant is dry, you’re done! Enjoy your new tile floor and the satisfaction that comes with completing a successful DIY project.
What tools are needed to lay tile flooring?
-Tile saw-Notched trowel
-Level
-Paddle mixer
-Carpenters square
-Spacers
-Grout float
-Caulk gun
-Grout sponge
-Sealant