If you don't heed this recommendation, the vinyl being a really pliable material could eventually reflect the problems that you tried to cover up. The sad thing concerning this is that if the vinyl flooring is destroyed, there's absolutely nothing you are able to do but in order to get it removed. When you want anything that's advanced and of better quality, vinyl tiles is the better option.
Images about How To Lay Vinyl Floor Tiles With Grout

Durability aside, people diagnosed with used vinyl flooring say that it's very cozy to stand on even when you're barefoot. Higher end vinyl flooring may now be made use of to replicate the appearance of almost any other type of flooring from marble to mosaic. Hardwood is a wonderful choice, but it isn't great for laundry rooms or even bathrooms.
Luxury Vinyl Tile Installation (DIY) Family Handyman
Apart from being affordable, there are a variety of colors and designs for you to choose from, which might suit the theme that you want for the house of yours. A multitude of colors, patterns and textures create endless possibilities. Vinyl as well as resilient flooring, as it's also called, can be bought in a lot of patterns, styles and textures. It looks great – you can have them look like warm natural wood floor or perhaps rich stone floor.
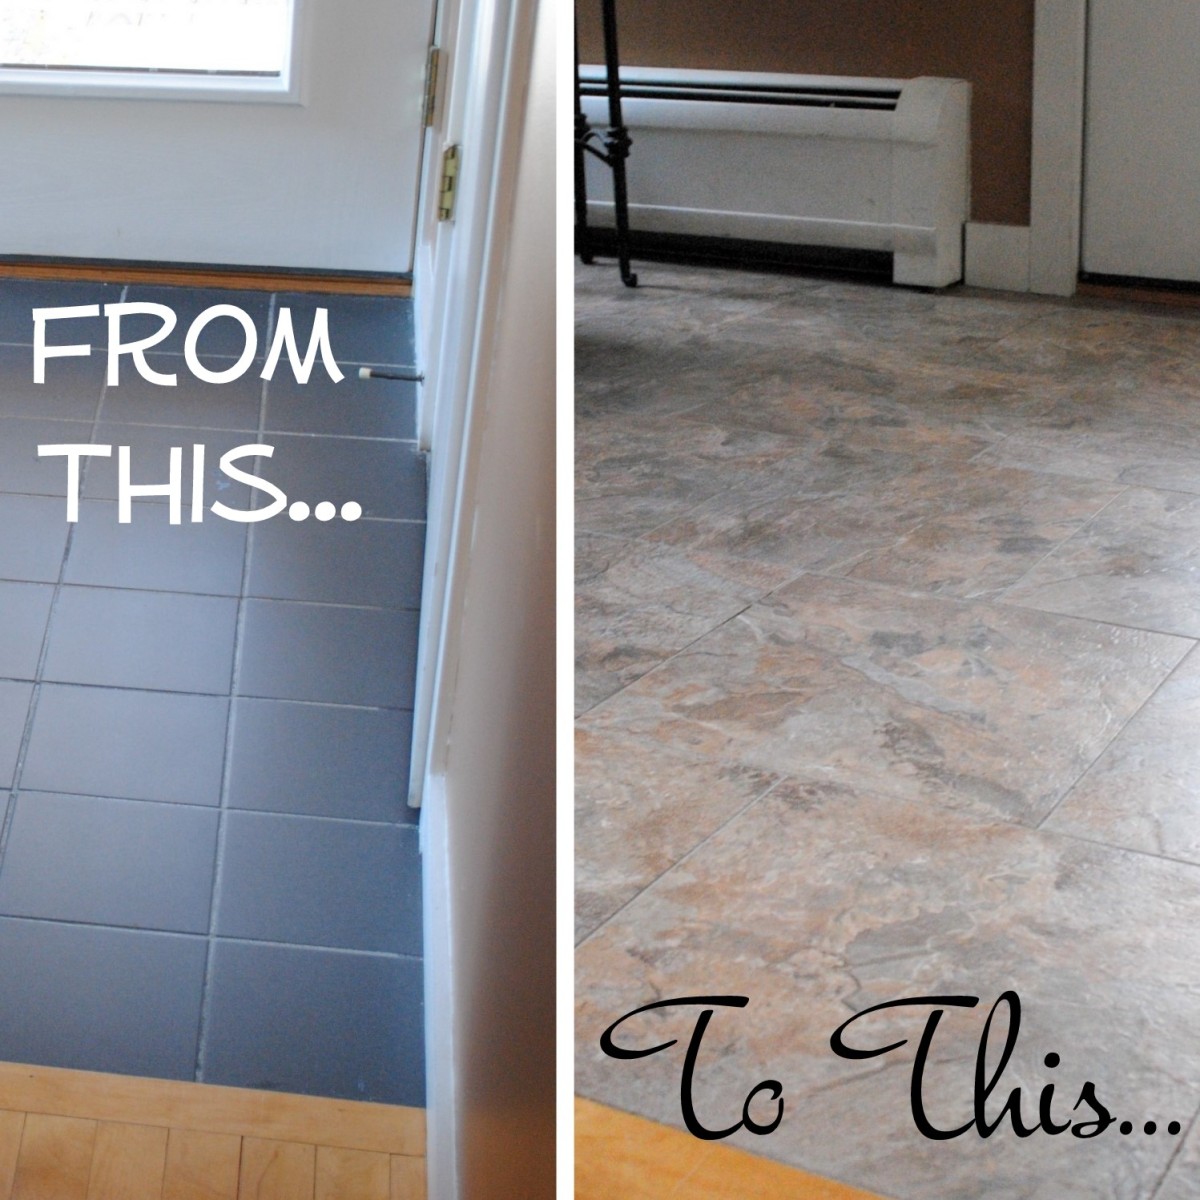
DIY Grouted Vinyl Floor Reveal and Tutorial Sweet Parrish Place

How To Grout Peel And Stick Tiles (a Cheap And Easy Floor Update

DIY: How to Install Groutable Vinyl Floor Tile – Jenna Burger
How to Install Luxury Vinyl Tile with Grout

How To Grout Peel and Stick Vinyl Tile Self-Stick Vinyl Tile
DIY: Installing Groutable Luxury Vinyl Tile – Jenna Burger Design LLC
DIY: How to Install Groutable Vinyl Floor Tile – Jenna Burger

Groutable Vinyl Tile (An Easy Installation) – An Easy DIY
How to Install Groutable Peel and Stick Tile in your Bathroom
How To Grout Peel And Stick Tiles (a Cheap And Easy Floor Update

DIY: Installing Groutable Luxury Vinyl Tile – Jenna Burger Design LLC

TrafficMaster ceramica 12″ X 24″ vinyl tile floor installation.
Related Posts:
- Taking Up Vinyl Floor Tiles
- Non Adhesive Vinyl Floor Tiles
- Vinyl Flooring That Looks Like Wood Planks Reviews
- How To Remove Vinyl Flooring Glue From Concrete
- Vinyl Floor Installation Kit
- B&q Click Vinyl Flooring
- Best Vinyl Flooring Reviews
- No Wax Vinyl Flooring
- Peel Off Vinyl Flooring
- Korean Vinyl Flooring Manufacturers
How To Lay Vinyl Floor Tiles With Grout
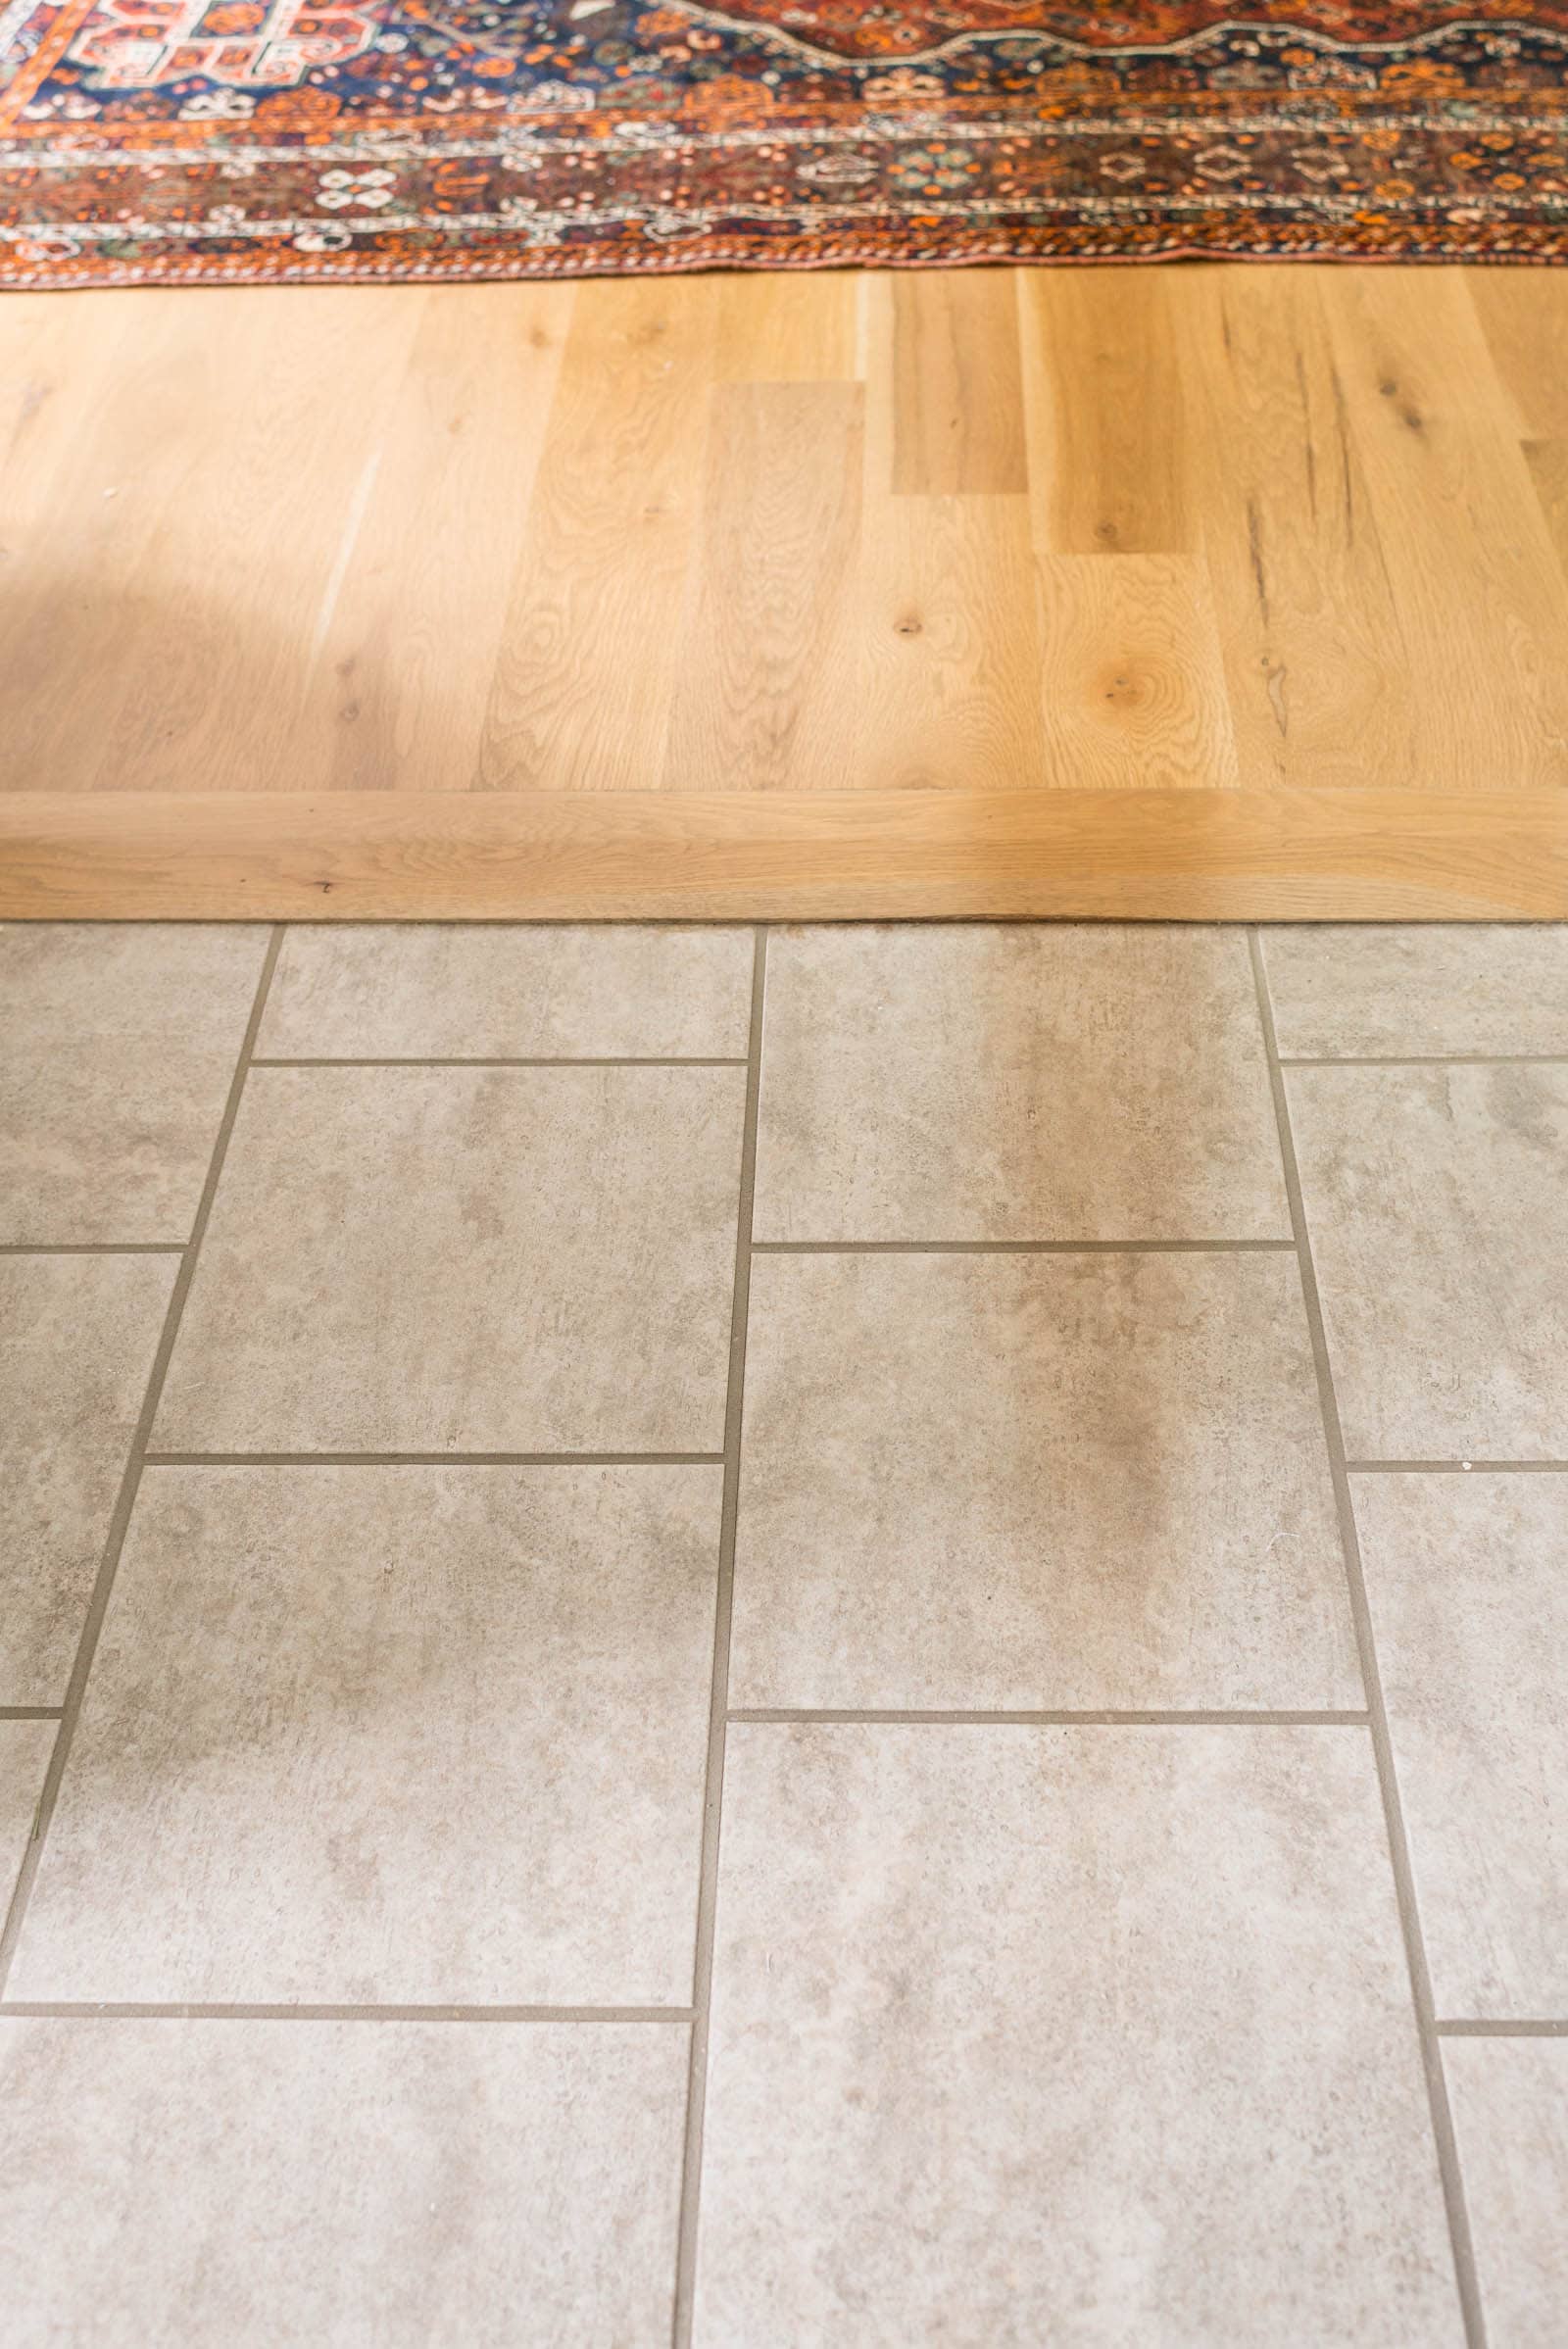
Vinyl floor tiles are an attractive, easy to install, and long lasting flooring solution. Laying them with grout will ensure that they last longer than if they were not grouted. This article will provide a step-by-step guide on how to lay vinyl floor tiles with grout, along with some tips and tricks to ensure that the job is done right.
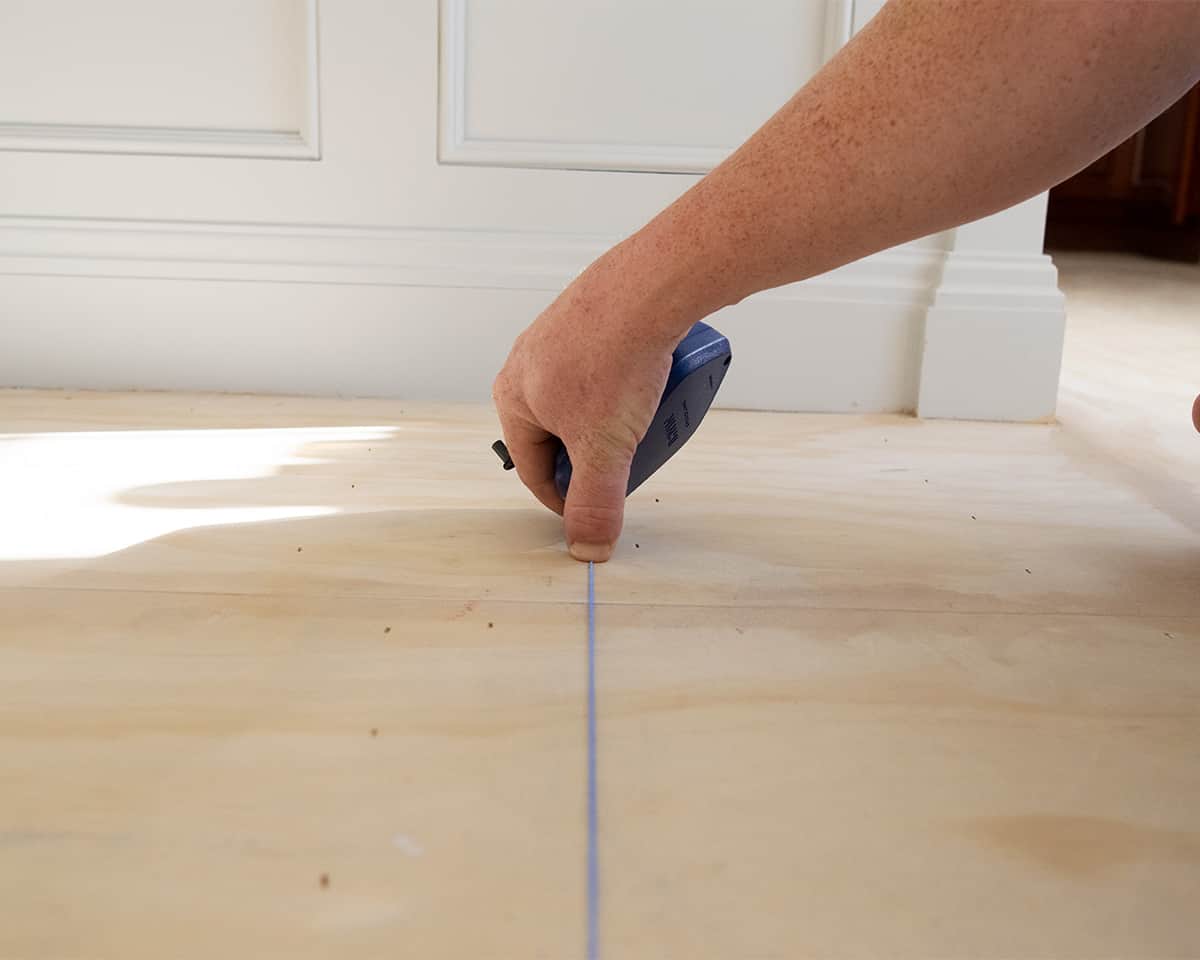
Preparing the Subfloor
Before laying any type of tile, it is important to prepare the subfloor properly. The subfloor should be clean, dry, and level before laying the vinyl floor tiles. Any cracks in the subfloor should be filled with a cement-based patching compound and allowed to dry completely before proceeding.
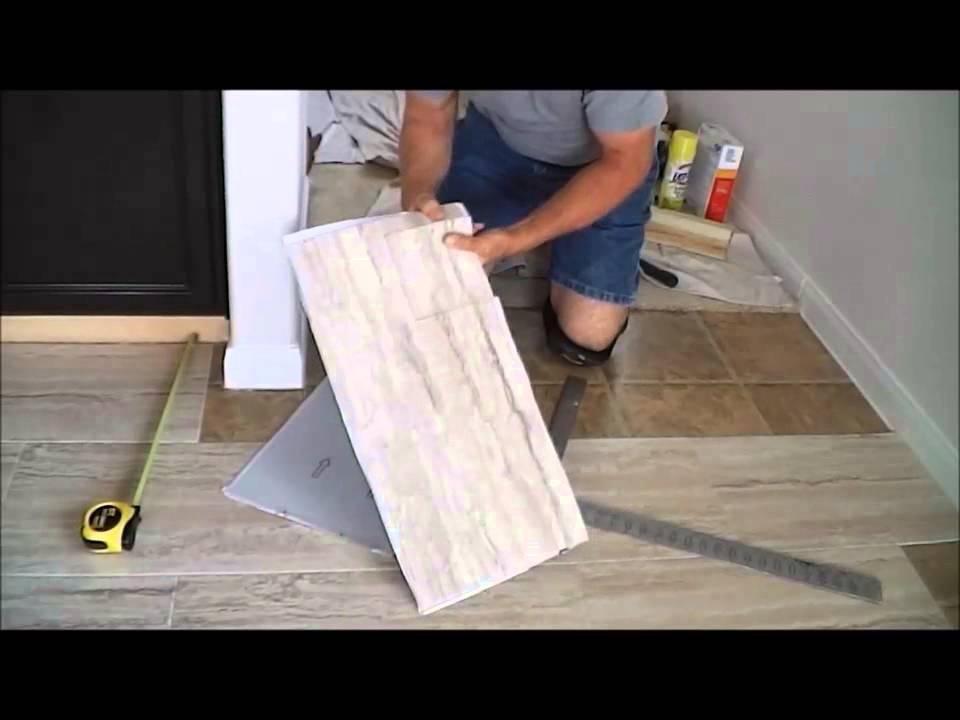
Measuring and Cutting Tiles
The next step is to measure and cut the vinyl floor tiles to fit the area where they will be installed. It is important to make sure that all of the tiles are cut accurately so that they fit together perfectly when laid. If you are using a manual tile cutter, make sure to use firm pressure when cutting the tiles so that they do not crack or chip. If you are using a power saw, make sure that the blade is sharp and designed for cutting vinyl floor tiles.
Applying Adhesive
Once all of the tiles have been cut and measured, it is time to apply adhesive to the back of each one. Make sure that you use a high quality adhesive rated for use with vinyl floor tiles. Spread a thin layer of adhesive onto each tile using a notched trowel, making sure that it covers all areas evenly. Allow the adhesive to set for about 30 minutes before proceeding with installation.
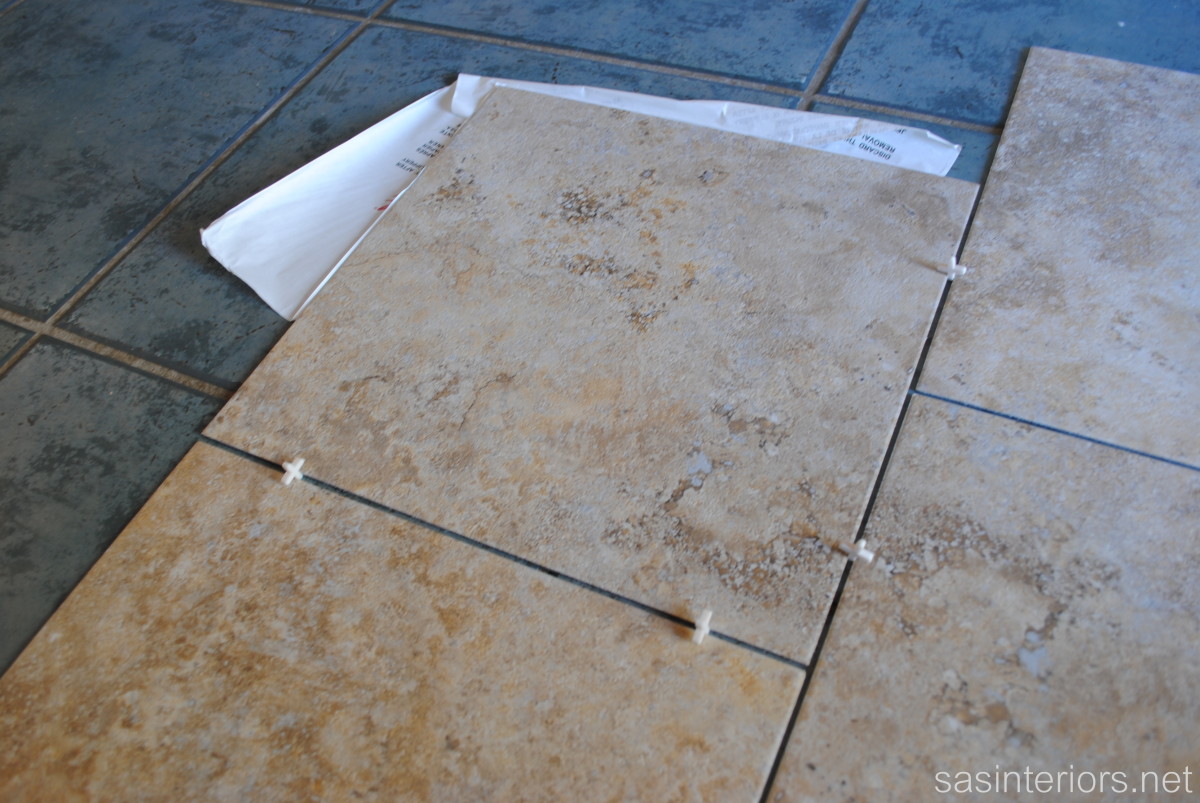
Laying Tiles
Now it is time to begin laying the vinyl floor tiles onto the subfloor. Start by placing one tile in one corner of the room and working your way outward from there. Make sure that you press down firmly on each tile as you lay it in order to ensure good contact between it and the adhesive. If necessary, use spacers between each tile to help keep them even as you lay them down.
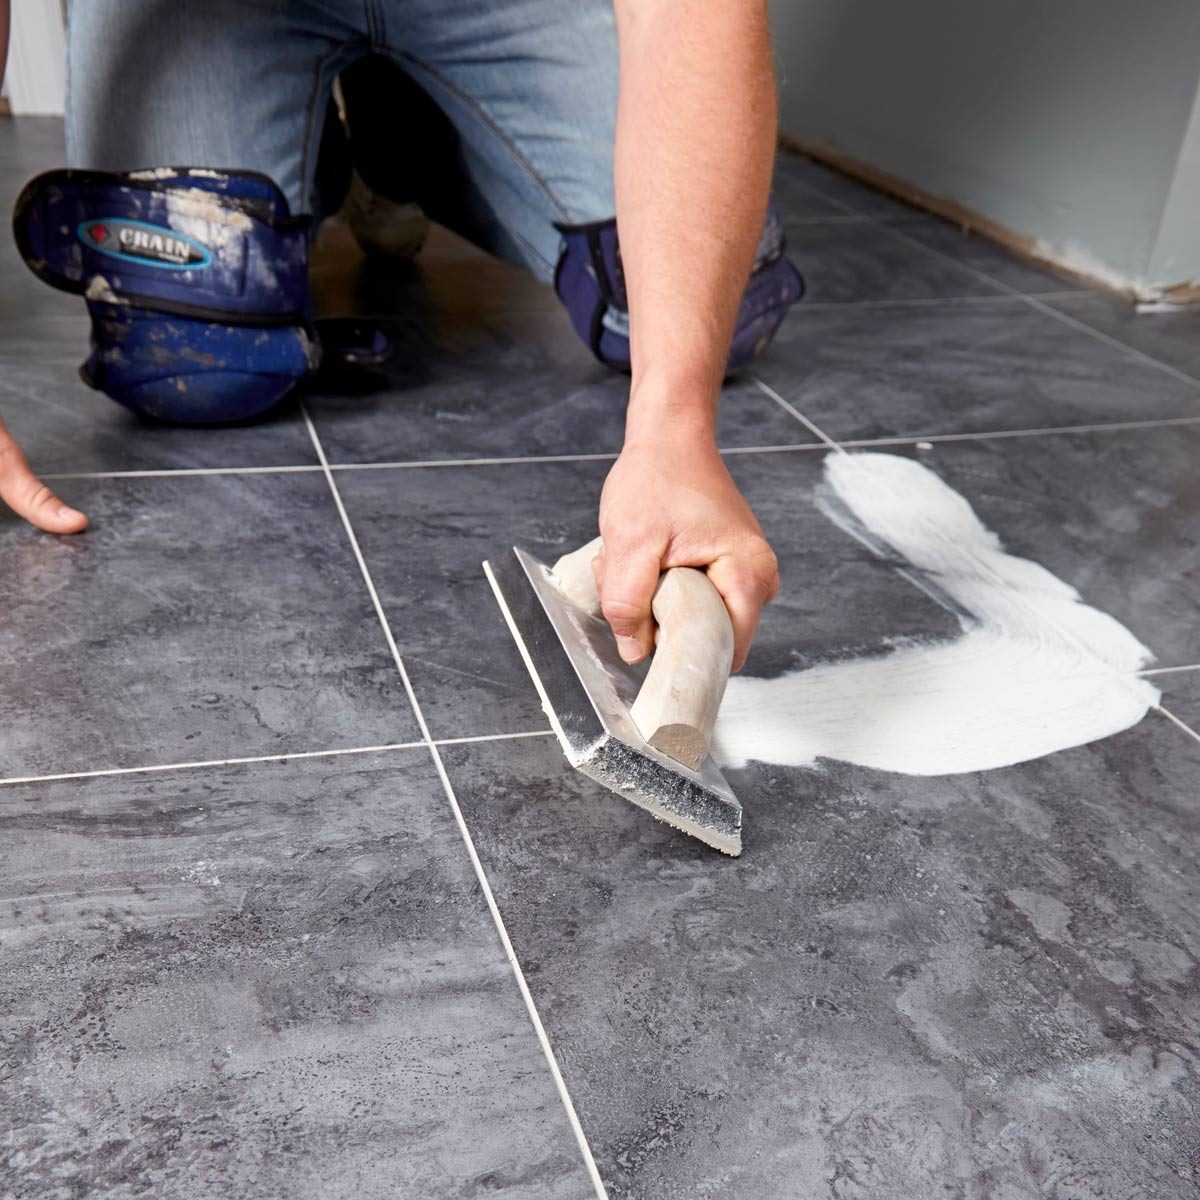
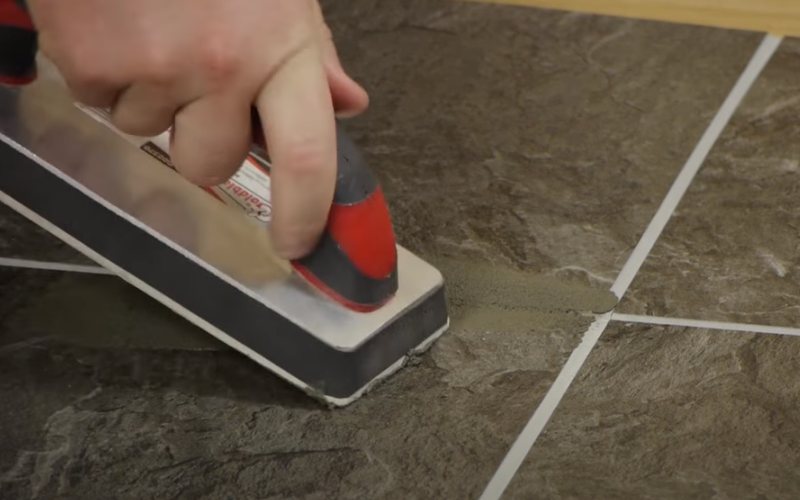
Grouting Tiles
Once all of the tiles have been laid down, it is time to grout them in order to seal them and keep out moisture. Begin by mixing up a batch of grout according to manufacturer’s instructions. Once mixed, apply it over all of the joints between tiles using a rubber float or grout sponge in an even layer about 1/8 inch thick. Allow it to sit for about 10 minutes before wiping off any excess with a damp cloth or sponge. Allow the grout to cure for at least 24 hours before walking on it or applying any sealant or finish coatings.
FAQs
Q: What kind of adhesive should I use for laying vinyl floor tiles?
A: It is important to use an adhesive specifically designed for use with vinyl floor tiles in order to ensure good adhesion and longevity of your floors. Make sure that you read all product labels carefully before purchasing any adhesive in order to make sure that it is suitable for your project.
Q: How thick should I spread my adhesive?
A: It is important not To spread the adhesive too thick or too thin. For best results, use a notched trowel to spread a thin layer of adhesive over each tile, making sure that it covers all areas evenly.