Bamboo kitchen flooring is known for being quite durable and strong. Eventually the perfect procedure for make the option on kitchen area flooring substance is looking through samples that are free from warehouse, wholesale, commercial enterprises & showrooms in your general vicinity. Many home holders have a propensity to make the error of not offering enough thought to kitchen flooring alternatives.
Images about How To Make A Kitchen Floor Mat
The mosaic tiles are the ideal choice for majority of men and women as they are readily available on the market, extremely durable that will resist moisture. You've to consider durability, water resistance, breakage, stains as well as walking as well as standing comfort. Choosing the right floor type with the correct beauty, durability and ease of maintenance is just as important.
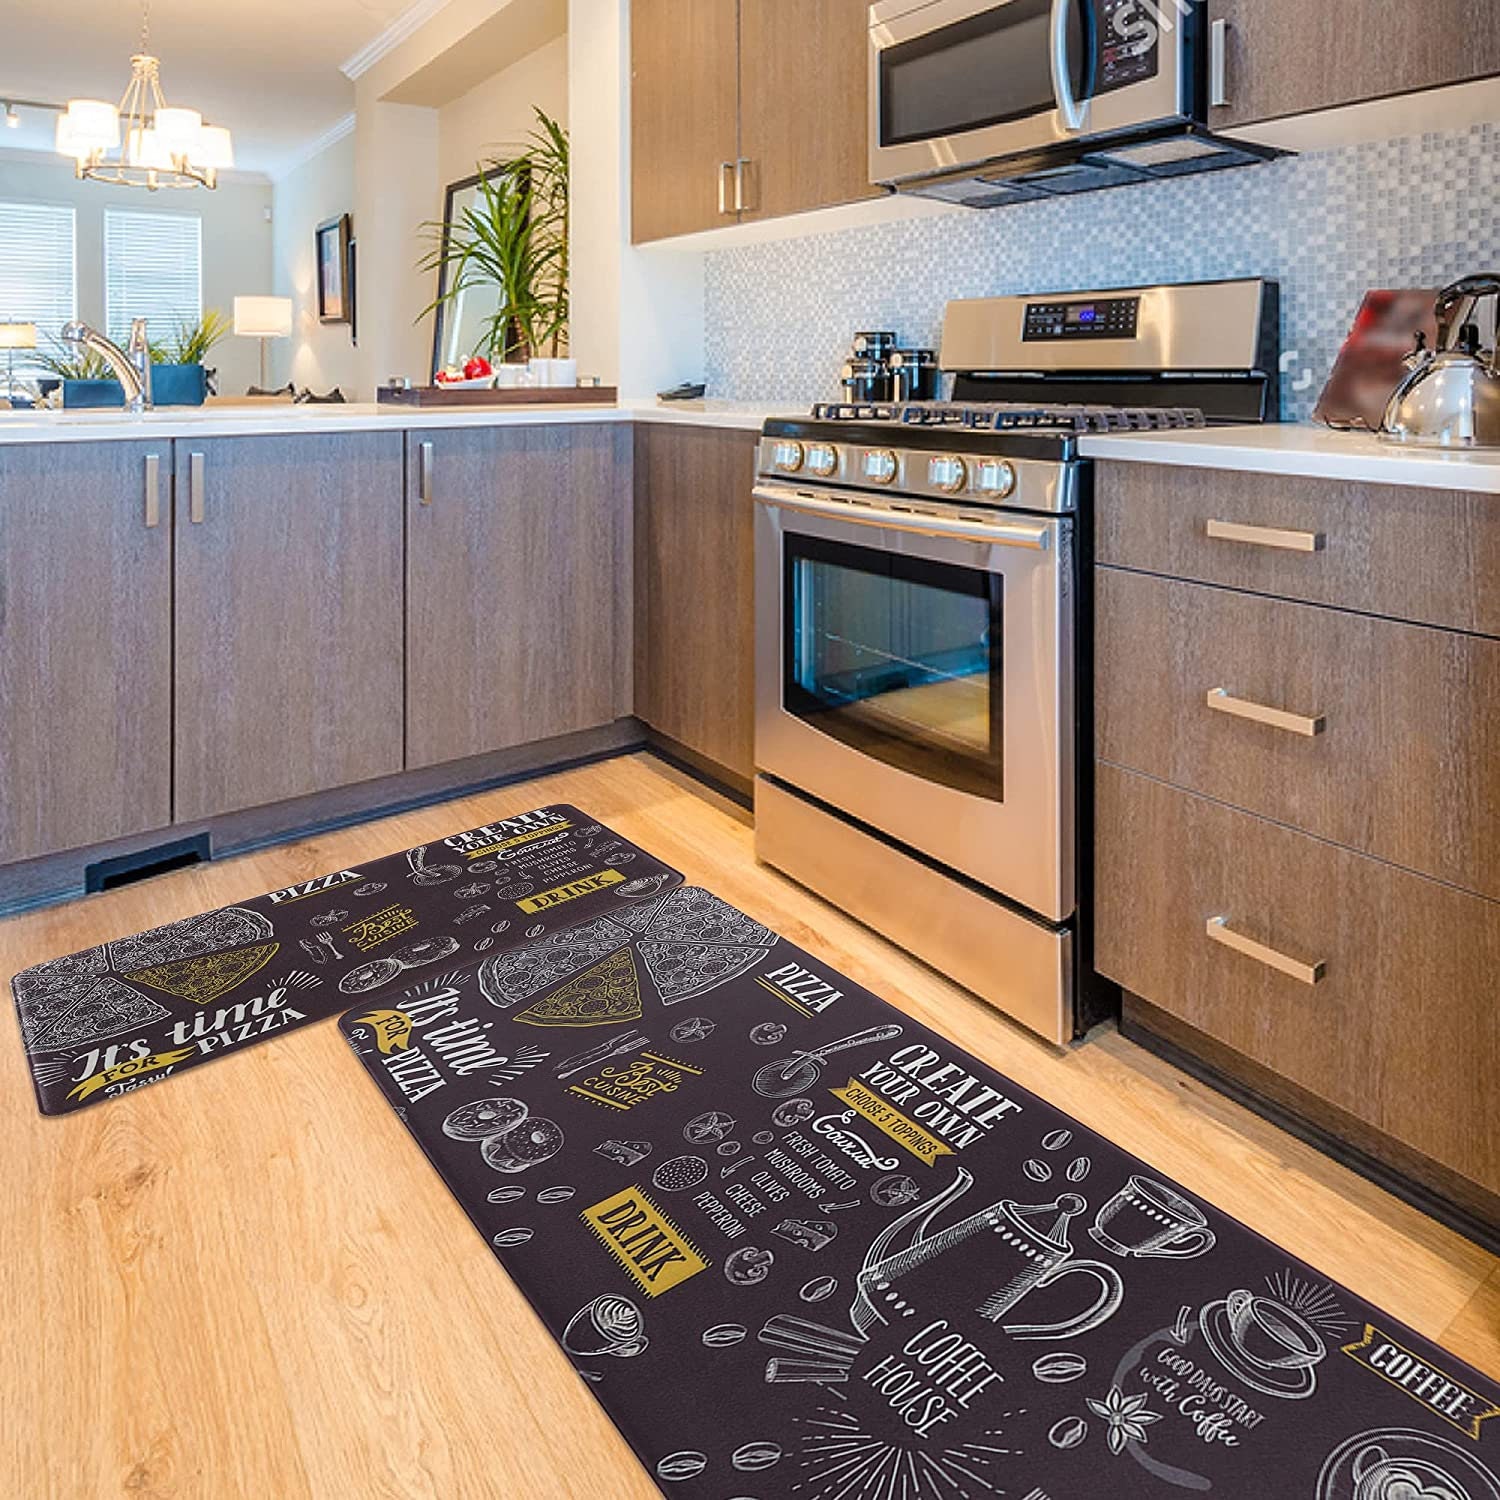
Kitchen Rugs and Mats Washable [2 PCS],Non-Skid Natural Rubber Kitchen Mats for Floor, Runner Rugs Set for Kitchen Floor ,Front of Sink, Hallway,

In case you're interested in creating a conventional looking kitchen, you then should consider taking solid wood flooring. This is because bamboo is vulnerable to scratches so that dirt, other particles and sand can result in some damage. That way you can get yourself a feel and a thought of which flooring solution will best suit the kitchen renovation plans of yours.
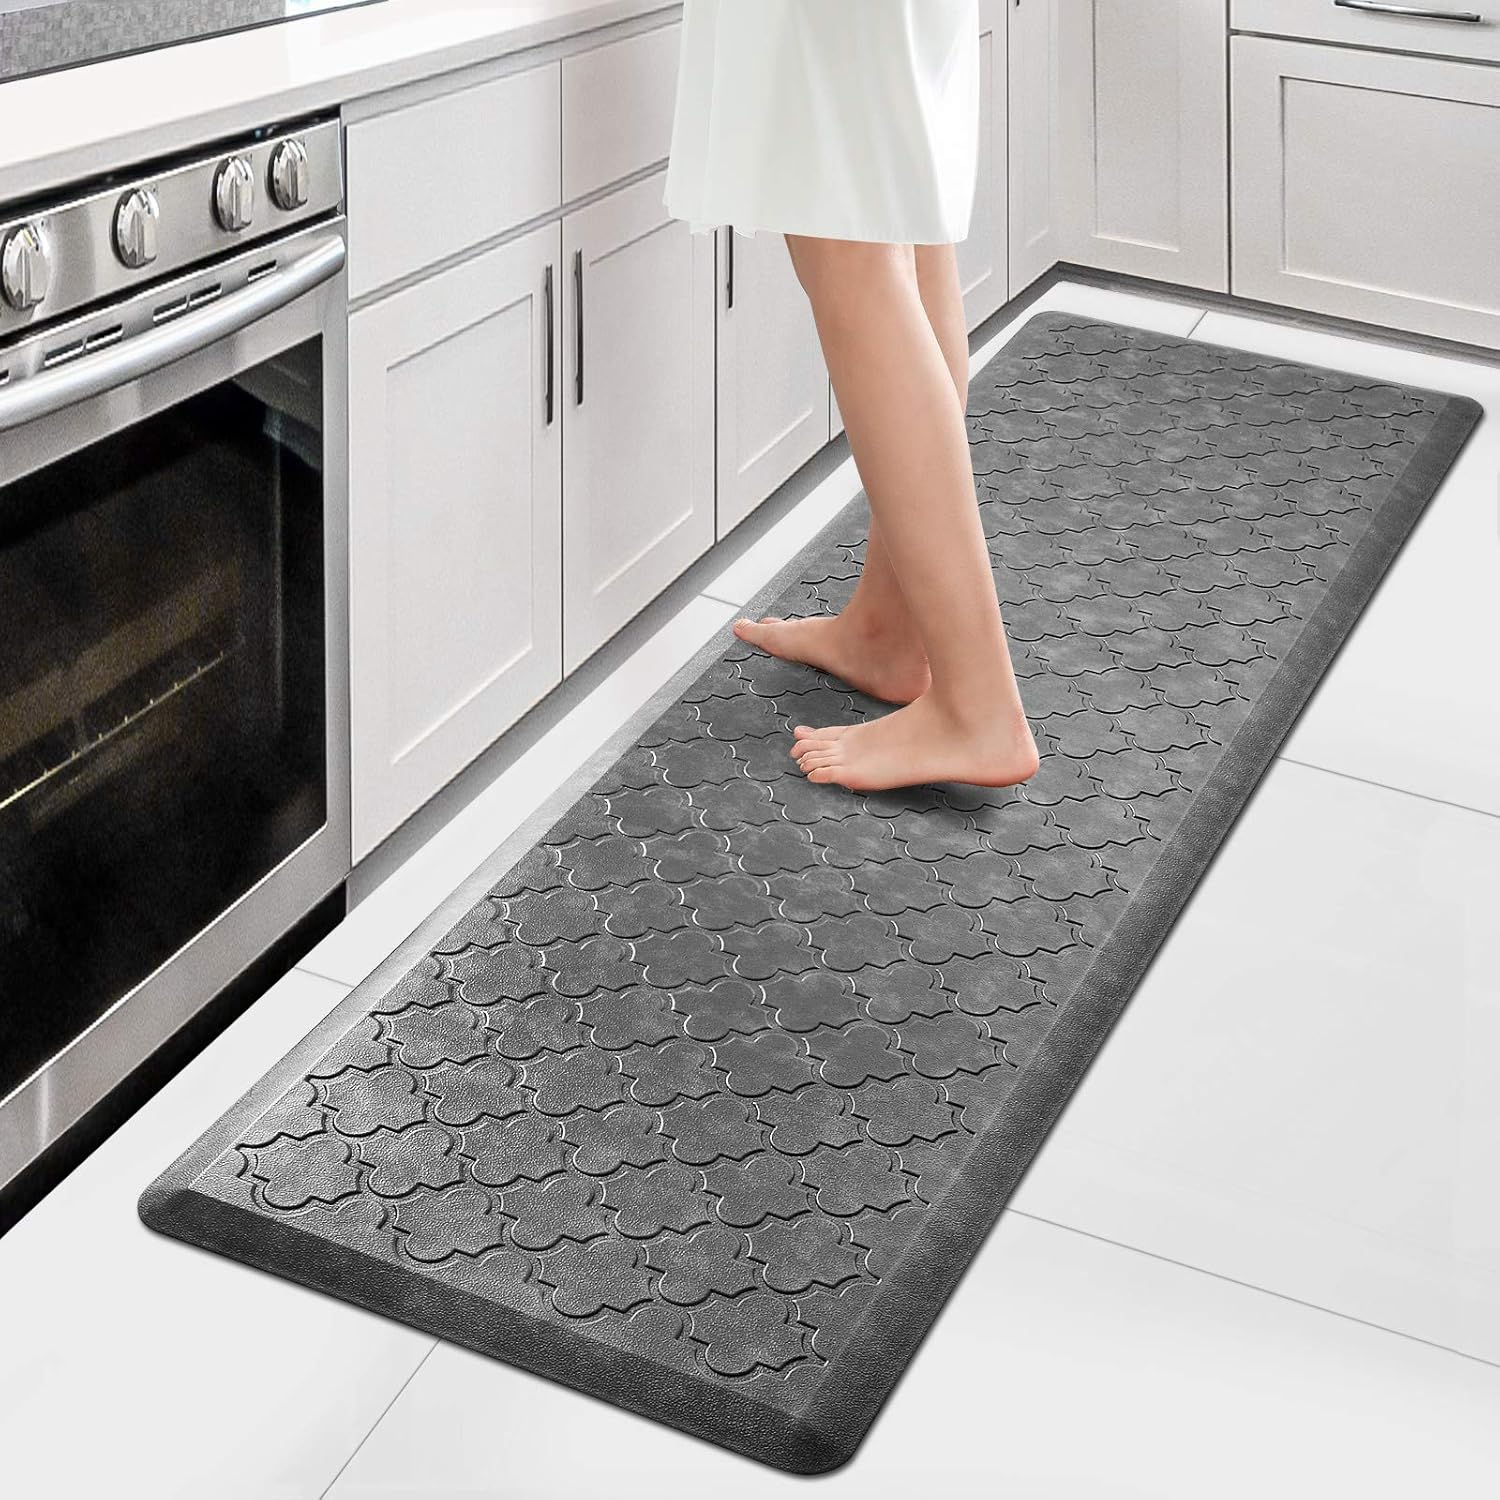
11 Best Kitchen Mats for Hardwood Floors and Tiles 2022

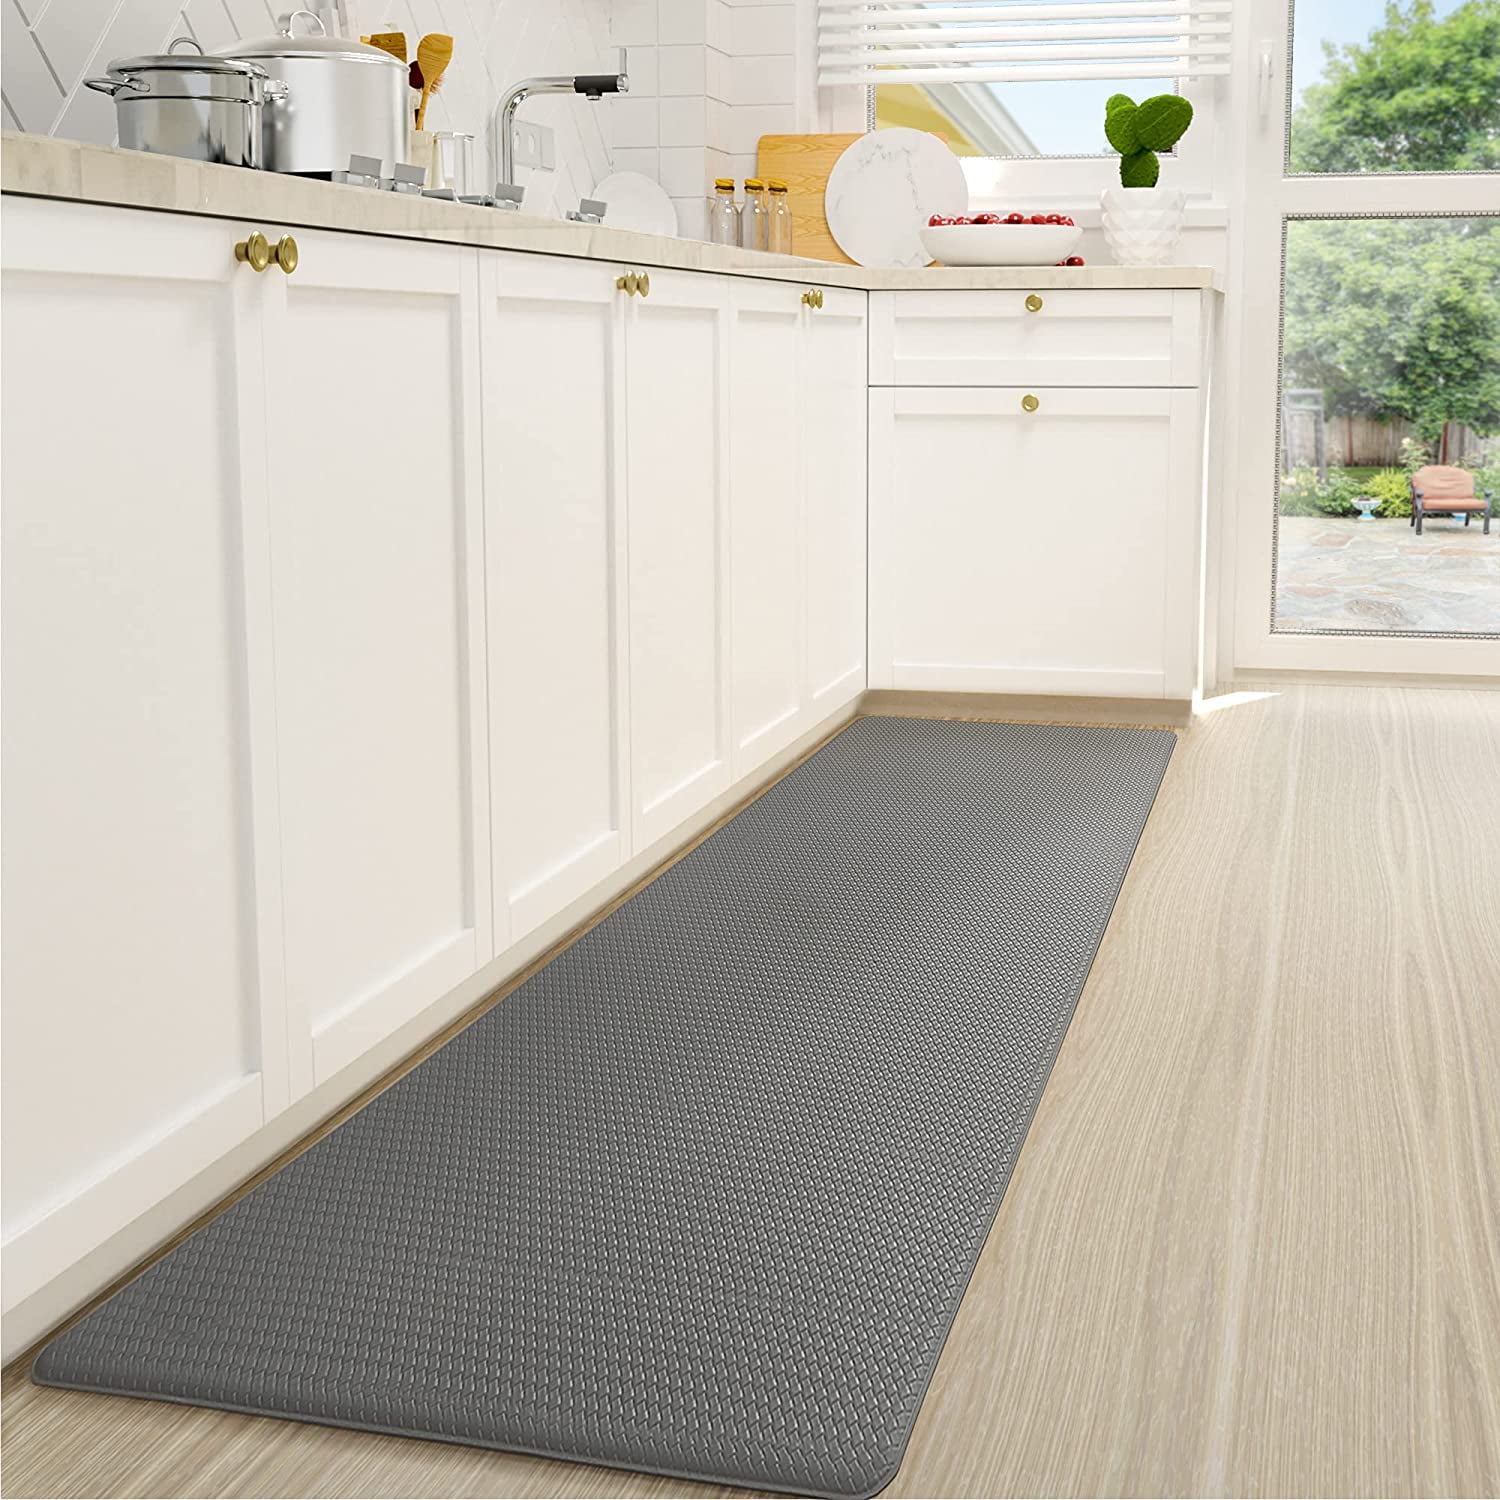
Beija Flor Mediterranean Vinyl Kitchen Mats u0026 Runners, 11 Colors
![]()
Color G Kitchen Rugs, Kitchen Runner Rug Kitchen Floor Mat
SMARTAKE Kitchen Mat, Linen Non-Skid Kitchen Floor Mats, Kitchen Rugs and Mats Absorbent Oily and Dirty, Washable Standing Rugs Set of 2 for Sink,
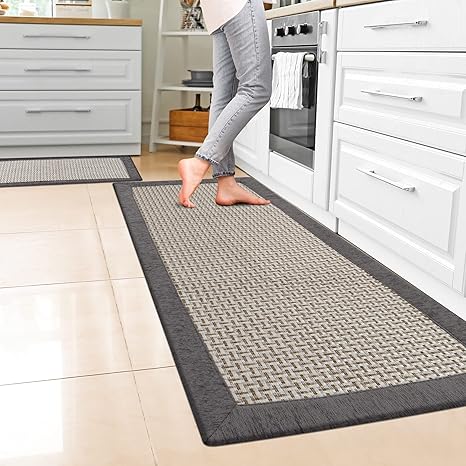
Kitchen Rugs And Mats 2PCS Non Skid Kitchen Mats For Floor Washable Kitchen Runner Rugs For Kitchen Front Of Sink
Cool Kitchen Floor Mats To Spice Up Your Cooking Area

Make your own DIY Vinyl Floor Mat DIY Passion

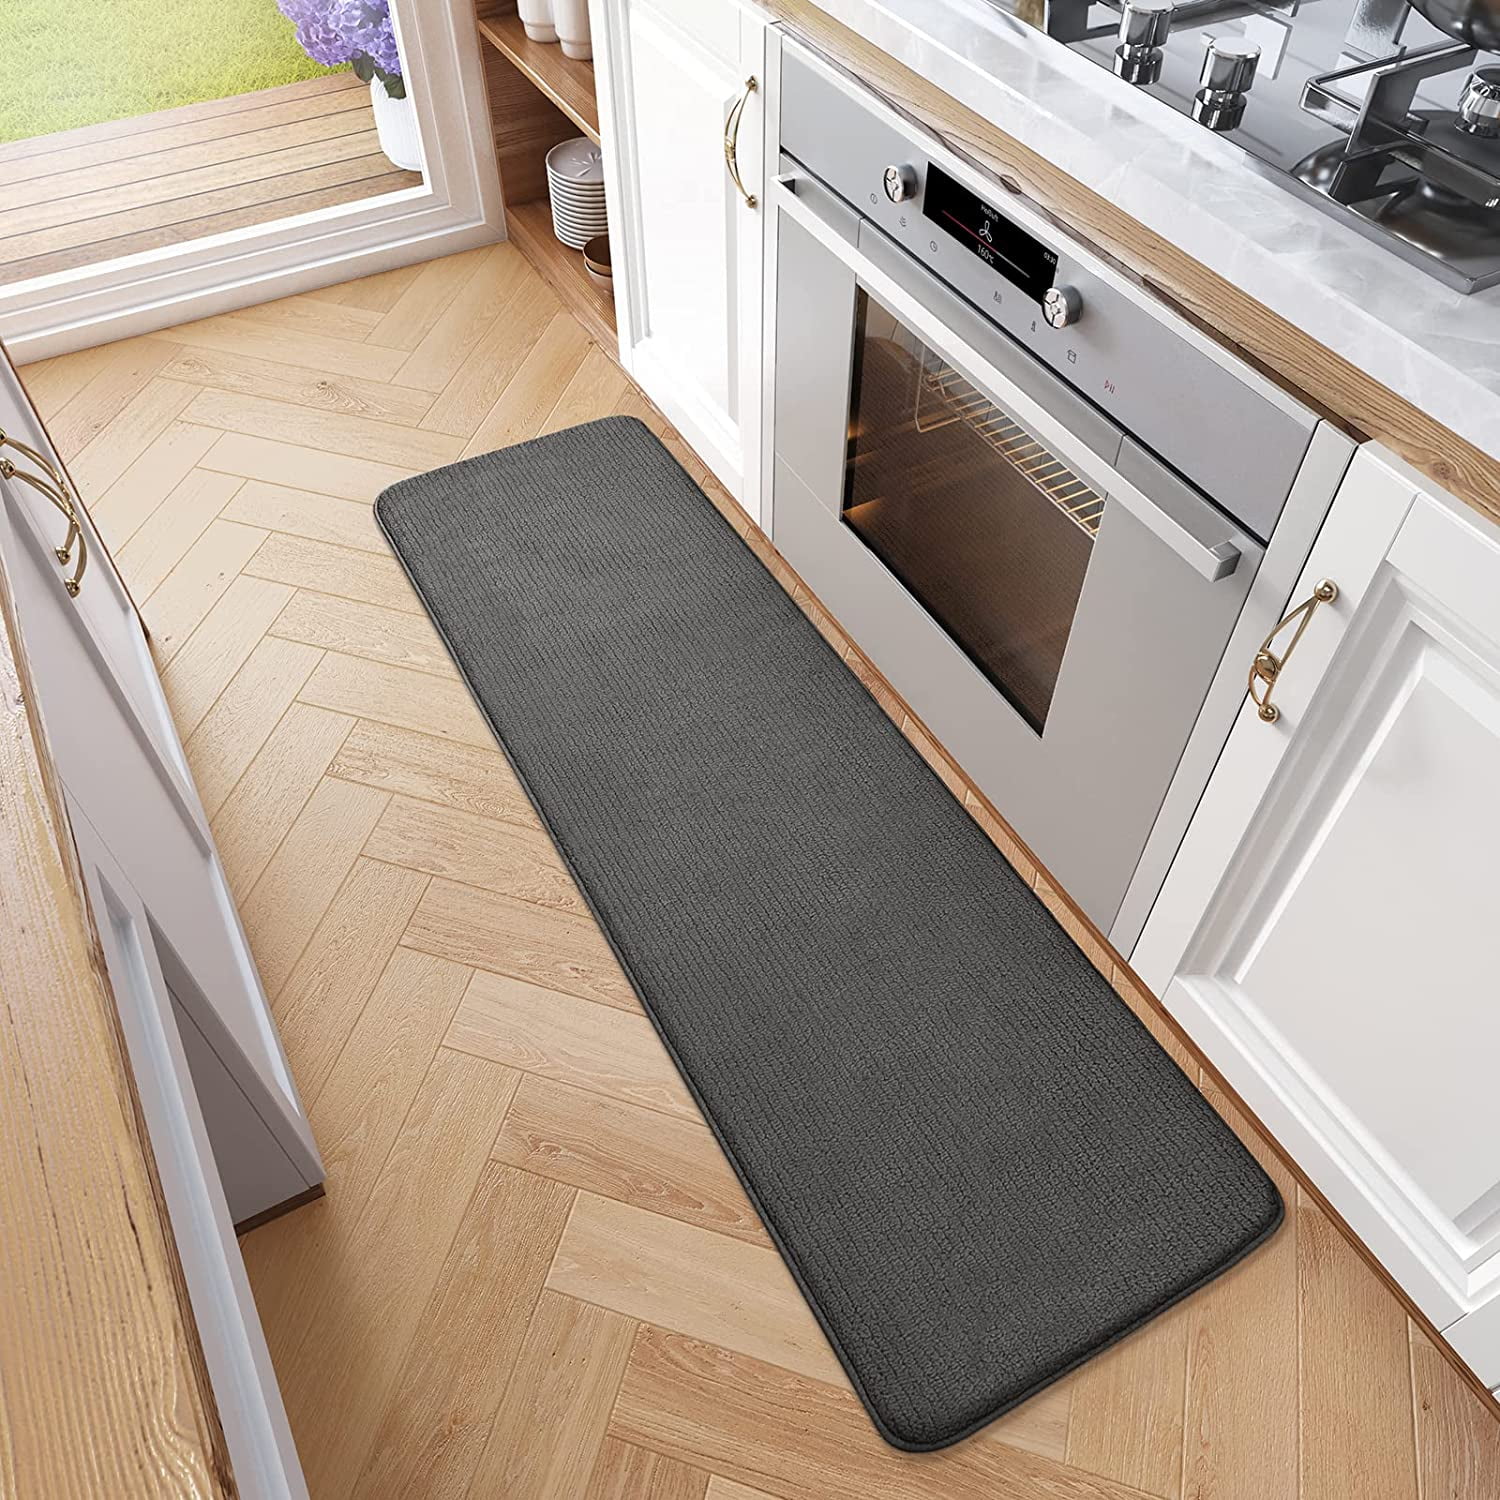
KMAT Kitchen Mat Cushioned Anti-Fatigue Floor Mat Waterproof Non

The Best Kitchen Runner Rugs To Make Your Kitchen Comfortable in

Kitchen Rug Anti Fatigue Kitchen Floor Cushion Mat – Etsy
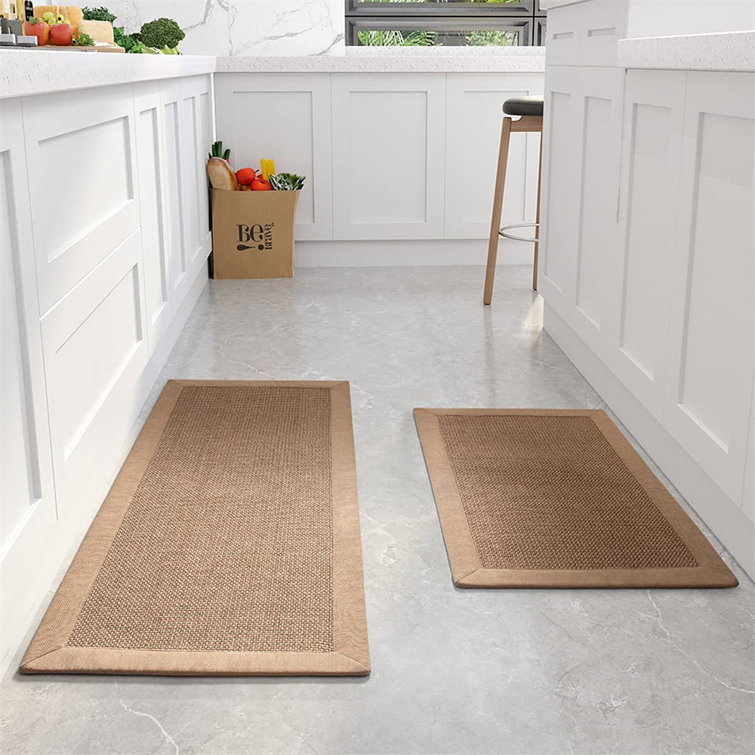
Color G Kitchen Runner Rug, 17″x59″ Kitchen Rugs and Mats Non Skid
How to Clean Kitchen Mats So Theyu0027re As Fresh As New
Related Posts:
- Eco Friendly Flooring For Kitchen
- Black Kitchen Laminate Flooring
- Kitchen Floor Cleaner Homemade
- Kitchen Floor Covering Crossword Clue
- Latest Kitchen Floor Tiles Design
- Click Floor Tiles For Kitchen
- Jen Wants To Tile The Floor Of Her Kitchen
- Catering Kitchen Floor Plan
- Best Floor Tiles For Small Kitchen
- Amazing Kitchen Floor Plans
How to Make a Kitchen Floor Mat: A Detailed Guide to DIY Comfort and Style
Introduction:
A kitchen floor mat not only adds comfort underfoot but also enhances the overall aesthetic appeal of your kitchen. Instead of settling for a store-bought mat that may not meet your specific requirements, why not try making one yourself? Creating a personalized kitchen floor mat allows you to choose the perfect size, shape, and design to match your kitchen decor. In this detailed guide, we will take you through the step-by-step process of making your own kitchen floor mat, along with some FAQs to help you along the way.
Materials Needed:
Before diving into the process, let’s gather all the materials you’ll need:
1. Fabric – Choose a durable fabric that can withstand heavy foot traffic and spills. Options like cotton, polyester blends, or outdoor fabrics work well.
2. Foam Padding – Select foam padding with sufficient thickness to provide comfort and support while standing.
3. Scissors – Sharp fabric scissors will make cutting the fabric easier.
4. Measuring Tape – Essential for measuring the dimensions accurately.
5. Sewing Machine – Although hand sewing is an option, using a sewing machine will save time and effort.
6. Thread – Ensure you have thread that matches or complements your fabric color.
7. Binding Tape – This tape will provide a neat finish to the edges of your mat.
8. Ruler – A ruler helps create straight lines while cutting and sewing.
Step 1: Measure and Cut Your Fabric
Start by measuring the desired dimensions of your kitchen floor mat using a measuring tape. Consider factors such as the available space in your kitchen, the area you want to cover, and any specific design requirements. Once you have determined the measurements, use sharp scissors to cut the fabric accordingly.
FAQs:
Q: What is the ideal size for a kitchen floor mat?
A: The size of your kitchen floor mat depends on your personal preference and the available space in your kitchen. However, a common size range for a rectangular mat is 2×3 feet to 3×5 feet.
Q: Can I make a non-rectangular floor mat?
A: Absolutely! If you prefer a circular, oval, or any other shape for your kitchen floor mat, simply cut the fabric accordingly. Keep in mind that cutting precise shapes may require more advanced sewing skills.
Step 2: Cut the Foam Padding
Using the same measurements as your fabric, cut the foam padding to match the dimensions of your kitchen floor mat. Ensure that the foam padding is slightly smaller than the fabric to allow for sewing and binding later.
FAQs:
Q: What thickness of foam padding should I use?
A: The ideal thickness of foam padding for a kitchen floor mat is typically between 1/4 inch to 1/2 inch. Thicker foam provides better cushioning and support underfoot.
Q: Can I use multiple layers of foam padding for extra comfort?
A: Yes, you can layer multiple pieces of foam padding together to increase the cushioning effect. Be sure to secure the layers properly during the sewing process to prevent shifting.
Step 3: Sew the Fabric and Foam Padding Together
Place the fabric and foam padding together, with the right side of the fabric facing outwards. Pin them in place along all edges to ensure they stay aligned during sewing. Using a sewing machine or hand sewing techniques, stitch around all four edges, leaving a small opening for turning the mat Right side out later. Use a straight stitch or a zigzag stitch for added durability. Once you have sewn around all four edges, trim any excess fabric or foam padding if necessary.
FAQs:
Q: Can I use fabric glue instead of sewing?
A: While fabric glue can be used as an alternative, sewing provides a stronger and longer-lasting bond between the fabric and foam padding. If you choose to use fabric glue, make sure to follow the instructions on the product for best results.
Q: How do I prevent the fabric and foam padding from shifting during sewing?
A: Pinning the fabric and foam padding together along all edges will help keep them aligned during sewing. You can also use clips or basting stitches to hold them in place temporarily.
Step 4: Turn the Mat Right Side Out and Close the Opening
Carefully turn the mat right side out through the small opening you left earlier. Use your fingers or a blunt object to push out the corners and edges for a crisp finish. Once the mat is fully turned right side out, hand sew or machine sew the opening closed using a blind stitch or a straight stitch.
FAQs:
Q: What is a blind stitch?
A: A blind stitch is a type of hand sewing stitch that creates an almost invisible seam. It involves alternating between catching a small amount of fabric on one side and then catching a small amount of fabric on the other side.
Q: Can I use iron-on adhesive tape to close the opening instead of sewing it?
A: Yes, iron-on adhesive tape can be used as an alternative to sewing. Follow the instructions on the product for best results, and ensure that the tape is heat resistant and suitable for use with fabric.
Step 5: Add Binding Tape to the Edges
Cut strips of binding tape that are long enough to cover the raw edges of your kitchen floor mat. Fold the tape in half lengthwise, encasing the raw edges of the mat, and pin them in place. Sew along the folded edge of the binding tape using a straight stitch or a zigzag stitch, securing it to the edges of the mat.
FAQs:
Q: Where can I find binding tape?
A: Binding tape can be found at most fabric stores or online. It is often available in various widths and colors, allowing you to choose one that matches or complements your fabric.
Q: Can I make my own binding tape?
A: Yes, you can make your own binding tape by cutting long strips of fabric on the bias (diagonally across the grain). Fold and press the edges towards the center, then fold it in half lengthwise and press again. Sew along the folded edge to secure it in place.
Step 6: Optional – Add Non-Slip Backing
If desired, you can add a non-slip backing to your kitchen floor mat to prevent it from sliding around. Non-slip rug pads or shelf liners can be cut to match the dimensions of your mat and placed underneath it.
FAQs:
Q: What type of non-slip backing should I use?
A: Non-slip rug pads or shelf liners made of rubber or latex are commonly used as non-slip backings for rugs and mats. They provide grip and stability on smooth surfaces.
Q: How do I attach the non-slip backing?
A: Simply place the non-slip backing underneath your kitchen floor mat, ensuring that it covers the entire bottom surface. The weight of the mat and friction between the backing and the floor should keep it in place.
Step 7: Enjoy Your Homemade Kitchen Floor Mat!
Once you have completed all the steps, your homemade kitchen floor mat is ready to be used. Place it in your kitchen and enjoy the comfort and style it adds to your space.
Remember to regularly clean and maintain your kitchen floor mat to keep it in good condition. Vacuuming, spot cleaning, or machine washing (if applicable) according to the care instructions will help prolong its lifespan.