Garage floor coverings are a wise purchase for professional businesses who want to protect their concrete floors. Just like mats, tiles come in a number of styles. All that you need do is actually pour some water on to the garage floor of yours and it is if it soaks into it or perhaps stays on top. Choosing the right storage area floor paint is really important. It is a must for long-term durability.
Images about How To Polish Concrete Garage Floor
These slippery substances simply slide right through the floors to your drain or perhaps out the front of your storage area! Choose from a wide variety of colors which range from graphite to royal purple or even mix it up to create the own special style of yours. Sparkles, unique colors as well as paint chips can all be added to the coating of yours to make your floor stand out further.
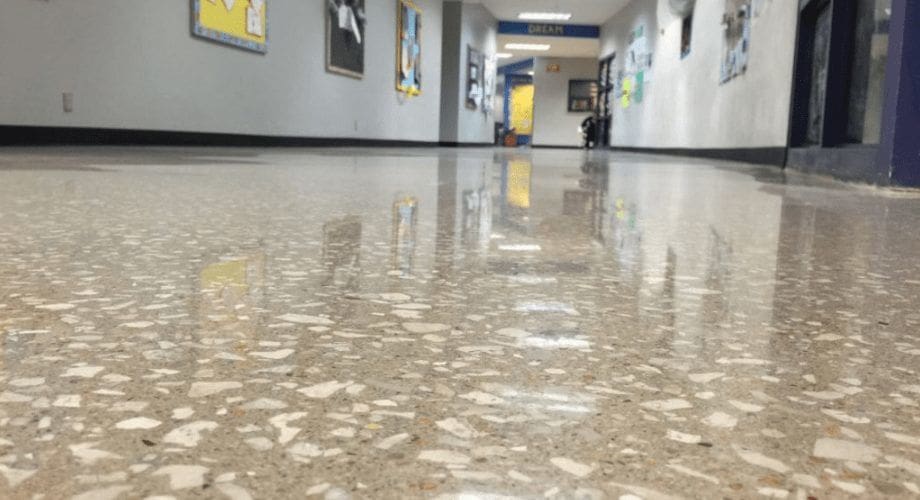
Polished Concrete in Roswell, Georgia – AAA Southern States

In every one of the examples above it's important to understand the breadth and length of the storage area of yours. Installing roll out like garage floor mats does not require some special information. When you go with a coating on the garage floor of yours, this is going to have many advantages. They are not like floor paints, which require strict planning and lengthy drying time.
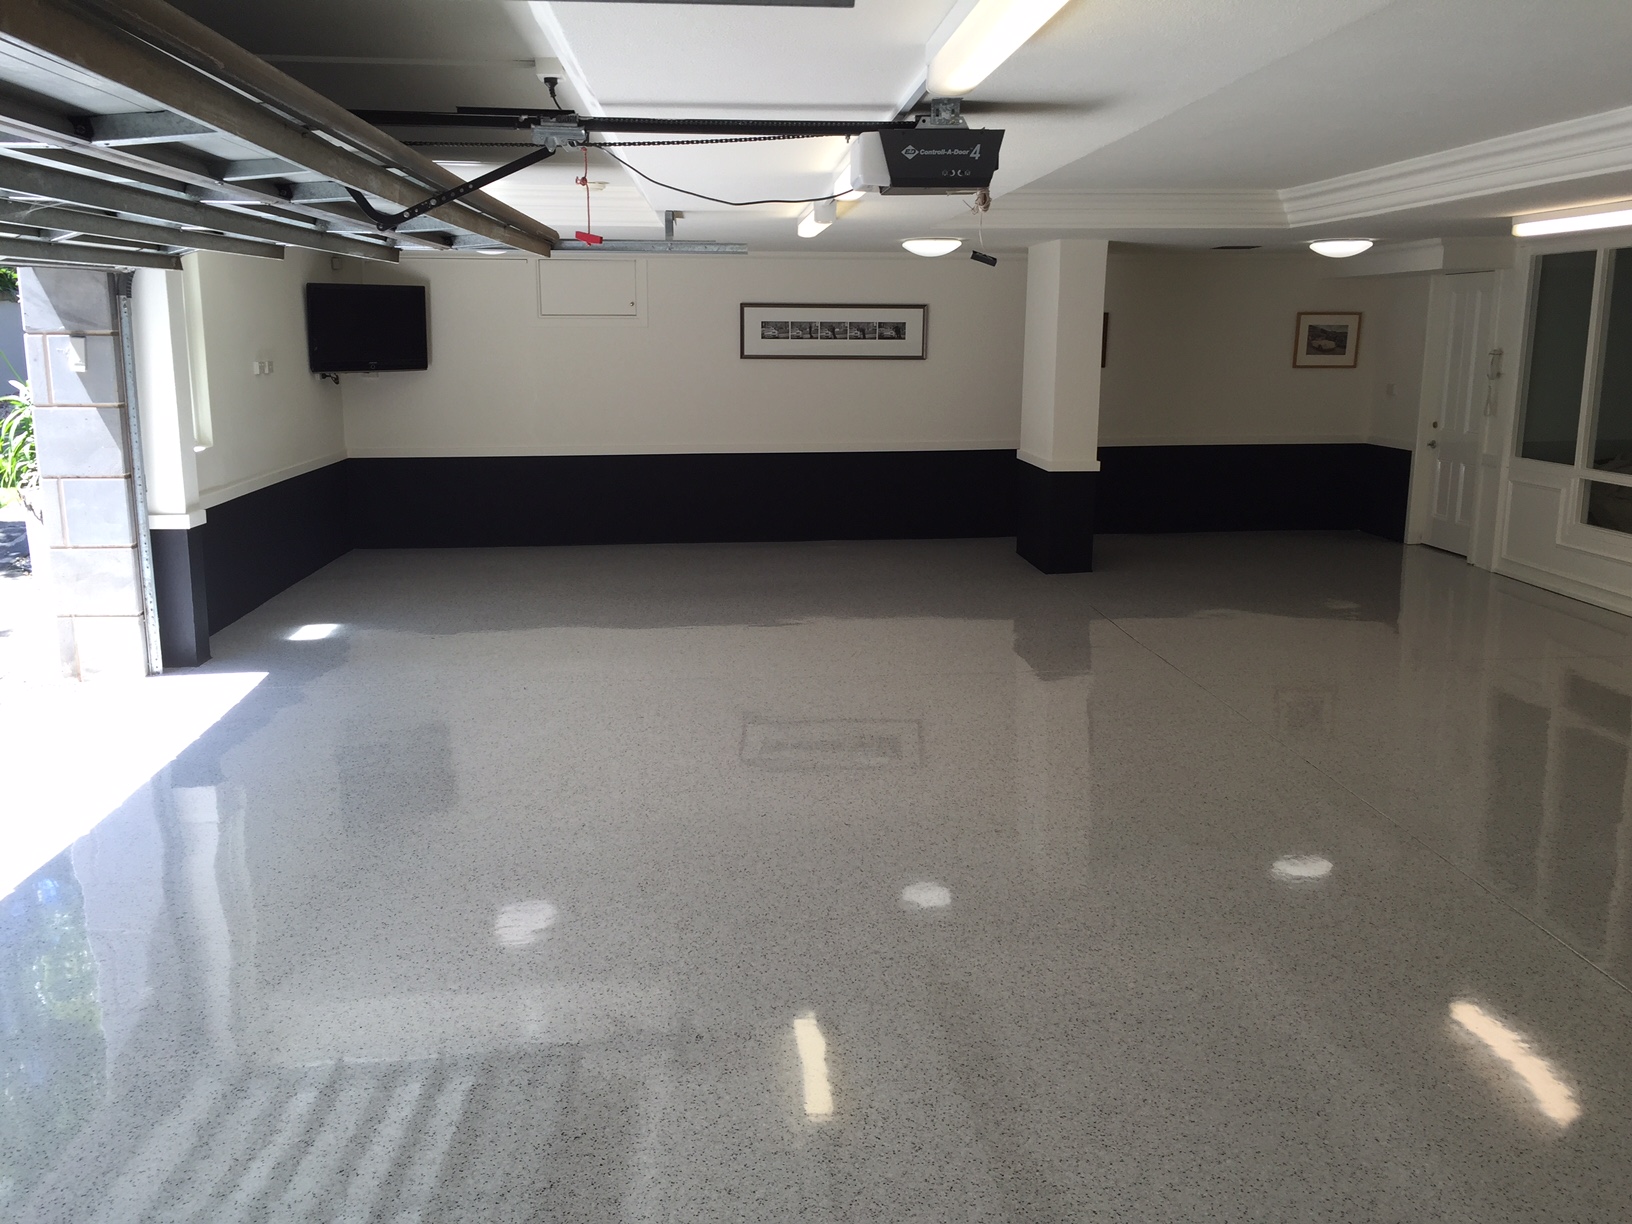
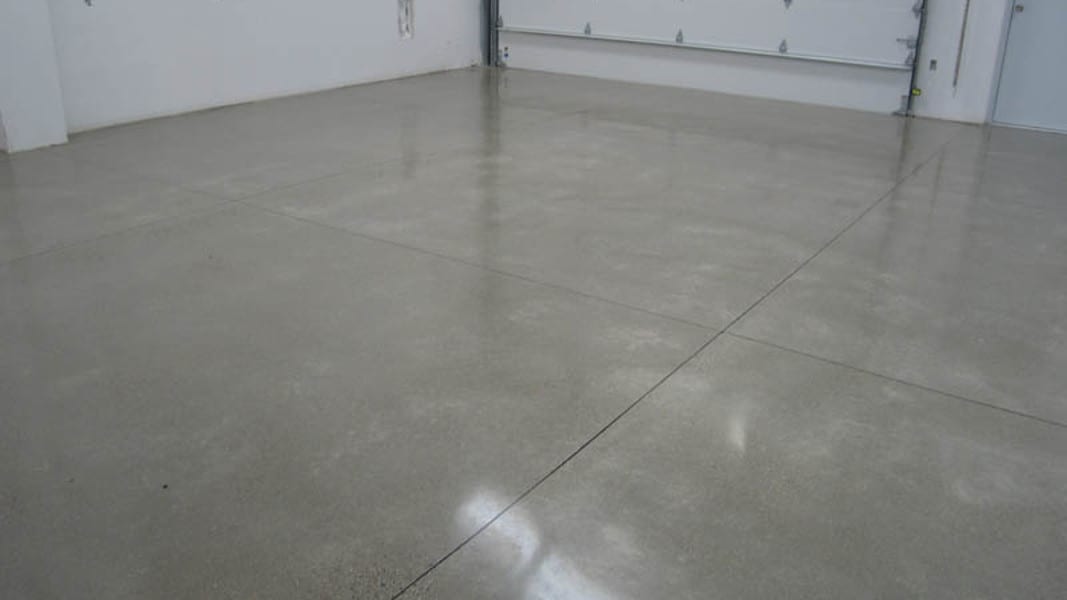
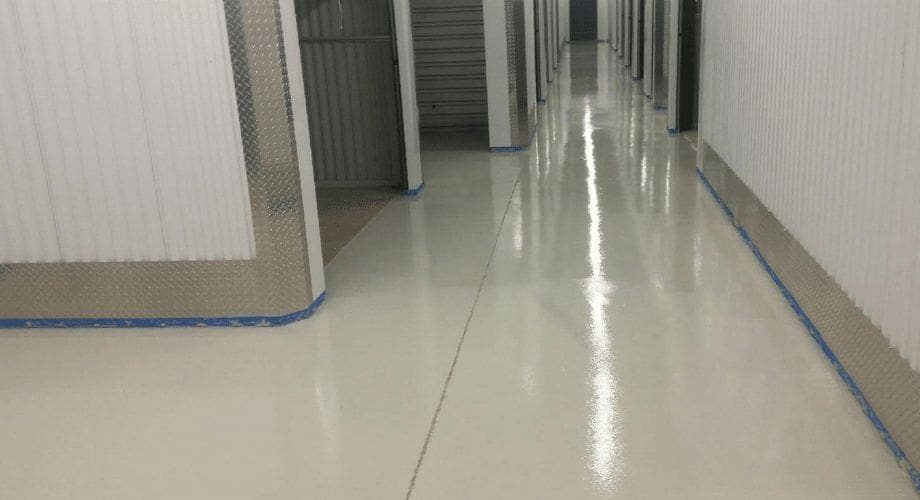
Polished Concrete Garage – Treadwell
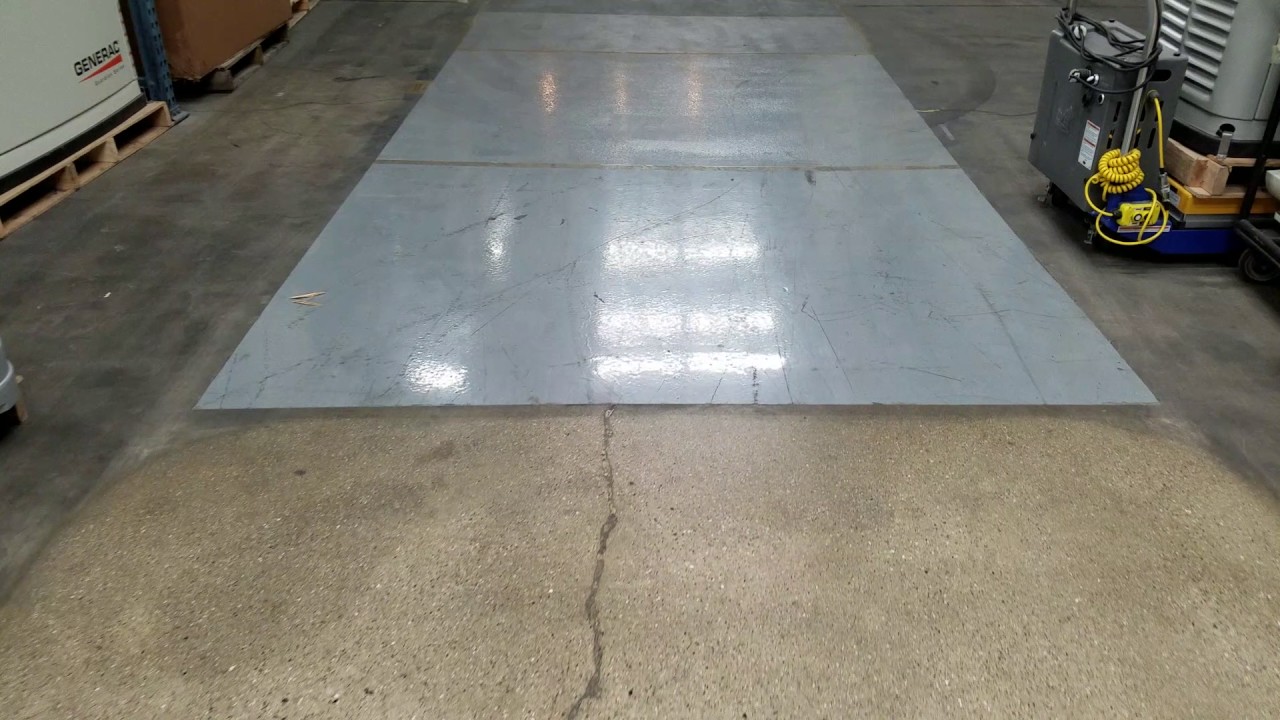
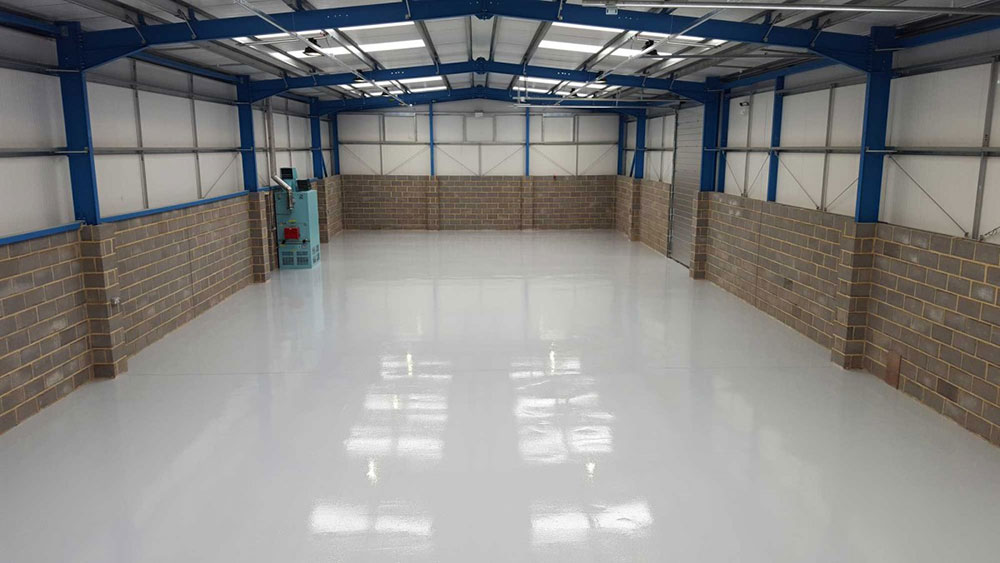
Which is Better, Polished Concrete or Epoxy Solid Floors? – Lakeside Painting
Polished Concrete Garage – Treadwell
Polished Concrete vs. Epoxy Floor: Whatu0027s The Best Choice
Epoxy Floors Vs. Polished Concrete Milwaukee, Madison, WI

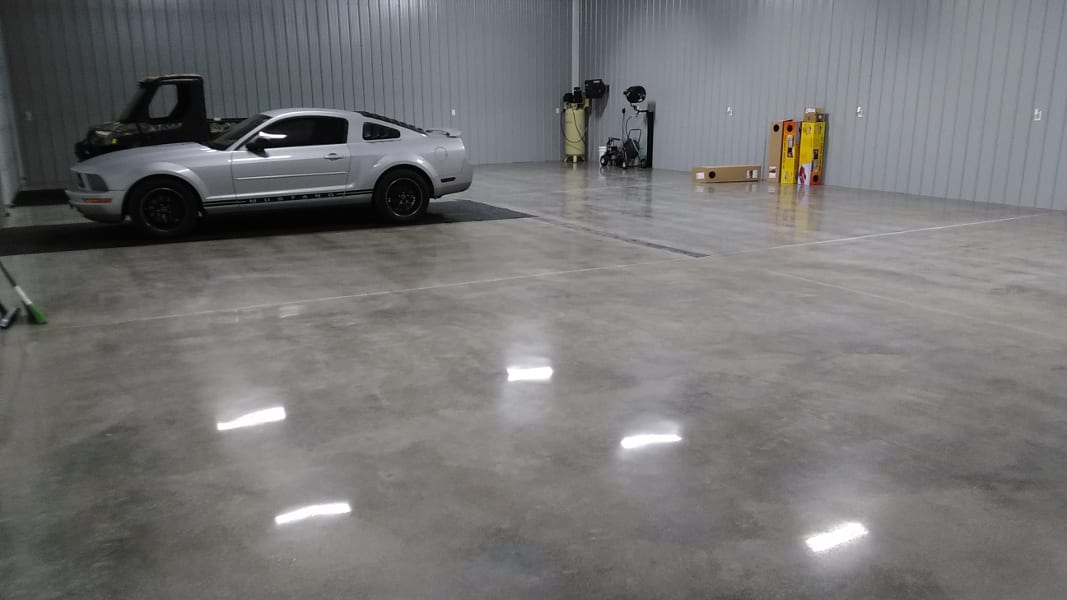
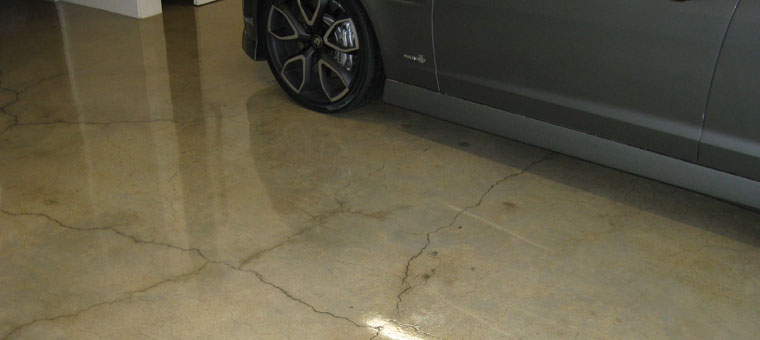
Polished Concrete Garage Floor

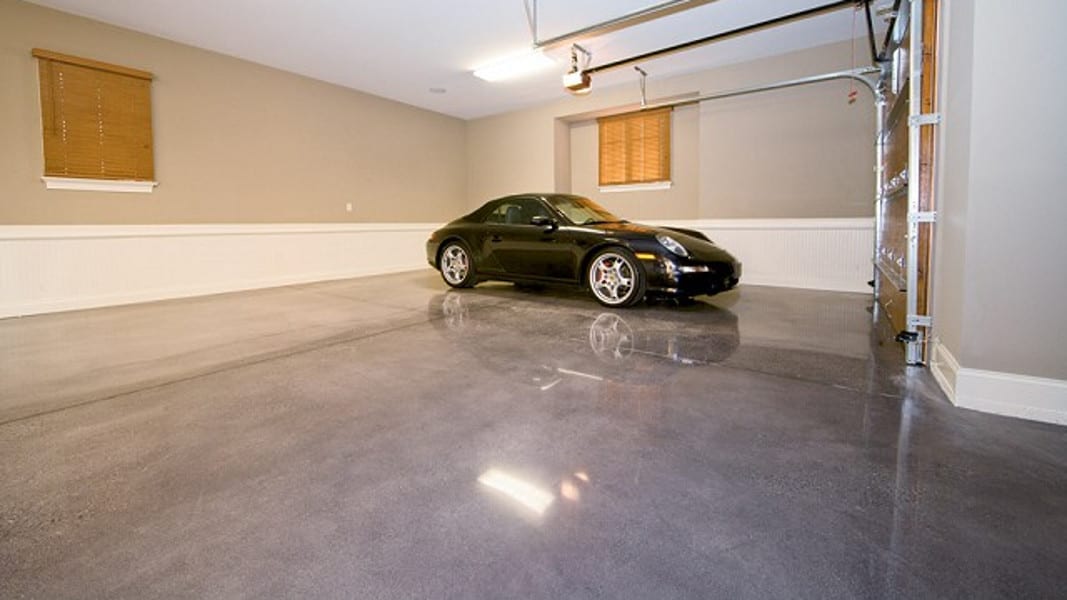
Polished Concrete Flooring Maryland

Polished Concrete Garage Floor

Polished Concrete Garage – Treadwell
Polished concrete vs. epoxy floor: Whatu0027s the best choice?
Concrete Garage Flooring Epoxy Garage Flooring u0026 Coating Epoxy
Polished Concrete vs. Epoxy Floor: Whatu0027s The Best Choice
Related Posts:
- Epoxy Garage Floor Rustoleum
- Garage Floor Paint Systems
- Diamond Garage Floor Mat
- Rustoleum Garage Floor Epoxy Problems
- Ideas For Garage Floor Covering
- Johnstones Garage Floor Paint
- Two Car Garage Floor Plans
- Garage Floor Heating Mats
- Dulux Garage Floor Decorative Kit
- Elite Garage Floors Flexi Tile
How to Polish Your Concrete Garage Floor: A Comprehensive Guide
Introduction:
A concrete garage floor is not only durable and robust but also aesthetically pleasing when properly polished. Polishing the concrete surface not only enhances its appearance but also makes it easier to clean and maintain. In this detailed guide, we will walk you through the step-by-step process of polishing your concrete garage floor, from preparation to finishing touches. Get ready to transform your dull and lackluster floor into a stunning focal point that will impress anyone who steps foot in your garage.
I. Preparing the Surface:
Before diving into the polishing process, it is crucial to prepare the surface adequately. This ensures a smooth and flawless finish. Follow these steps for optimal results:
1. Clearing the Area:
Start by removing any objects or obstacles from your garage floor. This includes vehicles, storage items, and debris. It is essential to have a clean and clutter-free workspace.
2. Cleaning the Floor:
Thoroughly clean the concrete floor using a broom and a high-pressure hose or power washer. Remove any dirt, grease, oil stains, or other contaminants that might interfere with the polishing process.
3. Repairing Cracks and Imperfections:
Inspect the floor for any cracks, holes, or imperfections. Fill them using a concrete patching compound or epoxy filler according to the manufacturer’s instructions. Allow sufficient time for drying before proceeding.
FAQs:
Q: Can I polish my newly poured concrete garage floor?
A: It is recommended to wait at least 28 days after pouring new concrete before attempting to polish it. This allows ample time for proper curing.
Q: What if my garage floor has stubborn stains that won’t come off?
A: For stubborn stains, consider using specialized concrete cleaners or degreasers. Follow the product instructions carefully, and if necessary, use a scrub brush or pressure washer for better results.
II. Grinding and Honing:
Once the surface is properly prepared, it’s time to begin the grinding and honing process. This step involves using specialized tools and equipment to remove any existing coatings, level the floor, and create a smooth texture. Follow these steps:
1. Selecting the Right Tools:
Choose the appropriate grinding machine or grinder with diamond abrasive pads designed for concrete polishing. The selection depends on the size of your garage and the condition of your floor.
2. Begin with Coarse Grit Pads:
Start by attaching coarse grit diamond pads to the grinding machine. Work systematically across the entire floor, moving in a back-and-forth motion. Overlapping each pass ensures even removal of any existing coatings or imperfections.
3. Transition to Fine Grit Pads:
Once you have completed the initial grinding, switch to progressively finer grit pads. Repeat the same back-and-forth motion, gradually smoothing out the surface and achieving a finer finish with each pass.
FAQs:
Q: How do I know when to transition from coarse to fine grit pads?
A: You will notice a significant difference in surface texture and appearance as you progress through the grit levels. Transition to finer grit pads when you are satisfied with the level of smoothness achieved.
Q: Can I use an angle grinder instead of a floor grinder?
A: While an angle grinder can be used for small areas or edges, it is not recommended for large-scale projects like polishing an entire garage floor due to its limited coverage and potential for uneven results.
III. Polishing and Sealing:
After The grinding and honing process is complete, it’s time to move on to the polishing and sealing steps. These steps will enhance the appearance of your garage floor and provide added protection. Follow these steps:
1. Applying Concrete Polish:
Select a high-quality concrete polish specifically designed for polished concrete floors. Apply the polish according to the manufacturer’s instructions, using a floor machine with polishing pads or a burnishing machine. Work in small sections, overlapping each pass for consistent coverage.
2. Achieving the Desired Shine:
After applying the initial coat of concrete polish, assess the shine level. If a higher shine is desired, repeat the polishing process with progressively finer grit polishing pads. This will further refine the surface and increase its reflective properties.
3. Sealing the Floor:
Once you have achieved the desired shine, it is important to seal the floor to protect it from stains, moisture, and wear. Choose a high-quality concrete sealer suitable for polished surfaces. Apply the sealer according to the manufacturer’s instructions, ensuring even coverage.
FAQs:
Q: How often should I reseal my polished garage floor?
A: The frequency of resealing depends on factors such as foot traffic, exposure to chemicals or moisture, and personal preference. As a general guideline, it is recommended to reseal your polished garage floor every 1-3 years to maintain its appearance and protective properties.
Q: Can I skip the sealing step if I’m satisfied with the shine?
A: While sealing is not mandatory, it is highly recommended to protect your polished floor from stains and wear. The sealer also enhances the shine and longevity of the polished surface.
By following these steps and addressing any potential hindrances, you can successfully polish your garage floor, transforming it into a durable, visually appealing space.