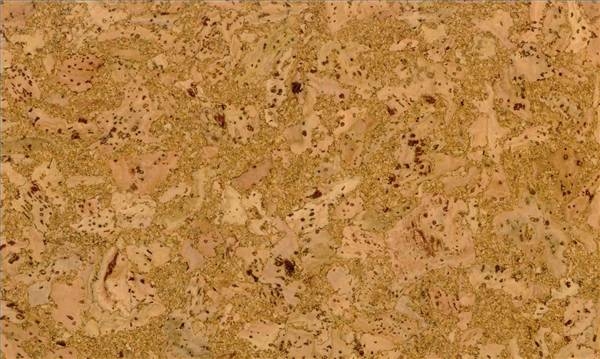
Cork is the ideal choice in case you have allergies or in case you've an illness that demands your living environment to be extremely clean. These cells provide many other benefits and we'll mention them in a bit. This properly makes this flooring sort suitable for suites like the bathroom, basement and kitchen, along with the normal rooms like the family room, bedroom or den.
Images about How To Remove Cork Tiles From Floor
However, when you take out the stress, the floor is going to spring back again to its classic condition quickly, and leave no long lasting mark or perhaps impression! This's on hand if you plan to put any heavy furniture on the floor of yours. If also you plan on installing your brand new floor yourself then a cork floating flooring is the perfect option.
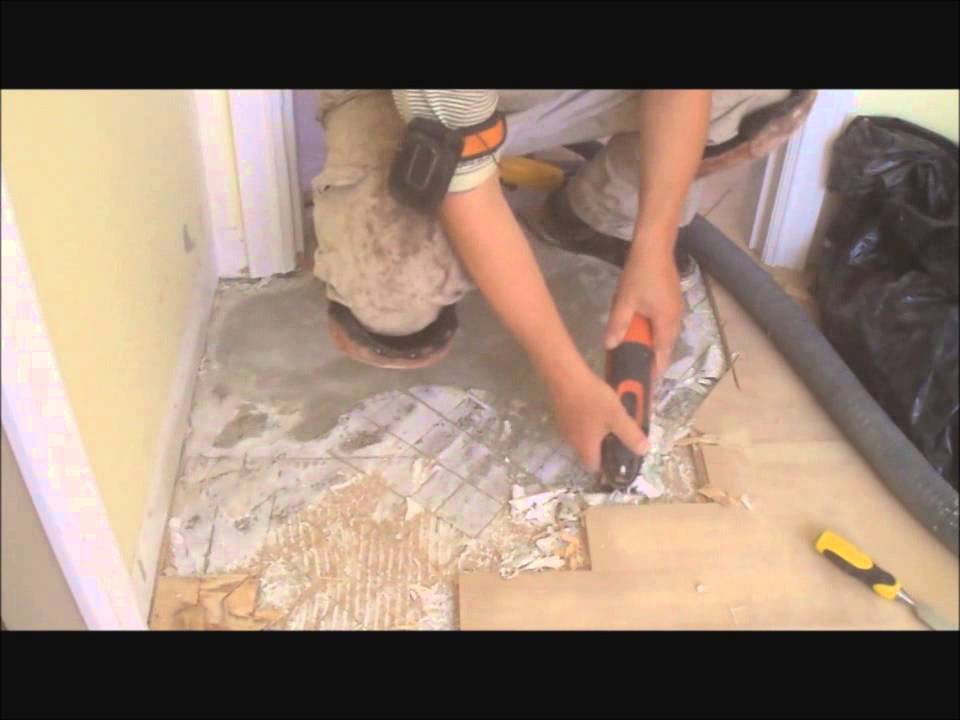
Cork Floor Demolition – YouTube
Being hypoallergenic gives cork some excellent health benefits to those that have allergies, along with opposition to mold, mildew and bacteria. The advantages simply keeping coming out for cork flooring do not they? Effectively, we're not finished just yet, there are a couple of more you have to know about. Today, cork flooring comes in a riot of styles.
How do I repair an old cork floor or remove it? Hometalk
This same cellular structure also makes cork a fantastic insulator and is keep your house warm on strong winter nights. What's this incredible ingenuity which makes up the design of a flooring surfaces comprised of cork? Cork floors and tiles are cozy beneath your feet especially in winter and do not develop a noise after you walk on them. Cork isn't just able to take in noise but cork flooring contributes warmth to every room.
Cork Flooring Removal Sydney Dust-Free Cork Removal

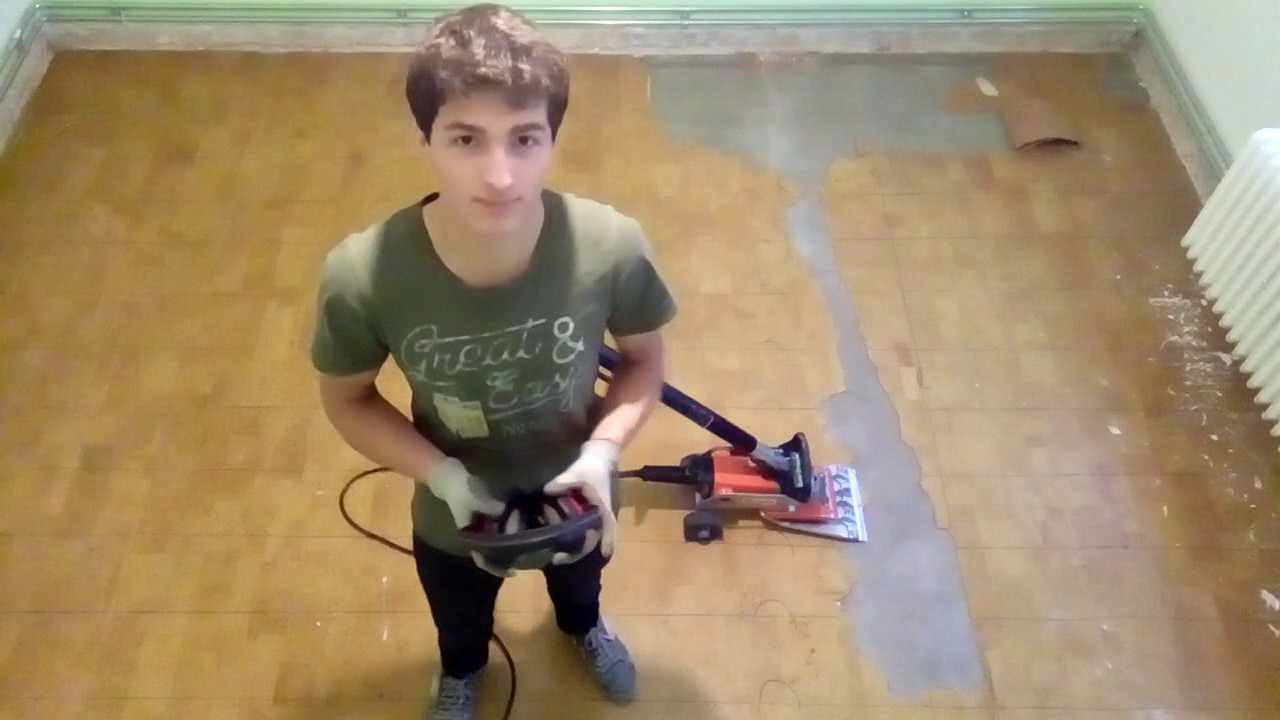
Wolf Craft 1500w SDS impact drill removing bonded cork tiles – YouTube
How to Remove Cork Tiles
Ceramic Tile and Floor Removal Griggs Floors Toowoomba
How to Remove Cork Floor Tiles DoItYourself.com
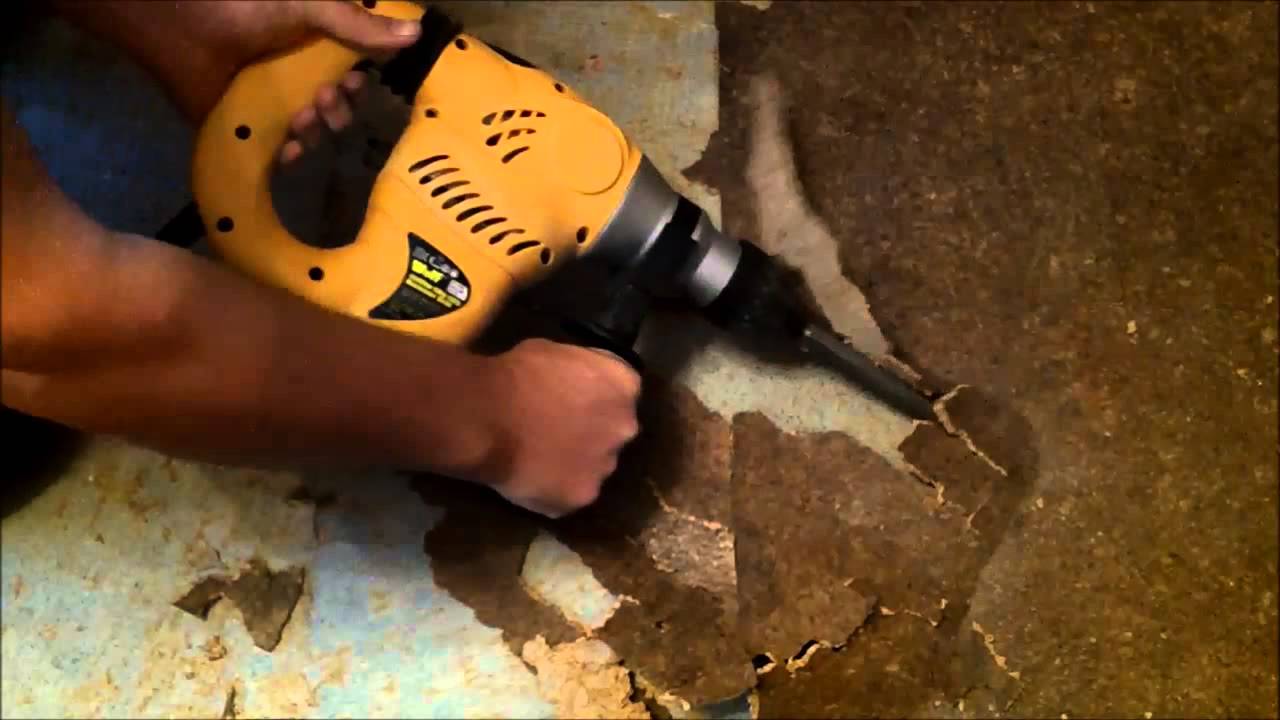
taking off cork tiles – YouTube
How to Clean Cork Floors: 10 Steps (with Pictures) – wikiHow

How to Clean Cork Flooring » How To Clean Stuff.net

3 easy steps to restore a cork floor

Cork Flooring Guide – Specifics, Pros u0026 Cons, Price Fantastic
Tips For Replacing Flooring

Related Posts:
- Cork Spacers For Laminate Flooring
- Cork Flooring Closeout
- Wicanders Cork Floor Cleaner
- Cork Flooring Installation Guide
- Is Cork Flooring Good For Kitchen
- Burnished Straw Plank Cork Flooring
- Painting Cork Floor Tiles
- Glue Down Cork Flooring Home Depot
- What Is The Recommended Way To Maintain Cork Floors
- Peel And Stick Cork Floor Tiles
How to Remove Cork Tiles from Floor
Cork tiles are a popular choice for flooring due to their durability, natural insulation properties, and eco-friendliness. However, there may come a time when you need to remove them, whether it’s because you want to replace them with a different flooring material or because the cork tiles have become damaged or worn out. Removing cork tiles from the floor may seem like a daunting task, but with the right tools and techniques, it can be done efficiently and effectively. In this article, we will guide you through the step-by-step process of removing cork tiles from the floor.
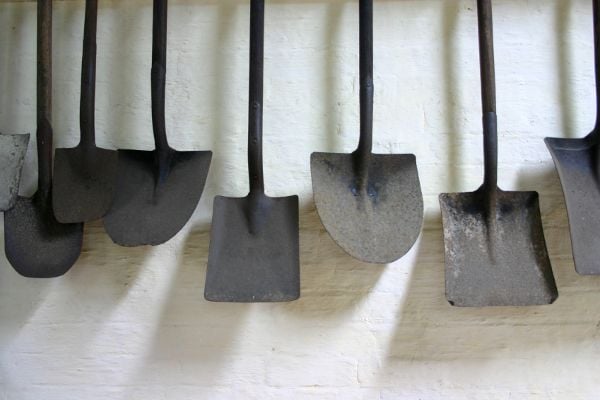
1. Gather the necessary tools and materials
Before you begin removing cork tiles from the floor, it’s important to gather all the necessary tools and materials. This will ensure that you have everything you need within reach, saving you time and effort during the removal process. Here is a list of items you will need:
– Safety goggles: Protect your eyes from any debris that may fly off during the removal process.
– Dust mask: Prevent inhalation of dust particles that may be released while removing the cork tiles.
– Gloves: Protect your hands from sharp edges and potential injuries.
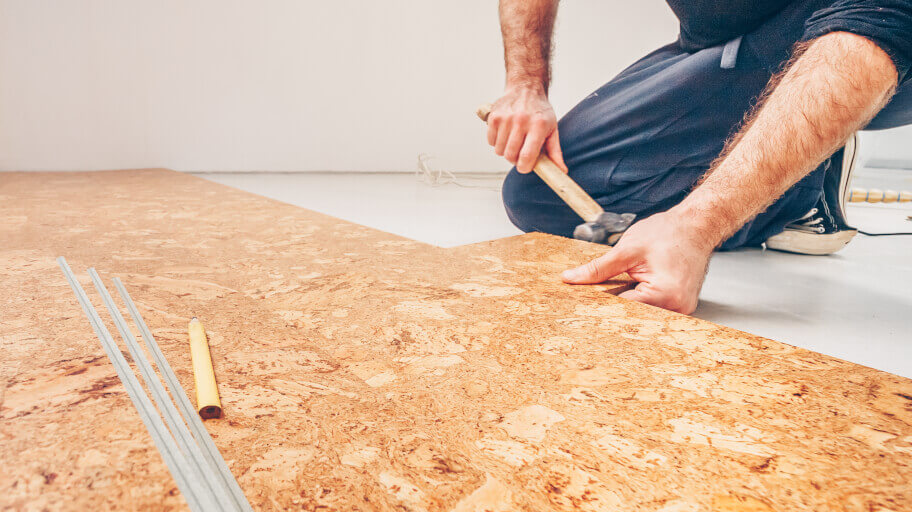
– Pry bar: Used to pry up the edges of the cork tiles.
– Putty knife: Helps in lifting and scraping off any adhesive residue left behind by the cork tiles.
– Hammer: Useful for tapping in the pry bar or lightly loosening stubborn tiles.
– Utility knife: Used for cutting through any caulk or adhesive between tiles.
– Plastic bags: To collect and dispose of removed cork tile pieces.
– Adhesive remover (optional): If there is excessive adhesive residue left behind, an adhesive remover can help in cleaning it up.
2. Prepare the work area
Before starting to remove cork tiles from the floor, it’s important to prepare the work area properly. Remove any furniture or obstacles that may hinder your movement during the removal process. Cover nearby surfaces and furniture with drop cloths or plastic sheets to protect them from any debris or damage.
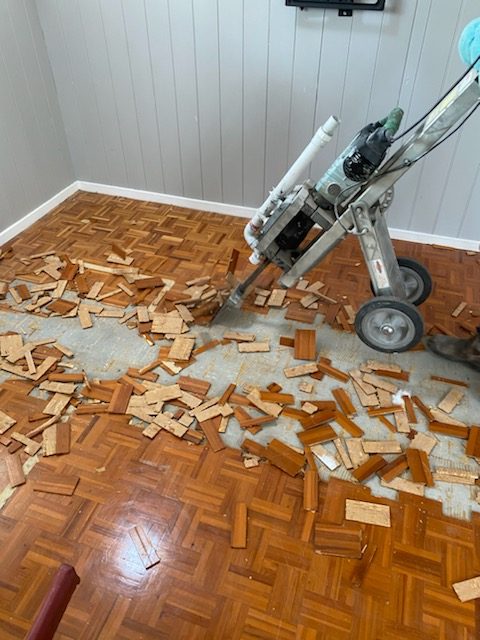
3. Start removing the cork tiles
To begin removing the cork tiles, locate an edge or corner where you can start prying them up. Insert the pry bar beneath the edge of a tile and gently lift it upward. Use a hammer to tap in the pry bar if needed, but be careful not to apply excessive force that may damage the subfloor underneath.
Once you have lifted an edge of the cork tile, continue prying along that edge until the entire tile is lifted off the floor. If the cork tile breaks during this process, use a putty knife to scrape off any remaining pieces. Repeat this step for each cork tile until they are all removed.
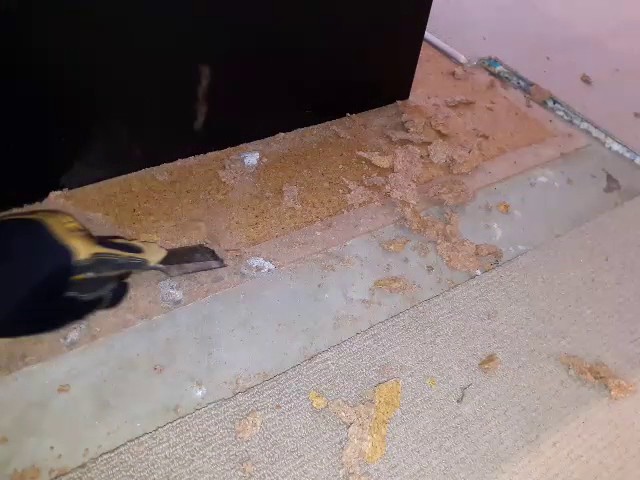
4. Remove any adhesive residue
After removing all the cork tiles from the floor, you may notice some adhesive residue left behind. To remove this residue, use a putty knife to scrape it off gently. Be careful not to damage the subfloor while doing this. If there is excessive adhesive residue that is difficult to remove, you can apply an adhesive remover according to the manufacturer’s instructions.
5. Clean and prepare the subfloor
Once all the cork tiles and adhesive residue have been removed, thoroughly clean and prepare the subfloor before installing new flooring material. Sweep or vacuum away any loose debris and dust. If there are any remaining sticky patches or adhesive residue, clean them with a mild detergent and warm water solution. Allow the subfloor to dry completely before Proceeding with the installation of new flooring. 6. Dispose of the removed cork tiles and debris
Properly dispose of the removed cork tiles and any debris that was collected during the removal process. Place them in plastic bags and seal them tightly before disposing of them according to local regulations. This will help prevent any potential hazards and keep the work area clean and safe.
7. Install new flooring material
After the subfloor is clean and dry, you can proceed with installing new flooring material of your choice. Follow the manufacturer’s instructions for installation, whether it’s hardwood, vinyl, or another type of flooring. Make sure to acclimate the new flooring material to the room’s temperature and humidity before installation to prevent any issues with expansion or contraction.
8. Maintain proper ventilation
During the removal process and while working with any adhesive removers or cleaning solutions, make sure to maintain proper ventilation in the work area. Open windows or use fans to circulate fresh air and prevent inhalation of any fumes or strong odors.
9. Take breaks as needed
Removing cork tiles can be a physically demanding task, so make sure to take breaks as needed to rest and avoid overexertion. Stay hydrated and listen to your body to prevent fatigue or injury.
10. Consider professional help if needed
If you are unsure about removing cork tiles yourself or if there are multiple layers of flooring underneath that require additional expertise, it may be best to hire a professional for assistance. They can ensure proper removal without causing damage to the subfloor or surrounding areas.