Ceramic tile flooring isn't cheap! However, this shouldn't be your main consideration when preparing to redesign your kitchen floor or maybe bathroom floor. If you plan to install ceramic tile flooring in all the rooms of your home you're bringing a level of consistency to the home. Make sure that each floor tile is in spite of the next.
Images about How To Replace Tile Floor With New Tile

Tiles however are a lot simpler to set up but garage area tile floor surfaces does come with the own pros of its advantages and disadvantages as we shall see going forward. After that, wipe the slim excess off the tiles and wait at least twenty four hours for these people to establish. Mosaic tile flooring is one of the most loved variations because of the high degree of creativity that you are able to make use of in having them in the home of yours.
How to Remove a Tile Floor HGTV
They may be laid inside a pattern or even arbitrarily. Ideally you really should utilize a pro to get it done for you, a similar company you buy the tiles from, may usually suggest someone if they don't carry out the program themselves. It is great variety, ease of maintenance and a low cost that make it a top option of conscientious homeowners as well as rental property supervisors.
How to Remove a Tile Floor HGTV
How to Remove Tile Flooring Yourself {with Tips and Tricks} All
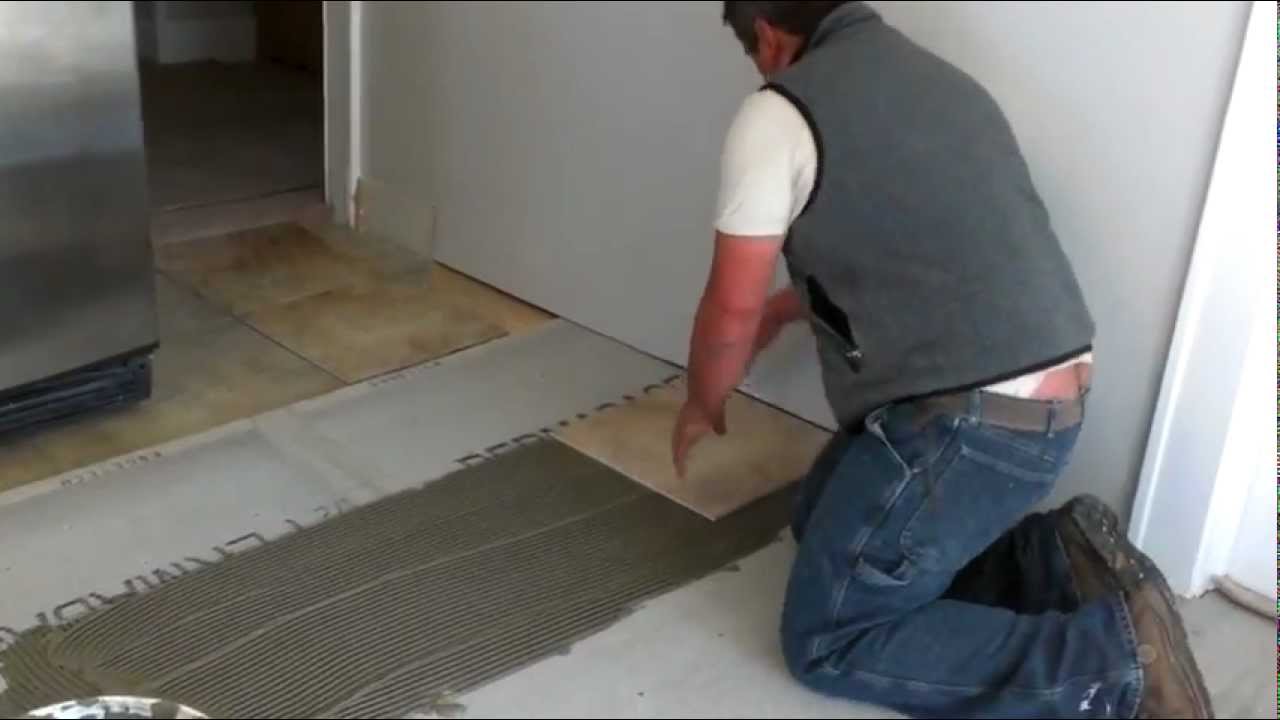
How To Replace a Floor Tiles – Old tile to New tile installation process

How to Replace a Cracked Floor Tile – This Old House

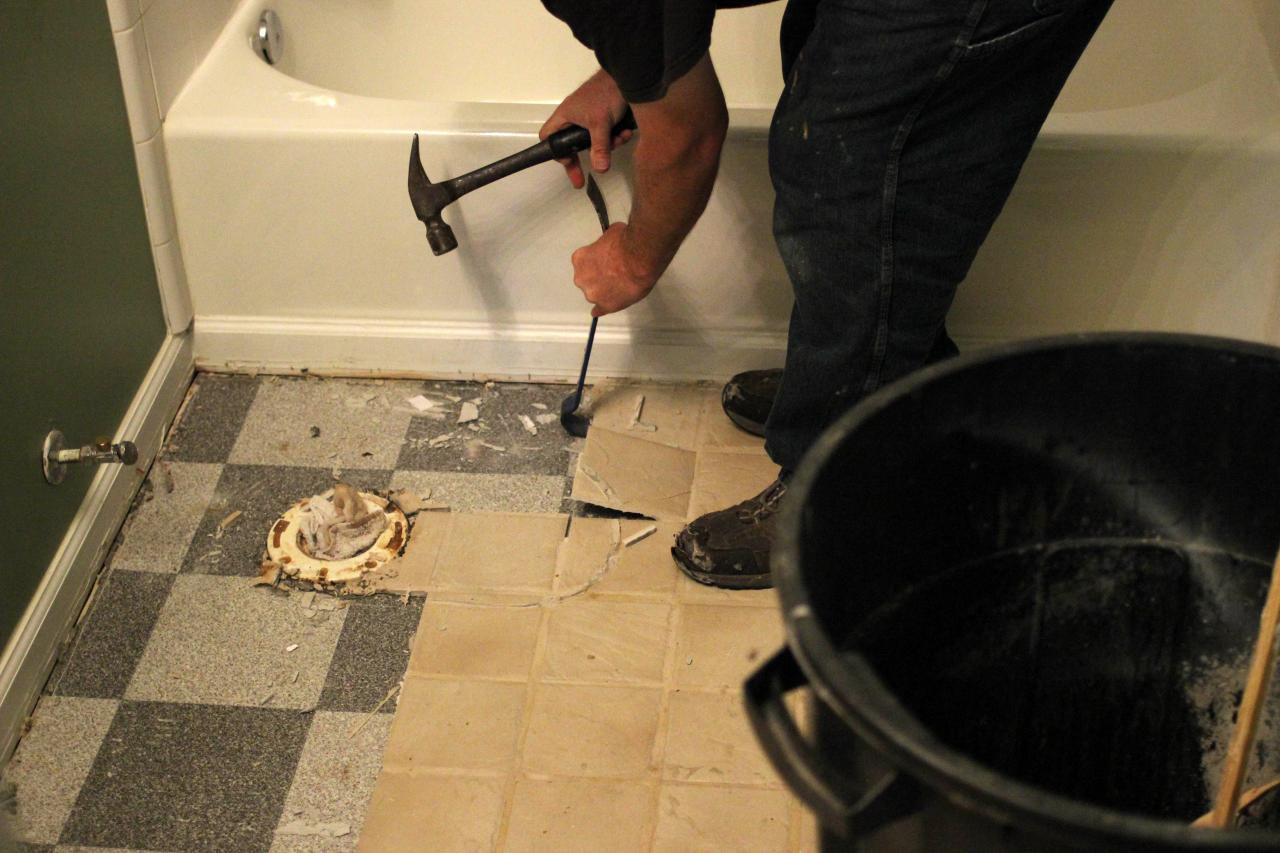
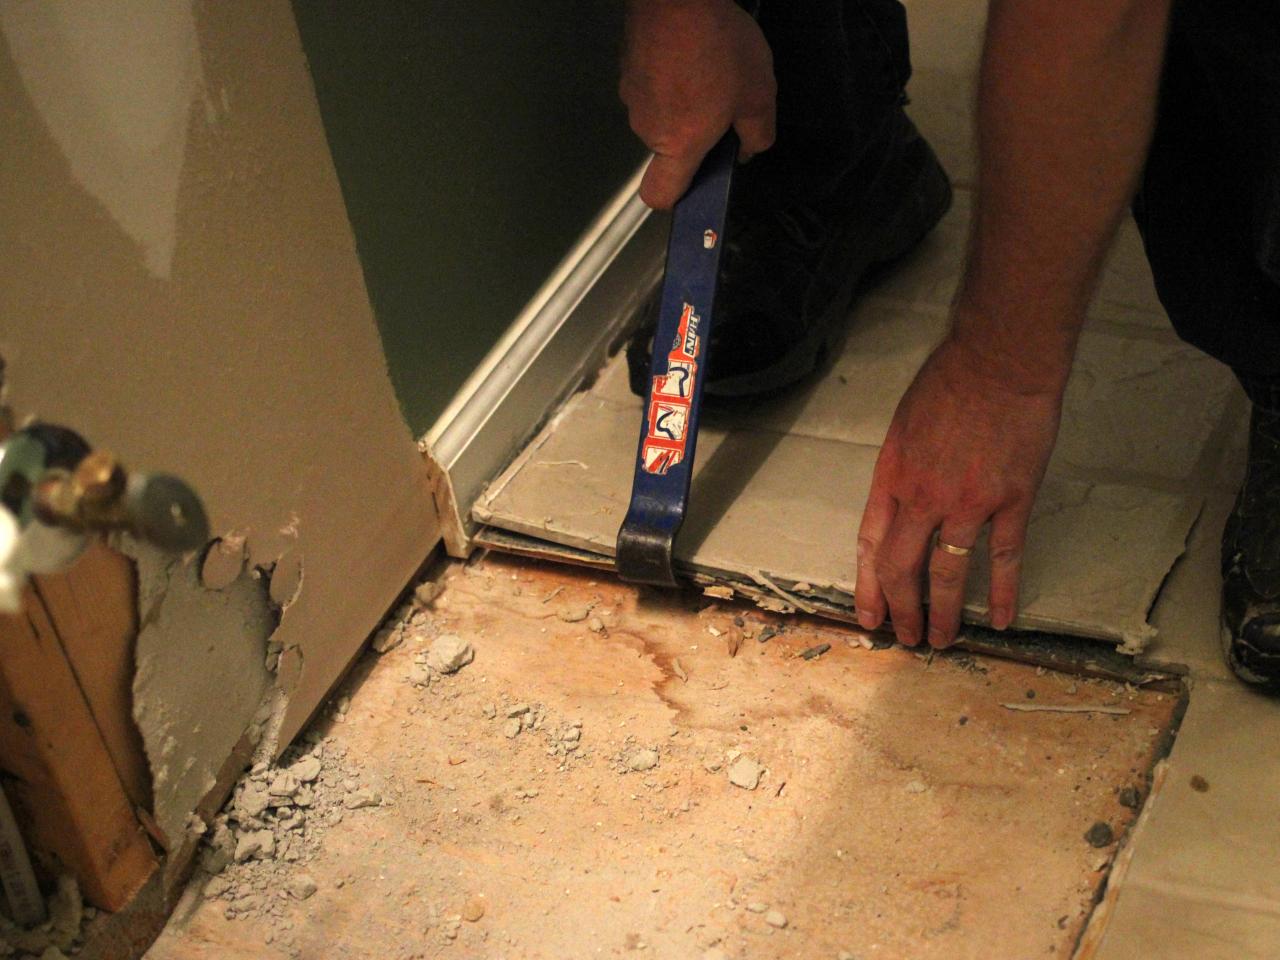
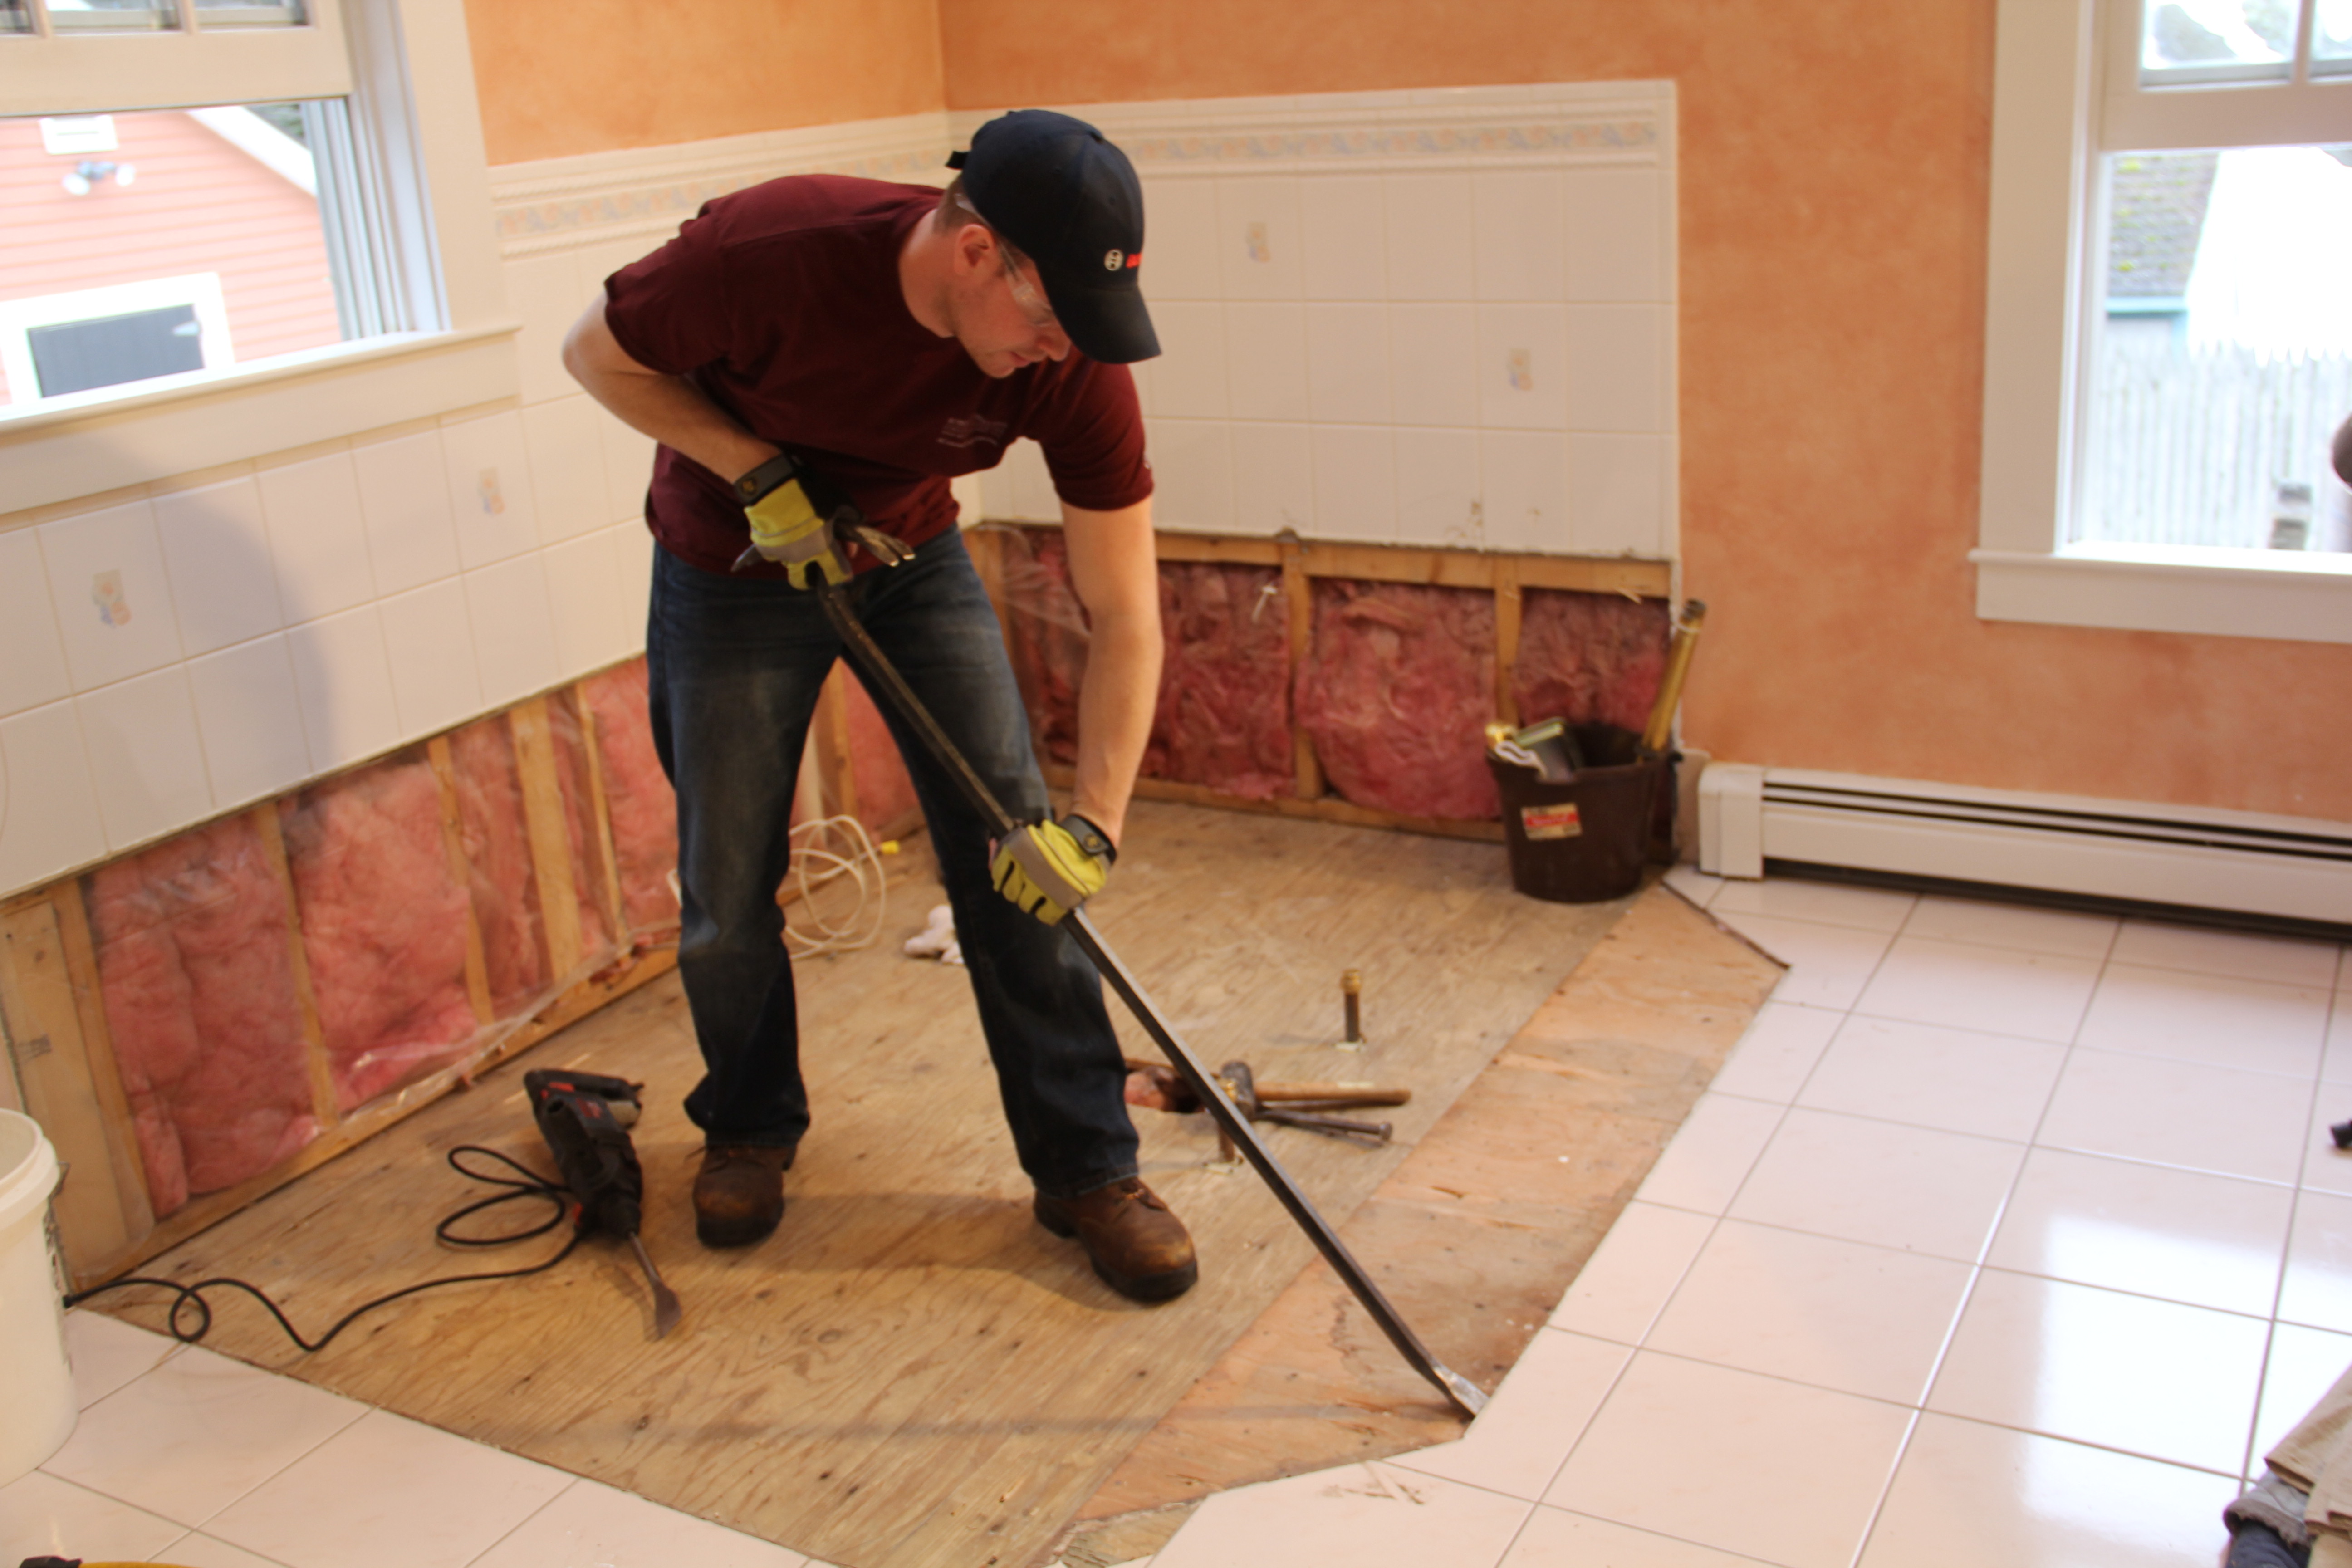
How To Remove A Tile Floor and Underlayment
How to Replace a Cracked Floor Tile – This Old House
:no_upscale()/cdn.vox-cdn.com/uploads/chorus_asset/file/22847555/Ask_Colleen_McQuaid_P1120752_inset.jpg)
4 Ways to Replace Tile Floor – wikiHow

How to Remove Ceramic Floor Tile
/removing-ceramic-floor-tile-452501-hero-8300d7b0a9c94ba6a2e844788a0225bc.jpg)
Easy Ways to Replace Bathroom Tiles (with Pictures) – wikiHow

How to Remove a Tile Floor HGTV

Subfloors and Underlayment for Ceramic Tile Floors
/best-subfloors-to-use-for-laying-tile-1822586-hero-efcfac9422ab457da5d2cbc7f7361df7.jpg)
How to install ceramic tiles on a floor
Related Posts:
- 20×20 Porcelain Tile Floors
- Heat Existing Tile Floor
- Easiest Way To Mop Tile Floors
- Cover Ugly Tile Floor
- Daltile Floor Tile Patterns
- Kentile Floors Brooklyn
- Old Tile Floor
- Tile Floor Buffer Machine
- House Tile Flooring Ideas
- Hardibacker Or Cement Board For Tile Floor
How To Replace Tile Floor With New Tile
Replacing a tile floor may seem like a daunting task, but it doesn’t have to be. With the right tools and materials, you can easily replace your existing tile floor with new tile in no time. This article will explain the step-by-step process of how to replace your tile floor with new tiles.
Preparing for the Job
Before embarking on replacing your tile floor, there are some preparations that must be made. First, you will need to purchase the necessary materials. This includes tiles, mortar, grout, spacers, and any other tools needed such as a trowel or level. You will also need to make sure that the area is clean and free of debris. If there is any existing grout or mortar that needs to be removed, this should be done prior to laying down the new tiles.
Laying The Tiles
Once you have all the necessary materials and tools ready, it’s time to start laying down the tiles. Begin by laying out the tiles in their desired pattern on a flat surface. This will help ensure that they are placed correctly when you go to install them. Use spacers between each row of tiles to ensure they are even and level when installed. Once you have laid out the tiles in their desired pattern, it’s time to begin installing them onto the floor.
Start by spreading mortar onto the subfloor using a trowel in an even layer. Place each tile into place and press firmly against the mortar until it is secured in place. Once all of the tiles are in place, use a level to check that they are even and level with one another. If any adjustments need to be made, do so now before continuing with grouting them into place.
Grouting The Tiles
Once all of the tiles are securely in place, it’s time to grout them into place. Begin by mixing together a batch of grout in accordance with manufacturer instructions and spread it over the entire area using a trowel or spatula. Use your fingers or a rubber float to work the grout into all of the crevices between each tile and ensure that they are completely filled with grout before allowing it to set. Once it has set, use a damp sponge or cloth to remove any excess grout from the surface of each tile before allowing it to dry completely.
Finishing Touches
Once your new tile floor has had time to dry completely, it’s time for some finishing touches! A sealant can be applied if desired for additional protection against water damage and staining. Additionally, you may want to consider adding a border or edging around your new tile floor for a more finished look. Adding these finishing touches can make all the difference in how your new tile floor looks!
FAQs: How To Replace Tile Floor With New Tile
Q: What tools do I need for replacing my tile floor?
A: You will need a trowel or level for spreading mortar and grout respectively; spacers for keeping rows even; and other tools such as chisels or saws depending on what type of tile you are installing. Additionally, you May need a wet saw for cutting tiles or a power drill for drilling pilot holes.
Q: How long should I let the grout dry before using my new tile floor?
A: Generally, you should wait at least 24 hours for the grout to completely dry before using your new tile floor. This will help ensure that the grout has fully set and is ready for use.
What tools are needed to replace a tile floor?
-Tile saw-Grout float
-Notched trowel
-Rubber grout float
-Bucket
-Spacers
-Tile adhesive or mortar
-Grout
-Caulking gun
-Caulk
-Tile sealer
-Safety glasses and gloves