As the bathroom will continually have water, selecting the wrong flooring can quickly ruin it. There are many different flooring types to select from when you come to decorating the bath room of yours, but floor tiles are often the most appropriate. You are able to also use bathroom tiles made of stone or even mosaic.
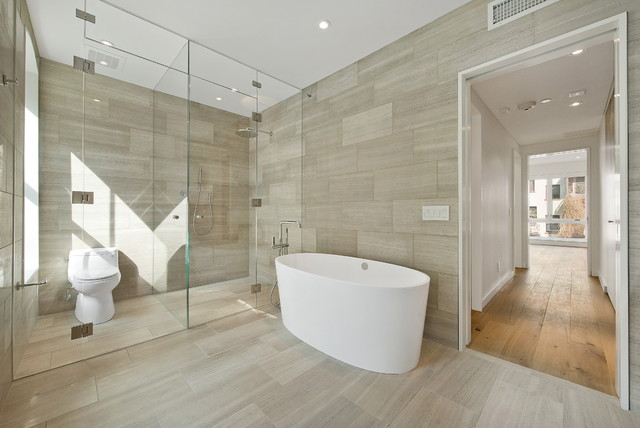
Images about How To Tile A Wooden Bathroom Floor

Has the bath room flooring of yours seen better days? Mosaic tiles are made by using glass, old tiles, pebbles etc and add texture and color to the bathroom. You'll find many contemporary options – like laminate floors and engineered wood floors – that help you enjoy the look of classic substances without all of the problems.
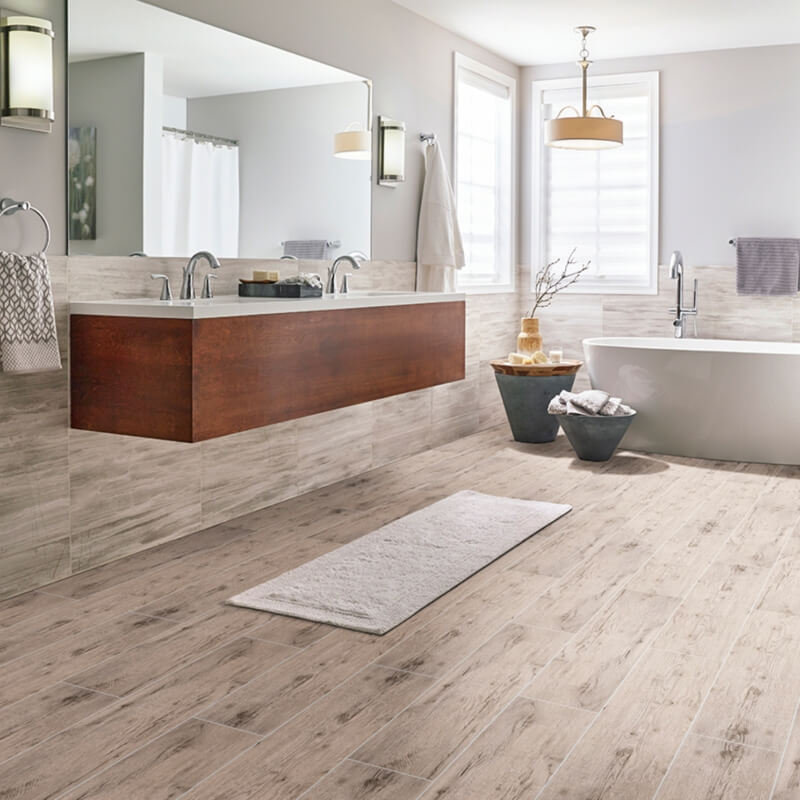
Move Over, HardwoodPorcelain Wood-Look Tile Is in the House!
Wood, cork, bamboo, laminates or vinyl aren't the perfect flooring choices for the bathroom of yours. Decoration is often the key to attaining this, and just about the most significant aspects of any bathroom is utilizing the appropriate flooring. Cork and bamboo can retain moisture and they are able to become thriving grounds for other microorganisms and bacteria.
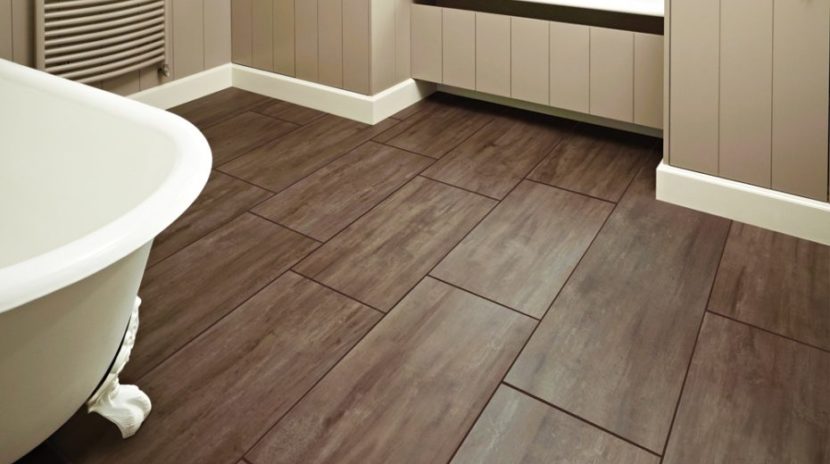
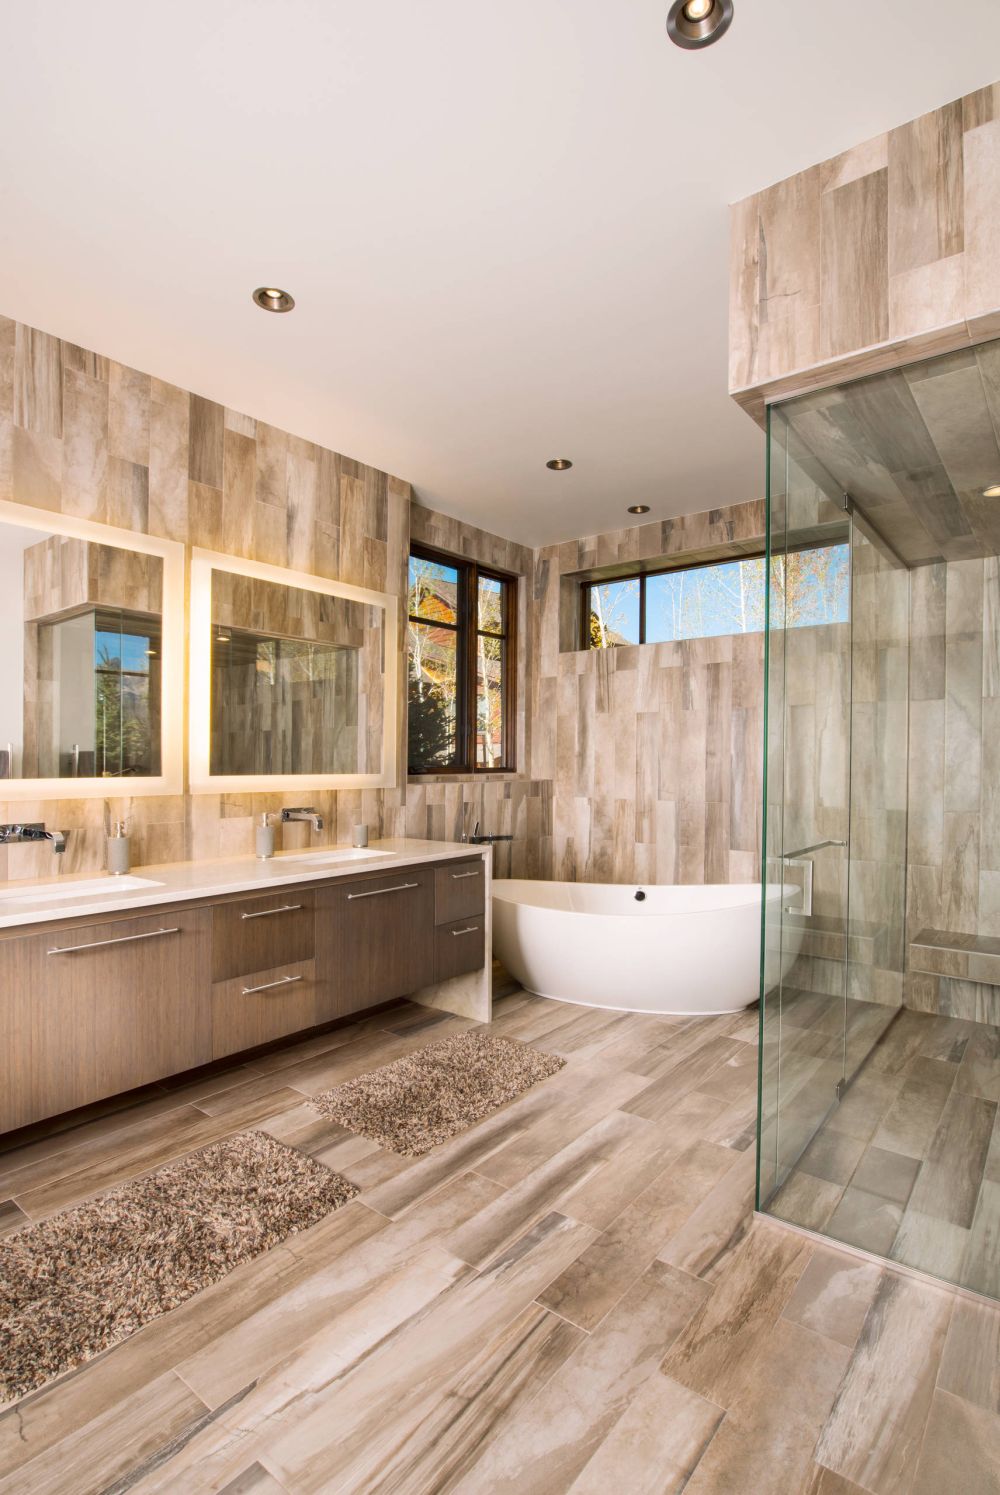
Is Wood Look Porcelain Tile A Good Choice When Remodeling
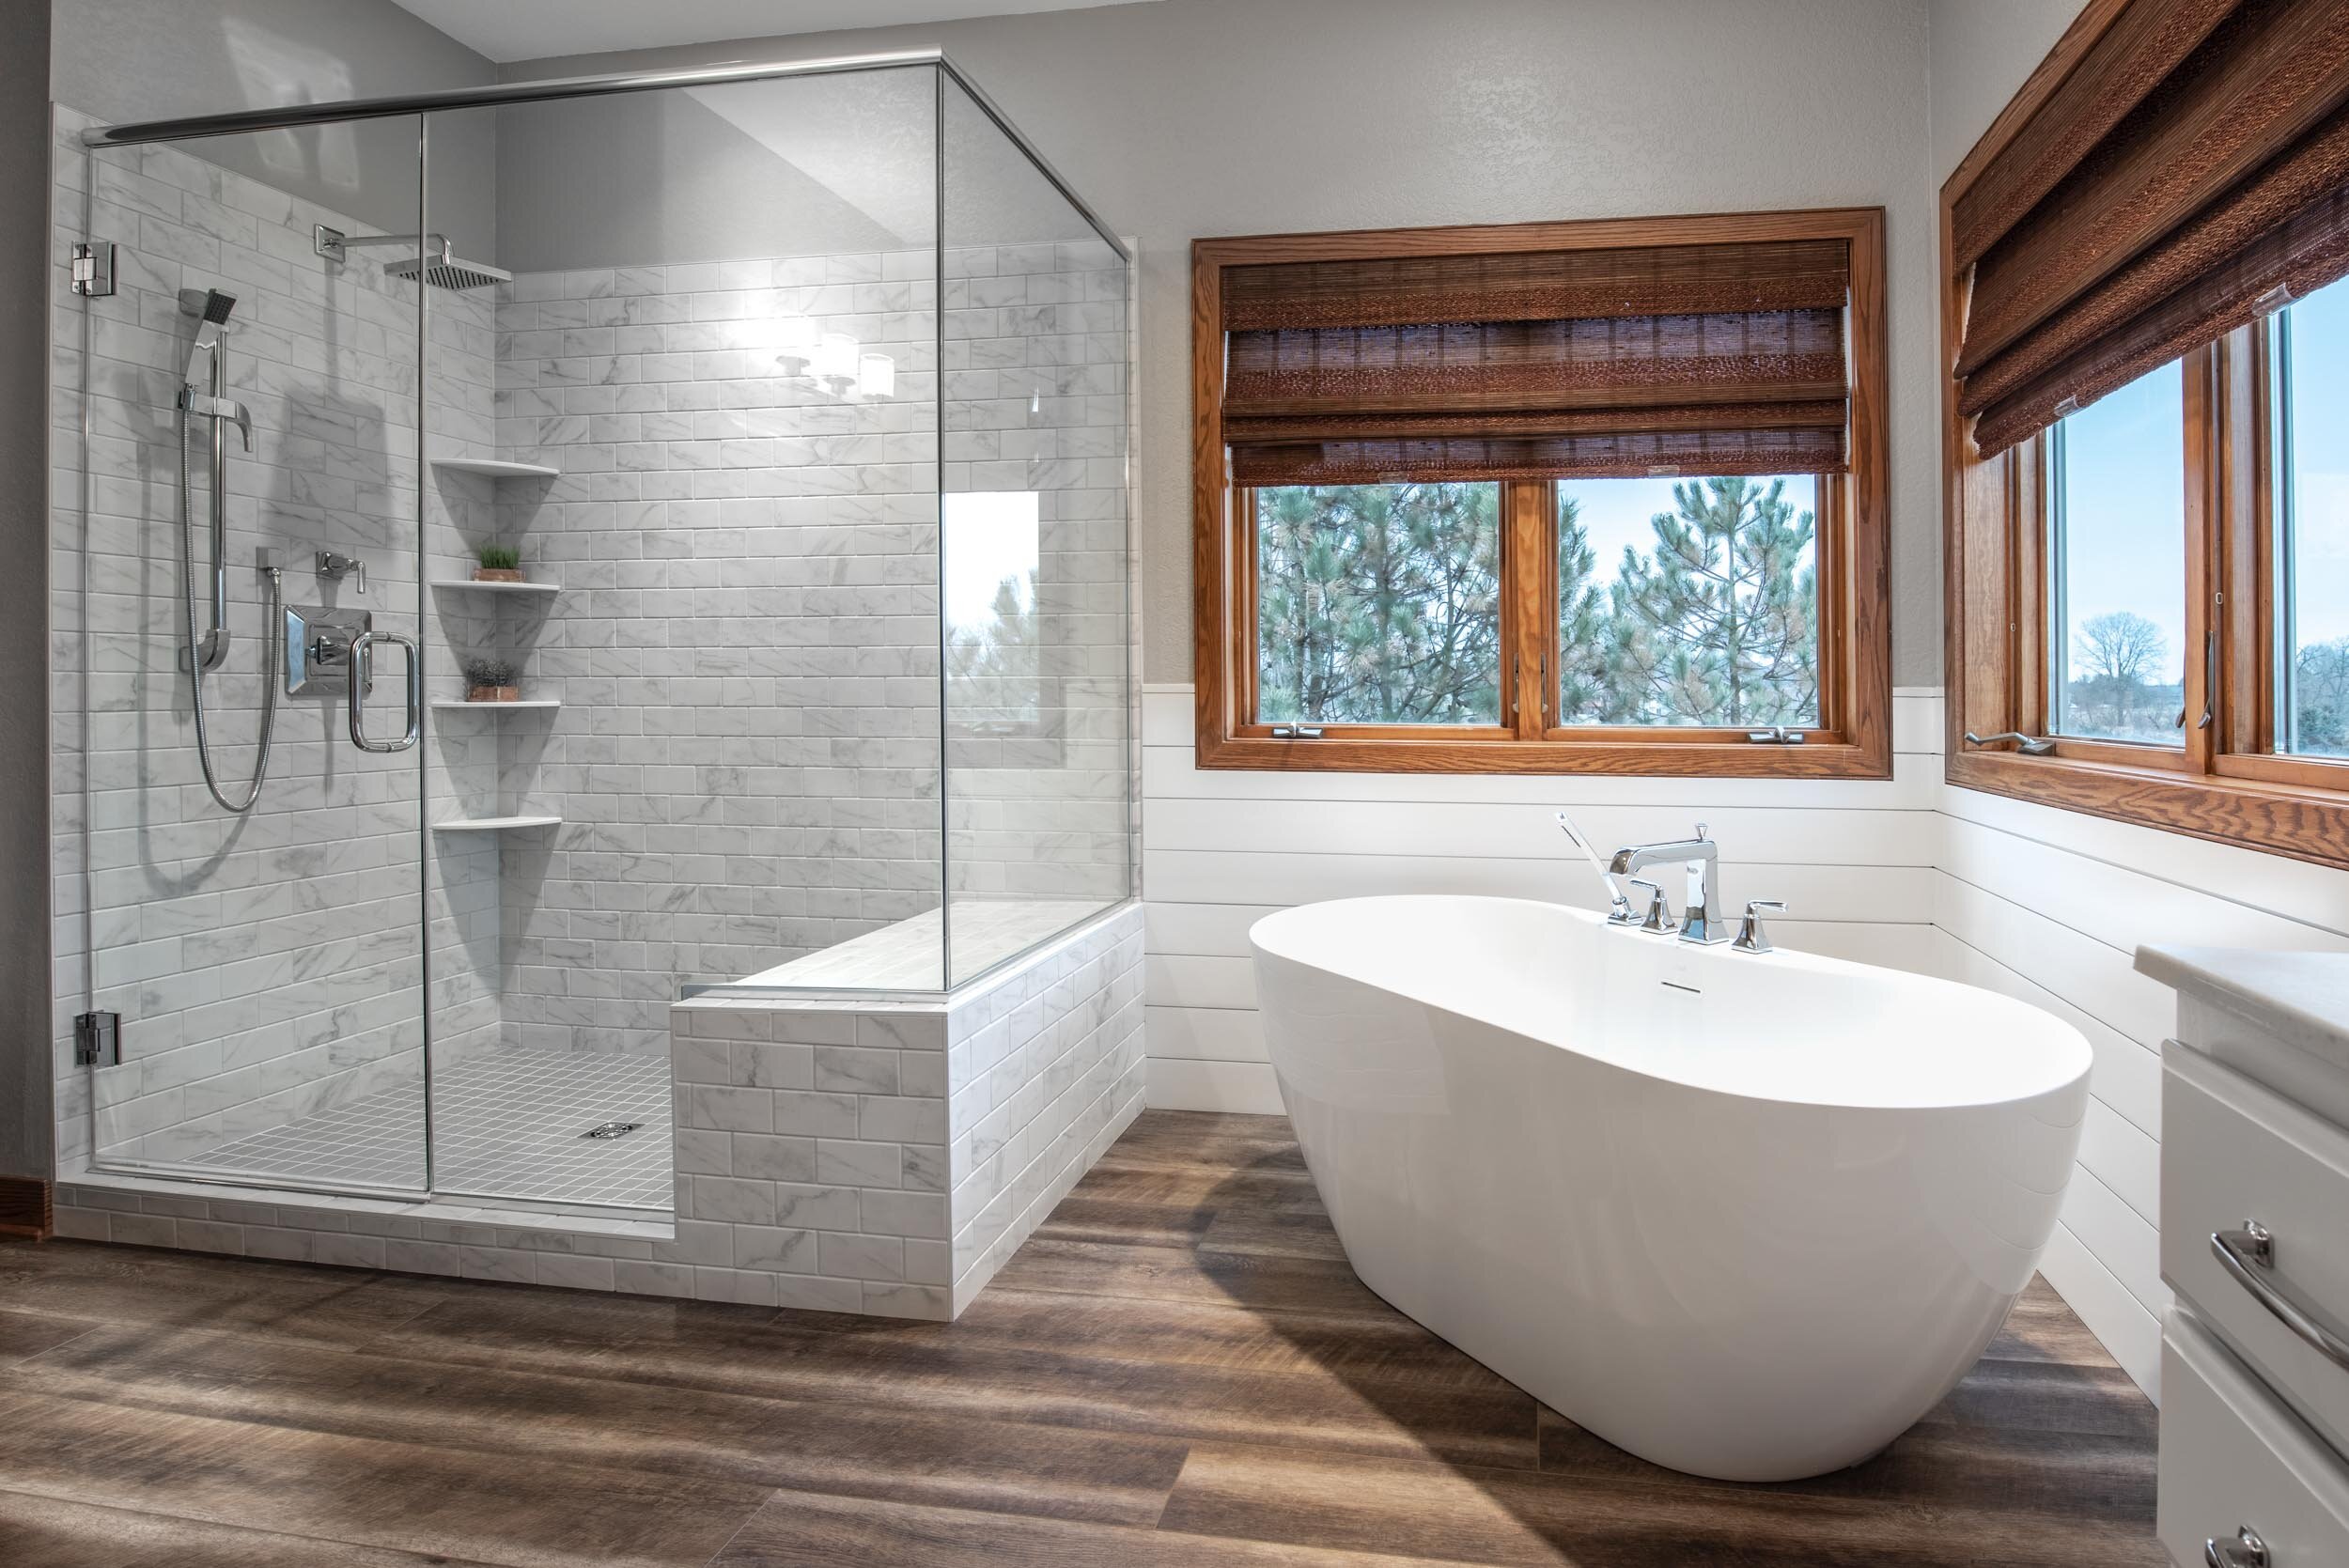
15 Ideas for Wood Floors in Bathrooms
:max_bytes(150000):strip_icc()/traditional-bathroom-57feaca03df78cbc286997d1.jpg)
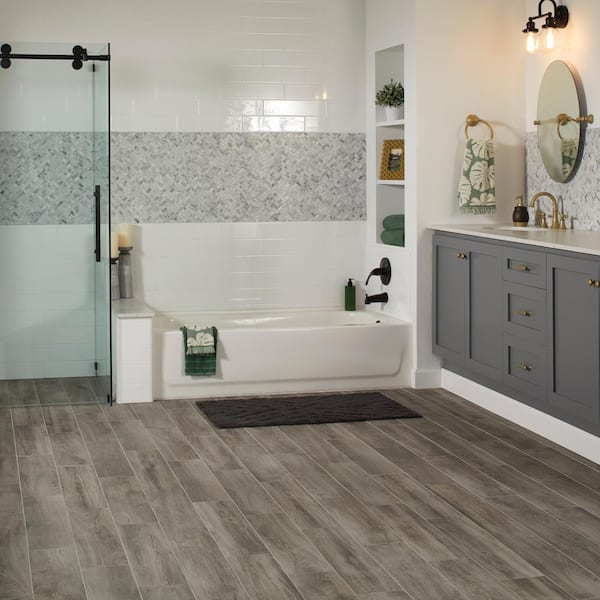
Lifeproof Shadow Wood 6 in. x 24 in. Porcelain Floor and Wall Tile
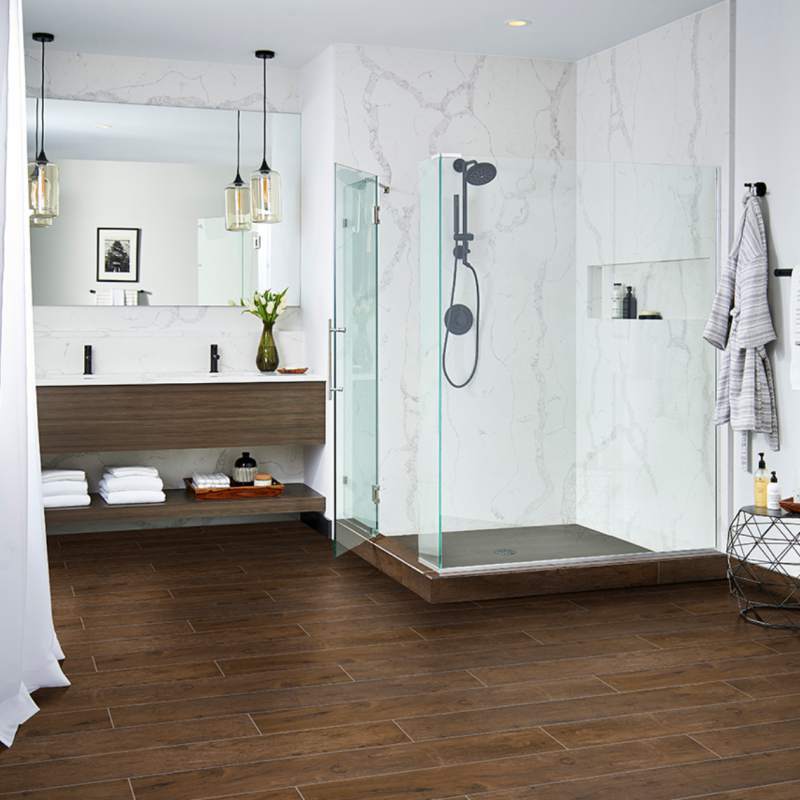
Wall and Floor Wood Look Tiles by Ariana Wood tile bathroom

ProHandymen Bathroom Floor Ideasvinyl, Wood u0026 Tile – San Diego Pro
Why Bathroom Floors Need to Move
15 Ideas for Wood Floors in Bathrooms
/luxurious-bathroom-157434905-5c55ffc146e0fb0001c089a0.jpg)
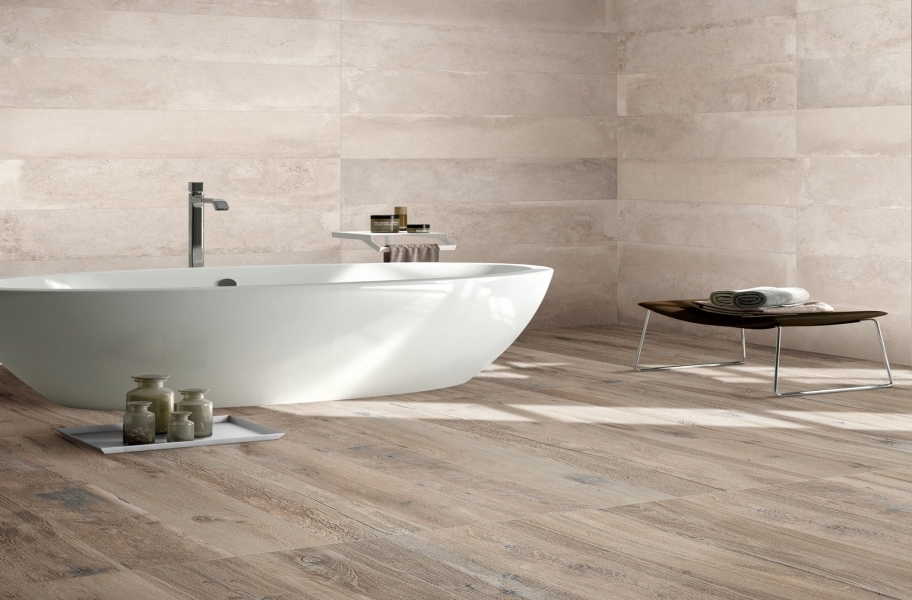
5 Porcelain Tiles That Look Just Like Wood
25 Wood Tile Showers For Your Bathroom
2022 Bathroom Flooring Trends: 20+ Updated Styles – Flooring Inc
Design Style In-Depth: Bathroom Flooring Re-Bath

Wood Look Porcelain Tile Bathroom – 5 Fundamentals

Related Posts:
- Laundry Bathroom Floor Plans
- Hospital Bathroom Flooring
- Black And White Victorian Bathroom Floor Tiles
- Bathroom Floor Plan Symbols
- Self Adhesive Bathroom Flooring
- Deep Clean Bathroom Floor
- Herringbone Marble Bathroom Floor
- Bathroom Chipboard Flooring
- Small Bathroom Floor Plans Bath And Shower
- How To Clean A Bathroom Floor Tile
How To Tile A Wooden Bathroom Floor
When it comes to renovating your bathroom, one of the most significant changes you can make is installing new flooring. While there are various options available, tiling a wooden bathroom floor can add a touch of elegance and sophistication to your space. However, it’s crucial to approach this project with caution and attention to detail, as improper installation can lead to costly damages. In this article, we will guide you through the step-by-step process of tiling a wooden bathroom floor, ensuring that you achieve beautiful and long-lasting results.
1. Assessing the Wood Flooring
Before beginning any tiling project on a wooden bathroom floor, it’s essential to evaluate the condition of the existing wood flooring. Check for any signs of damage, such as rot or warping. If you notice any issues, it is crucial to address them before proceeding with the tiling process. Repair or replace damaged wooden boards to ensure a stable and even surface for your tiles.
2. Preparing the Surface
To guarantee proper adhesion of the tiles, it is vital to prepare the wooden floor adequately. Start by cleaning the entire surface thoroughly, removing any dust, dirt, or debris using a broom or vacuum cleaner. Next, wash the floor with a mild detergent and warm water solution to remove any stains or grease marks.
After cleaning, sand down the wooden floor using 100-grit sandpaper. This step helps create a rough surface for better tile adhesion. Make sure to sand in the direction of the wood grain to prevent splintering or damaging the boards.
3. Applying Primer
To enhance the bond between the wood flooring and the tile adhesive, applying a primer is highly recommended. Choose a high-quality wood primer specifically designed for tile installation and apply it evenly across the entire floor surface using a brush or roller. Allow sufficient drying time as per manufacturer instructions before proceeding further.
FAQs:
Q: Can I skip the primer step when tiling a wooden bathroom floor?
A: While it is possible to skip the primer step, we strongly advise against it. Primer helps improve the bond between the wood and tile adhesive, ensuring a long-lasting and durable installation.
Q: Can I use a regular wood primer for tiling purposes?
A: It is essential to use a primer specifically formulated for tile installation on wood surfaces. Regular wood primers may not provide the necessary adhesion required for tiling.
4. Measuring and Planning
Accurate measurements and careful planning are critical in achieving a professional-looking tiled bathroom floor. Begin by determining the center point of the room using a measuring tape. Mark this point with a pencil or chalk.
Next, measure the length and width of the room and divide both measurements in half. Mark these halfway points along each wall. The intersection of these marks will be your starting point for tiling.
Lay out dry tiles from the center point towards the walls to visualize how they will fit. Make any necessary adjustments to ensure that you don’t end up with small, unevenly cut tiles at the edges of the room.
FAQs:
Q: Should I start tiling from one corner of the room?
A: Starting from one corner may lead to uneven cuts at the opposite side of the room. It is best to begin from the center point and work your way outwards for a balanced look.
Q: How much extra tile should I purchase for potential breakages or mistakes?
A: It is recommended to purchase around 10-15% extra tiles to account for breakages or mistakes during installation. This ensures that you have enough tiles to complete the project without having to buy additional ones later on. Q: How do I calculate the amount of tiles needed for my bathroom floor?
A: To calculate the number of tiles needed, multiply the length and width of the room to get the total square footage. Then, divide that number by the square footage of one tile to determine how many tiles are required. Remember to add extra tiles for breakages or mistakes.
5. Preparing the Tile Adhesive
Follow the manufacturer’s instructions to prepare the tile adhesive. Mix it thoroughly until it reaches a smooth and consistent texture. Avoid adding too much water, as this can weaken the adhesive’s bonding strength.
6. Applying Tile Adhesive and Installing Tiles
Starting from the center point of the room, use a notched trowel to apply an even layer of tile adhesive on a small section of the floor. Work in small areas to prevent the adhesive from drying out before installing tiles.
Place each tile onto the adhesive, pressing down firmly and twisting slightly to ensure good adhesion. Use spacers between tiles to maintain consistent spacing. Continue applying adhesive and installing tiles until the entire floor is covered, working in sections.
FAQs:
Q: Can I use a premixed tile adhesive instead of mixing it myself?
A: Yes, premixed tile adhesives are available and can be used for convenience. However, make sure to choose a high-quality product that is suitable for your specific tile and substrate.
Q: How long should I wait before grouting after installing tiles?
A: The waiting time before grouting varies depending on the type of adhesive used. Refer to the manufacturer’s instructions for the recommended drying time, usually around 24 hours.
7. Grouting the Tiles
Once the adhesive has fully dried, it’s time to grout the tiles. Prepare the grout mixture according to the manufacturer’s instructions, ensuring a smooth and lump-free consistency.
Using a grout float, spread the grout diagonally across the tiles, pressing it into the gaps between them. Work in small sections and remove any excess grout from the tile surface using a damp sponge or cloth.
Allow the grout to dry for the recommended time before wiping away any remaining haze with a clean cloth or sponge. Finally, seal the grout according to the manufacturer’s instructions for added protection against stains and moisture.
FAQs:
Q: Do I need to seal the tiles as well?
A: It depends on the type of tile you have chosen. Some tiles, such as natural stone or porous materials, may require sealing to protect them from stains and damage. Refer to the manufacturer’s instructions for guidance.
Q: How long should I wait before using the bathroom after grouting?
A: The waiting time before using the bathroom after grouting also varies depending on the type of grout used. Typically, it is recommended to wait at least 24-48 hours before exposing the newly grouted floor to water or heavy foot traffic.