How difficult will this floor be keeping its same appearance? Would it take a good deal of traffic and will this kitchen flooring choice hold up to usage over the years. The right flooring can have an enormous impact in a kitchen. For example flooring with light or neutral tones creates an impression of light-weight and space. With the assortment of uses, your kitchen flooring has to be both durable yet have to be visually extraordinary.
Images about Installing Bamboo Flooring In Kitchen
/cdn.vox-cdn.com/uploads/chorus_image/image/65894213/bamboo_floor_xl.0.jpg)
Cork kitchen flooring is easy to install and also provide a shock absorbing feel especially when you are standing in the kitchen for hours which are long. Being forewarned is as good as being forearmed. It will not lose its finish with cleaning eventually. You have to contemplate thoroughly whether there is any high traffic area in your kitchen.
Bamboo Flooring in Kitchen: 5 Helpful Tips BuildDirect® Blog

Moreover, this type of kitchen flooring often requires proper care and maintenance. This style prevents bacteria, germs, and dirt from getting trapped in the seams within the same way it does in traditional flooring. It is important to select the right material with regards to Kitchen Flooring. Stronger colors may work in a tiny kitchen, but not in a bigger one.
Solid Natural Strand Woven 142mm Bamboo Flooring 1.58m²

Pros and Cons of Bamboo Flooring HGTV
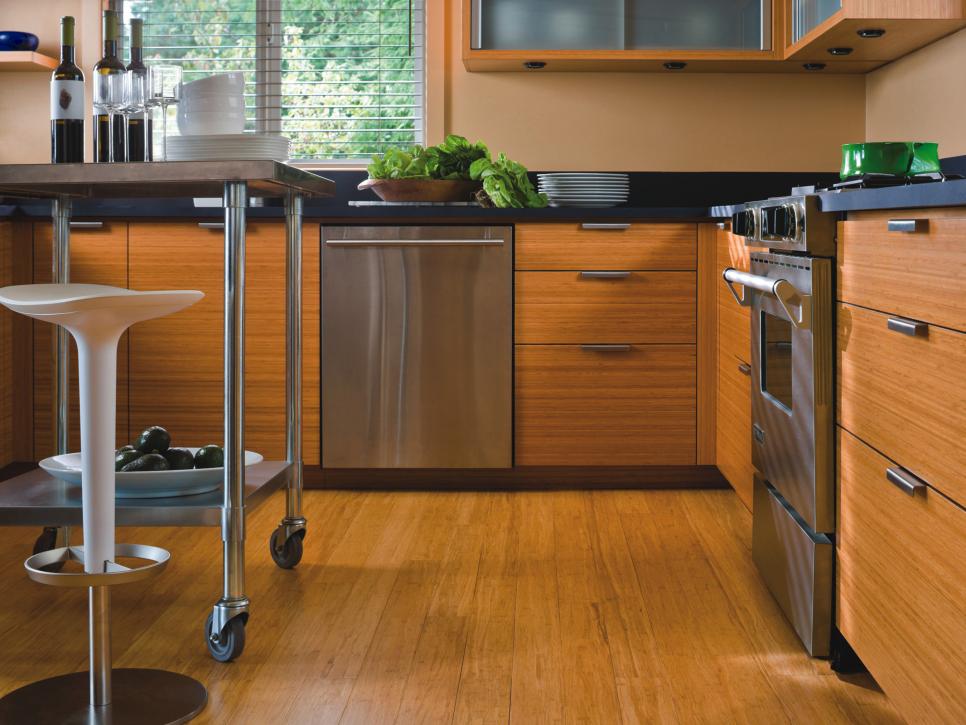
Bamboo Flooring Under Islands And Cabinets In Your Kitchen

A Closer Look at Bamboo Flooring: The Pros u0026 Cons

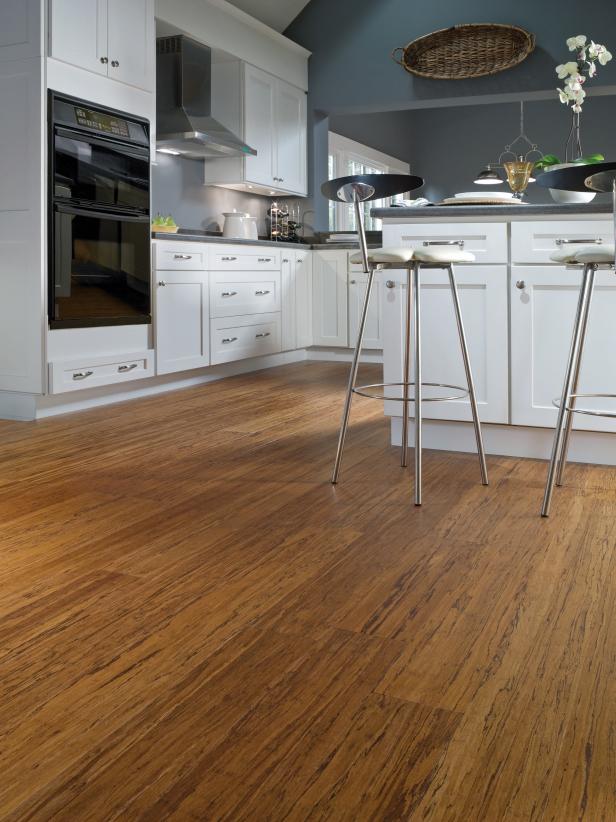
Bamboo Flooring for the Kitchen HGTV
Bamboo Flooring: A Buyeru0027s Guide – This Old House
/cdn.vox-cdn.com/uploads/chorus_asset/file/19512354/27_bamboo_floor.jpg)
Bamboo Flooring for the Kitchen HGTV
A Closer Look at Bamboo Flooring: The Pros u0026 Cons
The Pros and Cons of Engineered Bamboo Flooring BuildDirect® Blog

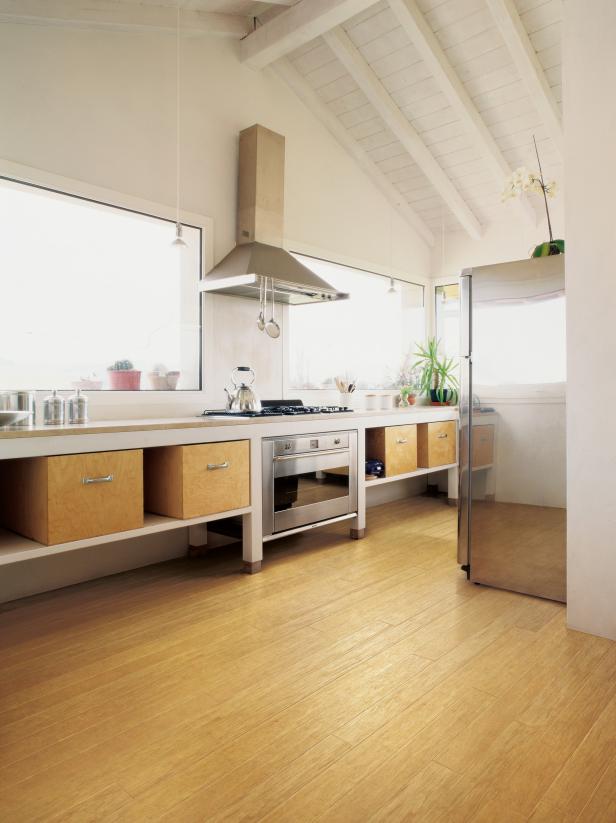
Can I Use Bamboo Flooring In a Kitchen?
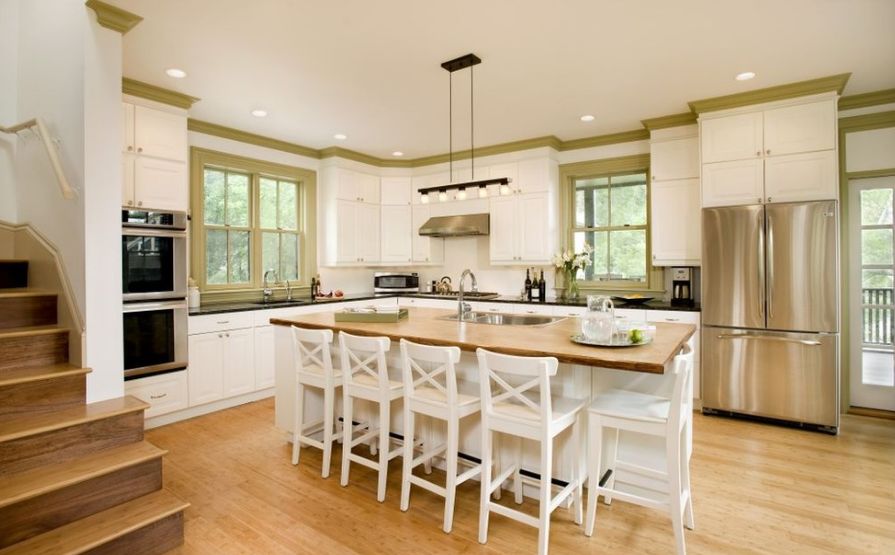
All About Bamboo Flooring Wood laminate flooring, Bamboo

First US Floors – Blog

Related Posts:
- Kitchens With Cherry Cabinets And Wood Floors
- Edwardian Kitchen Floor
- Floor To Ceiling Kitchen Cabinet Pictures
- Average Cost Of Kitchen Tile Floor Installation
- Light Kitchen Floors With White Cabinets
- Commercial Kitchen Flooring Types
- Best Color Tile For Kitchen Floor
- Terracotta Kitchen Floor Ideas
- Kitchen U Shaped Floor Plan
- Gillenwater Flooring And Kitchen Gallery
Installing Bamboo Flooring in the Kitchen: A Sustainable and Stylish Choice
Introduction:
Bamboo flooring has gained immense popularity in recent years, thanks to its sustainability, durability, and aesthetic appeal. When it comes to choosing flooring for the kitchen, bamboo emerges as a top contender due to its moisture resistance and ability to withstand heavy foot traffic. In this article, we will explore the process of installing bamboo flooring in the kitchen, discussing everything from preparation to maintenance. So, let’s dive in!
I. Preparing for Installation:
Before you start installing bamboo flooring in your kitchen, it is crucial to make adequate preparations to ensure a smooth and successful installation process. Here are the essential steps to follow:
1. Measure the Area:
Take accurate measurements of your kitchen floor to determine the amount of bamboo flooring you will need. This step is crucial as it will help you avoid any last-minute shortages or wastage.
2. Acclimate the Bamboo:
Bamboo is sensitive to changes in moisture and temperature. Therefore, it is essential to acclimate the flooring planks before installation. Place them in the kitchen for at least 72 hours, allowing them to adjust to the environment.
3. Prepare the Subfloor:
Ensure that the subfloor is clean, dry, and level before laying down the bamboo planks. Remove any existing flooring material and fix any imperfections on the subfloor using a leveling compound if necessary.
FAQs:
Q1: Can I install bamboo flooring directly on top of my existing vinyl flooring?
A1: No, it is not recommended to install bamboo flooring over vinyl or any other resilient flooring material. It is best to remove the existing floor covering and prepare a clean subfloor for installation.
Q2: Do I need an underlayment for bamboo flooring in my kitchen?
A2: While not always necessary, using an underlayment can provide additional sound insulation and help address minor imperfections in the subfloor. It is advisable to consult the manufacturer’s guidelines for specific recommendations.
II. Installing Bamboo Flooring:
Once you have completed the necessary preparations, it’s time to proceed with the installation process. Here is a step-by-step guide on how to install bamboo flooring in your kitchen:
1. Lay Down Vapor Barrier:
To protect your bamboo flooring from moisture, it is crucial to install a vapor barrier over the subfloor. This acts as a moisture barrier, preventing any dampness from seeping into the bamboo planks.
2. Begin Installation:
Start the installation by laying the first row of bamboo planks along one wall of the kitchen. Leave a 1/4-inch expansion gap between the planks and the wall to allow for natural expansion and contraction.
3. Use Tongue-and-Groove Method:
Bamboo flooring typically comes with a tongue-and-groove system, allowing for easy installation. Slide each plank’s tongue into the groove of the previous plank, ensuring a snug fit. Use a tapping block and mallet to secure each plank in place.
4. Stagger the Planks:
To achieve an aesthetically pleasing look and increase stability, stagger the end joints of each row. This will prevent weak spots and create a more visually appealing pattern.
5. Cut Around Obstacles:
When encountering obstacles like cabinets or kitchen islands, measure and cut the bamboo planks accordingly using a miter saw or jigsaw. Ensure that these cuts are precise for a seamless finish.
6. Complete the Last Row:
For the Last row of bamboo planks, you may need to cut them to fit the remaining space. Use a table saw or jigsaw to make the necessary cuts and ensure a proper fit.
7. Install Baseboards and Trim:
Once all the bamboo planks are installed, install baseboards or trim along the edges of the kitchen to cover any expansion gaps and provide a finished look.
8. Clean and Maintain:
After installation, clean the bamboo flooring with a damp mop or cloth using a mild cleaning solution. Avoid using harsh chemicals or abrasive cleaners that can damage the surface. Regularly sweep or vacuum the floor to remove dirt and debris.
9. Protect from Moisture:
To prevent moisture damage, avoid excessive water exposure on your bamboo flooring. Wipe up spills immediately and use mats or rugs in high-moisture areas like near sinks or dishwashers.
Conclusion:
Installing bamboo flooring in your kitchen can add beauty and durability to the space. By following these step-by-step instructions, you can successfully install bamboo flooring and enjoy its benefits for years to come. Remember to acclimate the planks, prepare the subfloor, use a vapor barrier, and follow proper installation techniques for a seamless and long-lasting result. Installing bamboo flooring in your kitchen can be a great way to add beauty and durability to the space. To ensure a successful installation, it’s important to follow these step-by-step instructions:
1. Acclimate the Planks: Before installing the bamboo flooring, allow the planks to acclimate to the room for at least 72 hours. This will help prevent any expansion or contraction issues after installation.
2. Prepare the Subfloor: Ensure that the subfloor is clean, dry, and level before starting the installation. Remove any existing flooring and repair any damaged areas. It’s also beneficial to install a vapor barrier over the subfloor to act as a moisture barrier.
3. Begin Installation: Start by laying the first row of bamboo planks along one wall of the kitchen. Leave a 1/4-inch expansion gap between the planks and the wall to allow for natural expansion and contraction.
4. Use Tongue-and-Groove Method: Most bamboo flooring comes with a tongue-and-groove system, which allows for easy installation. Slide each plank’s tongue into the groove of the previous plank, ensuring a snug fit. Use a tapping block and mallet to secure each plank in place.
5. Stagger the Planks: To create an aesthetically pleasing look and increase stability, stagger the end joints of each row. This will prevent weak spots and create a more visually appealing pattern.
6. Cut Around Obstacles: When encountering obstacles like cabinets or kitchen islands, measure and cut the bamboo planks accordingly using a miter saw or jigsaw. Ensure that these cuts are precise for a seamless finish.
7. Complete the Last Row: For the last row of bamboo planks, you may need to cut them to fit the remaining space. Use a table saw or jigsaw to make necessary cuts and ensure a proper fit.
8. Install Baseboards and Trim: Once all the bamboo planks are installed, install baseboards or trim along the edges of the kitchen to cover any expansion gaps and provide a finished look.
9. Clean and Maintain: After installation, clean the bamboo flooring with a damp mop or cloth using a mild cleaning solution. Avoid using harsh chemicals or abrasive cleaners that can damage the surface. Regularly sweep or vacuum the floor to remove dirt and debris.
10. Protect from Moisture: To prevent moisture damage, avoid excessive water exposure on your bamboo flooring. Wipe up spills immediately and use mats or rugs in high-moisture areas like near sinks or dishwashers.
By following these step-by-step instructions, you can successfully install bamboo flooring in your kitchen and enjoy its benefits for years to come. Remember to acclimate the planks, prepare the subfloor, use a vapor barrier, and follow proper installation techniques for a seamless and long-lasting result.