The point that you can just clean up the marks from unclean shoes is real plus. to be able to understand those things will be to exclusively protect your self from any unwanted bad things that it might provide. An additional method of removing stains on your marble floor is to use reasonable amounts of vinegar and ammonia. Include adequate storage to that and you are going to gain additional benefits.
Images about Installing Marble Floor Tile On Concrete
/184592313-56a1bc405f9b58b7d0c220f2.jpg)
In addition, it points out to what you can do to create that product more effective. A very polished marble floor is fairly easy to mark with chafing, so over the long term you are going to start to find that flooring starts to get very marred from constant use. Marble cleaning is going to be an easy task if you've been doing it frequently.
How to install marble tiles
Even though, a good deal of new flooring have been introduced but they have not been in a position to take the shine off of the marble flooring. Being more porous than its other stone counterparts would mean it is more prone to stains. They're selecting eco friendly tiles. In this instance we would have to employ a mildly alkaline detergent that is going to break down the dirt but will not harm the floor.
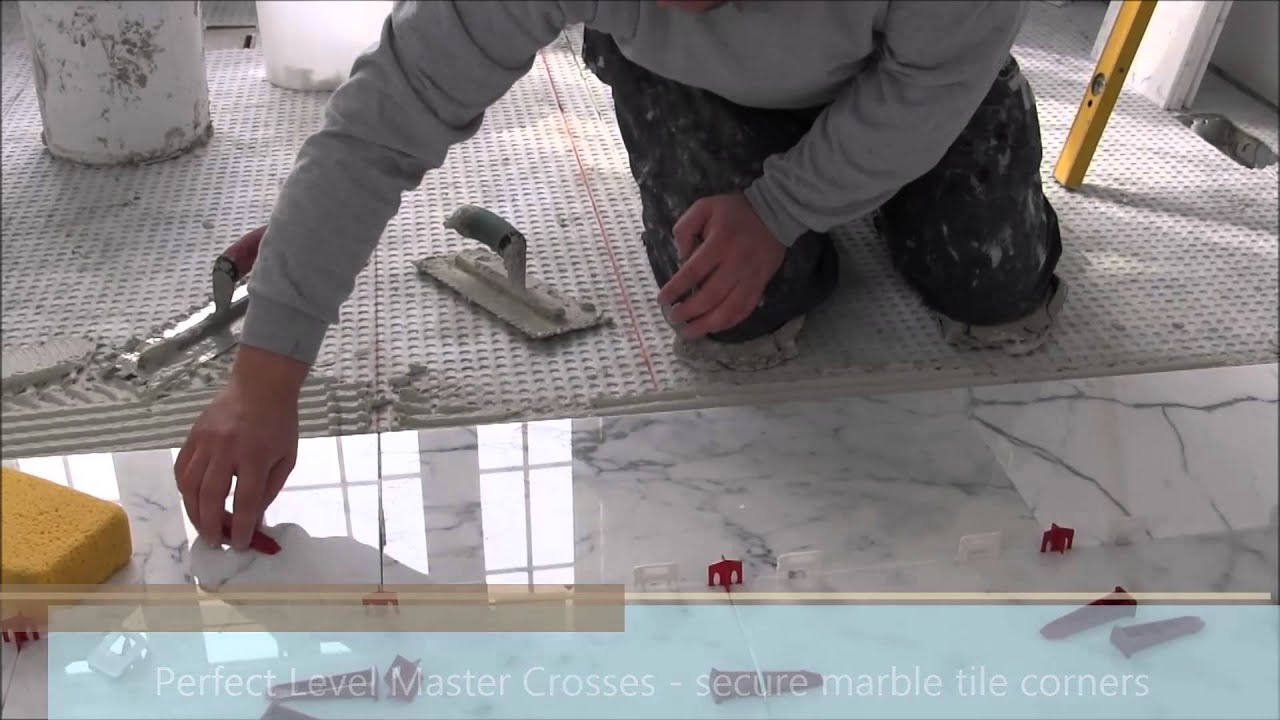
12″x24″ (30×60) marble tile installation using Perfect Level Master™ T-Lock™
How to Install Marble Tile – Tidbits
How to Install Granite or Marble Floor Tiles – Fulei Stone
How to Install Mosaic Floor Tile + Marble Mosaics – Room for Tuesday

How to Install Marble Floor Tile (with Pictures) – wikiHow

How to Install Marble Floor Tiles
/grand-foyer--staircase--chandelier--marble-floor-showcase-home-interior-design-157593982-5c456bbd46e0fb0001aac789-6388125b42b14a0f9bad74f1753fd9c5.jpg)
How to Install Marble Floor Tile (with Pictures) – wikiHow

How to install marble floor: the detailed instructions
How to Tile Floors u2022 OhMeOhMy Blog How to lay tile, Floor tile

15 Genius Tips For Installing Marble Floors

Marble Flooring: One of the Most Luxurious Flooring Material
The Pros and Cons of Marble Tile HGTV
Related Posts:
- Gold Marble Flooring
- Marble Floor Inlays
- Marble Flooring Cost Per Square Foot
- Imitation Marble Flooring
- White Marble Floor Pictures
- White Marble Floors In Bathroom
- Luxury Marble Floor Tiles
- Dyna Italian Marble Flooring
- Simple Marble Floor Designs
- Marble Flooring Care And Maintenance
Installing Marble Floor Tile On Concrete
Marble floor tiles are a luxurious and elegant choice for any home. Their natural beauty and timeless appeal make them a popular option for homeowners looking to add sophistication to their space. If you have a concrete subfloor, you may be wondering how to install marble floor tiles on it. In this article, we will guide you through the step-by-step process of installing marble floor tiles on concrete, from prepping the surface to grouting and sealing the tiles.
Preparation: Assessing the Concrete Subfloor
Before you begin the installation process, it is essential to assess the condition of your concrete subfloor. Ensure that the surface is clean, level, and free of any cracks or imperfections that could affect the tile installation. Use a level to check for any uneven areas; if necessary, you may need to use a self-leveling compound to even out the surface.
FAQs:
Q: Can I install marble floor tiles on an uneven concrete subfloor?
A: It is not recommended to install marble floor tiles on an uneven concrete subfloor as it can lead to cracking or loosening of the tiles over time. It is best to address any unevenness before proceeding with the installation.
Q: How do I know if my concrete subfloor is clean enough?
A: A clean concrete subfloor should be free of dust, dirt, grease, and any other contaminants that could interfere with the bond between the adhesive and the tiles. Thoroughly sweep and vacuum the surface before starting the installation process.
Priming and Waterproofing the Concrete Subfloor
Once your concrete subfloor is clean and level, it is crucial to prime and waterproof it before installing marble floor tiles. This step helps create a moisture barrier and ensures better adhesion between the adhesive and the subfloor.
To prime the concrete subfloor, apply a primer specifically designed for bonding tile adhesive to concrete surfaces. Follow the manufacturer’s instructions for application and drying time.
After the primer has dried, it is time to waterproof the subfloor. Use a high-quality waterproofing membrane and apply it according to the manufacturer’s instructions. This step helps prevent moisture from seeping through the concrete and damaging the tiles over time.
FAQs:
Q: Is priming necessary before installing marble floor tiles on a concrete subfloor?
A: Yes, priming is essential as it improves the bond between the adhesive and the subfloor, ensuring a long-lasting installation.
Q: Can I skip waterproofing if my concrete subfloor is not prone to moisture issues?
A: It is highly recommended to waterproof the concrete subfloor regardless of its moisture resistance. A waterproofing membrane acts as an extra layer of protection against any potential moisture problems that may arise in the future.
Installing Marble Floor Tiles
Now that your concrete subfloor is prepped and ready, it’s time to move on to the actual installation of marble floor tiles. Follow these steps for a successful installation:
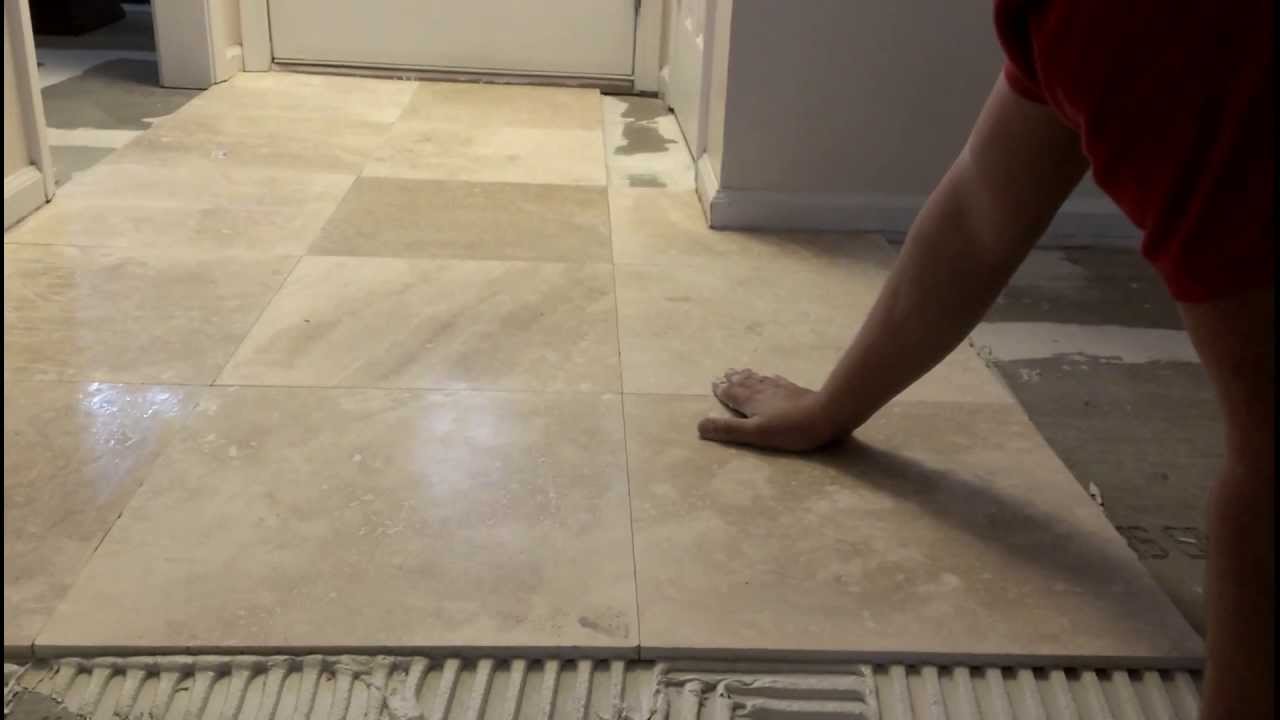
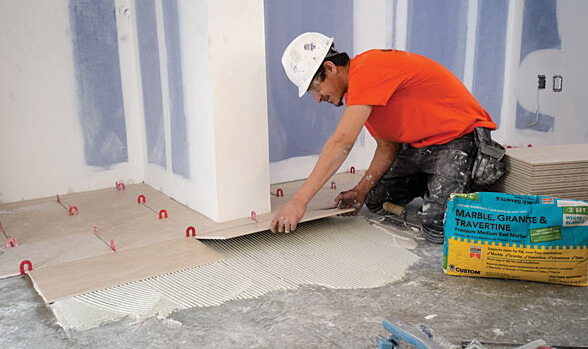
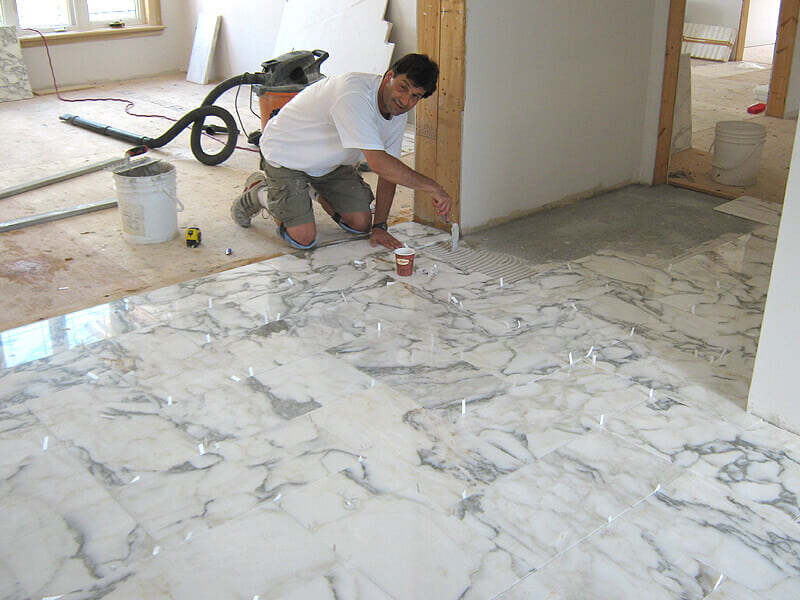
1. Mix and apply thin-set mortar: Start by mixing thin-set mortar according to the manufacturer’s instructions. Using a trowel, spread a thin layer of mortar onto a small section of the subfloor, making sure to create even ridges with the notched side of the trowel.
2. Place the first tile: Press the first marble floor tile firmly into the mortar, ensuring it aligns with your layout plan. Give it a slight twist to help set it in place.
3. Continue with subsequent tiles: Continue placing the remaining tiles, working in small sections at a time. Use tile spacers to ensure even spacing between the tiles. Press each tile firmly into the mortar and twist slightly to set it in place.
4. Cut tiles if necessary: Use a wet saw or tile cutter to cut any tiles that need to fit around corners or edges. Measure carefully and make precise cuts.
5. Allow mortar to dry: Let the mortar dry for at least 24 hours before proceeding to the next step.
6. Apply grout: Mix and apply grout according to the manufacturer’s instructions. Use a grout float to spread the grout over the tiles, making sure to fill all the gaps between them.
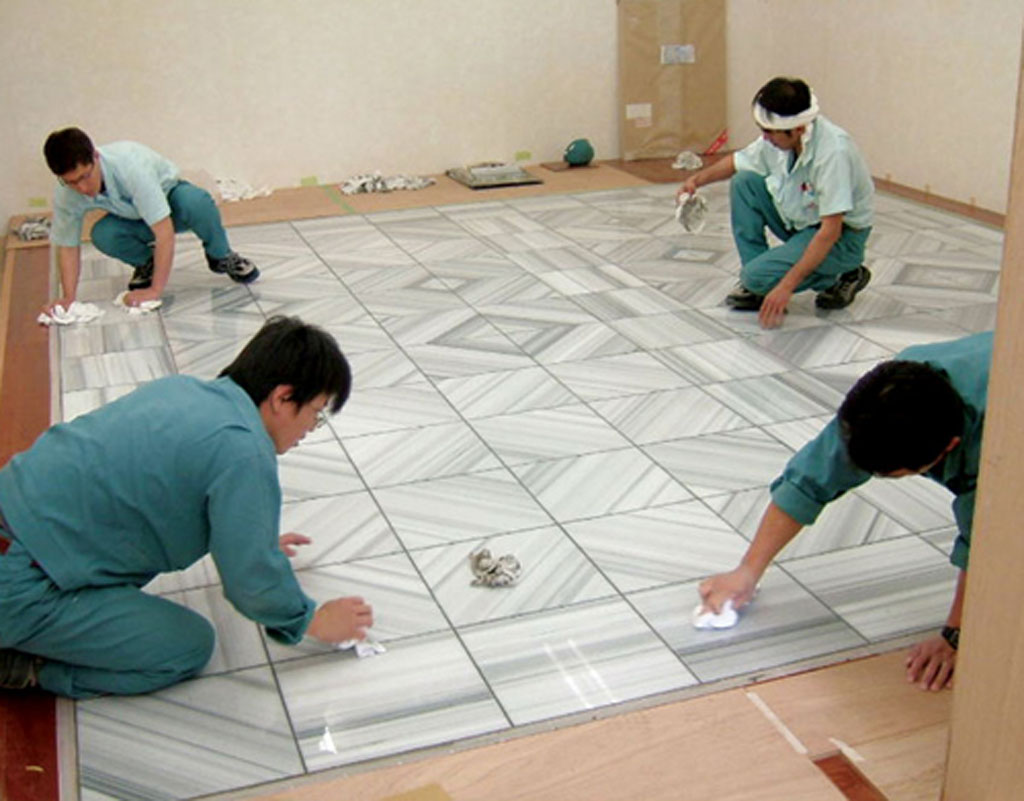
7. Clean off excess grout: After letting the grout sit for a few minutes, use a damp sponge to wipe off any excess grout from the surface of the tiles.
8. Seal the tiles: Once the grout has fully dried, apply a sealer specifically designed for marble tiles. Follow the manufacturer’s instructions for application and drying time.
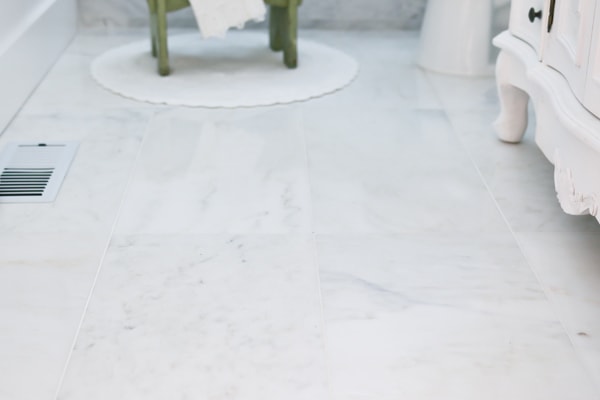
9. Enjoy your new marble floor: After allowing the sealer to dry, your installation is complete! Take care of your marble floor by regularly cleaning and maintaining it according to the manufacturer’s recommendations.
The importance of priming the subfloor before installing marble floor tiles is emphasized. It helps improve the bond between the adhesive and subfloor, ensuring a long-lasting installation.
It is recommended to waterproof the concrete subfloor regardless of its moisture resistance. A waterproofing membrane provides an extra layer of protection against potential moisture problems in the future.
The steps for installing marble floor tiles are outlined:
1. Mix and apply thin-set mortar: Follow the manufacturer’s instructions to mix thin-set mortar. Spread a thin layer onto a small section of the subfloor, creating even ridges with a notched trowel.
2. Place the first tile: Press the first marble floor tile firmly into the mortar, aligning it with the layout plan. Twist slightly to set it in place.
3. Continue with subsequent tiles: Place the remaining tiles in small sections at a time, using tile spacers for even spacing. Press each tile firmly into the mortar and twist to set it.
4. Cut tiles if necessary: Use a wet saw or tile cutter to make precise cuts for tiles that need to fit around corners or edges.
5. Allow mortar to dry: Let the mortar dry for at least 24 hours before proceeding.
6. Apply grout: Mix and apply grout according to the manufacturer’s instructions, using a grout float to spread it over the tiles and fill all gaps.
7. Clean off excess grout: After letting the grout sit for a few minutes, use a damp sponge to wipe off any excess grout from the surface of the tiles.
8. Seal the tiles: Once the grout has fully dried, apply a sealer specifically designed for marble tiles following the manufacturer’s instructions.
9. Enjoy your new marble floor: After allowing the sealer to dry, your installation is complete! Regularly clean and maintain your marble floor as recommended by the manufacturer.