Lots of some other companies are also making names for themselves by getting to market surprisingly excellent discount laminate floors and finishes that will delight any customer. If the heat range of the flooring moves down the typical, what occurs is the fact that the laminated floor boards seem to repel from the other person creating spaces in among these boards.
Images about Laminate Flooring How To Install On Concrete

In fact, the wear layer warranty for most laminate floors is around twenty years. In addition, they make a good choice for basements, additions and attics. Laminate flooring is varied and has many applications. In addition to the fact that laminate is a lot more durable compared to traditional hardwood flooring, it is a lot cheaper too. Its a fairly easy locking system which can help you fit every piece with ease.
How To Install Laminate Flooring On Concrete

Laminates from this manufacturer are also resistant from moisture and large accidental spills. One of the major benefits of laminate floors is that it is available in a variety of shades and tones. This continued to push the growth in the USA. This's exactly the reason it's recommended that upon purchasing laminate flooring, you should get a few extra boards so you can use them for replacement in the future.
How to Install Laminate Flooring on Concrete in the Kitchen
How to Install Laminate Flooring on Concrete? A Definitive Guide

How To Install Laminate Flooring on Concrete – Making Manzanita
Installing Wood Flooring Over Concrete (DIY)

How To Install Laminate Flooring Over Concrete
Can You Install Laminate on Uneven Concrete? – Ready To DIY

Installing Laminate Flooring For The First Time // Home Renovation

How to lay laminate flooring on concrete HowToSpecialist – How
How to Install Vinyl Plank over Concrete (ORC Week 4/5) The
Concrete Subfloor Preparation Leveling for Laminate Hardwood Floor Installation MrYoucandoityouself
How To Install Laminate Flooring Over Concrete
How to Install Laminate Flooring on Concrete Slab in Tiny Room Mryoucandoityourself
Related Posts:
- Trafficmaster Laminate Flooring Care
- What Thickness Of Laminate Flooring Should I Use
- Installing Laminate Flooring On Concrete Floor
- Laminate Flooring Espresso Color
- Ratings For Laminate Flooring
- Tarkett Ez Plank Laminate Flooring
- Fill In Laminate Flooring Gaps
- Ceramic Tile Vs Laminate Flooring In Basement
- Golden Maple Laminate Flooring
- Dupont Laminate Flooring Antique Oak
Laminate Flooring How To Install On Concrete
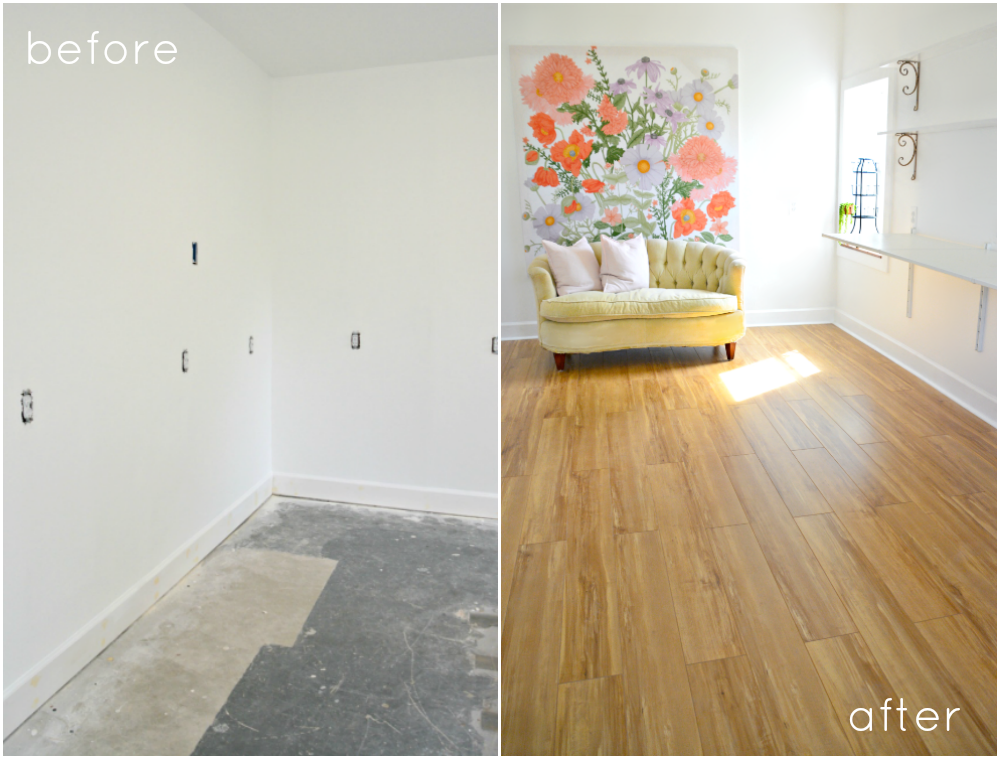
Laminate flooring is an excellent choice for homeowners who want to add beauty and durability to their floors. One of the most common questions that arise when installing laminate flooring is how to install it on concrete. While the process may seem daunting at first, with the right tools and techniques, you can easily install laminate flooring on concrete and transform your space. In this article, we will guide you through the step-by-step process of installing laminate flooring on concrete.
Preparation
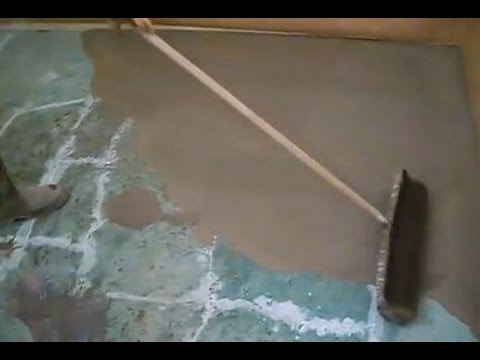
Before you begin installing laminate flooring on concrete, it is crucial to ensure that the concrete surface is clean, dry, and level. Any dirt, debris, or moisture present on the concrete can affect the installation process and compromise the integrity of your laminate flooring. Start by thoroughly cleaning the concrete surface using a broom or a vacuum cleaner to remove any loose dirt or dust. Next, wipe down the surface with a damp mop to eliminate any remaining residue. Allow the concrete to dry completely before proceeding with the installation.
Subfloor Preparation
To create a smooth and even surface for your laminate flooring, it is recommended to install a subfloor over the concrete. A subfloor acts as a barrier between the concrete and the laminate flooring, providing additional support and insulation. Begin by measuring the area where you plan to install the laminate flooring and cut sheets of plywood or OSB (oriented strand board) accordingly. Lay out these sheets over the concrete, ensuring that they fit snugly together without any gaps.
Next, secure the subfloor to the concrete using construction adhesive or concrete nails. Apply a generous amount of adhesive along each edge of the sheet before pressing it firmly onto the concrete surface. If using nails, ensure they are long enough to penetrate both the subfloor and into the concrete. Place them at regular intervals along each sheet, ensuring they are flush with its surface.
Underlayment Installation
After installing the subfloor, it is essential to add an underlayment before laying down the laminate flooring. The underlayment serves as a moisture barrier and helps to reduce noise. There are various types of underlayment available, such as foam, cork, or combination underlayment.
To install the underlayment, roll it out over the subfloor, ensuring that it covers the entire area. Trim any excess with a utility knife. If using foam underlayment, you may need to tape the seams together to create a continuous moisture barrier. Be sure to follow the manufacturer’s instructions for your specific type of underlayment.
Laying Laminate Flooring
Now that you have prepared the concrete surface and installed the necessary subfloor and underlayment, it’s time to lay down the laminate flooring. Start by measuring the length and width of the room to determine how many planks you will need. It is recommended to purchase extra planks in case of any mistakes or future repairs.
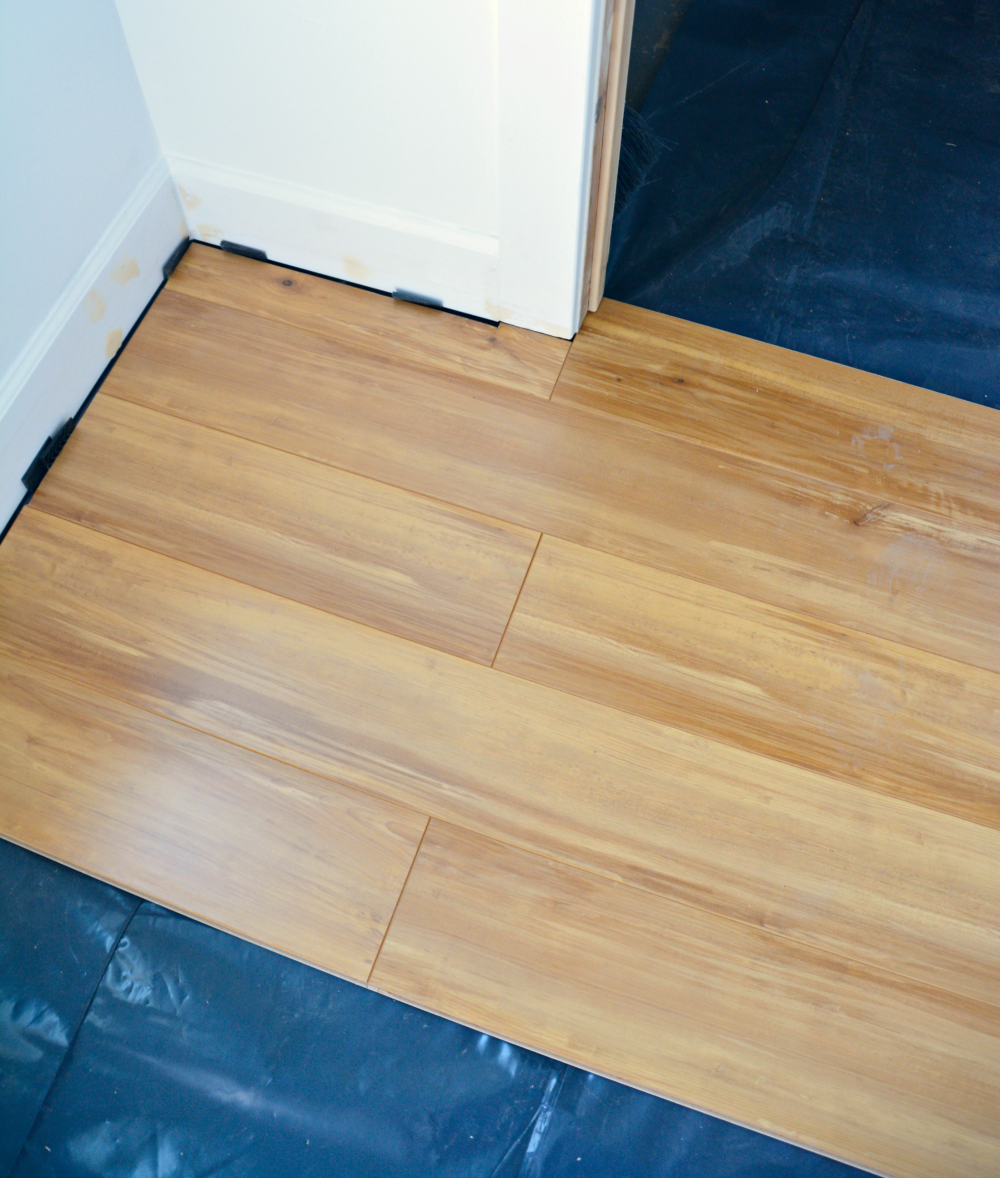
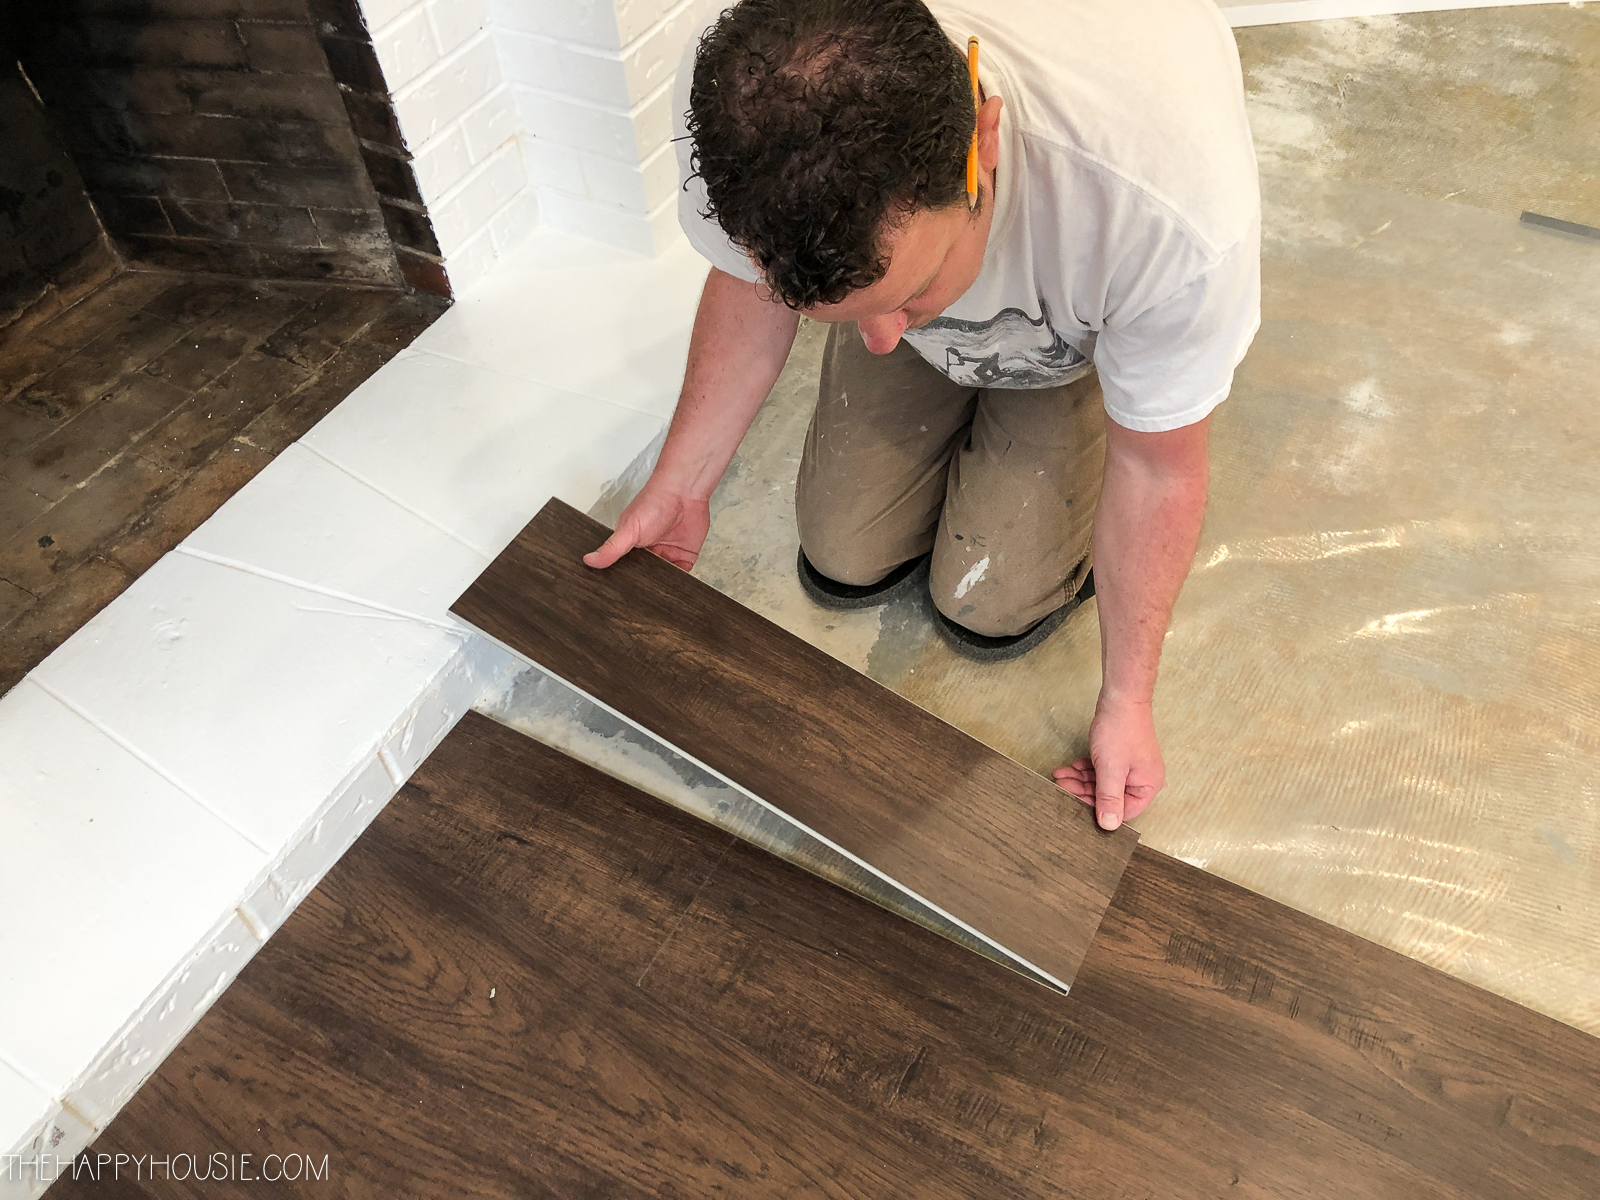
Begin on one side of the room and lay down the first row of laminate planks against the wall, leaving a 1/4-inch gap between each plank and the wall. This gap allows for natural expansion and contraction of the flooring due to changes in temperature and humidity. Use spacers to maintain a consistent gap along each side of the room.
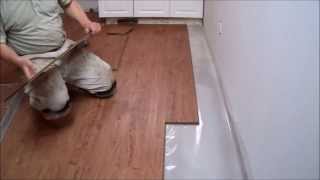
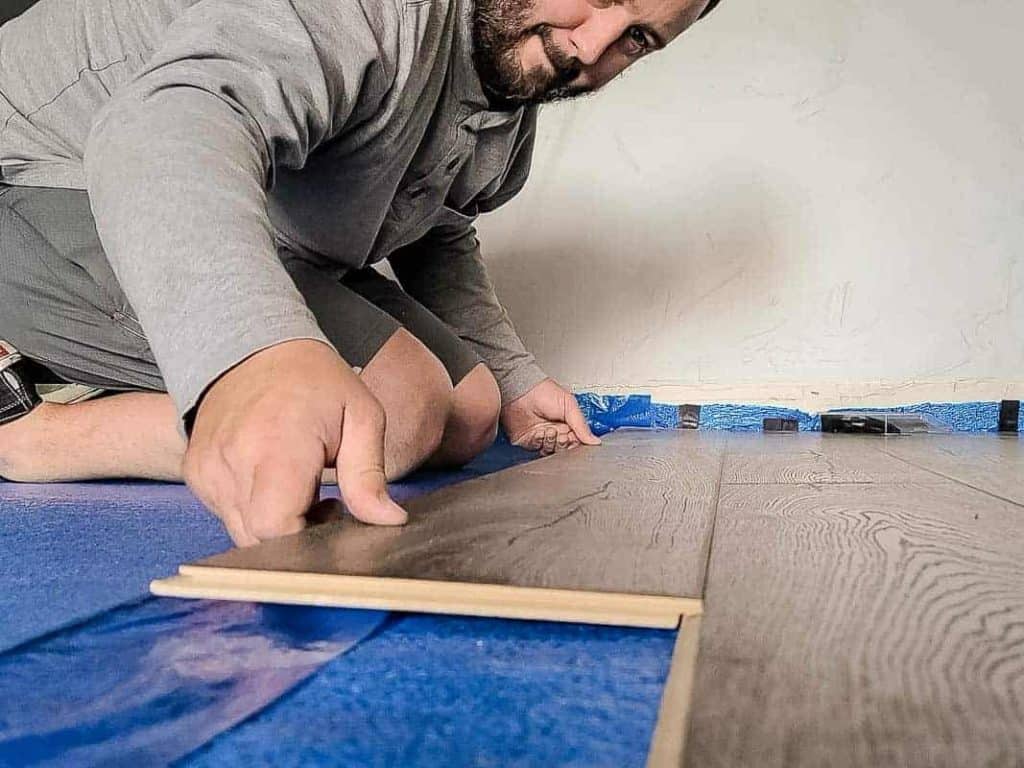
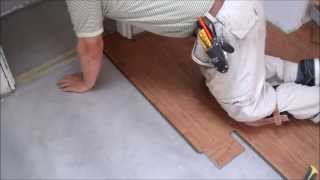
To connect the planks together, use a tapping block and a hammer. Place the tapping block against the edge of one plank and gently tap it with a hammer until it locks into place with the adjacent plank. Repeat this process For the entire first row of planks. Make sure each plank is securely locked in place before moving on to the next one.
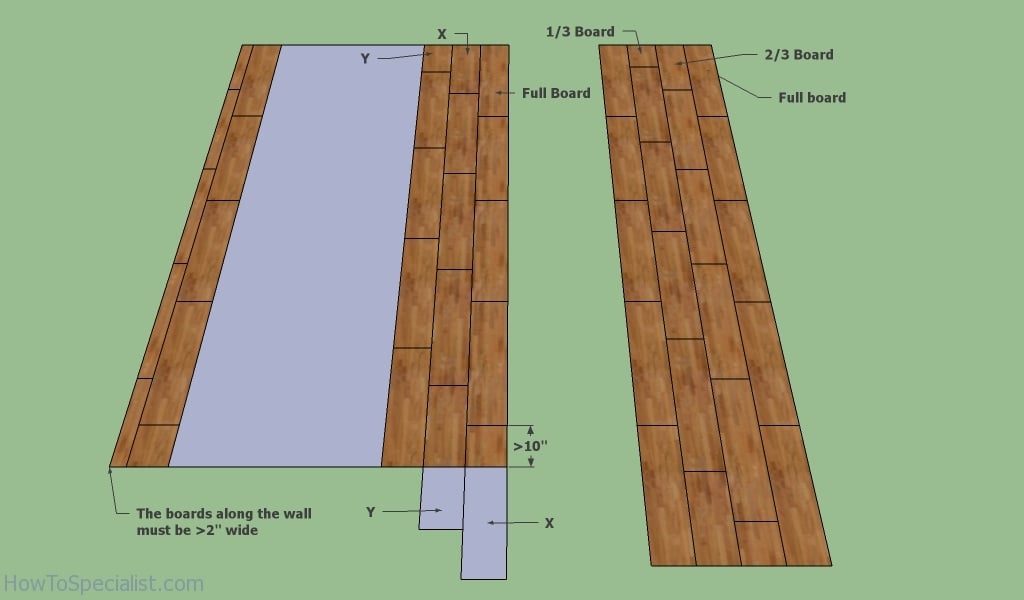
Continue laying down additional rows of planks in the same manner, making sure to stagger the joints between planks. This helps to create a more stable and visually appealing floor. Use a saw to cut any planks that need to be trimmed to fit around corners or obstacles.
As you progress, periodically check the levelness of the floor using a straightedge or level. If any areas are uneven, use shims or self-leveling compound to correct them before continuing with the installation.
Once all the planks have been laid down, remove the spacers and install baseboards or quarter-round molding along the perimeter of the room to cover the expansion gap. Attach these moldings to the wall rather than the flooring to allow for movement.
Finally, clean up any excess adhesive or debris from the installation and thoroughly inspect the entire floor for any loose or damaged planks. Make any necessary repairs before using or walking on the newly installed laminate flooring.
Remember to refer to the specific installation instructions provided by the manufacturer of your laminate flooring for detailed guidance and any additional steps that may be required. Some additional tips for installing laminate flooring include:
– Acclimate the laminate planks to the room’s temperature and humidity for at least 48 hours before installation.
– Start each new row with a plank cut to a different length than the previous row, at least 12 inches in order to create a staggered pattern.
– Use a pull bar and hammer to snugly fit the planks together, tapping them in place if necessary.
– Be cautious when using power tools or saws, following all safety precautions and wearing protective gear.
– Avoid walking on the newly installed floor for at least 24 hours to allow the adhesive to fully bond.
– Regularly clean and maintain your laminate flooring according to the manufacturer’s recommendations to prolong its lifespan.