Strong hardwood floors – by far the most sought after attributes of any house. 25 per square feet depending on thickness and selection of finished surface, expertly installed. Start by doing any needed fixes, and then removing all of the household furniture and drapes and plugging the vents and registers in the room to ensure that you won't spread dust throughout the building.
Images about Laying Hardwood Floor Direction Hallway
The item has the organic attributes belonging to the selected wood species as opposed to a photographic layer. Hardwood floors have advantages which are many, such as the extra value to your house, the easy care and cleaning, the nice style coupled with durability and also they are natural and safe for the environment.
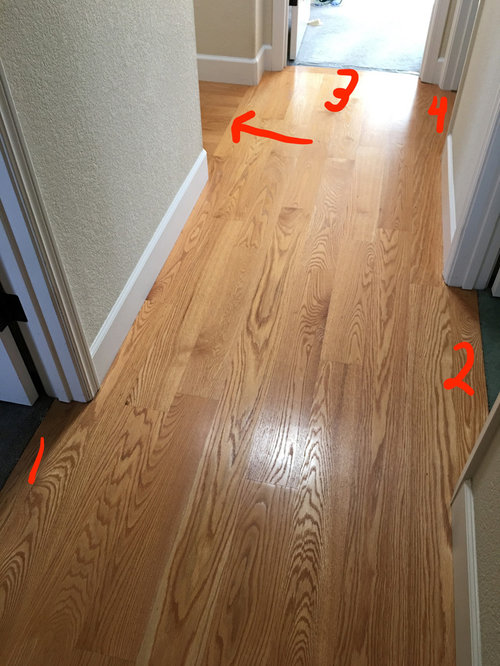
Determining the direction to lay/install Hardwood, Laminate, or
Attractive oak hardwood flooring is going to increase your market value of the home of yours in case you are interested to sell it else it'll keep on offering a relaxing appeal to your house. Ask for flyers or brochures from the local hardwood dealerships of yours and assess the sorts of hardwood they promote. Often little dogs and cats can hurt hardwood floors.
Determining the direction to lay/install Hardwood, Laminate, or

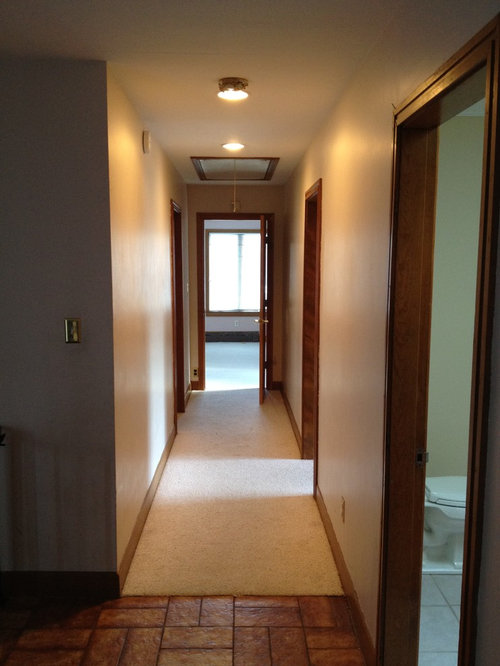
Should You Change Direction Of Hardwood Flooring Between Rooms
Which Direction To Lay Your Hardwood Flooring RiteRug Flooring

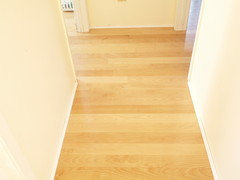
Wood direction change in hallway Hardwood floors, Flooring

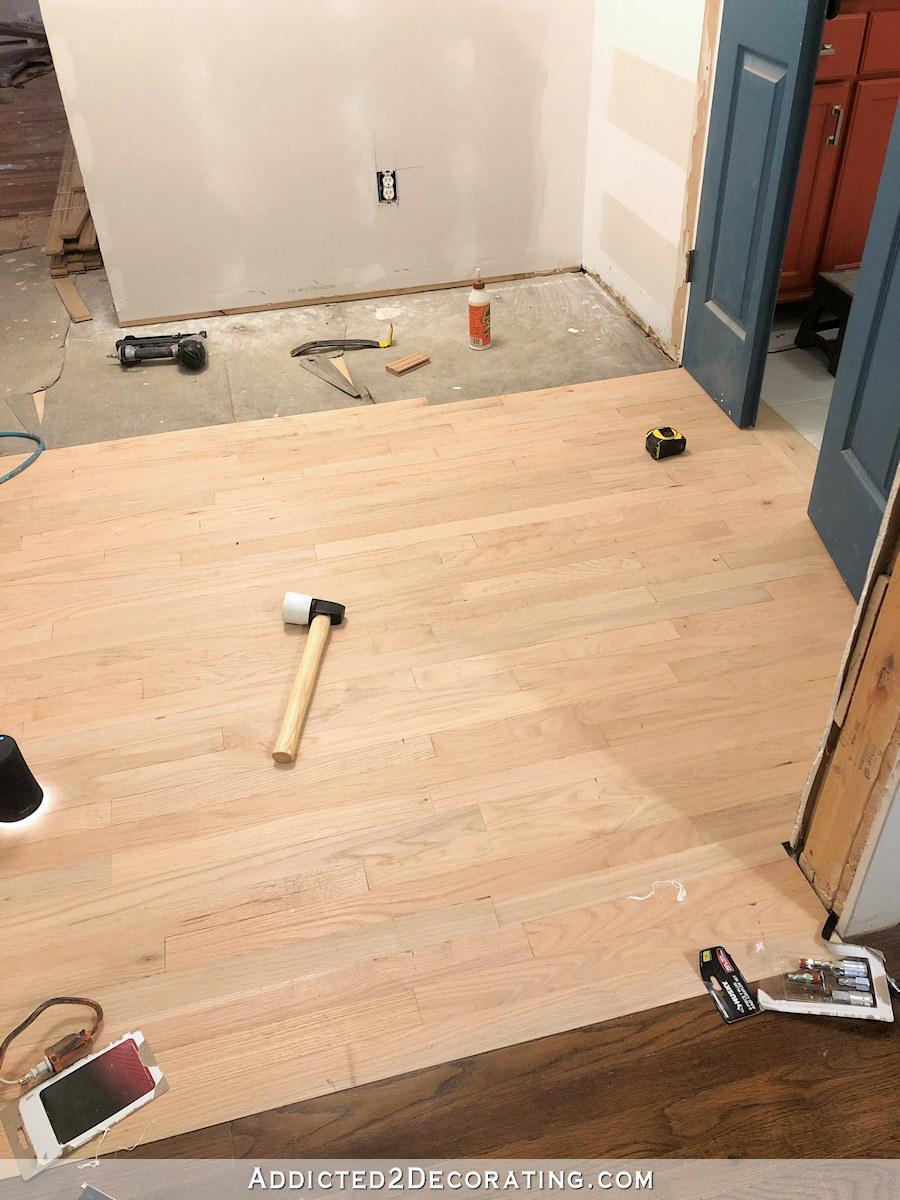
Hallway Hardwood Flooring Install Progress (Plus A Few

Choosing The Direction For Installing Your New Hardwood Flooring
Laying hardwood in hallway and into bedrooms
Best Of Flooring Direction Hallway And Review Flooring, Laminate

What Direction Should You Run Your Hardwood Floor? – Builders Surplus

Hallway Hardwood Flooring Install Progress (Plus A Few
Which Direction Should You Run Your Wood Flooring? Well u2014 DESIGNED

Laying hardwood in hallway and into bedrooms
Related Posts:
- Royal Image Hardwood Flooring Reviews
- Is Hickory Hardwood Floor Good
- Hardwood Floor Meets Carpeted Stairs
- Best Engineered Hardwood Flooring Manufacturer
- Hardwood Floor Oil Based Finish
- Hardwood Floor Installation On Stairs
- Engineered Hardwood Floors Scratch Easily
- Hardwood Floor Thickness Guide
- Canadian Red Oak Hardwood Flooring
- Porter Cable Hardwood Flooring Cleat Nailer
Laying Hardwood Floor Direction in Hallways: The Definitive Guide
When it comes to creating a beautiful and inviting living space, hardwood floors are the perfect addition. Not only do they add a touch of elegance to any home or office, but they are also durable and easy to maintain. But when it comes to laying hardwood floors in hallways, the direction can have a big impact on the overall look and feel of the space. In this guide, we will discuss everything you need to know about laying hardwood floor direction in hallways.
Types of Hardwood Floors
Before discussing how to lay hardwood floors in hallways, it’s important to understand the different types of hardwood floors available. There are two main categories: solid wood floors and engineered wood floors. Solid wood floors are made from one piece of wood that has been cut into strips and then laid on top of a subfloor. Engineered wood floors are made from multiple layers of wood that have been glued together and then topped with a thin layer of real wood veneer. Both types of hardwood floors have their advantages and disadvantages, so it’s important to research each type before making a decision about which is best for your particular project.
Floor Direction Considerations
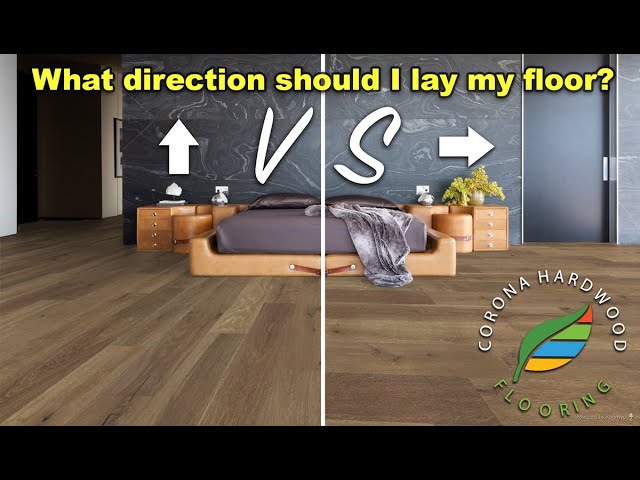
When it comes to laying hardwood floor direction in hallways, there are several things to consider. First off, you need to think about how you want the flooring to look visually. Do you want the flooring to be laid in a straight line down the hallway or do you want it laid in an angled pattern? Depending on your personal preference, either option will look great and will be easy to install.
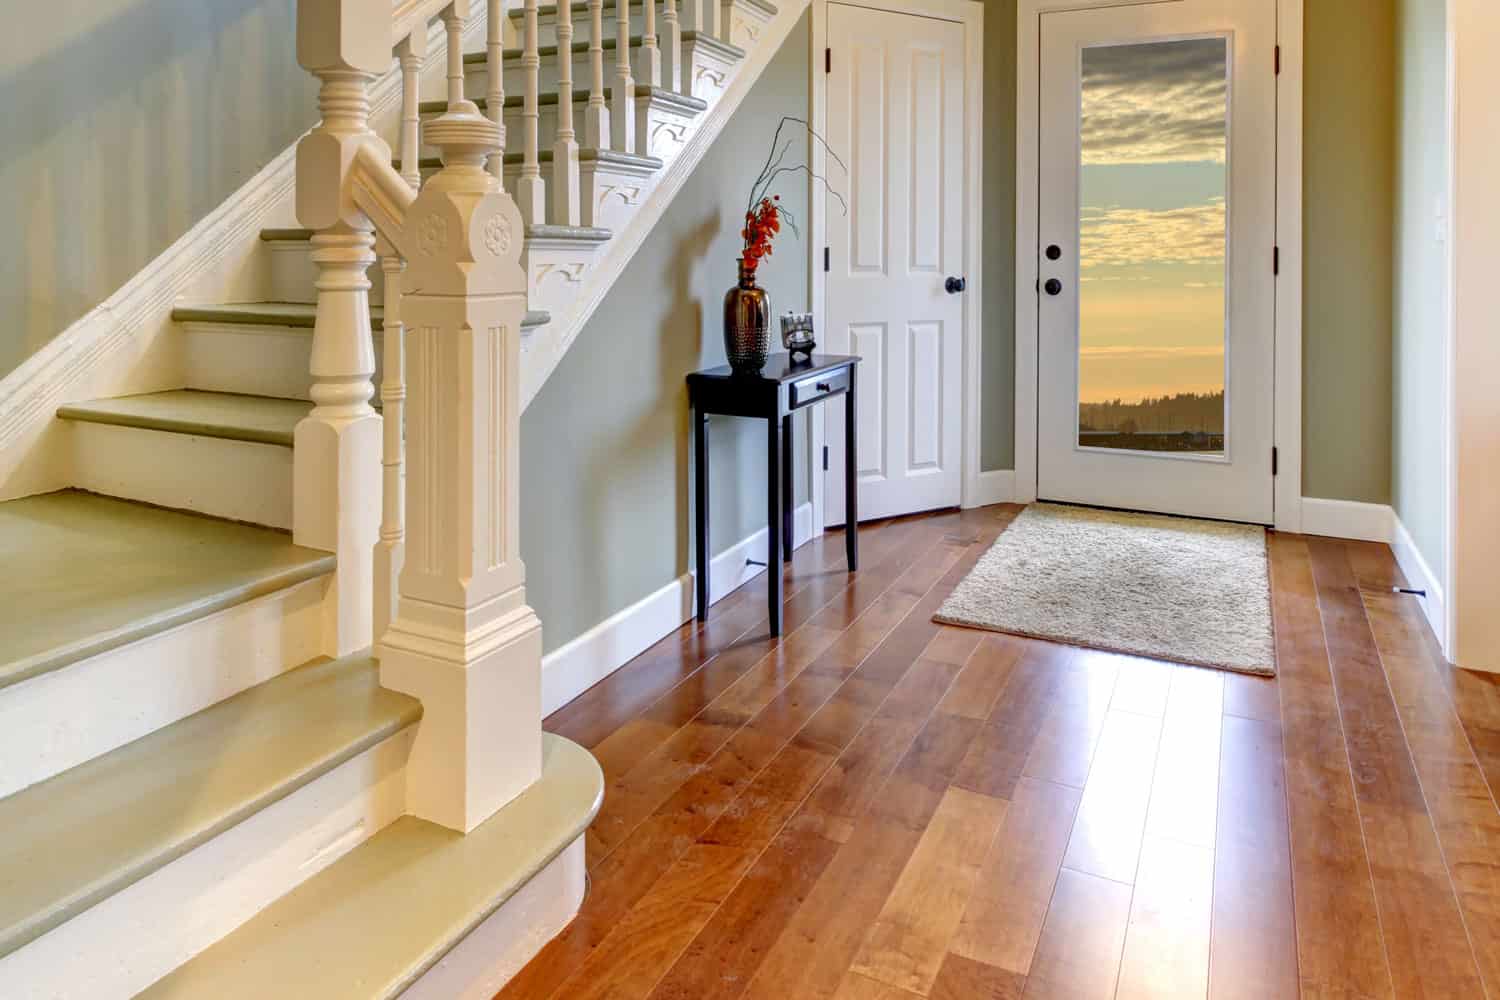
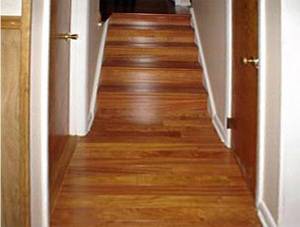
Another thing to consider is the size of the hallway. If you have a long hallway, then laying the hardwood flooring straight down the center is often the best option as this will create an illusion of length while also drawing attention away from any bumps or dips that may be present along the edges of the hallway walls. However, if you have a shorter hallway, then an angled pattern may be more aesthetically pleasing as it creates a zig-zag effect that adds visual interest without making the hallway seem overly cramped.
Installation Process
Once you’ve decided on which type of flooring and which pattern you would like for your hallway, it’s time to start installing them! The installation process for hardwood flooring is relatively simple and straightforward:
1. Start by laying a moisture barrier over your subfloor (if necessary). This will help protect your new flooring from moisture damage such as warping or cracking due to excessive humidity levels.
2. Measure out how much flooring you need for your hallway based on its size and shape. Make sure to buy enough extra material so that you don’t run out during installation!
3. Begin by laying out your first row of planks along one wall of the hallway. Make sure that all planks are level with each other before nailing them into place with nails or screws (depending on which type of fastener was recommended by your manufacturer).
4. Work your way down and across each row until all planks have been installed and secured into place. Make sure to use spacers between each plank so that there Is consistent expansion and contraction.
5. Once all planks have been installed, you can either leave them as-is or apply a finish to them for additional protection and shine. If you choose to apply a finish, make sure to do this in a well-ventilated area and follow the manufacturer’s instructions carefully.
When choosing the type of hardwood flooring for hallways, there are a few important things to consider. First, it is important to determine the type of hardwood that will best fit your project. Solid hardwood floors are made from one solid piece of wood and are typically more expensive than engineered wood floors. Engineered hardwood floors are more affordable and offer greater stability since they are constructed with multiple layers of wood that have been glued together and topped with a thin layer of real wood veneer. It is also important to consider the direction you want the flooring laid in order to create the desired aesthetic affect. For longer hallways, laying the flooring straight down the center creates an illusion of length while for shorter hallways, an angled pattern may be more visually pleasing. Once you have decided on a type and direction, installation is relatively simple and straightforward; start by laying a moisture barrier over the subfloor (if necessary) and then measure and lay out each row of planks before securing them into place with nails or screws. Finally, you can leave them as-is or apply a finish to them for additional protection and shine. The two snippets of code above both discuss types of hardwood flooring used in hallways and how to install them. The first snippet mentions different types of hardwood floors such as solid wood floors and engineered wood floors as well as discusses how to decide on which type is best for the project. It also goes into detail about considerations when laying out hardwood floor direction in hallways. The second snippet focuses more on installation process by discussing how to measure out the amount of flooring needed based on hallway size, how to lay out each row of planks, and how to secure them into place. It also touches upon applying a finish for additional protection and shine.