It might be tough to install stones on the floor because of the unusual shapes of theirs but nothing looks as alluring and as unique as shimmering stone flooring. As kitchens have become a really important room of the home, so is the kitchen flooring. No waxing or polishing and that actually includes the hardwood choices available. Your humble kitchen floor is capable of much more tired linoleum patterns for their simple maintenance.
Images about Painting Vinyl Floor Tiles In Kitchen

In case you choose to keep the same flooring that you actually have, you'd still have to save a little bit more with your budget to rehabilitate the floor directly into shape due to all of the stressful consequences that a significant build up may have on it. The same outcome is done by diagonally arranging floor flooring when installing it rather than laying it in such a way that it is parallel to the walls.
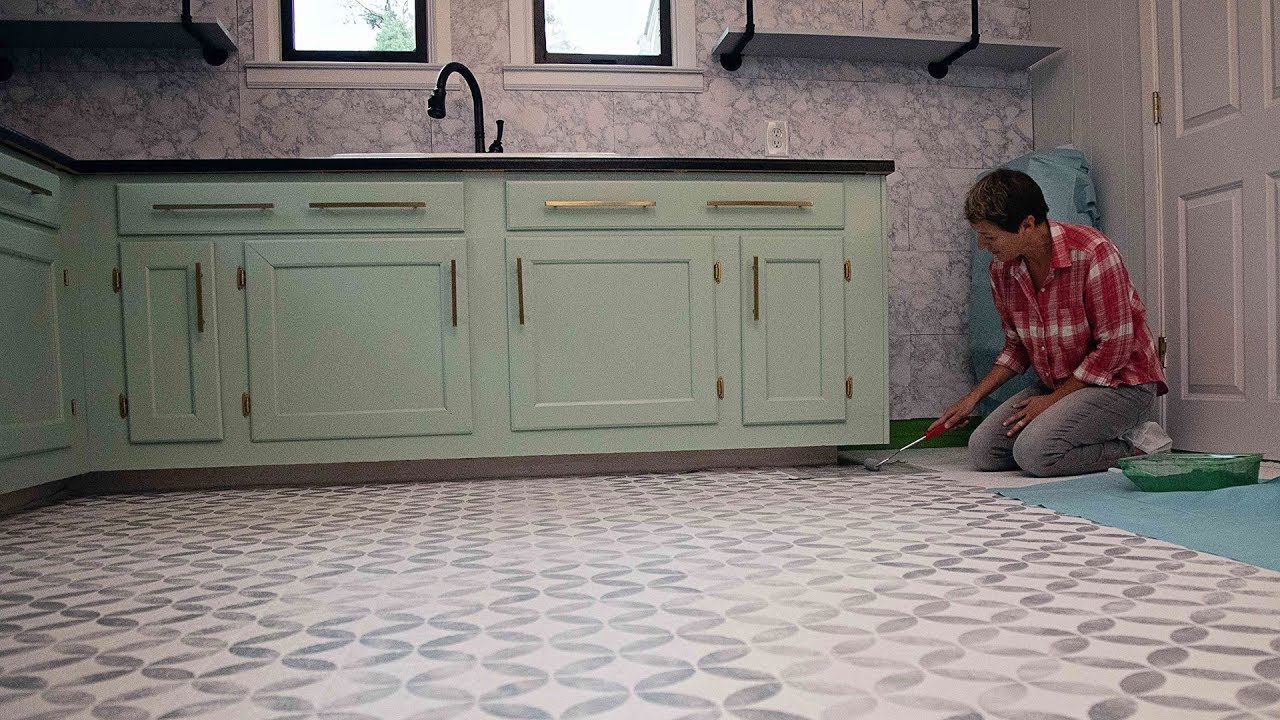
How to Paint a Vinyl Floor DIY Painted Floors Dans le Lakehouse

You are going to find a number of different types of floor tiles for kitchens. The flooring type you've will determine just how much servicing you will need to place into it. Three of the most critical aspects to selecting the right kitchen flooring are, design, usage and durability, as well as when making the selection option of yours, these are the things you need to check.
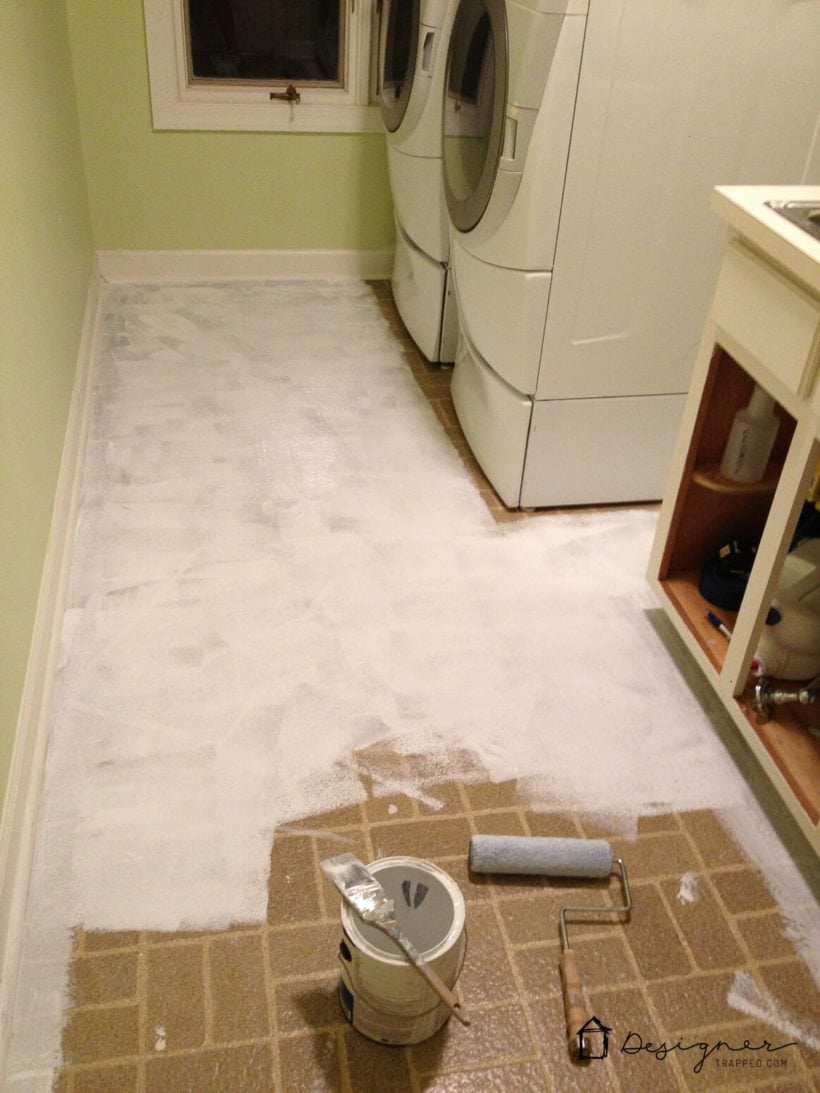
How to Paint Over Vinyl Floors Modernize

How to Paint a Vinyl Floor DIY Painted Floors Dans le Lakehouse

How to Paint Vinyl Floors: Long-Lasting Results
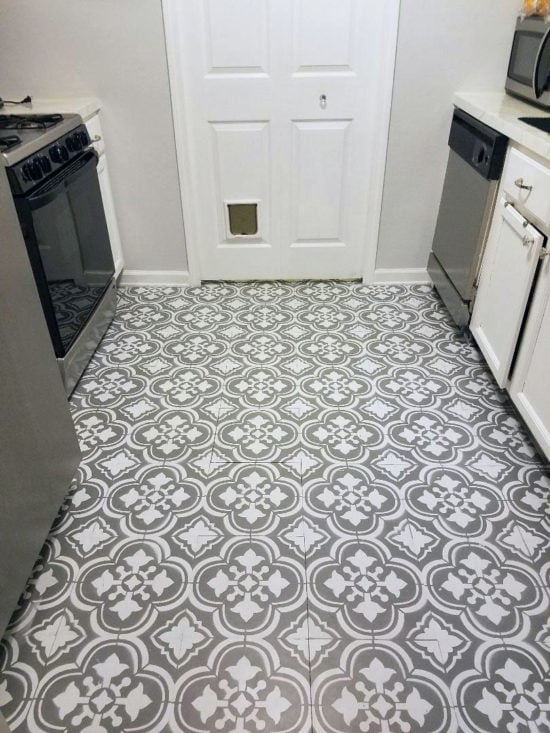
How To Paint Linoleum Flooring – The Honeycomb Home
How to Stencil an Vinyl Floor – DIY Network
How to Paint Old Linoleum Kitchen Floors – 1915 House

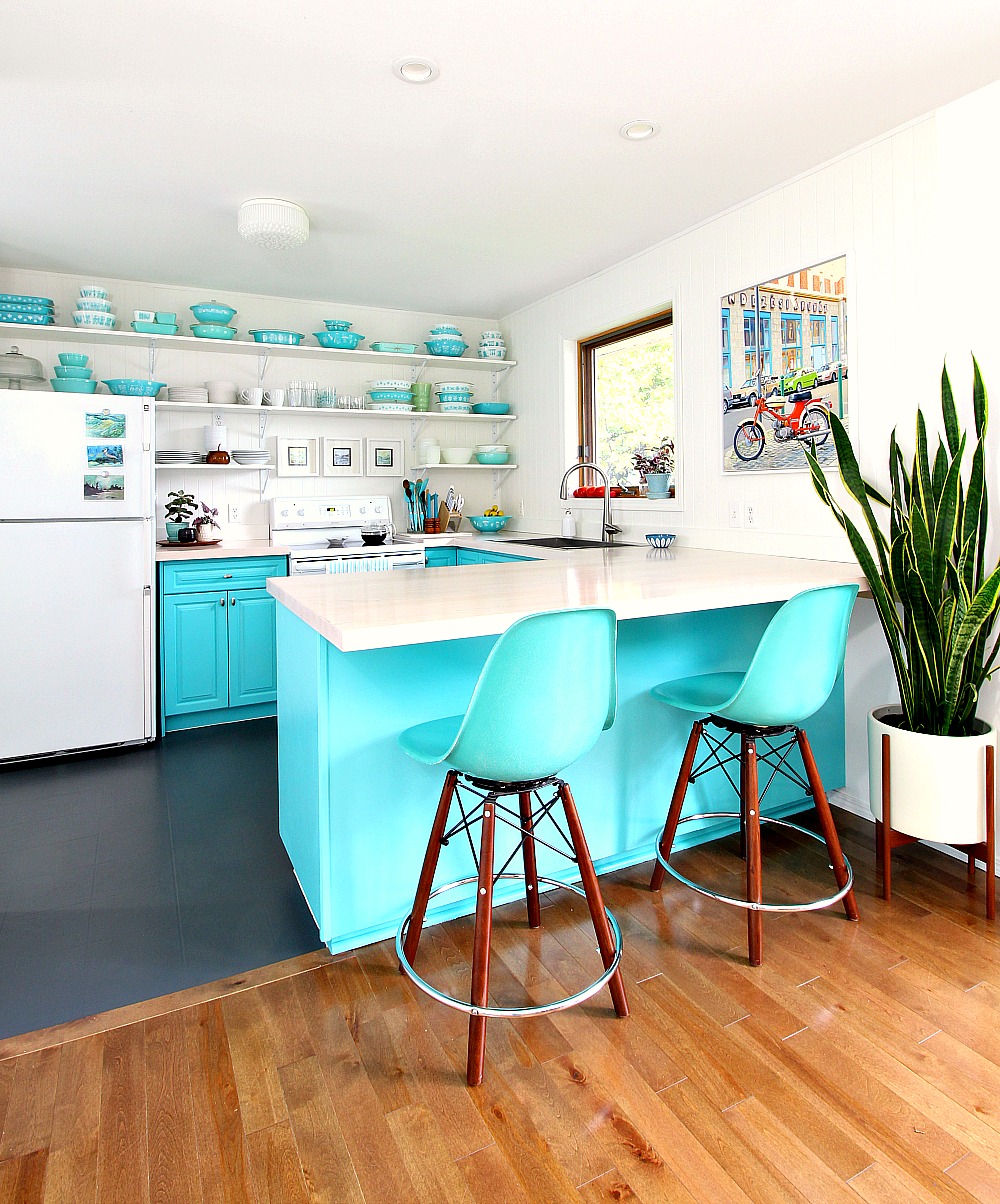
How I Painted My Vinyl Floor Painted vinyl floors, Floor

How to paint your Vinyl floor! How to paint floors

How to Paint a Vinyl Floor DIY Painted Floors Dans le Lakehouse
How To Paint Linoleum Flooring – The Honeycomb Home
DIY: Hate those vinyl tiles? Paint over u0027em!
Painting u0026 Stenciling Vinyl Flooring – The Pros u0026 Cons The
Related Posts:
- Small Kitchen Floor Plans With Dimensions
- How To Install Kitchen Cabinets On Uneven Floor
- Best Kitchen Flooring Ideas
- Cream Kitchen With Wooden Floor
- Vinyl Kitchen Flooring Ideas
- Kitchen Tile Flooring Ideas Pictures
- Luxury Vinyl Tile Kitchen Floor
- Kitchen Cabinets With Dark Hardwood Floors
- Green Kitchen Floor Tiles
- Pine Floors In Kitchen
Painting Vinyl Floor Tiles In Kitchen
Introduction:
Vinyl floor tiles are a popular choice for kitchen flooring due to their durability, affordability, and ease of maintenance. However, over time, they can become outdated or show signs of wear and tear. If you’re looking for a budget-friendly way to rejuvenate your kitchen floor, painting vinyl floor tiles could be the perfect solution. In this article, we will discuss the step-by-step process of painting vinyl floor tiles in the kitchen and address some frequently asked questions to help you achieve a professional-looking result.
I. Preparing the Surface:
Before you begin painting your vinyl floor tiles, it is crucial to prepare the surface properly. Follow these steps to ensure a smooth and long-lasting finish:
1. Clean the Floor:
Start by thoroughly cleaning the vinyl floor tiles to remove any dirt, grease, or debris. Use a mild detergent mixed with warm water and scrub the surface gently using a soft-bristle brush or sponge. Rinse with clean water and allow it to dry completely.
2. Sand the Tiles:
To create a better bonding surface for the paint, lightly sand the vinyl tiles using fine-grit sandpaper. This step helps to roughen up the smooth surface and promotes adhesion. Be careful not to oversand or damage the tiles.
3. Repair Any Damages:
Inspect the floor for any cracks, chips, or loose tiles. If you find any damages, fill them with a vinyl patching compound following the manufacturer’s instructions. Smooth out the compound with a putty knife and let it dry completely before moving on to the next step.
II. Choosing the Right Paint:
Selecting the appropriate paint for your vinyl floor tiles is crucial for achieving a durable and attractive finish. Here are some factors to consider when choosing paint:
1. Type of Paint:
Opt for high-quality latex or acrylic paints designed specifically for use on floors. These types of paint offer excellent durability, better adhesion to vinyl surfaces, and resistance to stains and scuffs.
2. Color Selection:
When it comes to color selection, consider the overall aesthetic of your kitchen. Lighter colors can make the space appear larger and more inviting, while darker shades can create a cozy and intimate atmosphere. It is also important to choose a color that complements your kitchen cabinets, countertops, and appliances.
3. Finish:
Choose a paint finish that suits your needs. Glossy finishes offer high shine and are easier to clean, but they may show imperfections more prominently. Satin or semi-gloss finishes strike a good balance between durability and hiding flaws.
III. Painting Process:
Now that you have prepared the surface and chosen the right paint, it’s time to start painting your vinyl floor tiles. Follow these steps for a successful painting process:
1. Prime the Tiles:
Applying a primer is essential for ensuring proper adhesion of the paint to the vinyl surface. Use a high-quality primer specifically formulated for use on vinyl floors. Apply an even coat of primer using a roller or brush and let it dry according to the manufacturer’s instructions.
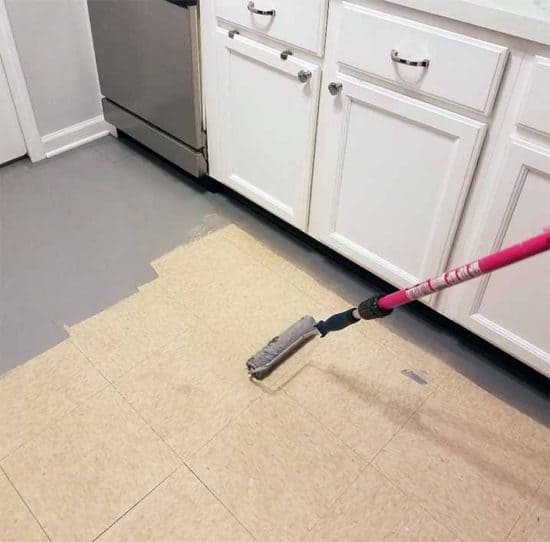
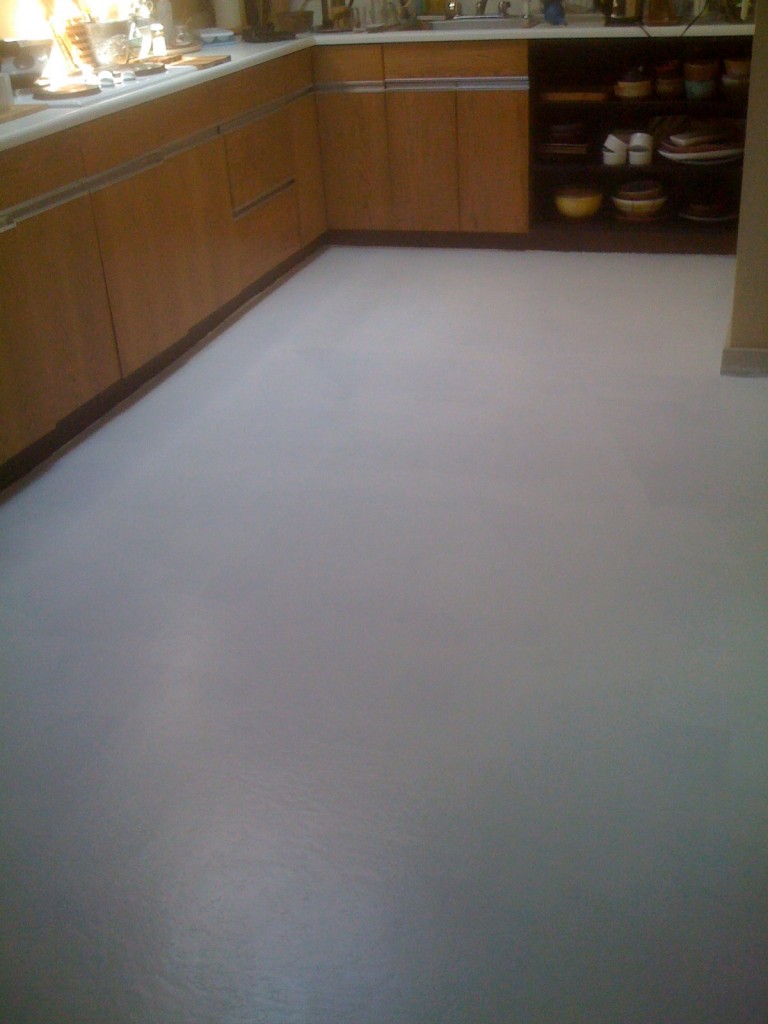
2. Paint the Base Color:
Once the primer has dried completely, it’s time to apply the base color of your choice. Start with a small brush or a narrow roller to paint along the edges and corners of each tile. Then, use a large roller or brush to paint the larger areas of the floor. Work in small sections at a time to ensure even coverage.
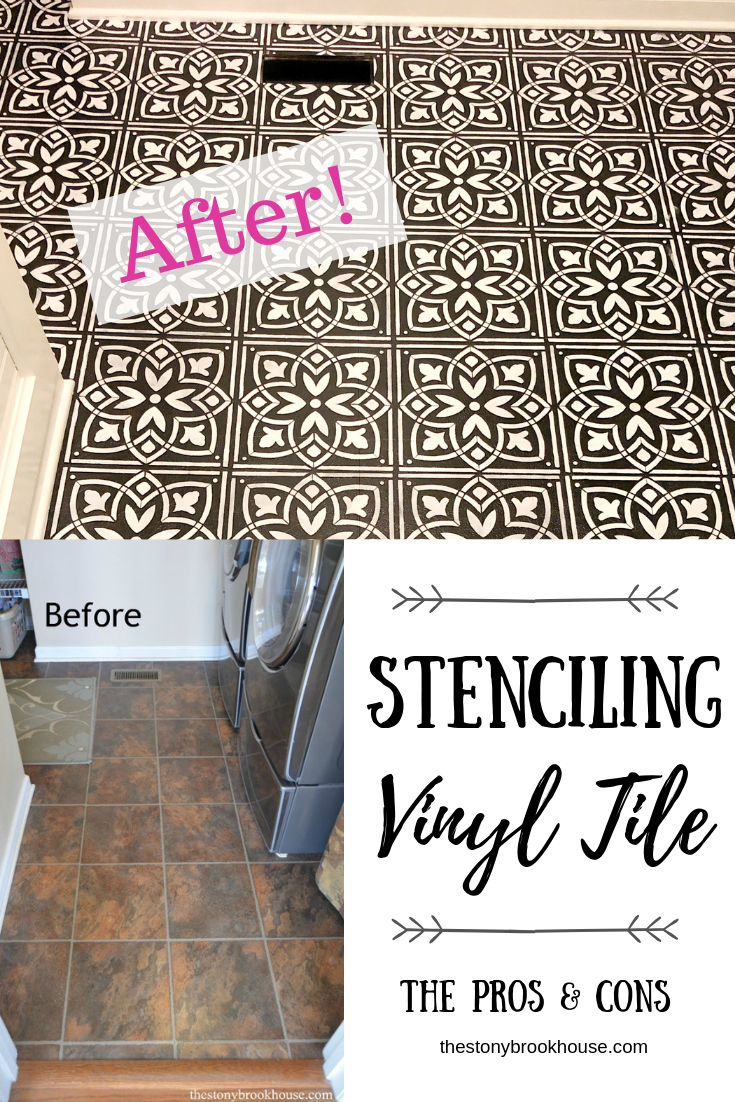
3. Create Patterns or Designs :
If you want to add some creativity to your painted vinyl floor tiles, consider creating patterns or designs. You can use stencils, painter’s tape, or freehand painting techniques to create unique patterns or designs on the floor. Plan out your design beforehand and take your time to ensure precise and clean lines.
4. Apply Multiple Coats:
To achieve a durable and long-lasting finish, it’s recommended to apply multiple coats of paint. Allow each coat to dry completely before applying the next one. Follow the manufacturer’s instructions regarding drying times between coats.
5. Seal the Paint:
Once you are satisfied with the color and coverage of your painted vinyl floor tiles, it’s important to seal the paint to protect it from wear and tear. Use a clear polyurethane sealer specifically designed for use on floors. Apply an even coat using a roller or brush, and let it dry according to the manufacturer’s instructions.
6. Allow Sufficient Drying Time:
After sealing the paint, allow sufficient drying time before walking on or placing furniture on the newly painted floor. Follow the manufacturer’s instructions for recommended drying times.
IV. Maintenance Tips:
To keep your painted vinyl floor tiles looking their best, follow these maintenance tips:
1. Regular Cleaning:
Regularly sweep or vacuum the floor to remove dirt and debris. Clean up spills immediately to prevent staining.
2. Gentle Cleaning Solutions:
Use mild cleaning solutions specifically formulated for vinyl floors when mopping or spot cleaning the painted tiles. Avoid harsh chemicals that can damage the paint.
3. Avoid Scratching:
Place felt pads under furniture legs and use rugs or mats in high-traffic areas to prevent scratching or scuffing of the painted floor.
4. Touch Up as Needed:
Over time, the painted floor may experience wear or minor damage. Keep some extra paint on hand to touch up any areas that need it.
By following these steps and tips, you can successfully paint your vinyl floor tiles and transform the look of your kitchen. Enjoy your newly refreshed space!