By doing the correct choice nowadays you can assure that a good kitchen floor will keep the beauty of its and last a lifetime. Kitchen flooring is utilized to accent the counters, appliances, and cabinets. For a lot of men and women the kitchen flooring certainly is the heart of their house and as such plays an important role in the interior design of the house.
Images about Plastic Kitchen Flooring

It is not just due to style and the decor of your house that you’ve to consider using kitchen floor flooring for your floor but also you are focusing on toughness and durability in the sense your floor can take the spills as well as splashes which could materialize frequently in a hectic kitchen.
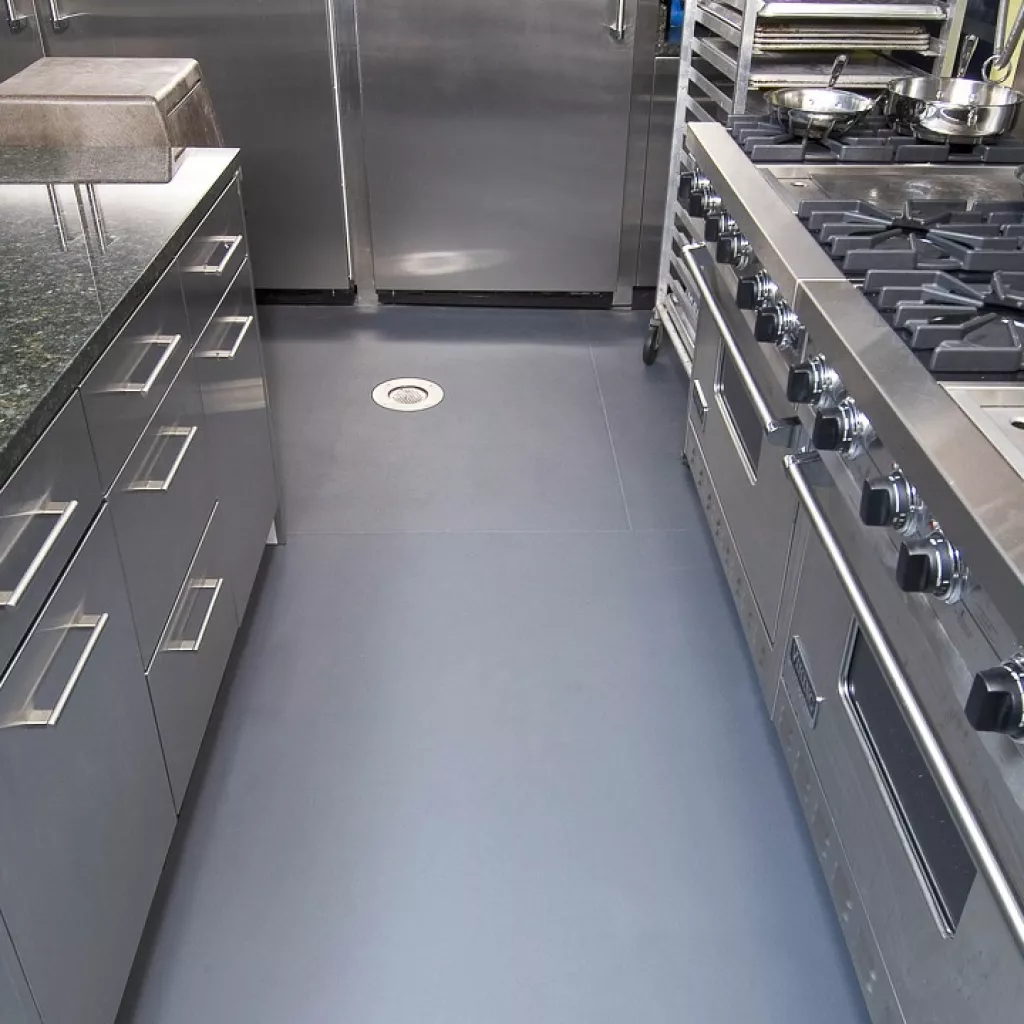
Protect-All Sheet – 1/4″ Kitchen Safety Flooring Kitchen Safety
Even with the best type of sealant when you allow water to sit down along with your wooden floors it is about to hurt them so I constantly suggest a mat where water is a potential concern along with ensuring that any fluid spill is wiped up instantly. They include bar stools by sitting on and everyone is able to talk and enjoy the cooking experience together.
Vinyl Flooring Pros and Cons Worth Considering – Bob Vila

Hot Sale Kitchen Plastic Vinyl Tile From Chinese Supplier

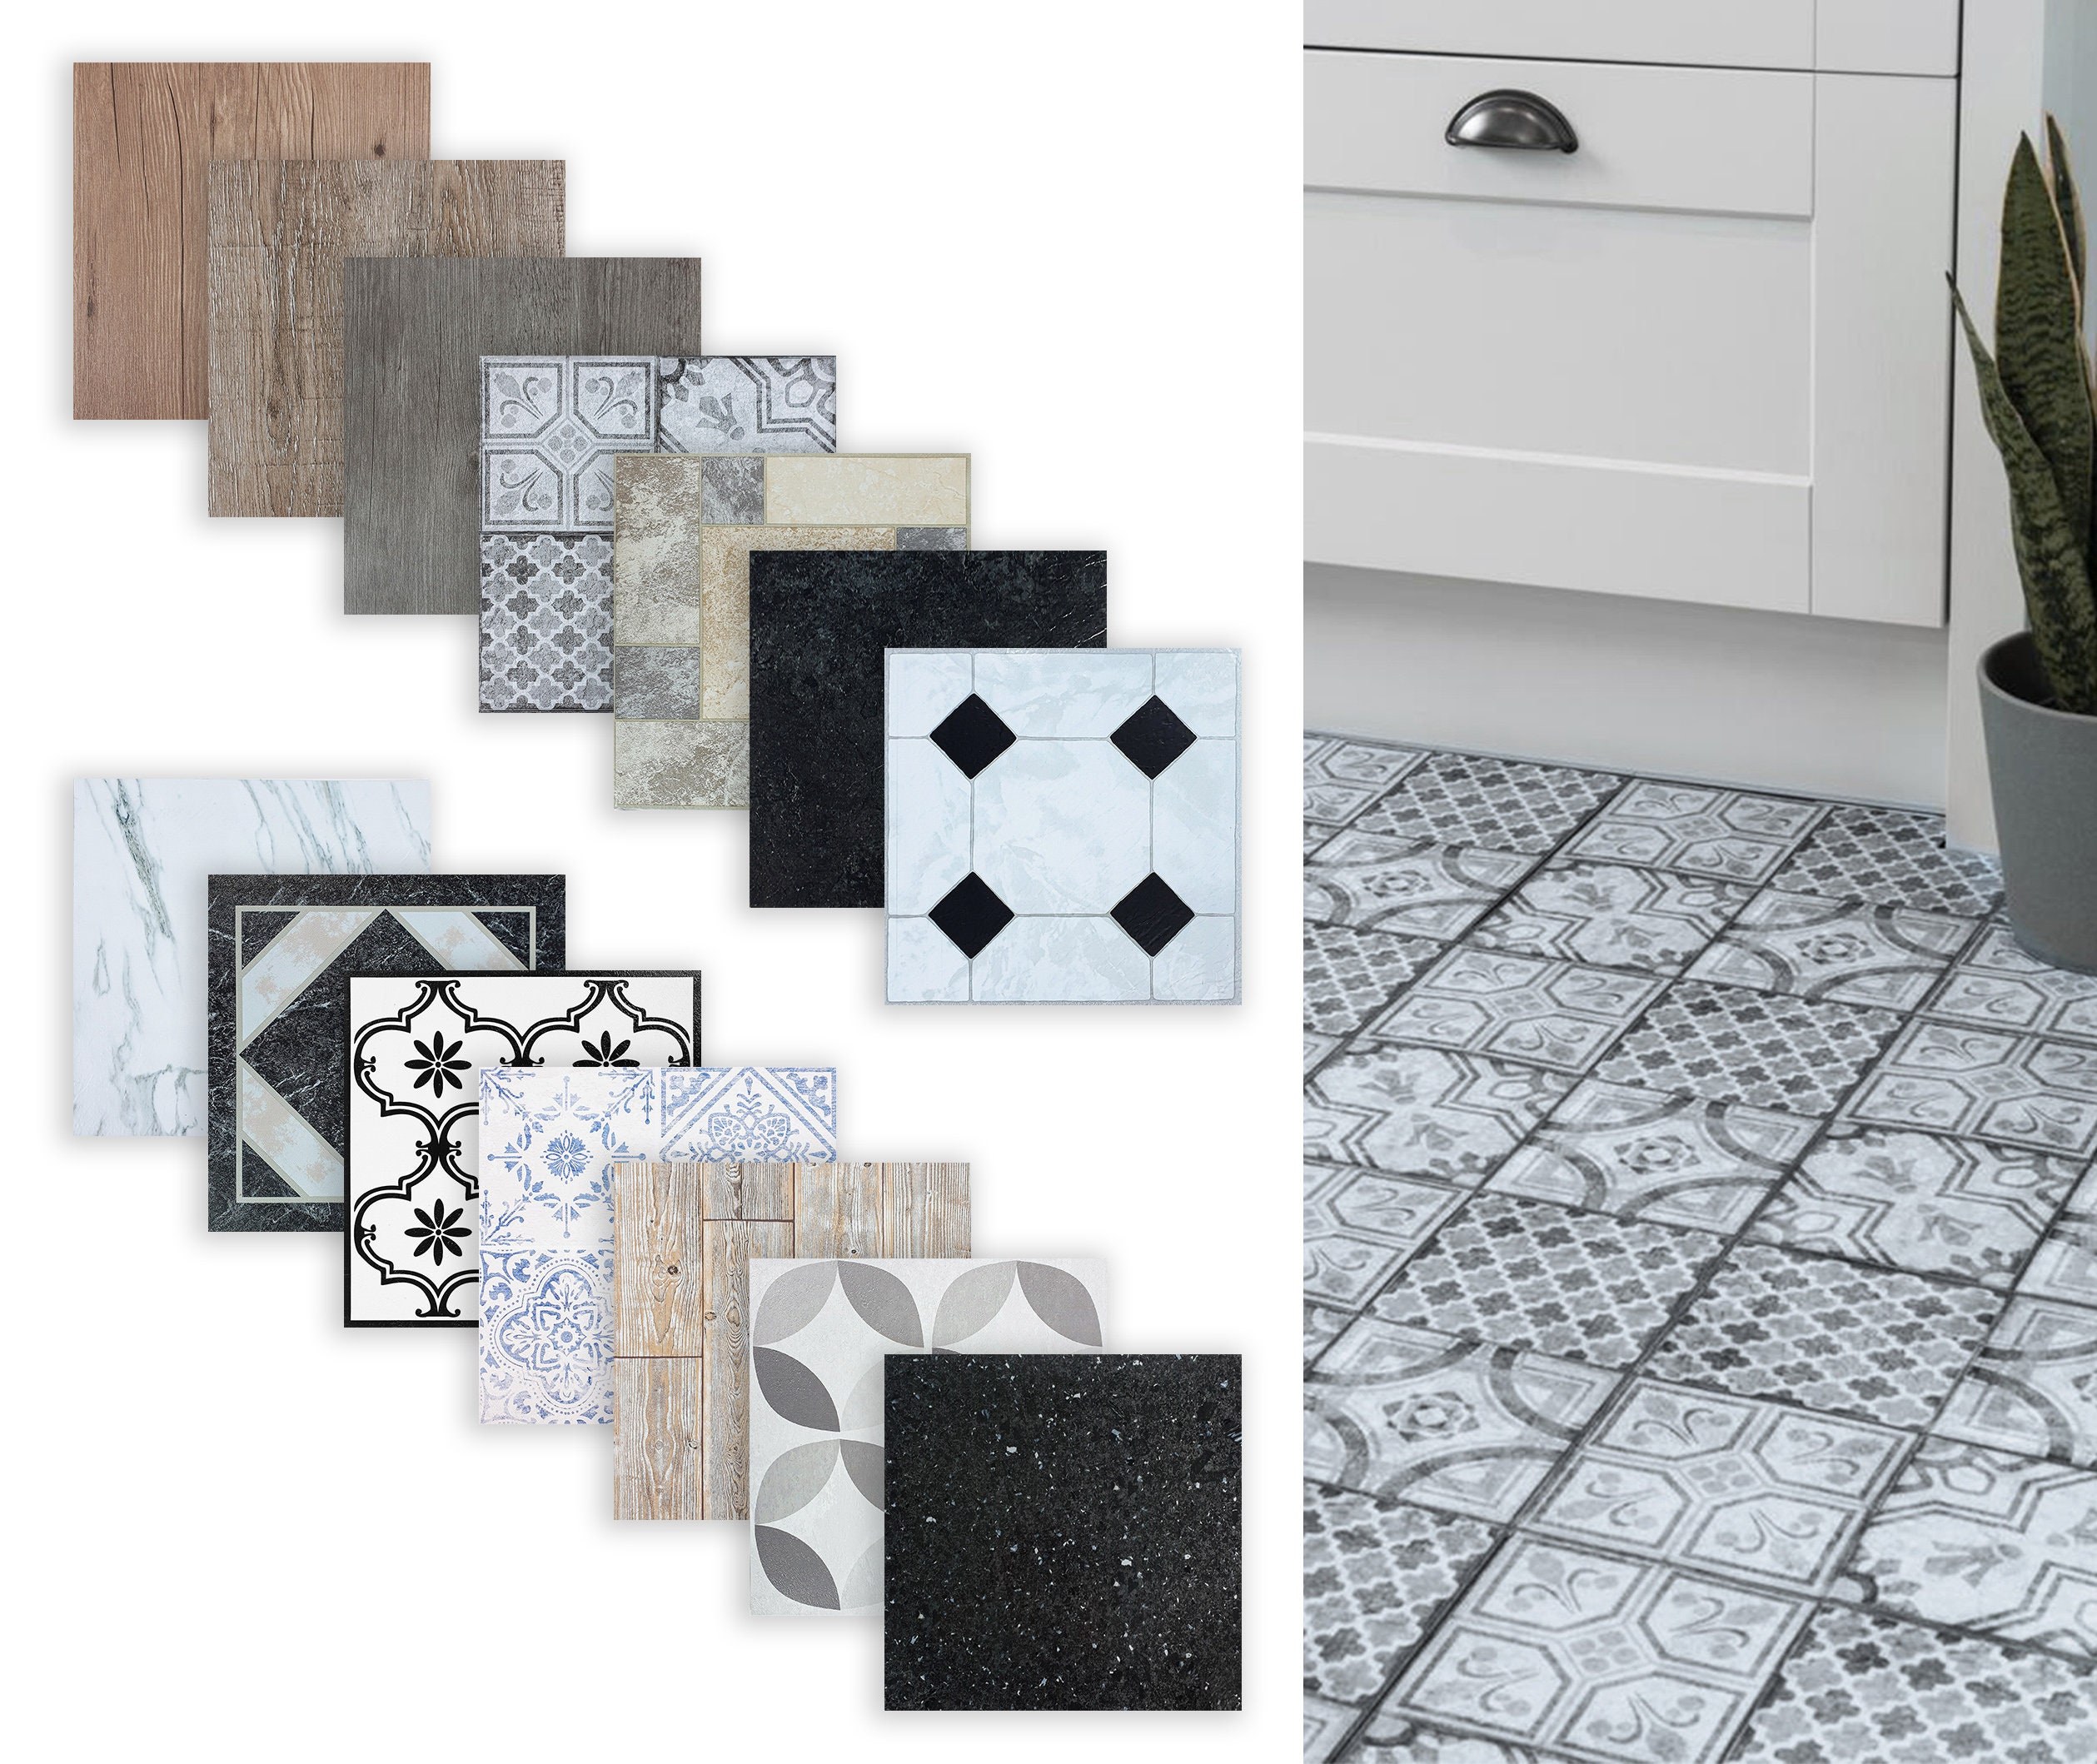
Self-adhesive Floor Tiles 13eur/m2 Plastic Vinyl Tiles Kitchen – Etsy
Choosing vinyl flooring for your kitchen- Tarkett Tarkett
Vinyl Tile Flooring – Vinyl Flooring – The Home Depot
4mm 4.5mm PVC Building Material Spc Wood Vinyl Plank Flooring

Home Improvement Vinyl tile flooring kitchen, Vinyl tile

Kitchen Renovation With Linoleum Flooring Tile Effect Vinyl

China Stone Plastic Spc Rigid Core Vinyl Plank Flooring Kitchen

Amazon.com: Deluxe Plastic Vinyl Clear Floor Mat for Office Chair

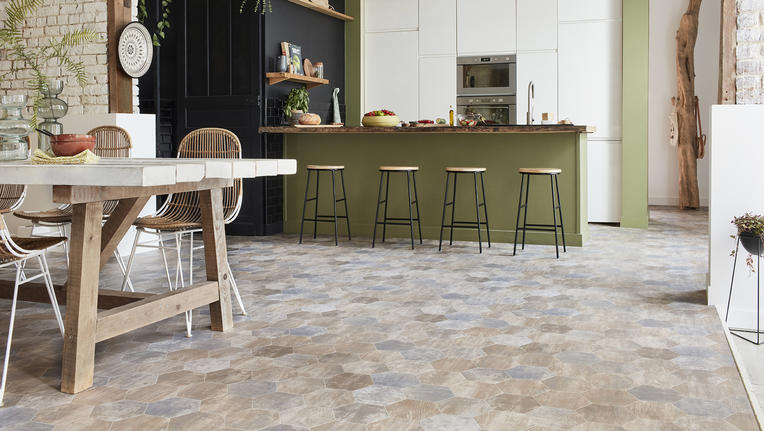
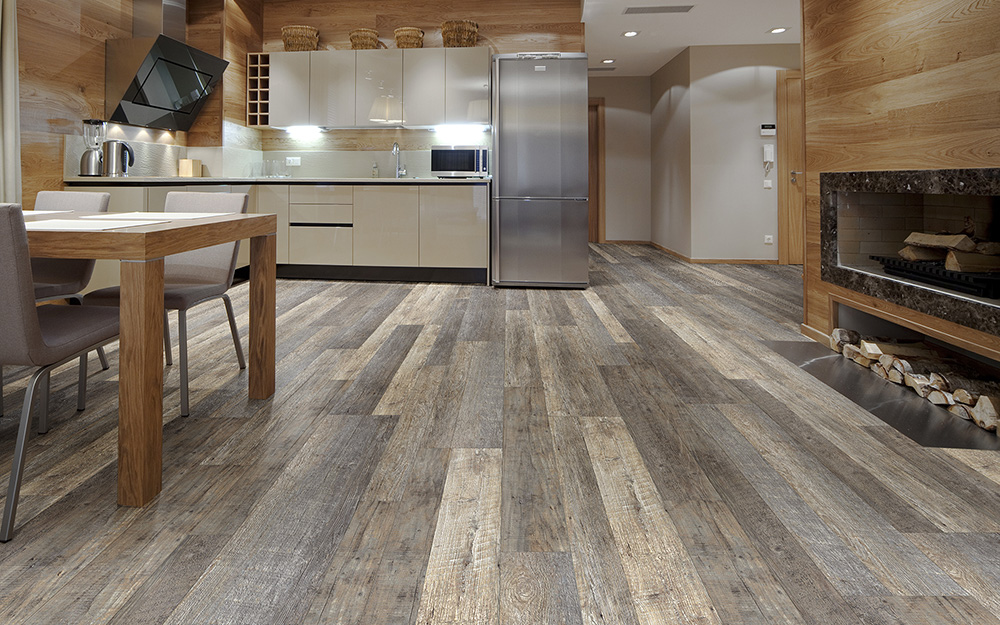
Kitchen Flooring Ideas – Our lovely high-end plastic as well as

Types of Vinyl Flooring
Related Posts:
- Memory Foam Floor Mats For Kitchen
- Glazed Porcelain Tile For Kitchen Floor
- How To Clean Grout Lines On Kitchen Floor
- Kitchen Flooring Vinyl Or Linoleum
- Matching Kitchen Cabinets And Flooring
- Commercial Kitchen Floor Cleaning Equipment
- Free Online Kitchen Floor Planner
- Victorian Kitchen Floor Ideas
- Grey Stone Kitchen Floor
- Kitchen And Laundry Room Floor Plans
Plastic Kitchen Flooring: A Durable and Practical Choice for Your Kitchen
When it comes to choosing the right flooring for your kitchen, durability, practicality, and aesthetics are key factors to consider. With the wide range of options available in the market, it can be overwhelming to find the perfect choice that meets all these criteria. However, one option that ticks all the boxes is plastic kitchen flooring. In this article, we will delve into the world of plastic kitchen flooring, exploring its benefits, types, installation process, maintenance tips, and frequently asked questions to help you make an informed decision.
I. The Benefits of Plastic Kitchen Flooring
Plastic kitchen flooring offers a multitude of benefits that make it a popular choice among homeowners. Let’s take a closer look at some of these advantages:
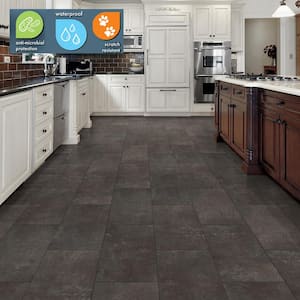
1. Durability: Plastic flooring is highly durable and can withstand heavy foot traffic, spills, and impacts commonly experienced in kitchens. It is designed to resist scratches, stains, and dents, making it an ideal choice for busy kitchens where accidents are prone to happen.
2. Waterproof: One of the primary reasons why plastic flooring is often preferred for kitchens is its waterproof nature. This makes it resistant to water damage caused by spills or moisture buildup over time. With plastic flooring in your kitchen, you can bid farewell to concerns about water-related issues such as warping or mold growth.
3. Easy Maintenance: Cleaning up after cooking can be a hassle, but with plastic kitchen flooring, maintenance becomes a breeze. Its smooth surface allows for easy sweeping and mopping to remove any dirt or spills. Additionally, most plastic flooring options come with stain-resistant properties, ensuring that stubborn stains can be easily wiped away.
4. Variety of Designs: Gone are the days when plastic flooring was limited to dull and unattractive options. Nowadays, manufacturers offer a wide range of designs and patterns that mimic natural materials like wood or stone. Whether you prefer a classic or contemporary look, you can find a plastic flooring design that suits your kitchen’s aesthetic.
5. Cost-Effective: Plastic kitchen flooring is a cost-effective choice compared to other flooring materials like hardwood or ceramic tiles. With its lower price point and long-lasting durability, it provides excellent value for money.
II. Types of Plastic Kitchen Flooring
When it comes to plastic kitchen flooring, there are several types to choose from. Let’s explore the most common options available in the market:
1. Vinyl Flooring: Vinyl flooring, also known as PVC flooring, is one of the most popular choices for kitchens. It is available in sheets, tiles, or planks and offers a wide range of designs and textures. Vinyl flooring is known for its durability, water resistance, and affordability.
2. Luxury Vinyl Tile (LVT): Luxury vinyl tile is an upgraded version of vinyl flooring that closely resembles natural materials like stone or wood. LVT comes in individual tiles that can be easily installed and replaced if necessary. With its realistic appearance and enhanced durability, LVT has gained popularity in recent years.
3. Laminate Flooring: Although technically not made of plastic, laminate flooring deserves mention due to its similar characteristics and popularity in kitchens. It consists of multiple layers fused together, including a high-density fiberboard core topped with a photographic image layer that mimics the desired material’s appearance. Laminate flooring offers excellent durability and moisture resistance while providing a more affordable alternative to natural materials.
III. Installation Process for Plastic Kitchen Flooring
Installing plastic kitchen flooring requires proper preparation and Care. Here is a general guide to help you with the installation process:
1. Prepare the Subfloor: Before installing plastic flooring, ensure that the subfloor is clean, dry, and level. Remove any existing flooring or debris and repair any cracks or uneven areas.
2. Acclimate the Flooring: If you are using vinyl or laminate flooring, it is essential to acclimate it to the room’s temperature and humidity for at least 48 hours before installation. This helps prevent any expansion or contraction issues after installation.
3. Measure and Cut: Measure your kitchen’s dimensions and plan the layout of the flooring accordingly. Use a utility knife or a vinyl cutter to cut the plastic flooring into the desired shape and size.
4. Install Underlayment (if necessary): Depending on the type of plastic flooring you choose, you may need to install an underlayment for added cushioning, sound insulation, or moisture protection. Follow the manufacturer’s instructions for proper installation.
5. Install the Flooring: Start from one corner of the room and lay the first piece of flooring according to your planned layout. Use adhesive or interlocking mechanisms (depending on the type of flooring) to secure each piece in place. Trim any excess material as needed.
6. Finish and Seal: Once all the flooring is installed, use transition strips or molding to cover any gaps or edges. Apply a sealant or top coat (if recommended by the manufacturer) to protect the flooring from scratches and spills.
It is important to note that specific instructions may vary depending on the type and brand of plastic kitchen flooring you choose. Always refer to the manufacturer’s guidelines for accurate installation instructions and tips. Additionally, if you are not confident in your DIY skills, it is advisable to hire a professional for the installation process to ensure a proper and long-lasting result.