It’s also crucial to get the right tools as well as resources for the project. Tile is now obtainable in finishes and styles that lend themselves to any decor. Most home owners prefer the time of theirs for other items like being with friends as well as family members. You are able to use it in the regular square design or even obtain individuals in octagon shapes, and so on.
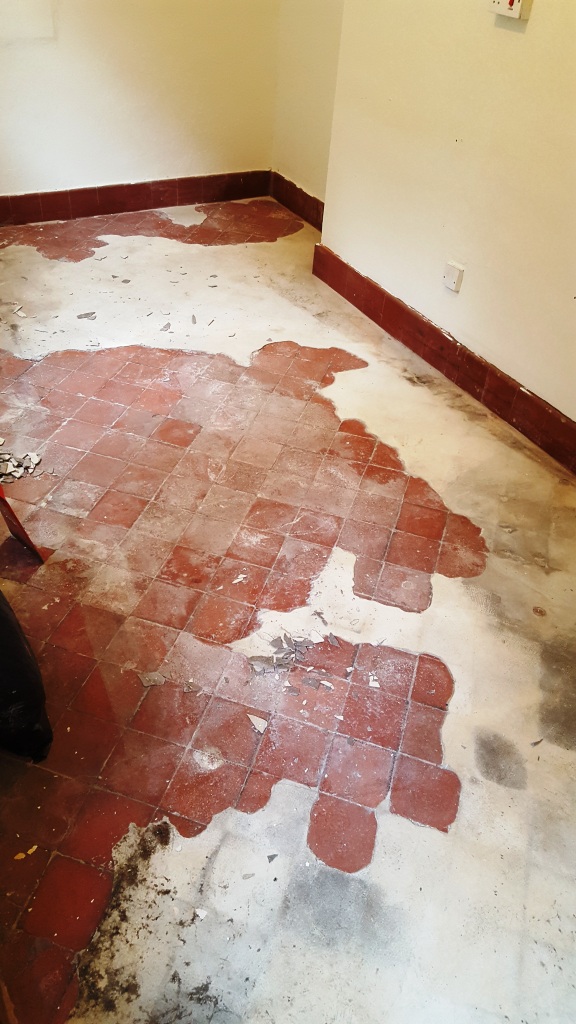
Images about Removing Quarry Tile Floor

Many professional installers can get you floor tile at a great discount, specifically when they are putting in the tile flooring. A number of the alternatives are inventory products therefore you will not have to wait for a particular order to come in. You are able to utilize a tile cutter or perhaps a glasscutter for small tasks, but for bigger projects you might have to have a wet saw.
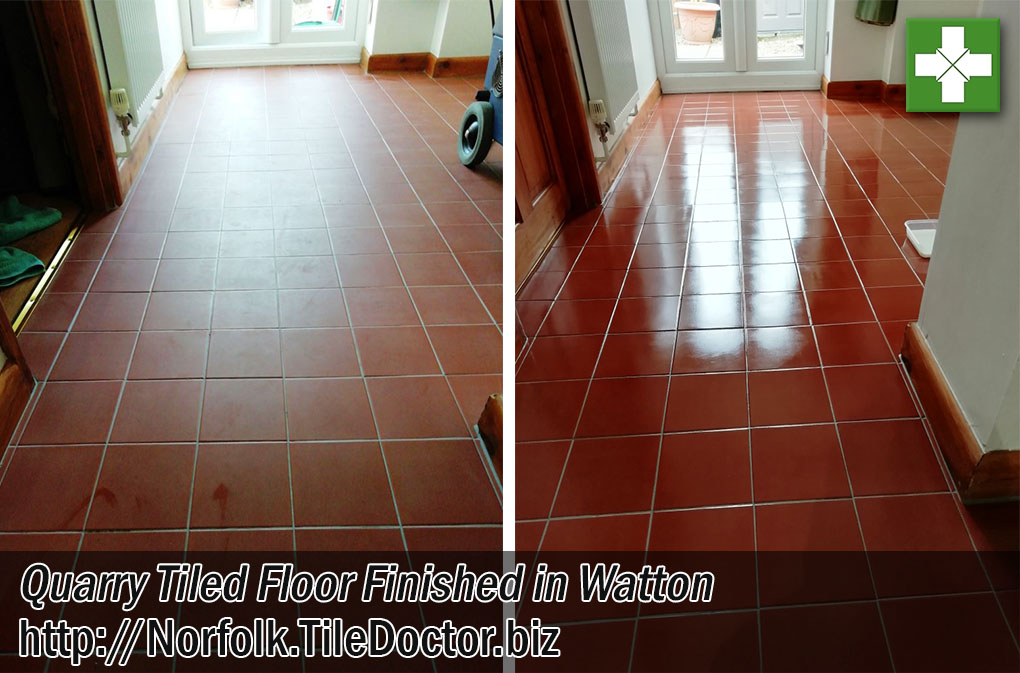
Removing Grout Haze from a new Quarry Tiled Floor in Norfolk
Tiles however are a lot easier to install but garage tile flooring does come with the own pros of its positives and negatives as we shall discover going ahead. And then, wipe the slim excess off the tiles and hang on at least 24 hours to them to set. Mosaic tile flooring is among the most treasured variations because of the high level of creativity you can make use of in having them in your home.
Removing Tar from Quarry Tiles in Rugby – Warwickshire Tile Doctor

Cleaning and Removing Grout Haze from a Quarry Tiled floor in

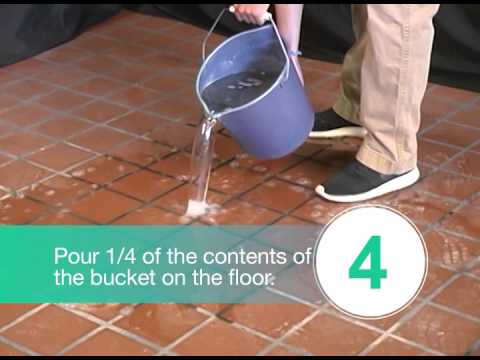
Quarry TIle Cleaning Demonstration.
Commercial Kitchen Quarry Tile Cleaning u0026 Sealing

How to Remove Quarry Tile u0026 Level New Tiles
Resolving Quarry Tile Installation Problems – Quarry Tiled Floors

Quarry Tile Cleaning

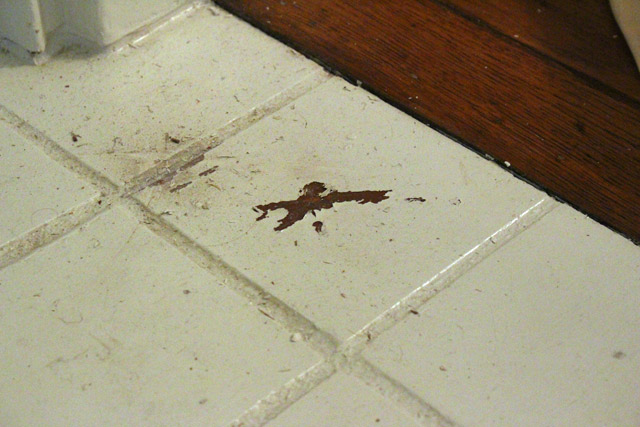
Removing Paint Spots from Black and Red Quarry Tiles in

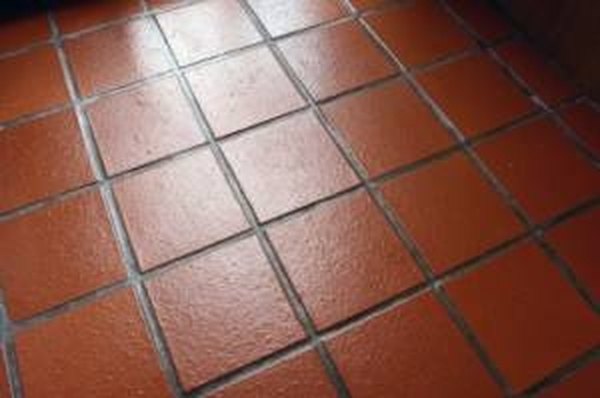
How to Clean Quarry Tile Floors
Removing Tile Paint from Quarry Tiles in Berkshire Cleaning Tile

Cleaning and Removing Grout Haze from a Quarry Tiled floor

Removing Cement Screed from a Quarry Tiled Floor in South Wales
Related Posts:
- Best Robot Cleaner For Tile Floors
- Penny Tile Floor And Decor
- Best House Shoes For Tile Floors
- Does A Roomba Work On Tile Floors
- Top Rated Steam Mops For Tile Floors
- Robot Vacuum For Tile Floors
- Tile Flooring For Screened Porch
- What Is The Best Grout Sealer For Tile Floors
- Best Way To Mop Porcelain Tile Floors
- What Is The Best Mop To Clean Ceramic Tile Floors
Removing Quarry Tile Floor
Quarry tile floors have long been a popular choice for many homeowners due to their durability and timeless appeal. However, there may come a time when you want to update your flooring and replace the quarry tiles. Whether you are looking to install a new type of flooring or simply want to refresh the look of your space, removing quarry tile floor can be a daunting task. In this article, we will guide you through the step-by-step process of removing quarry tile floor, including useful tips and FAQs to ensure a smooth and successful removal.
I. Preparing for Quarry Tile Removal
Before you dive into removing the quarry tile floor, it is essential to prepare adequately for the task at hand. Taking the time to gather the necessary tools and protect your surrounding areas will make the removal process more efficient and minimize potential damage.
1. Gather Your Tools
To effectively remove quarry tile floor, you will need several tools on hand:
– Safety goggles: Protect your eyes from any flying debris and dust.
– Work gloves: Keep your hands safe from sharp edges during the removal process.
– Dust mask: Prevent inhalation of dust particles that may be released during demolition.
– Pry bar: Used to pry up individual tiles from the floor.
– Hammer: Aid in breaking up any stubborn tiles or adhesive.
– Chisel: Useful for removing grout between tiles or chipping away at stubborn sections.
– Floor scraper: Helps remove any remaining adhesive or mortar after tile removal.
– Bucket and sponge: For cleaning up debris and residue.
2. Clear the Area
Start by removing all furniture, appliances, or any other items from the room where you plan to remove the quarry tile floor. Clearing out these objects will provide you with ample space to work and avoid any accidental damage.
3. Protect Surrounding Areas
Quarry tile floor removal can generate a significant amount of dust and debris. To prevent this from spreading to other areas of your home, take precautionary measures to protect adjacent surfaces. Use plastic sheeting or drop cloths to cover furniture, countertops, and any other items that cannot be moved from the room. Additionally, consider sealing off doorways with plastic barriers to contain the dust.
II. Removing Quarry Tile Floor
Once you have prepared the area and gathered your tools, you are ready to start removing the quarry tile floor. Follow these step-by-step instructions for a successful removal process:
1. Start with a Corner Tile
Begin by selecting a corner tile as your starting point. This will allow you to work your way outward and create a systematic approach to tile removal. Insert the pry bar beneath the edge of the corner tile and gently lift it up. Apply gradual pressure until the tile starts to loosen from the floor.
2. Remove Adjacent Tiles
Once you have successfully removed the corner tile, continue removing the tiles adjacent to it in a similar manner. Insert the pry bar beneath each tile’s edge and lift it up slowly but firmly. Be cautious not to force the pry bar too forcefully, as this can damage surrounding tiles or cause injury.
3. Break Up Stubborn Tiles
Some quarry tiles may be more stubborn and difficult to remove due to strong adhesive or mortar underneath them. In such cases, use a hammer and chisel to break up the tile into smaller pieces for easier removal. Place the chisel at an angle against the edge of the tile and gently tap it with a hammer until it cracks into manageable sections.
4. Remove Gr Out and Adhesive
After removing all the quarry tiles, you may still have grout or adhesive residue left on the floor. Use a chisel to chip away at any remaining grout between the tiles. Be careful not to damage the underlying floor surface. Next, use a floor scraper to remove any leftover adhesive or mortar. Apply firm pressure and scrape in a back-and-forth motion until the surface is smooth and clean.
5. Clean Up Debris and Residue
Once you have removed all the quarry tiles and cleaned up any remaining grout or adhesive, it’s time to clean up the debris. Use a bucket and sponge to wipe down the floor and remove any dust or residue. Rinse out the sponge regularly to ensure effective cleaning.
6. Dispose of Debris Properly
Properly dispose of all debris, including broken tiles, grout, adhesive, and dust. Place them in a heavy-duty trash bag or other suitable container for disposal. Depending on your local regulations, you may need to take them to a designated waste disposal facility.
III. Tips for Quarry Tile Floor Removal
Here are some additional tips to make your quarry tile floor removal process smoother:
1. Work in Sections
Instead of trying to remove all the tiles at once, work in smaller sections. This will make it easier to manage and reduce any potential damage or accidents.
2. Take Breaks
Quarry tile floor removal can be physically demanding work. Take breaks as needed to rest and avoid overexertion.
3. Wear Protective Gear
Always wear work gloves and a dust mask to protect yourself from potential injuries and inhalation of dust particles.
4. Use Caution with Power Tools
If using power tools such as a hammer or chisel, use caution and follow the manufacturer’s instructions. Improper use can cause damage or personal injury.
5. Seek Professional Help if Needed
If you are unsure about removing quarry tile flooring yourself or encounter any challenges during the process, it is best to seek professional help. They have the experience and tools necessary to complete the job safely and efficiently.
Removing quarry tile flooring can be a challenging task, but with the right tools, preparation, and technique, you can successfully remove it and prepare for your next flooring project.