At this point imagine a shiny new searching garage floor, boxes neatly stored, as well as ample storage shelves on the walls. By putting adequate defense on the floor you are going to be in a position to hold fluids that leak out of cars from staining or even causing unbearable fragrances. In either case, the mat is possibly the easiest and most inexpensive.
Images about Stain Garage Floor Yourself
Garage flooring coatings have developed advancement of engineering and in different & new levels of coatings. Each flooring has bad and good characteristics, for this reason you need to carry out a little home effort to pick the right one for you. Repeated connection with corrosive agents, including oil, antifreeze, and rock salt can cause permanent cracks and other considerable hurt to concrete floors.
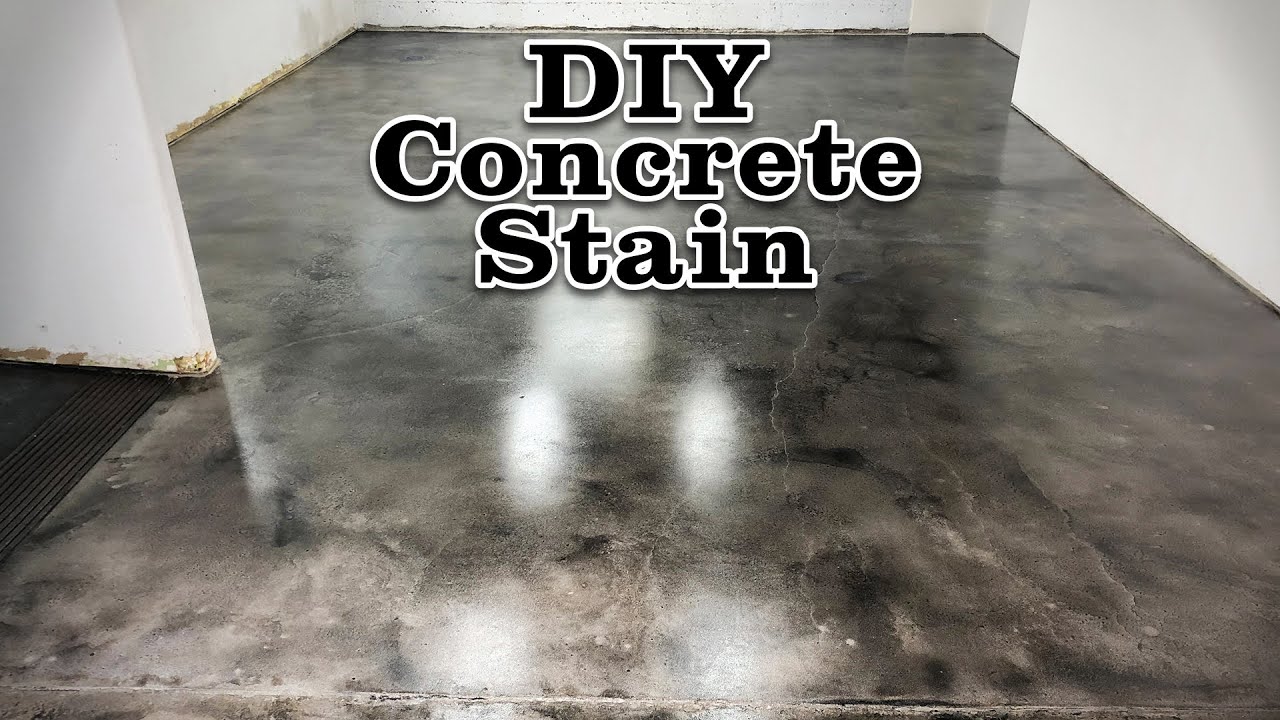
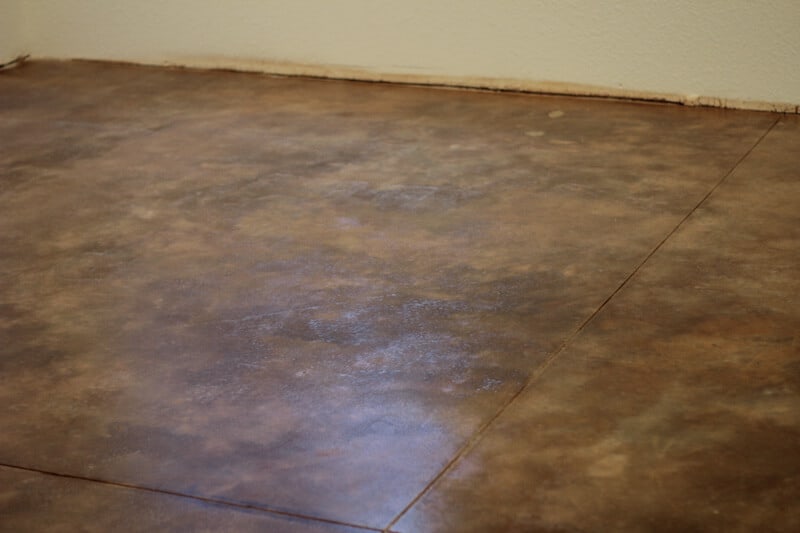
The Beginneru0027s Guide to DIY Stained Concrete, A Step by Step Tutorial

Which can accommodate several products on the wall, thereby preserving the floor from getting damaged. The investment in your garage floor may be a great strategy to add value to your house as well as garage while indulging the creative side of yours. Multiple varieties of this particular sort of tile are available. Garage flooring is actually just like the finishing touches for a master piece.
How Much Does it Cost to Stain Concrete Floors Yourself?
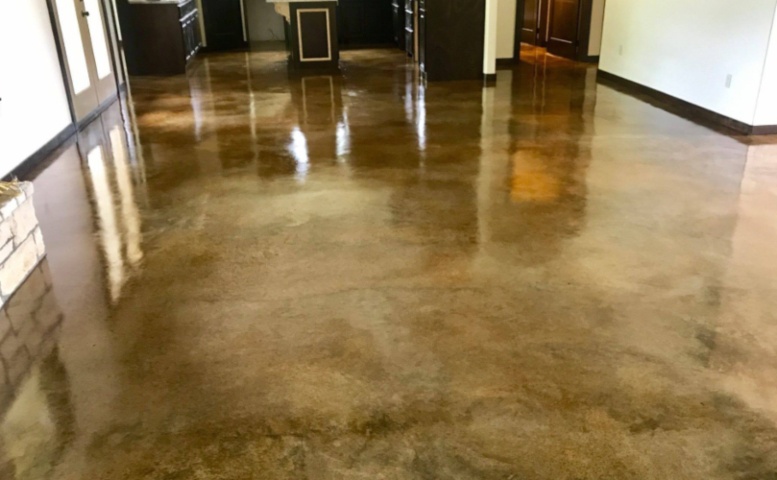
Stained Garage Concrete Floor Turned Man Cave Direct Colors
The Beginneru0027s Guide to DIY Stained Concrete, A Step by Step Tutorial

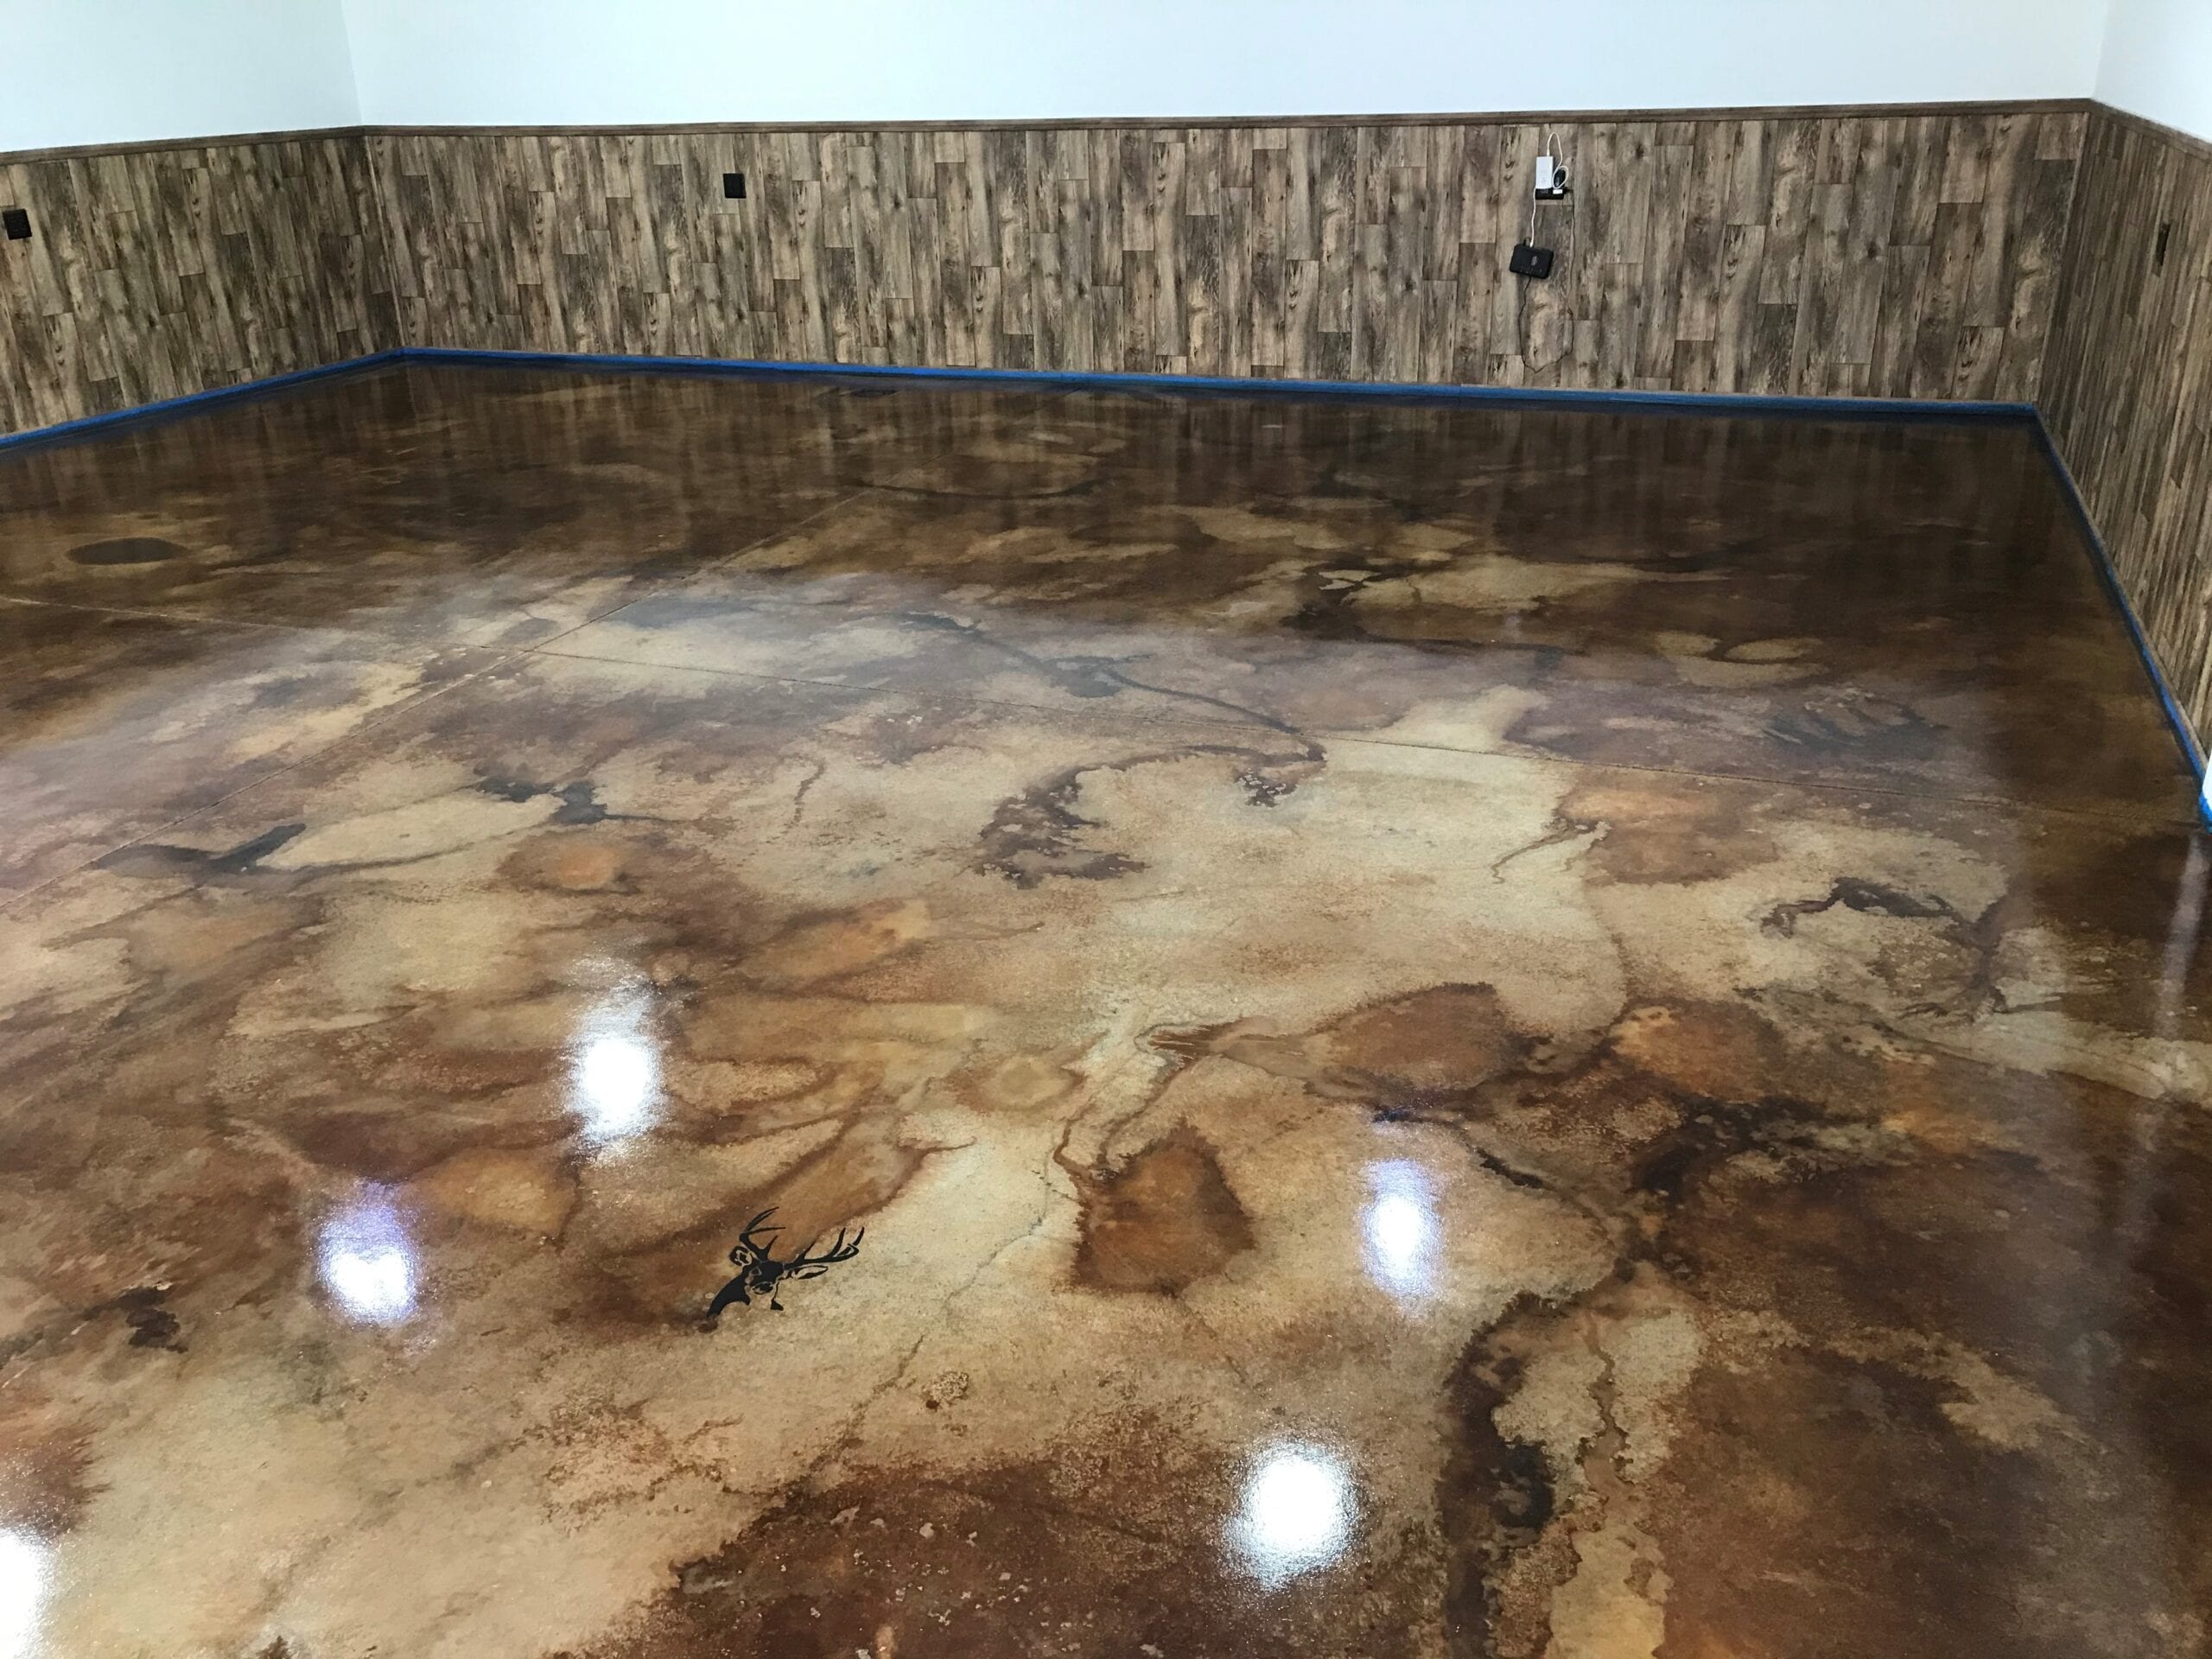
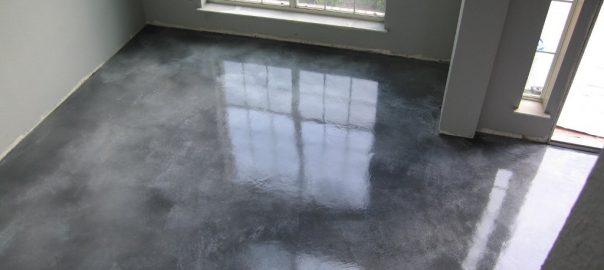
DIY Basement Floor Stain and finish, 2 colors, Without Etching!
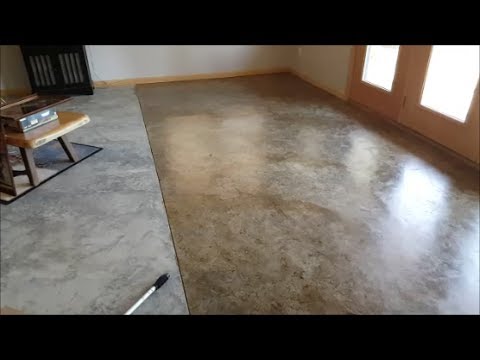
DIY Stained Concrete and Clear Top Coat for a Workshop Floor All
How to Acid Stain Concrete Floors u2022 The Prairie Homestead
DIY Stained Concrete – How To Revitalize Any Concrete Surface – Do
Stained Concrete Floors: Cost, How to Stain DIY, Maintenance Tips
How to Stain Concrete Floors – Full Step by Step Tutorial with Video
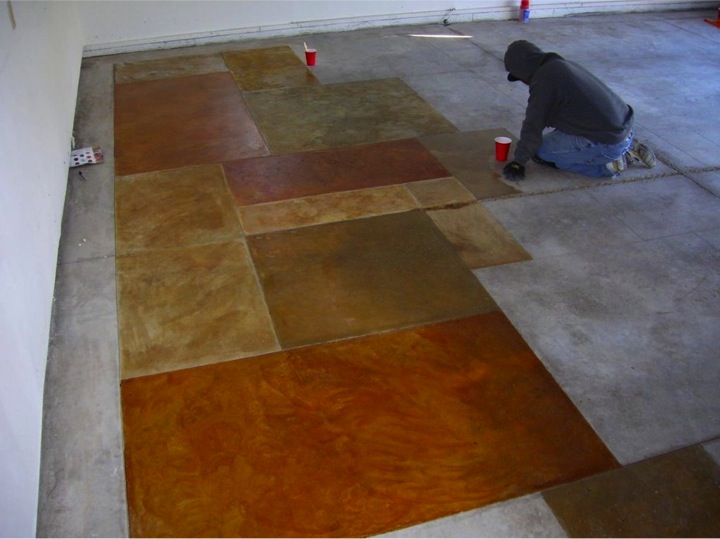
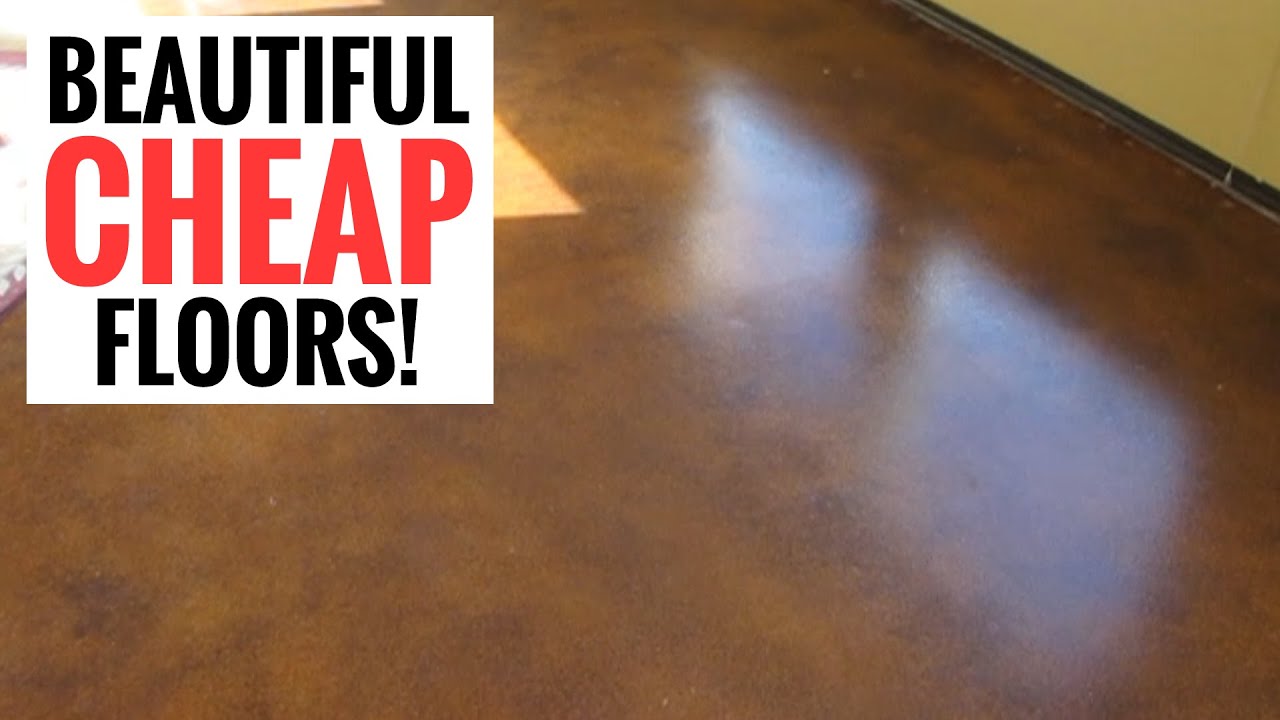
Amazingly cheap and stunningly beautiful floors – Easy DIY Stained Concrete
Staining A Concrete Floor Is Easy, Just Follow Our Step By Step
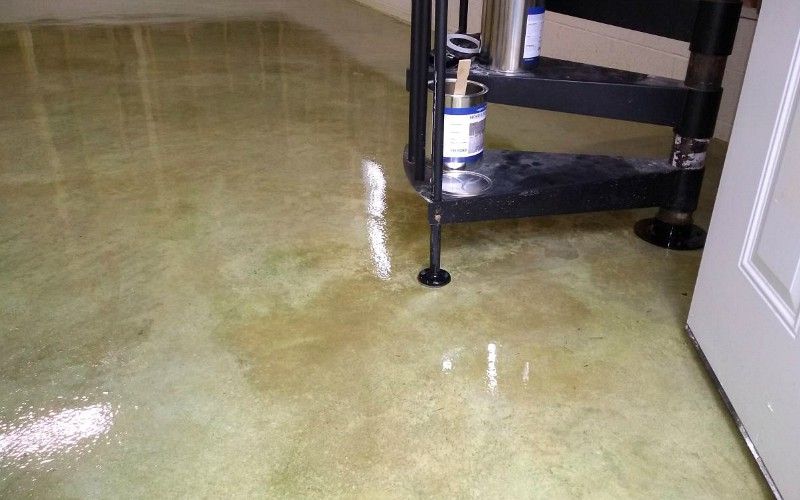
Why this Water-based Concrete Stain is Better than Acid All
Related Posts:
- Garage Flooring On A Roll
- Garage Floor Mats Cars Snow
- Garage Floor Coating Colors
- Best Garage Floor Mats For Cars
- Sherwin Williams Garage Floor Epoxy Colors
- Garage Floor Vinyl Tiles
- Epoxy Garage Floor Covering
- Garage Floor Drains Covers
- Garage Floor Liners
- Plywood Garage Floor
Staining Your Garage Floor Yourself: A Comprehensive Guide
Introduction:
Having a clean and visually appealing garage floor not only enhances the overall look of your space but also increases its durability and resistance to stains. One of the most effective ways to achieve this is by staining your garage floor. While many people may think that staining a garage floor is a job best left to professionals, it is actually a task that you can easily tackle yourself with the right tools, materials, and knowledge. In this comprehensive guide, we will walk you through the step-by-step process of staining your garage floor, providing detailed information and tips along the way.
I. Preparing Your Garage Floor:
Before diving into the staining process, it is crucial to properly prepare your garage floor to ensure optimal results. Here are the necessary steps you should follow:
1. Clearing the Space:
Start by removing all items from your garage, including vehicles, tools, and any other belongings. This will provide you with ample room to work and prevent any potential damage or hindrance during the staining process.
2. Cleaning the Surface:
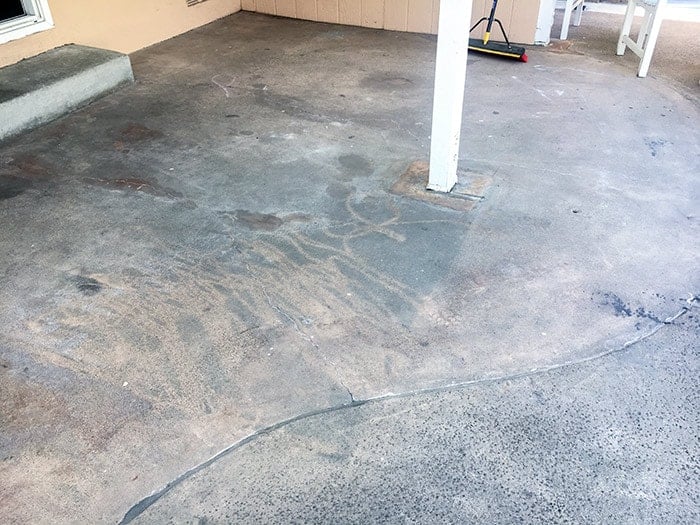
Thoroughly clean your garage floor using a high-quality concrete cleaner and degreaser. Scrub the surface with a stiff bristle brush or a power washer to remove any dirt, oil stains, or grime that may have accumulated over time. Once cleaned, rinse the floor thoroughly and allow it to dry completely.
FAQs:
Q: Can I use regular household cleaners for cleaning my garage floor?
A: It is recommended to use specially formulated concrete cleaners and degreasers as they are designed to effectively remove stubborn stains without causing any damage to the surface.
Q: How long does it take for the garage floor to dry?
A: The drying time can vary depending on factors such as humidity levels and temperature. Generally, it takes around 24-48 hours for a concrete floor to dry completely.
II. Repairing Any Damages:
Before proceeding with the staining process, it is essential to address any cracks or damages on your garage floor. Follow these steps to ensure a smooth and even surface:
1. Inspecting for Cracks:
Thoroughly inspect your garage floor for any cracks or holes. Use a flashlight to check for hidden damages that may not be immediately visible.
2. Filling the Cracks:
If you come across any cracks or holes, use a concrete patching compound to fill them in. Make sure to follow the manufacturer’s instructions and apply the compound evenly using a putty knife or trowel. Allow the compound to dry completely before moving on.
3. Smoothing the Surface:
After the concrete patching compound has dried, use a concrete grinder or sander to smooth out any rough areas or uneven patches on your garage floor. This step is crucial for achieving a seamless and professional-looking finish.
FAQs:
Q: Can I skip the step of filling cracks in my garage floor?
A: It is highly recommended not to skip this step as cracks can worsen over time and compromise the integrity of your floor. Filling them ensures a solid foundation for the stain.
Q: Do I need any special tools for smoothing out the surface?
A: While specialized equipment like concrete grinders or sanders can make the process easier and more efficient, you can also use handheld tools like sandpaper or a sanding block for smaller areas.
III. Applying the Stain:
Now that you have prepared and repaired your garage floor, it is time to apply The stain. Follow these steps for a successful staining process:
1. Choosing the Right Stain:
Select a high-quality concrete stain that is specifically designed for garage floors. Consider factors such as color, finish, and durability to ensure the best results.
2. Testing the Stain:
Before applying the stain to the entire floor, it is recommended to test it in a small, inconspicuous area to ensure that you are satisfied with the color and finish.
3. Applying the Stain:
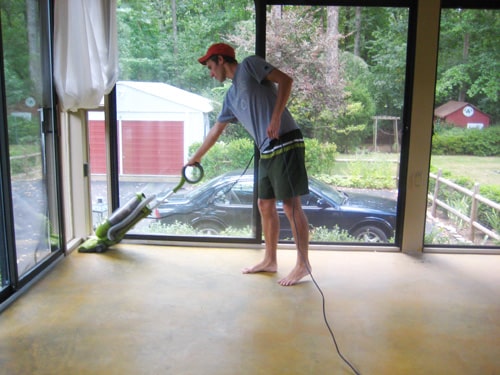
Follow the manufacturer’s instructions for applying the stain. Use a roller or sprayer to evenly distribute the stain on the garage floor. Work in small sections to prevent any overlap lines or uneven application.
4. Allowing Drying Time:
After applying the stain, allow it to dry completely according to the manufacturer’s instructions. This can take anywhere from 24-72 hours, depending on factors such as humidity levels and temperature.
5. Sealing the Stained Floor:
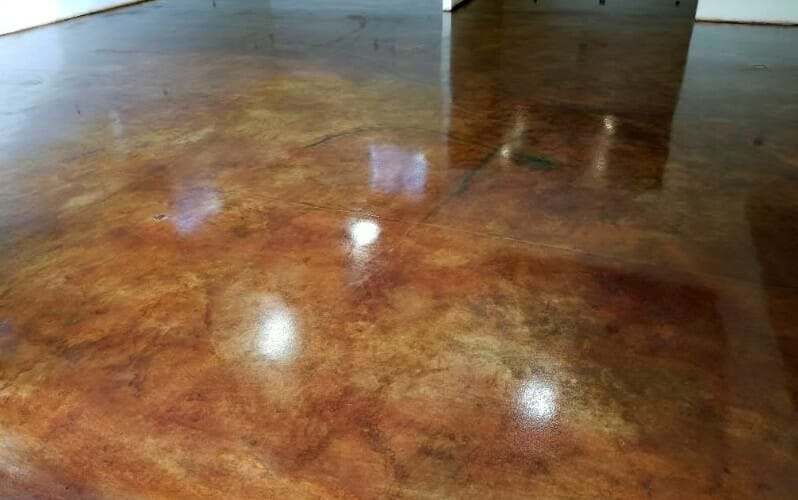
Once the stain has dried, apply a concrete sealer to protect and enhance the appearance of your garage floor. Use a roller or sprayer to evenly coat the surface with the sealer and allow it to dry completely before using your garage.
FAQs:
Q: Can I apply multiple coats of stain for a more intense color?
A: Yes, you can apply multiple coats of stain to achieve a deeper color. However, make sure to follow the manufacturer’s instructions for drying time between coats.
Q: How long does it take for the sealer to dry?
A: The drying time for the sealer can vary depending on factors such as humidity levels and temperature. Generally, it takes around 24-48 hours for the sealer to dry completely.
By following these steps and taking necessary precautions, you can successfully stain your garage floor and transform it into a durable and visually appealing space. Remember to always read and follow the manufacturer’s instructions for best results.