If this tricky procedure is done correctly, the vinyl is going to be ready to last for many years. Others have experienced backing and glue program is needed on the floor surface for set up. Peel and stick vinyl could be a cheap and easy DIY project, although you've to remember that because it's cheap, it's at probably the lowest end of quality and durability. The bounce of the heel will be that much sharper, because of the organic rebound made by these tiles.
Images about Patching Compound For Vinyl Flooring
Durability aside, individuals who have used vinyl flooring say that it is very comfy to stand on even when you're barefoot. High end vinyl flooring can today be applied to replicate the overall look of just about any other type of flooring from marble to mosaic. Hardwood is a lovely choice, though it isn't great for laundry rooms or bathrooms.
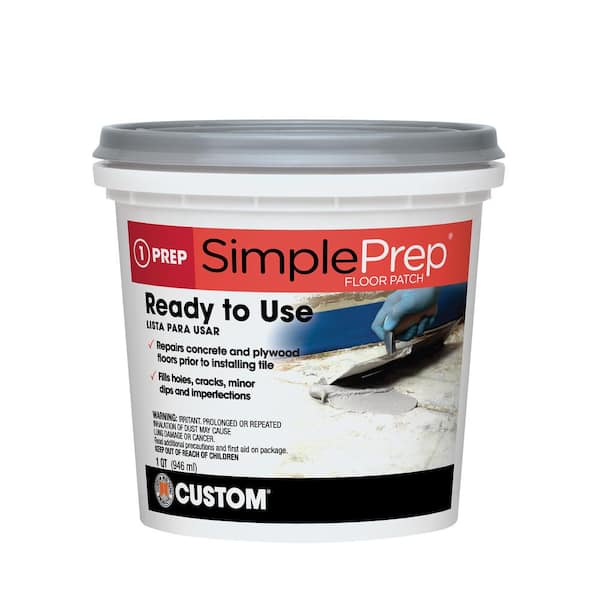
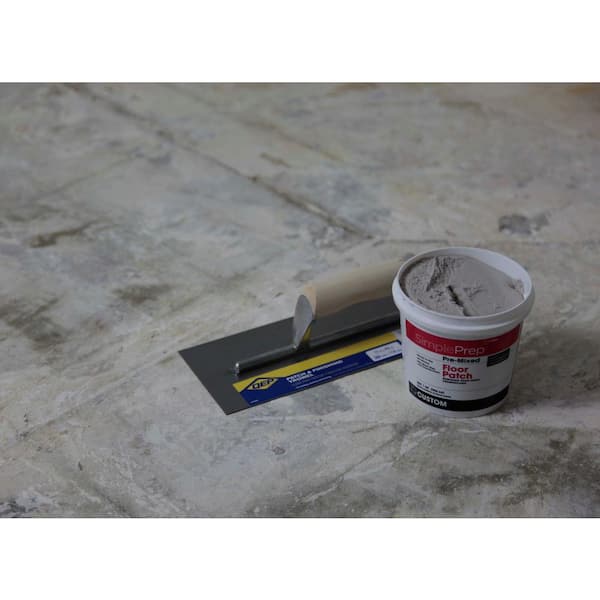
Custom Building Products SimplePrep 1 Qt. Pre-Mixed Floor Patch FPQT
Vinyl can be inlaid or printed. Another good thing is that vinyl flooring is reluctant to staining & scratching which would be great if you've pets at your house. One of the biggest advantages of vinyl flooring is that it's a great deal of design options. Vinyl is the floor covering materials preferred by quite a few homeowners because of its the, durability, and affordability plethora of designs available.
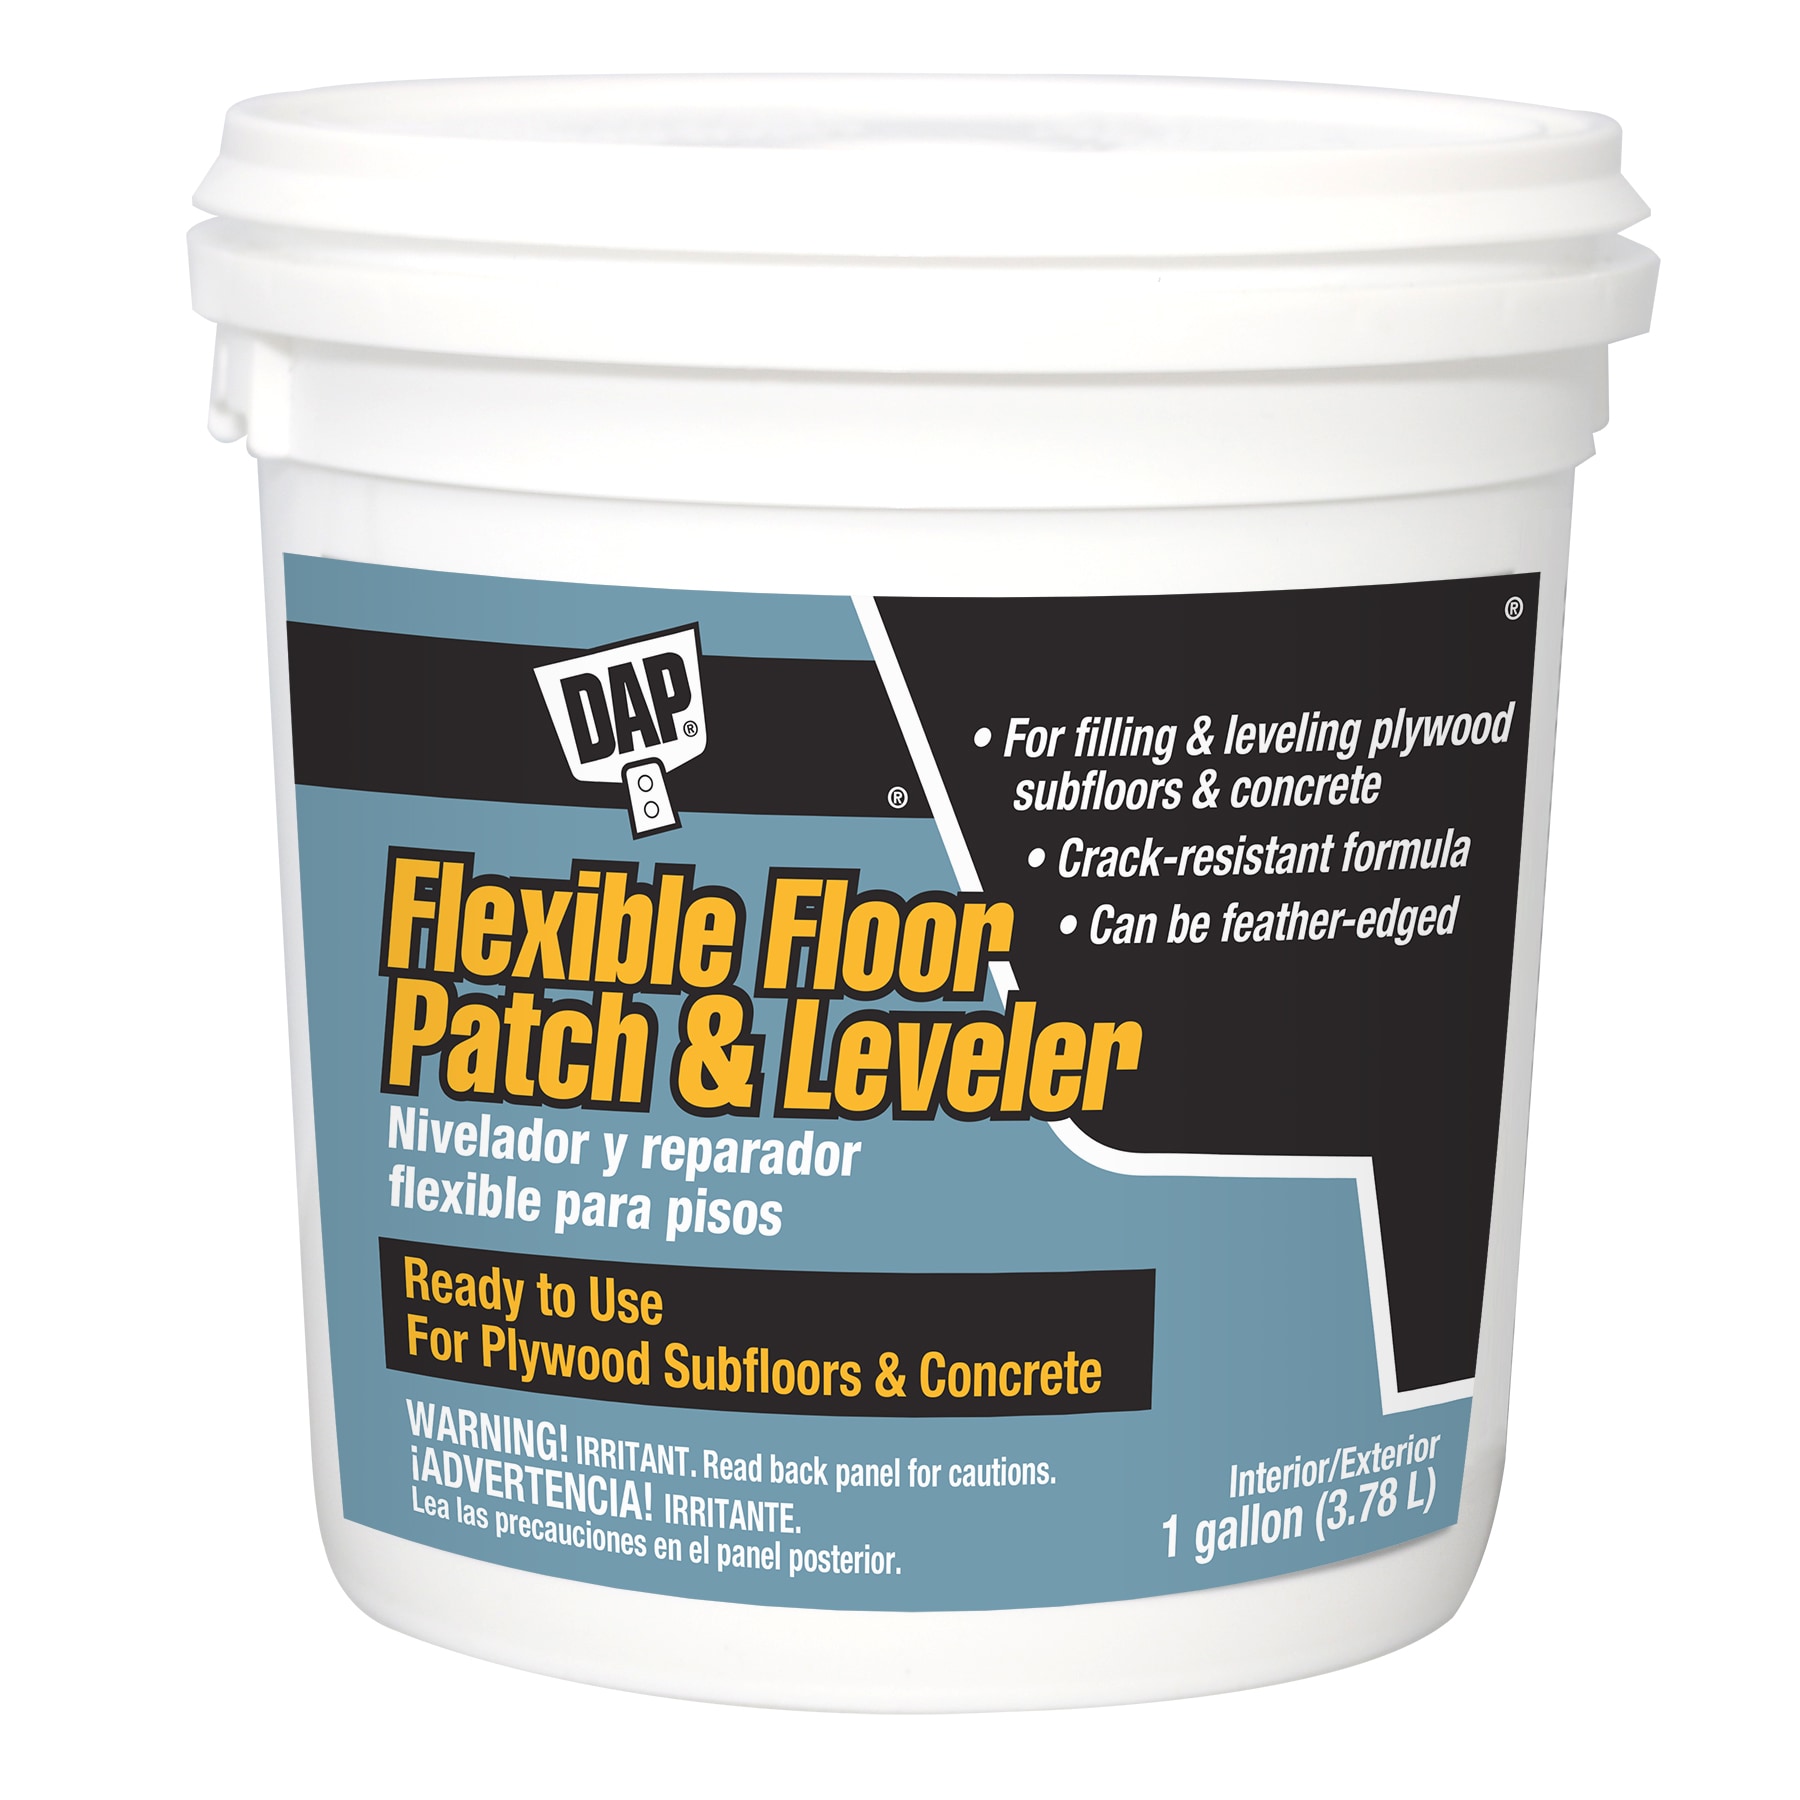
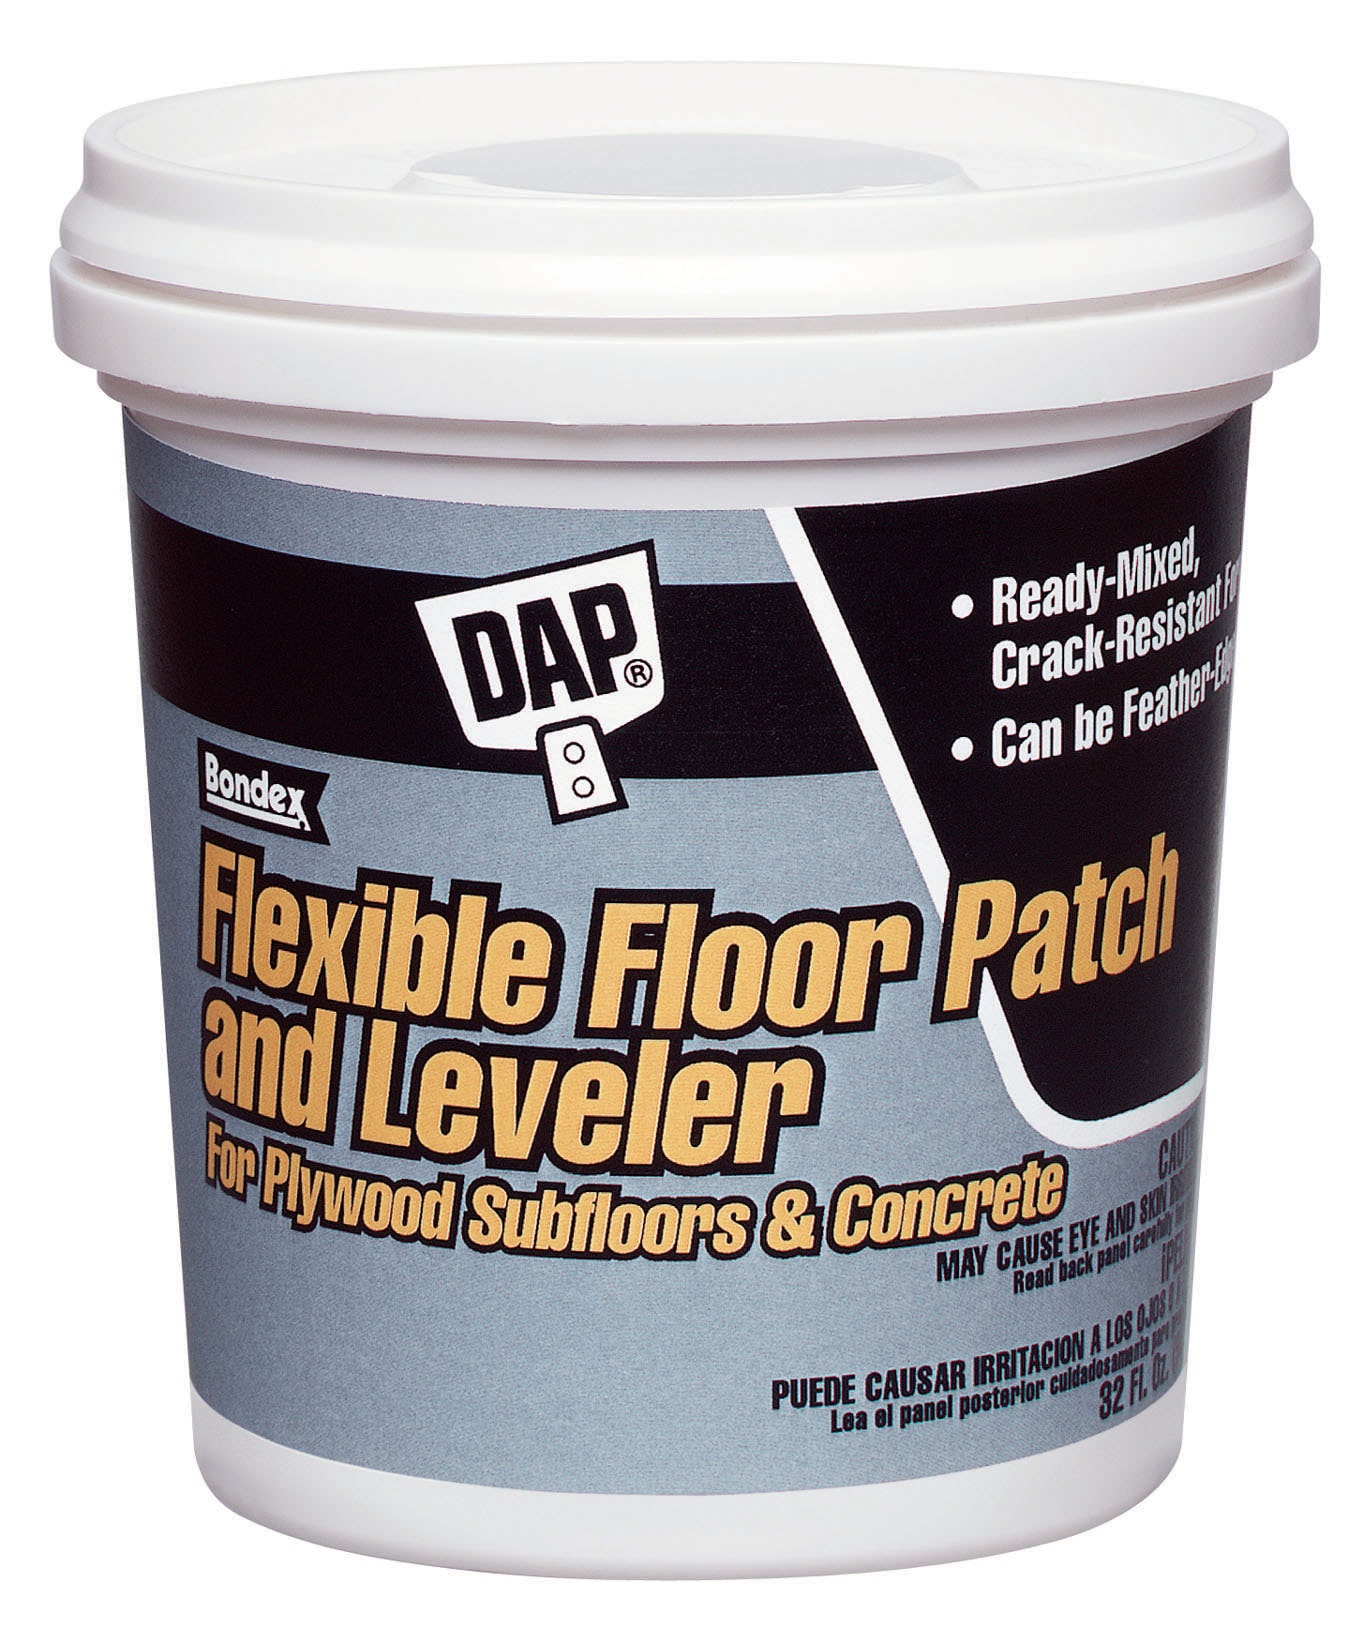
DAP Flexible floor patch and leveler 32-oz Gray Patching Compound
Custom Building Products SimplePrep 1 Qt. Pre-Mixed Floor Patch FPQT
Flexible Floor Patch and Leveler DAP Global

DAP Flexible floor patch and leveler 32-oz Gray Patching Compound

MAPEI Planipatch 25-lb Powder Skimcoat and Floor Patch

Repairing Vinyl Flooring (DIY) Family Handyman

What to Use for Filler Before Laying Vinyl Flooring

VinylFix Vinyl Flooring Repair Kit

Fast Fixes for Vinyl Floors – This Old House

How to Prep a Subfloor for Luxury Vinyl Flooring

How to Install Vinyl Plank Flooring
:max_bytes(150000):strip_icc()/easy-install-plank-vinyl-flooring-1822808-03-df5794367e4843af866299a96fd0f8f6.jpg)
How to Patch Vinyl Flooring

Related Posts:
- Accenture Vinyl Flooring
- Medium Oak Vinyl Flooring
- How Do You Get Vinyl Flooring Up
- Sustainable Vinyl Flooring
- Why Does Vinyl Flooring Bubble
- Vision Engineered Luxury Vinyl Flooring
- Liquid Vinyl Flooring
- Domo Vinyl Flooring
- Atlantic Vinyl Flooring
- Blue And White Vinyl Floor Tiles
Patching Compound for Vinyl Flooring: Repairing and Restoring Your Floors with Ease
Introduction:
Vinyl flooring is a popular choice for homeowners due to its durability, affordability, and ease of maintenance. However, even the most well-maintained vinyl floors can experience damage over time, whether it be from heavy furniture, accidental scratches, or other wear and tear. Fortunately, with the right tools and materials, you can easily repair and restore your vinyl flooring to its former glory. In this article, we will delve into the world of patching compound for vinyl flooring, exploring its benefits, applications, and providing step-by-step instructions on how to effectively use this product.
1. Understanding Patching Compound for Vinyl Flooring:
Patching compound is a versatile material specifically designed for repairing vinyl flooring. It is a thick paste-like substance that can be applied directly onto damaged areas to fill in gaps, cracks, or holes. This compound adheres well to vinyl surfaces and dries quickly, allowing for easy sanding and blending with the rest of the floor.
FAQs:
Q: Can I use regular joint compound instead of patching compound for vinyl flooring?
A: Regular joint compound is not recommended for repairing vinyl flooring as it may not adhere properly or provide the necessary flexibility. Patching compound is specifically formulated to work with vinyl surfaces and offers better durability and longevity.
Q: Is patching compound suitable for all types of vinyl flooring?
A: Patching compound is compatible with most types of vinyl flooring, including sheet vinyl, luxury vinyl plank (LVP), luxury vinyl tile (LVT), and vinyl composite tile (VCT). However, it’s always best to check the manufacturer’s recommendations or consult a professional if you’re unsure about compatibility.
2. When to Use Patching Compound:
Patching compound should be used when there are visible signs of damage on your vinyl flooring. This can include small chips or gouges, scratches, or areas where the vinyl has lifted or bubbled. It is essential to address these issues promptly to prevent further damage and maintain the overall integrity of your flooring.
FAQs:
Q: Can I use patching compound for larger areas of damage?
A: Patching compound is primarily designed for minor repairs and touch-ups. For larger areas of damage, it may be more appropriate to replace the affected vinyl planks or tiles entirely. Patching compound is best suited for localized repairs rather than comprehensive floor restoration.
Q: Do I need any special tools to apply patching compound?
A: While not necessarily required, some tools can help facilitate the application process. These may include a putty knife, sandpaper, a trowel, and a hairdryer or heat gun for accelerating the drying process. However, using just a putty knife and sandpaper can often suffice.
3. Preparation and Application:
Before applying patching compound to your vinyl flooring, it’s crucial to prepare the damaged area properly. Start by thoroughly cleaning the area with a mild detergent and warm water, removing any dirt or debris that could interfere with adhesion. Once clean, rinse the area thoroughly and allow it to dry completely before proceeding.
Next, using a putty knife or similar tool, apply the patching compound directly onto the damaged area. Be sure to spread the compound evenly across the surface, ensuring that it fills in any gaps or holes completely. If necessary, use a trowel to smooth out the compound and create a seamless finish.
FAQs: Q: How long does patching compound take to dry?
A: The drying time for patching compound can vary depending on factors such as temperature and humidity. Generally, it can take anywhere from a few hours to overnight for the compound to fully dry. It’s recommended to wait at least 24 hours before walking on or placing furniture on the repaired area.
Q: Can I sand the patched area after it has dried?
A: Yes, once the patching compound has fully dried, you can lightly sand the repaired area to achieve a smooth and blended finish. Use fine-grit sandpaper and be cautious not to sand too aggressively, as this can damage the surrounding vinyl flooring.
4. Finishing Touches:
After the patched area has dried and been sanded, you can further blend it with the rest of the floor by applying a matching vinyl floor sealant or finish. This can help create a uniform appearance and provide extra protection against future damage.
FAQs:
Q: How do I find a matching vinyl floor sealant or finish?
A: It’s best to consult with the manufacturer of your vinyl flooring or visit a specialty flooring store to find a matching sealant or finish. They will be able to recommend products that are specifically designed for your type and brand of flooring.
Q: How often should I reapply the vinyl floor sealant or finish?
A: The frequency of reapplication will depend on factors such as foot traffic and cleaning routines. Generally, it’s recommended to reapply sealant or finish every 1-3 years or as needed to maintain the appearance and protection of your vinyl flooring.