Solid wood kitchen flooring is another option that can looked into in relation to kitchen floors. Heading right ahead to the area home improvement of yours or DIY store may seem to be your initial option although it'd also be a good idea if you know what you are searching for. It is manufactured from industrial cork shavings or maybe slices of corks of bottles.
Images about Steam Cleaning Kitchen Floor Tiles
:max_bytes(150000):strip_icc()/cleaning-tile-grout-with-steam-4125933_08-5b7b26b46eae410ca99baa3475c24cbe.jpg)
These're the qualities which make ceramic tiles the most sought-after flooring material, but in case you are a homeowner looking for a different style, you can find other kitchen flooring materials available in the market that could capture the taste of yours. You can find different styles of species of these flooring substances and they are available in various shades of colors.
How to Use a Steam Cleaner for Grout
/cleaning-tile-grout-with-steam-4125933_07-fad8b57de10d426aa1f9f7bf096bb35c.jpg)
When you imagine the number of individuals or pets that go through the cooking area everyday it is obvious why the floor is able to get impaired and used. There are numerous classes of hardwood flooring. When you are out to buy kitchen floor tile, you don't just think of the look, the colors and the pattern that it's.
Best Steam Mop For Tile Floors – 2021 Reviews – The Flooring Girl

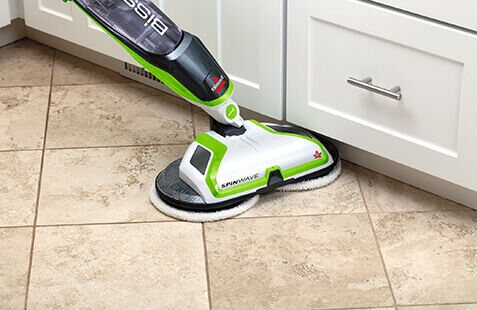
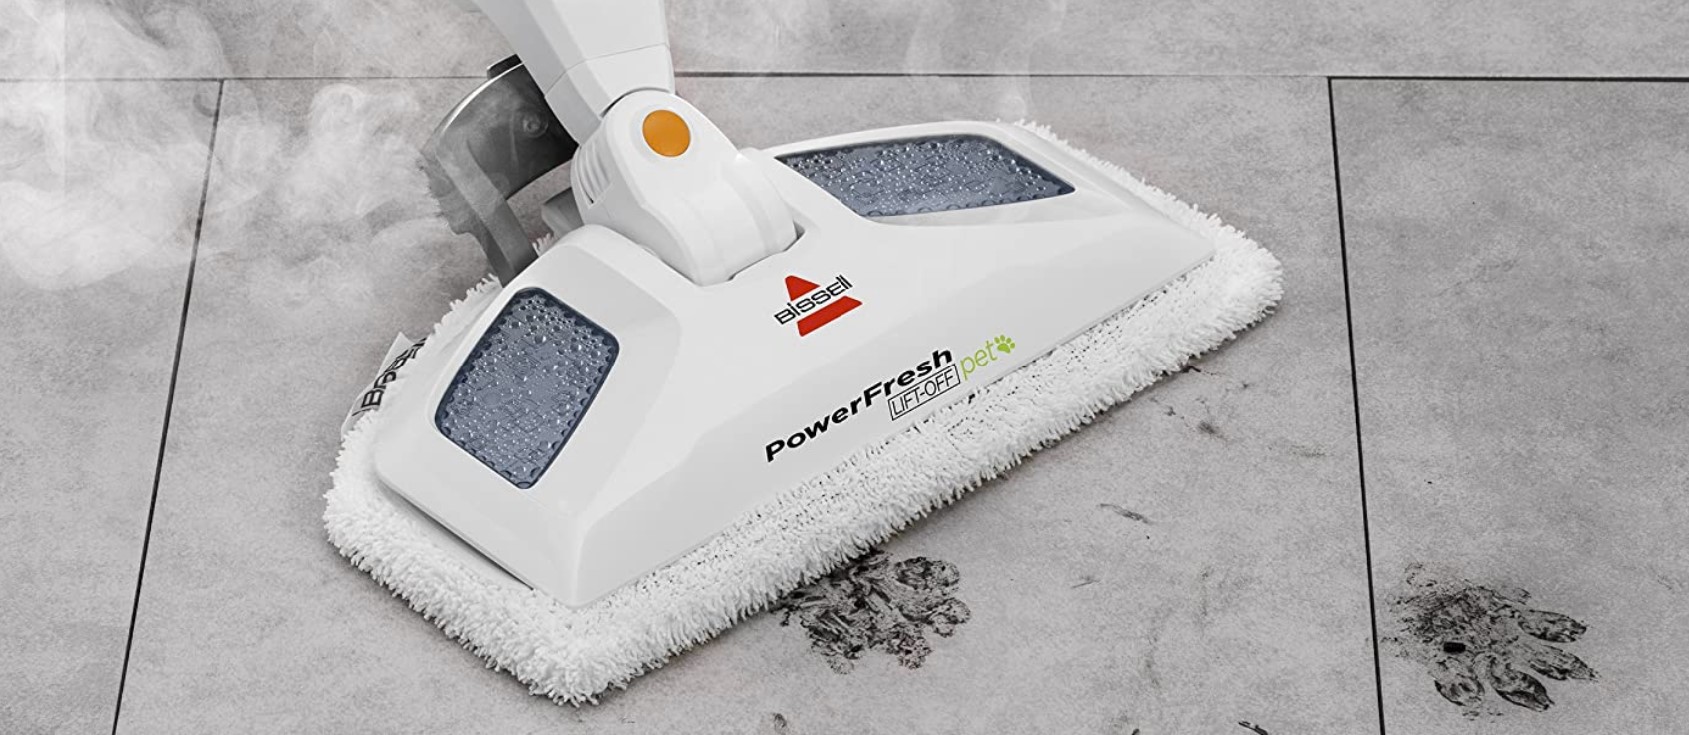
Best Way to Clean Tile Floors BISSELL® Tips
Steam Cleaning Grout and Tiles Quickly and Easily With Dupray

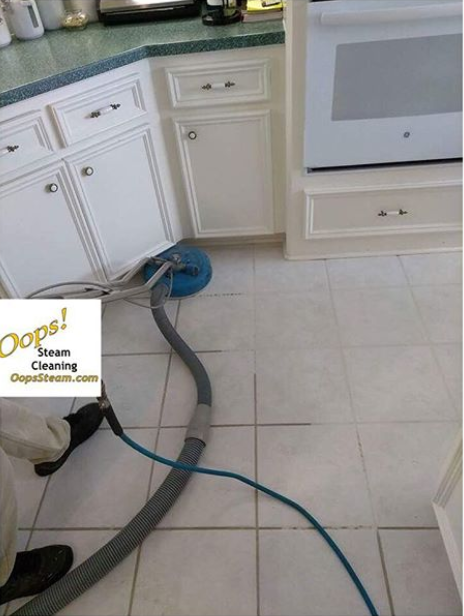
Tile Flooring Archives – Oops! Steam Cleaning
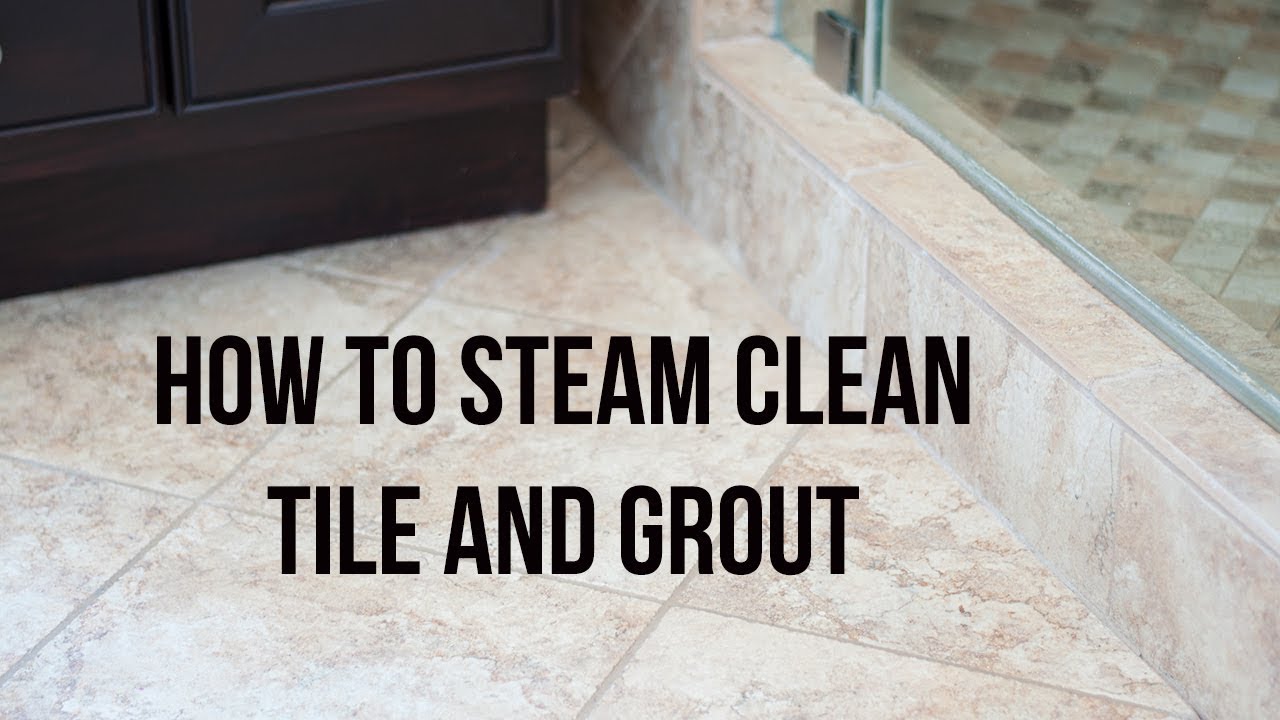
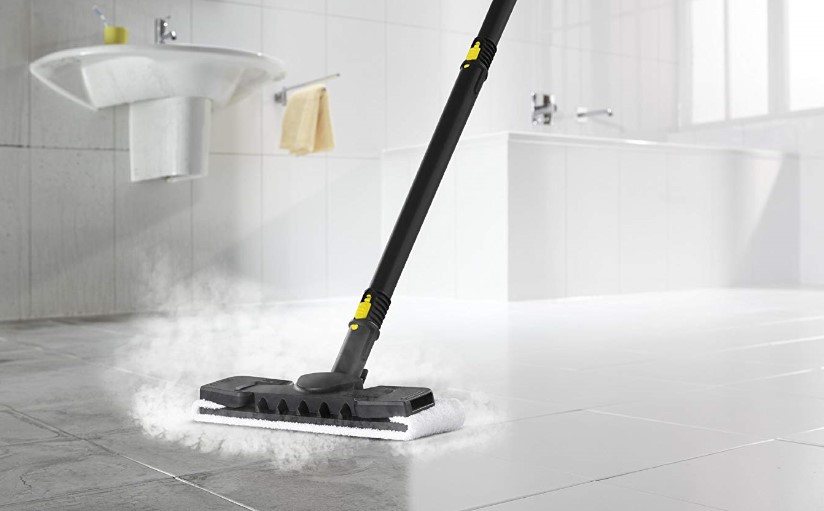
How To Steam Clean Tile Floors And Grout – Chemical Free
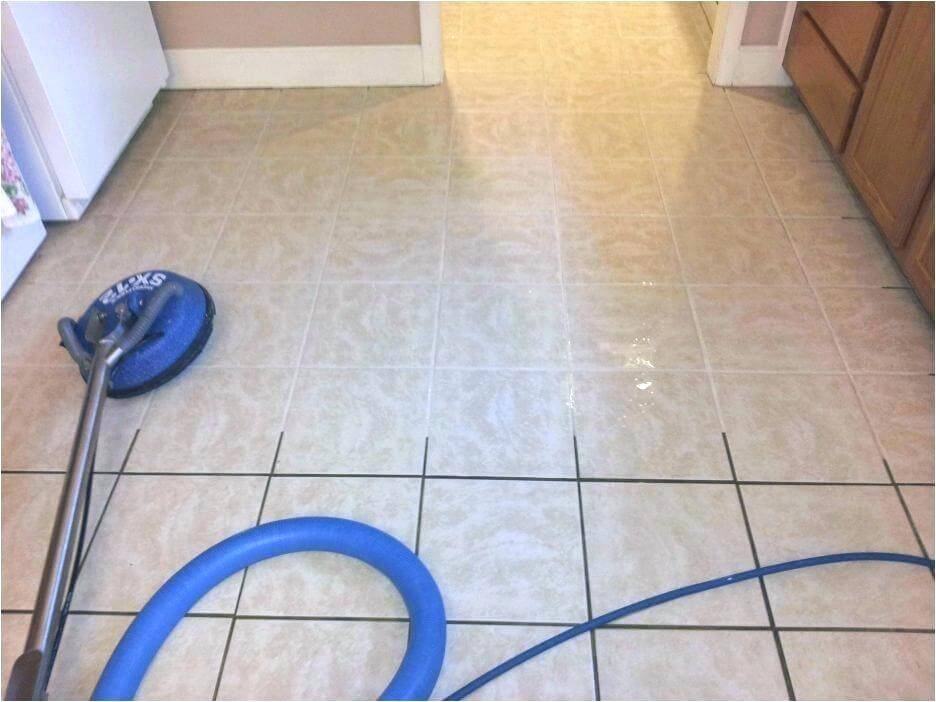
A very handy tool, this one. grout cleaning machine, grout cleaner

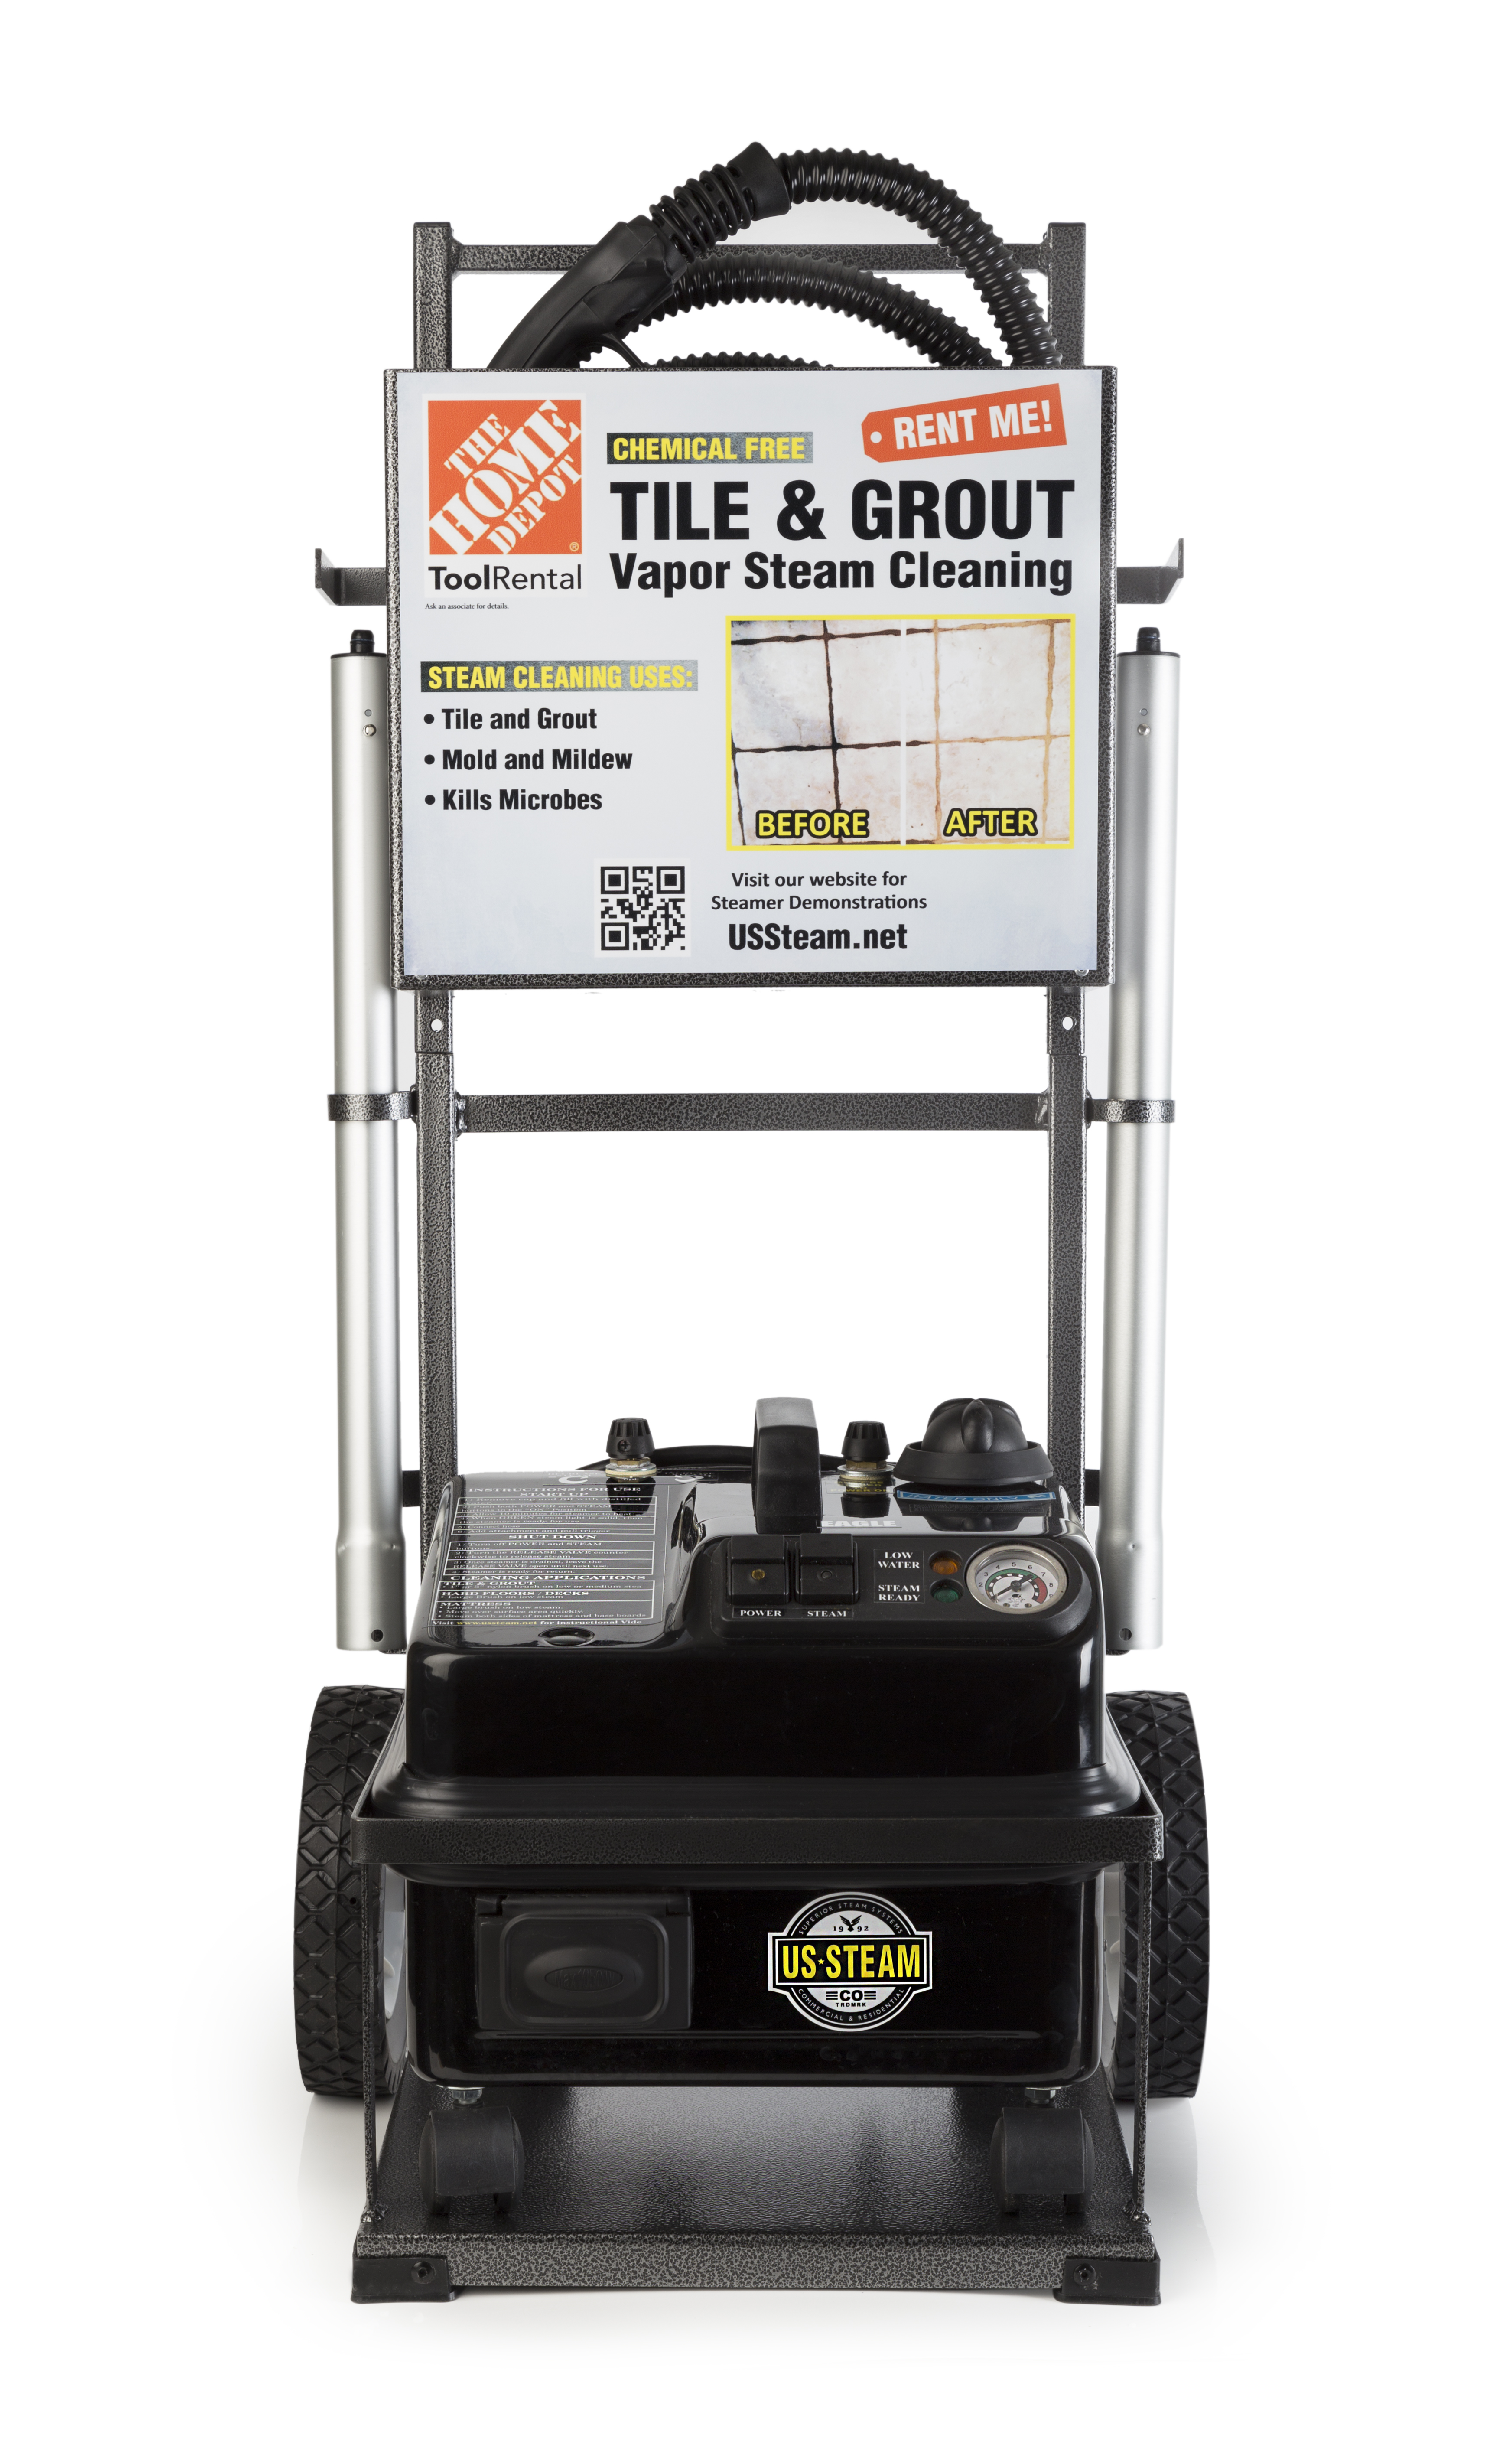
Eurosteam Tile and Grout Steam Cleaner Rental 13070 – The Home Depot
7 Best Tile Floor and Grout Steam Mops – Reviews 2022
How To Deep Clean A Tile Floor Maid Sailors
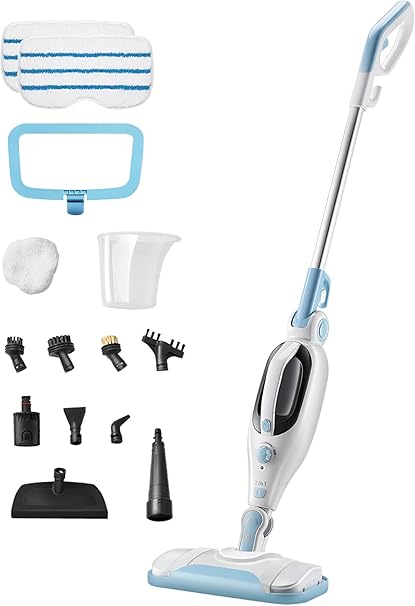
DOKER Steam Mop Cleaner – Handheld Detachable Floor Steamer for Hardwood Floor Cleaning w/ 11 Accessories, 2 Mop Pads, Multi-functional for Home Use
Amazon.com – PurSteam Steam Mop Cleaner, Steam Mops for Floor

How To Clean Ceramic Tile Like a Pro u2014 Pro Housekeepers
Related Posts:
- Kitchen And Laundry Room Floor Plans
- Kitchen Floor Tile Ideas For Small Kitchens
- Black Kitchen Floor Tiles Sale
- Latest In Kitchen Flooring
- Kitchen Dining Living Room Combo Floor Plans
- Black Granite Kitchen Floor
- Can You Put Laminate Flooring Under Kitchen Units
- Plastic Floor Tiles Kitchen
- Wood Kitchen Flooring Options
- Images Of Floor To Ceiling Kitchen Cabinets
Steam Cleaning Kitchen Floor Tiles
Introduction:
Keeping your kitchen floor tiles clean is essential for maintaining a hygienic and visually appealing space. While there are various methods to clean kitchen floor tiles, steam cleaning has gained popularity due to its effectiveness and efficiency. In this article, we will explore the benefits of steam cleaning, step-by-step instructions on how to steam clean kitchen floor tiles, and address some frequently asked questions to help you achieve spotless and germ-free floors.
Benefits of Steam Cleaning:
1. Deep Cleaning: Steam cleaning is a powerful method that penetrates the pores of your kitchen floor tiles, effectively removing dirt, grime, and stains that may be resistant to other cleaning methods. The high temperature of the steam not only dissolves stubborn residue but also kills bacteria and germs lurking on the surface.
2. Chemical-Free Solution: One of the major advantages of steam cleaning your kitchen floor tiles is that it eliminates the need for harsh chemicals. This makes it an eco-friendly option, particularly if you have children or pets in your home. Steam provides a natural way to sanitize your floors without leaving behind any toxic residues.
3. Time-Saving: Traditional methods of scrubbing and mopping can be time-consuming and often require significant physical effort. On the other hand, steam cleaning offers a quick solution as it efficiently cleans large areas in a shorter span of time. The steam mop’s powerful jets of steam loosen dirt and grime effortlessly, allowing you to finish the task much faster.
4. Versatility: Steam cleaners are versatile tools that can be used on various types of kitchen floor tiles such as ceramic, porcelain, vinyl, or stone. They can also be used on grout lines effectively, ensuring a thorough clean throughout your kitchen flooring.
Step-by-Step Guide to Steam Clean Kitchen Floor Tiles:
Step 1: Prepare the area
Before starting the steam cleaning process, it is important to prepare the area. Remove any furniture or obstacles from the kitchen floor to ensure easy access and prevent accidents. Additionally, sweep or vacuum the floor to eliminate loose debris and dust particles.
Step 2: Fill the steam cleaner with water
Most steam cleaners have a removable reservoir that needs to be filled with water. Follow the manufacturer’s instructions to determine the appropriate amount of water needed for your specific model. It is crucial not to overfill the tank as it may cause leakage during operation.
Step 3: Preheat the steam cleaner
Allow the steam cleaner to preheat according to the manufacturer’s instructions. This usually takes a few minutes, during which time you can gather all necessary attachments and accessories required for your specific cleaning task.
Step 4: Attach appropriate cleaning pad or brush
Depending on the type of tile flooring you have, choose the appropriate attachment for your steam cleaner. Microfiber pads are gentle and ideal for smooth surfaces, while nylon brushes work well for textured tiles or grout lines. Ensure that the attachment is securely fastened before proceeding.
Step 5: Begin steaming
Once the preheating process is complete, it’s time to start steaming! Hold the steam cleaner above the floor at a slight angle and press the trigger to release steam onto the surface. Move the mop slowly in a back-and-forth motion, overlapping each pass slightly to ensure thorough coverage.
Step 6: Focus on stubborn stains or grout lines
If you encounter particularly stubborn stains or dirty grout lines, spend some extra time on those areas. Gently scrub using The appropriate attachment or brush to effectively remove the dirt. The steam will help loosen the grime, making it easier to clean.
Step 7: Empty and refill the reservoir as needed
Depending on the size of your kitchen floor and the amount of dirt and grime, you may need to empty and refill the reservoir with water during the cleaning process. Follow the manufacturer’s instructions for safe removal and refilling.
Step 8: Allow the floor to dry
After steam cleaning, allow the kitchen floor to air dry completely before walking on it or placing any furniture back in place. This will prevent any slips or accidents.
Step 9: Clean and store your steam cleaner
Once you have finished steam cleaning your kitchen floor tiles, clean and store your steam cleaner according to the manufacturer’s instructions. This will ensure its longevity and optimal performance for future use.
In conclusion, steam cleaning is an efficient and effective way to clean kitchen floor tiles. By following these step-by-step instructions, you can achieve a thorough clean without using any toxic chemicals or excessive physical effort. 1. Read the manufacturer’s instructions: Before starting, carefully read the instructions provided by the manufacturer for your specific steam cleaner model. This will give you important information about the water capacity of your machine.
2. Check the water tank capacity: Locate the water tank on your steam cleaner and determine its maximum capacity. This is usually marked on the tank or mentioned in the user manual.
3. Fill the tank with water: Use a clean measuring cup or container to pour water into the tank. Be cautious not to overfill it, as this can lead to leakage during operation. Fill the tank up to the recommended level indicated by the manufacturer.
4. Preheat the steam cleaner: Allow the steam cleaner to preheat according to the manufacturer’s instructions. This typically takes a few minutes and ensures that the steam produced is at its optimal temperature for cleaning.
5. Attach appropriate cleaning pad or brush: Depending on your tile flooring type, choose the suitable attachment for your steam cleaner. Attach a microfiber pad for smooth surfaces or a nylon brush for textured tiles or grout lines. Ensure that it is securely fastened before proceeding.
6. Begin steaming: Once preheating is complete, hold the steam cleaner slightly above the floor at an angle and press the trigger to release steam onto the surface. Move the mop slowly in a back-and-forth motion, overlapping each pass slightly for thorough coverage.
7. Focus on stubborn stains or grout lines: If you come across tough stains or dirty grout lines, spend extra time on those areas. Gently scrub with the appropriate attachment or brush to effectively remove dirt, taking advantage of the steam’s cleaning power.
8. Empty and refill reservoir as needed: Depending on how much dirt and grime you encounter, you may need to empty and refill the reservoir with water during cleaning. Follow the manufacturer’s instructions for safe removal and refilling of the tank.
9. Allow the floor to dry: After steam cleaning, allow the kitchen floor to air dry completely before walking on it or placing any furniture back in place. This will prevent accidents and ensure a dry surface.
10. Clean and store your steam cleaner: Once you finish steam cleaning your kitchen floor tiles, clean and store your steam cleaner according to the manufacturer’s instructions. This will maintain its longevity and optimal performance for future use.
By following these steps, you can determine the appropriate amount of water needed for your specific model and effectively steam clean your kitchen floor tiles.