Tiles will last forever in case they're taken care of, and virtually never wear out. If the floor is dry, remove all of the spacers between the tiles. After you are done, you can today begin enjoying the benefits of having ceramic tile flooring. Sponges and spotless dry rags are going to come in handy for washing and wiping off extra mortar products and grout lining through your newly-finished ceramic tiling floor. You are going to see the grout becoming level and pushed into all empty spaces.
Images about Taking Up Ceramic Tile Floor
Effective anti-bacterial technologies in high grade hard surface cleaners guaranteed the elimination of as much as 99. One, it may feature asbestos fibers; and two, vinyl flooring isn't a great as good ol' concrete floors. Another awesome thing about these tiles is actually that they're easy and simple to clean. To a professional that understands how to install tile floors it is actually not a big deal.
3 Easy Ways to Remove Ceramic Tile – wikiHow

Tiles however are a lot easier to install but garage area tile flooring does come with its very own pros advantages and disadvantages as we shall discover going ahead. And then, wipe the thin excess off the tiles and hold on a minimum of twenty four hours for them to establish. Mosaic tile flooring is among the most loved types because of the high degree of creativity you can make use of in having them in the home of yours.
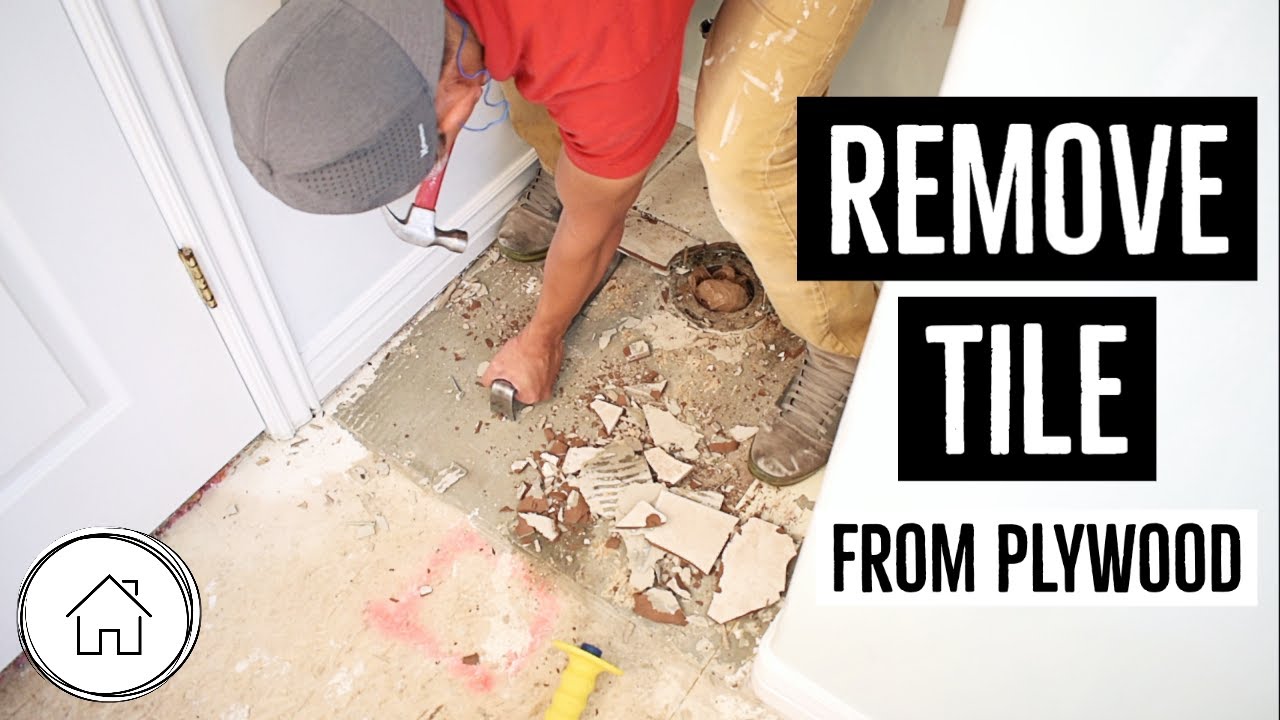
How To Remove A Tile Floor and Underlayment
A DIY Guide to Removing Tile Floor – Moving.com

3 Easy Ways to Remove Ceramic Tile – wikiHow

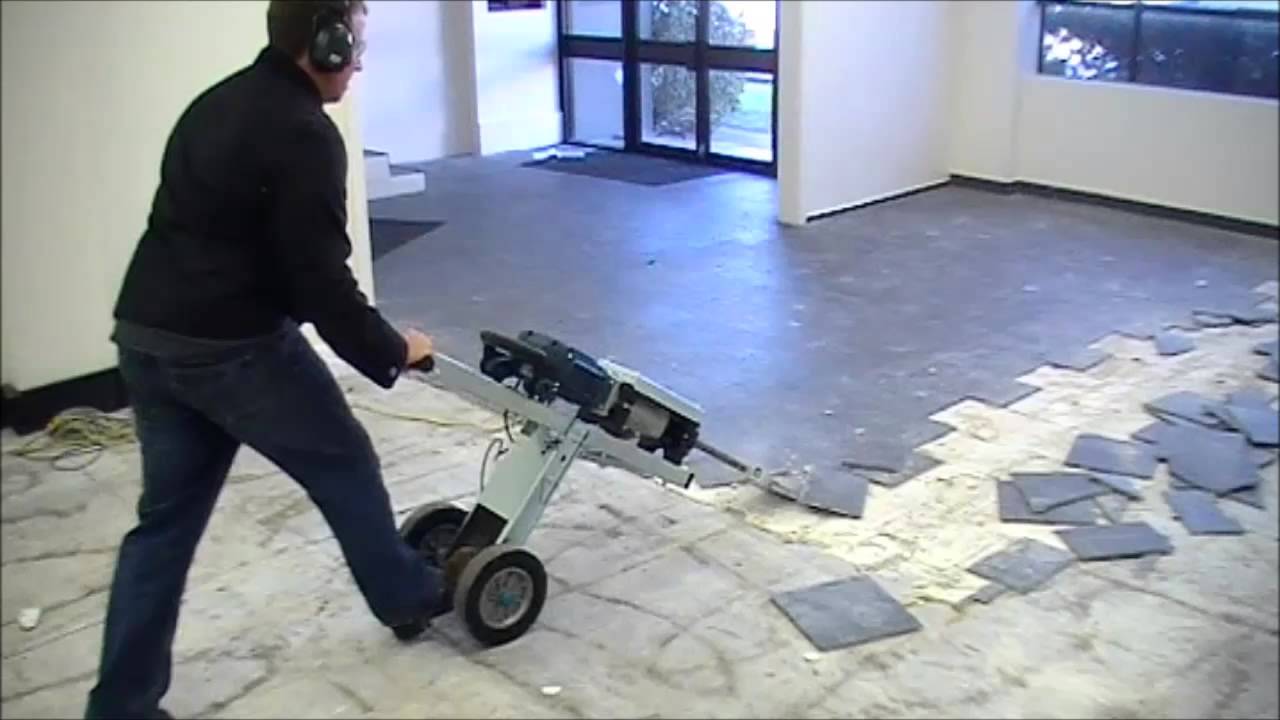
How to remove tile – easy ceramic tile removal
FASTEST WAY TO REMOVE FLOOR TILES
How To Remove Ceramic Tile And Thinset – The Nifty Nester

How To Remove A Tile Floor and Underlayment
How to Remove Tile Flooring Yourself {with Tips and Tricks} All
Removing Tile Floor Outlet, 50% OFF www.ingeniovirtual.com
How to Remove Ceramic Tile

How to Remove a Tile Floor HGTV
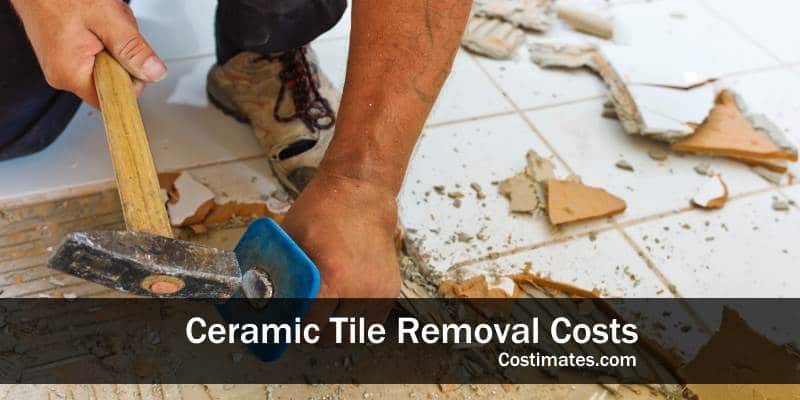
Ceramic Tile Removal Costs 2022 Costimates.com
Related Posts:
- Contemporary Ceramic Tile Flooring
- Design Ceramic Tile Floor
- Allure Gripstrip Resilient Tile Flooring Installation
- Tile Floor Ideas Bathroom
- Painting Old Tile Floors
- Black Subway Tile Floor
- Provenza Tile Flooring
- Herringbone Brick Tile Floor
- Best Steam Mop For Ceramic Tile Floors
- How To Clean Tile Floors In Bathroom
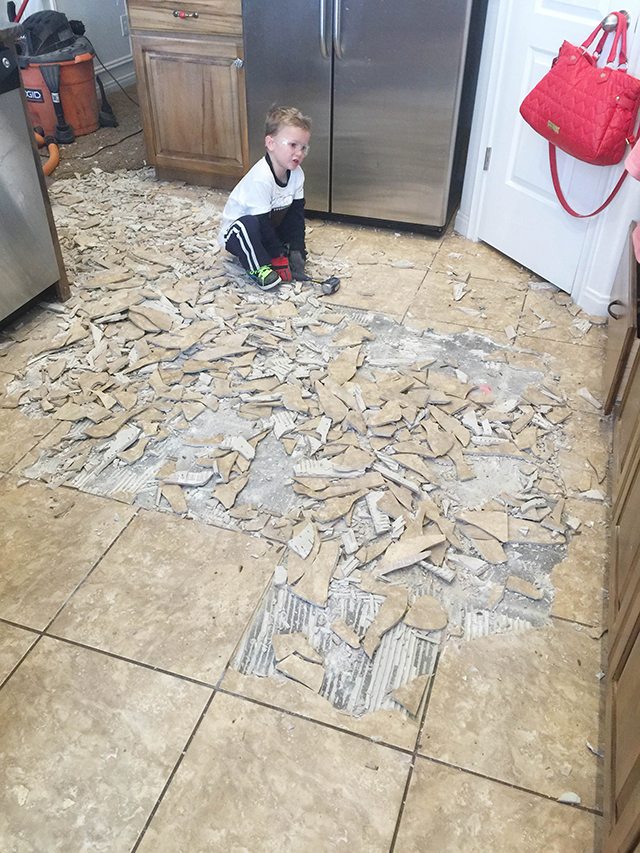
Taking Up Ceramic Tile Floor: Step-by-Step Guide
Ceramic tile floors are a popular choice for many homeowners, as they offer an attractive, durable surface that can last for many years with proper maintenance and care. Installing ceramic tile floors is not a difficult job and can be done with minimal tools and some basic knowledge. However, when it’s time to take up the ceramic tiles, it’s important to understand the steps involved in order to complete the task successfully. This article provides a step-by-step guide to taking up ceramic tile flooring.
Preparing the Space
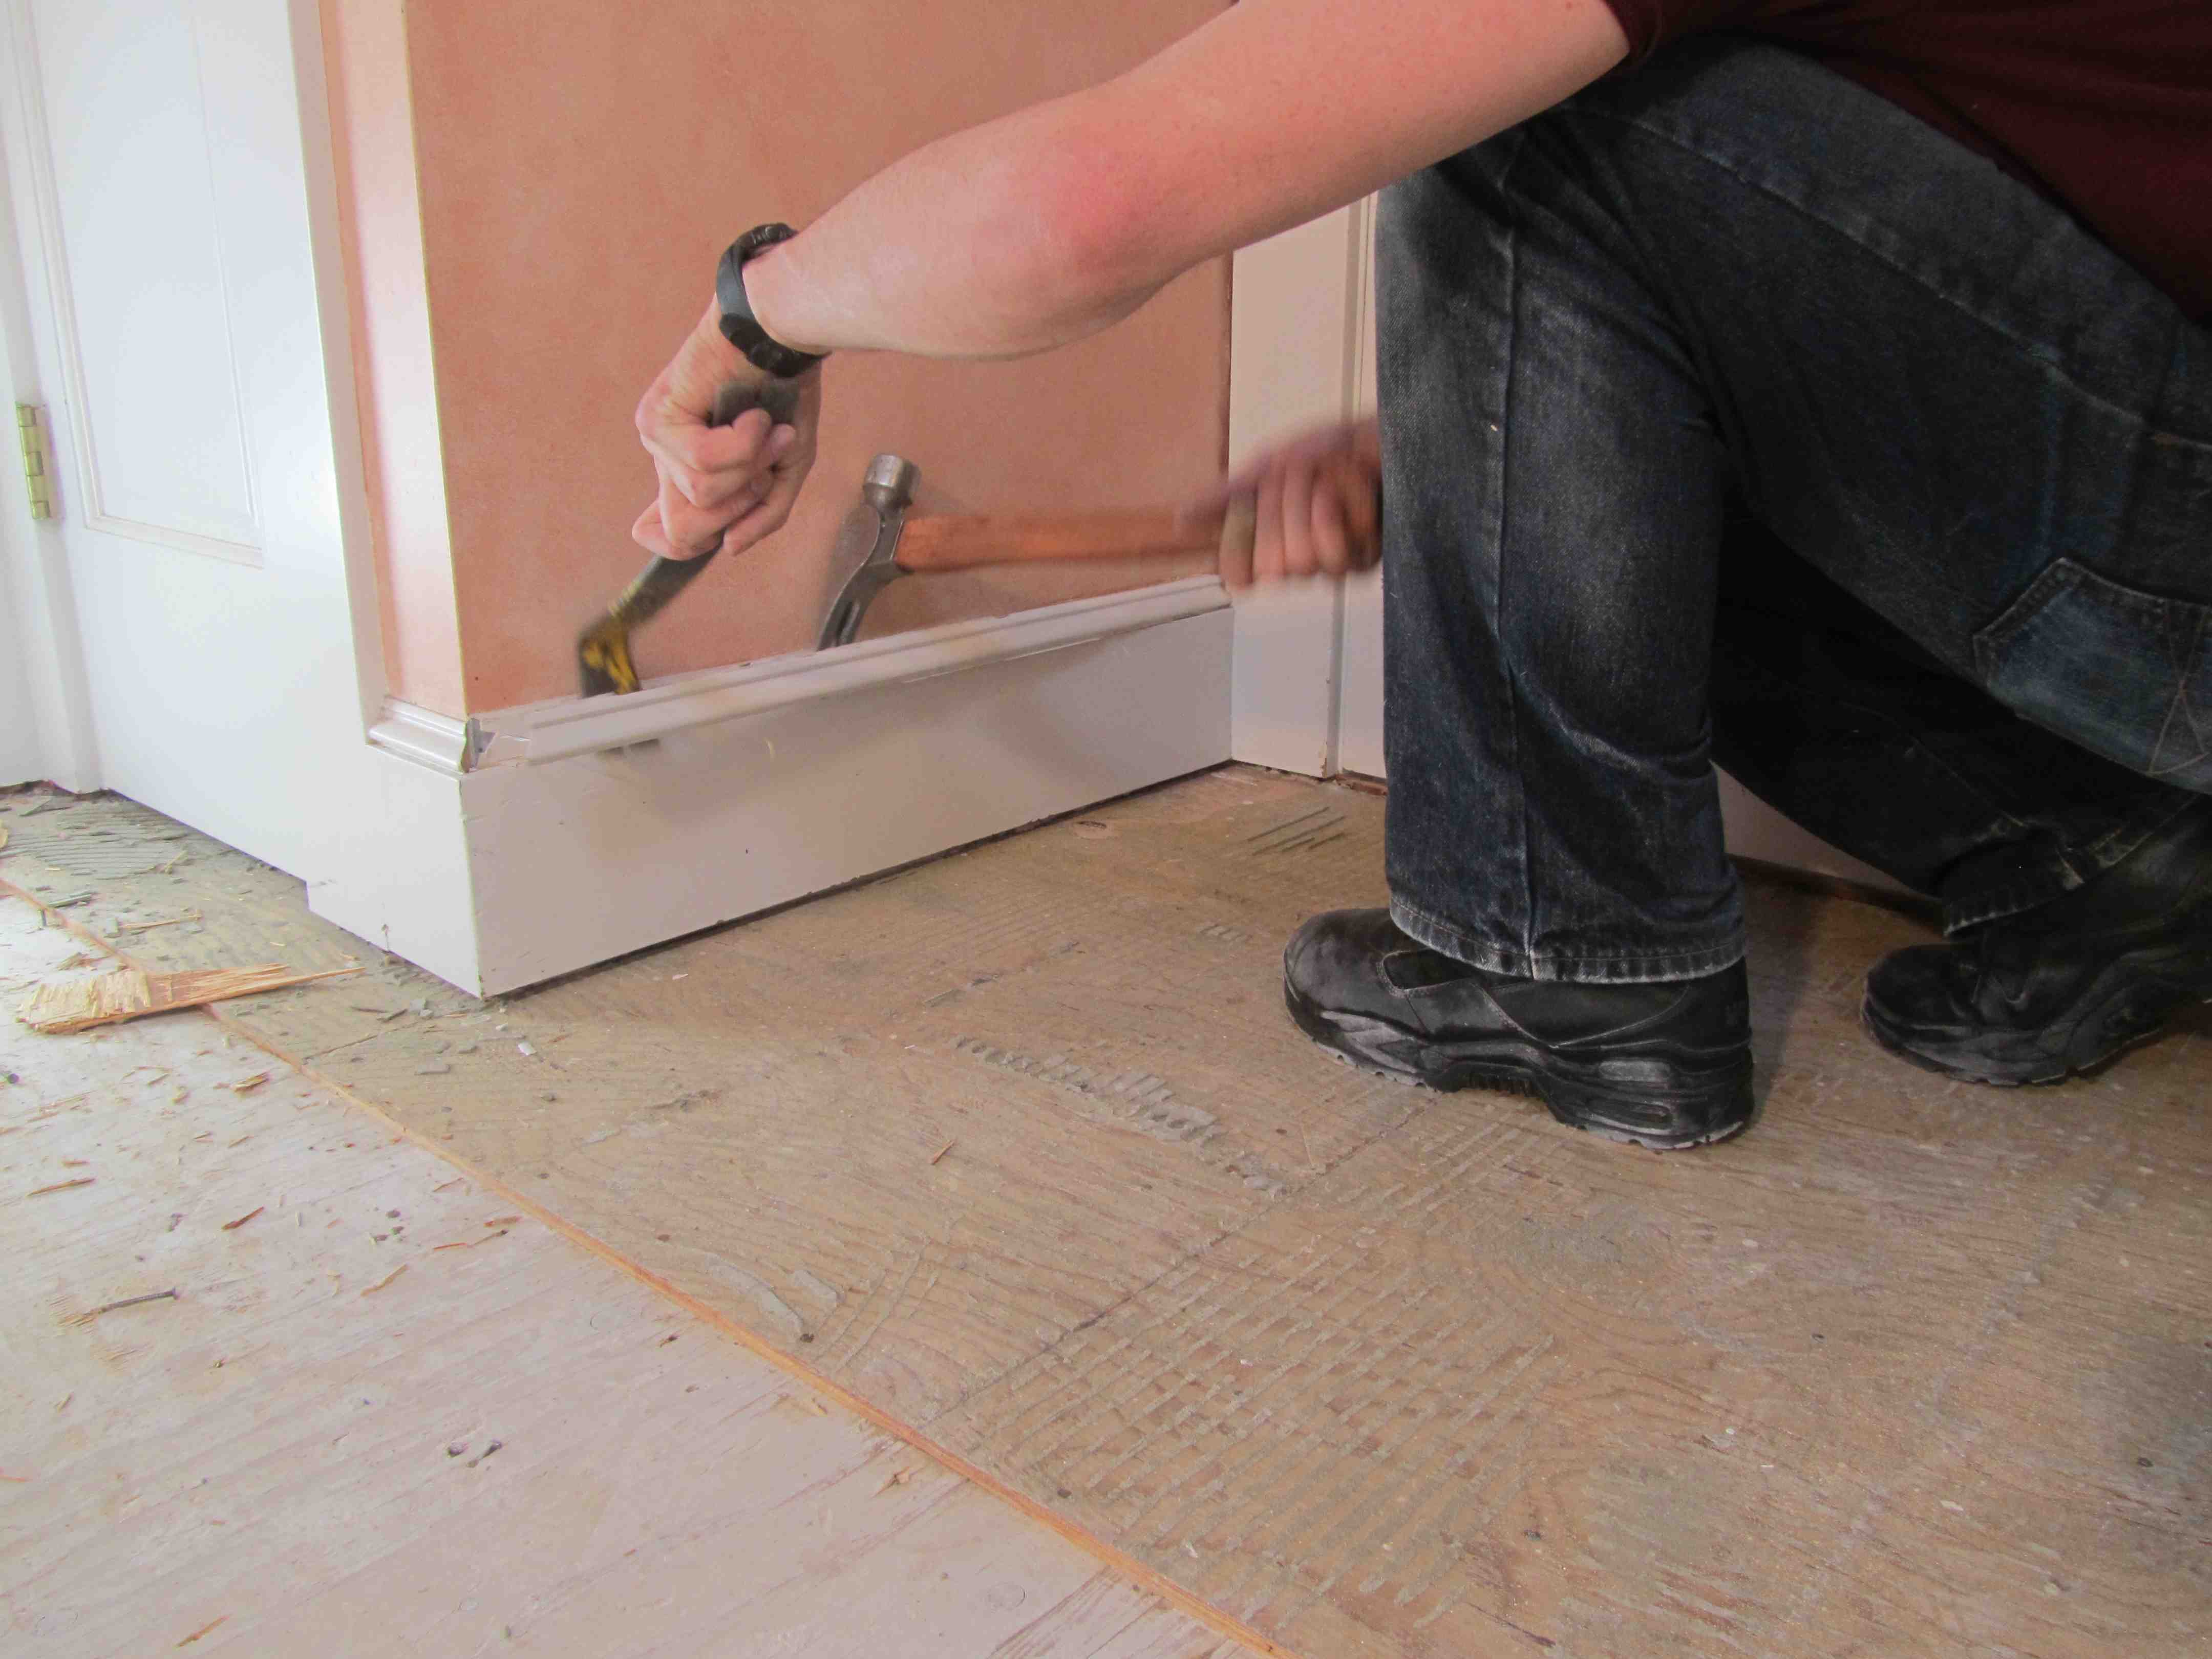
The first step in taking up ceramic tile floor is to prepare the space. This includes making sure that all furniture and other items have been removed from the area and that the floor has been thoroughly swept and vacuumed. It’s also important to check for any loose tiles that may need to be secured before beginning the removal process. Any loose grout should also be scraped away to ensure that no residue remains on the surface of the tiles. Additionally, if there are any nails or other fasteners holding down the tiles, these should be removed before proceeding.
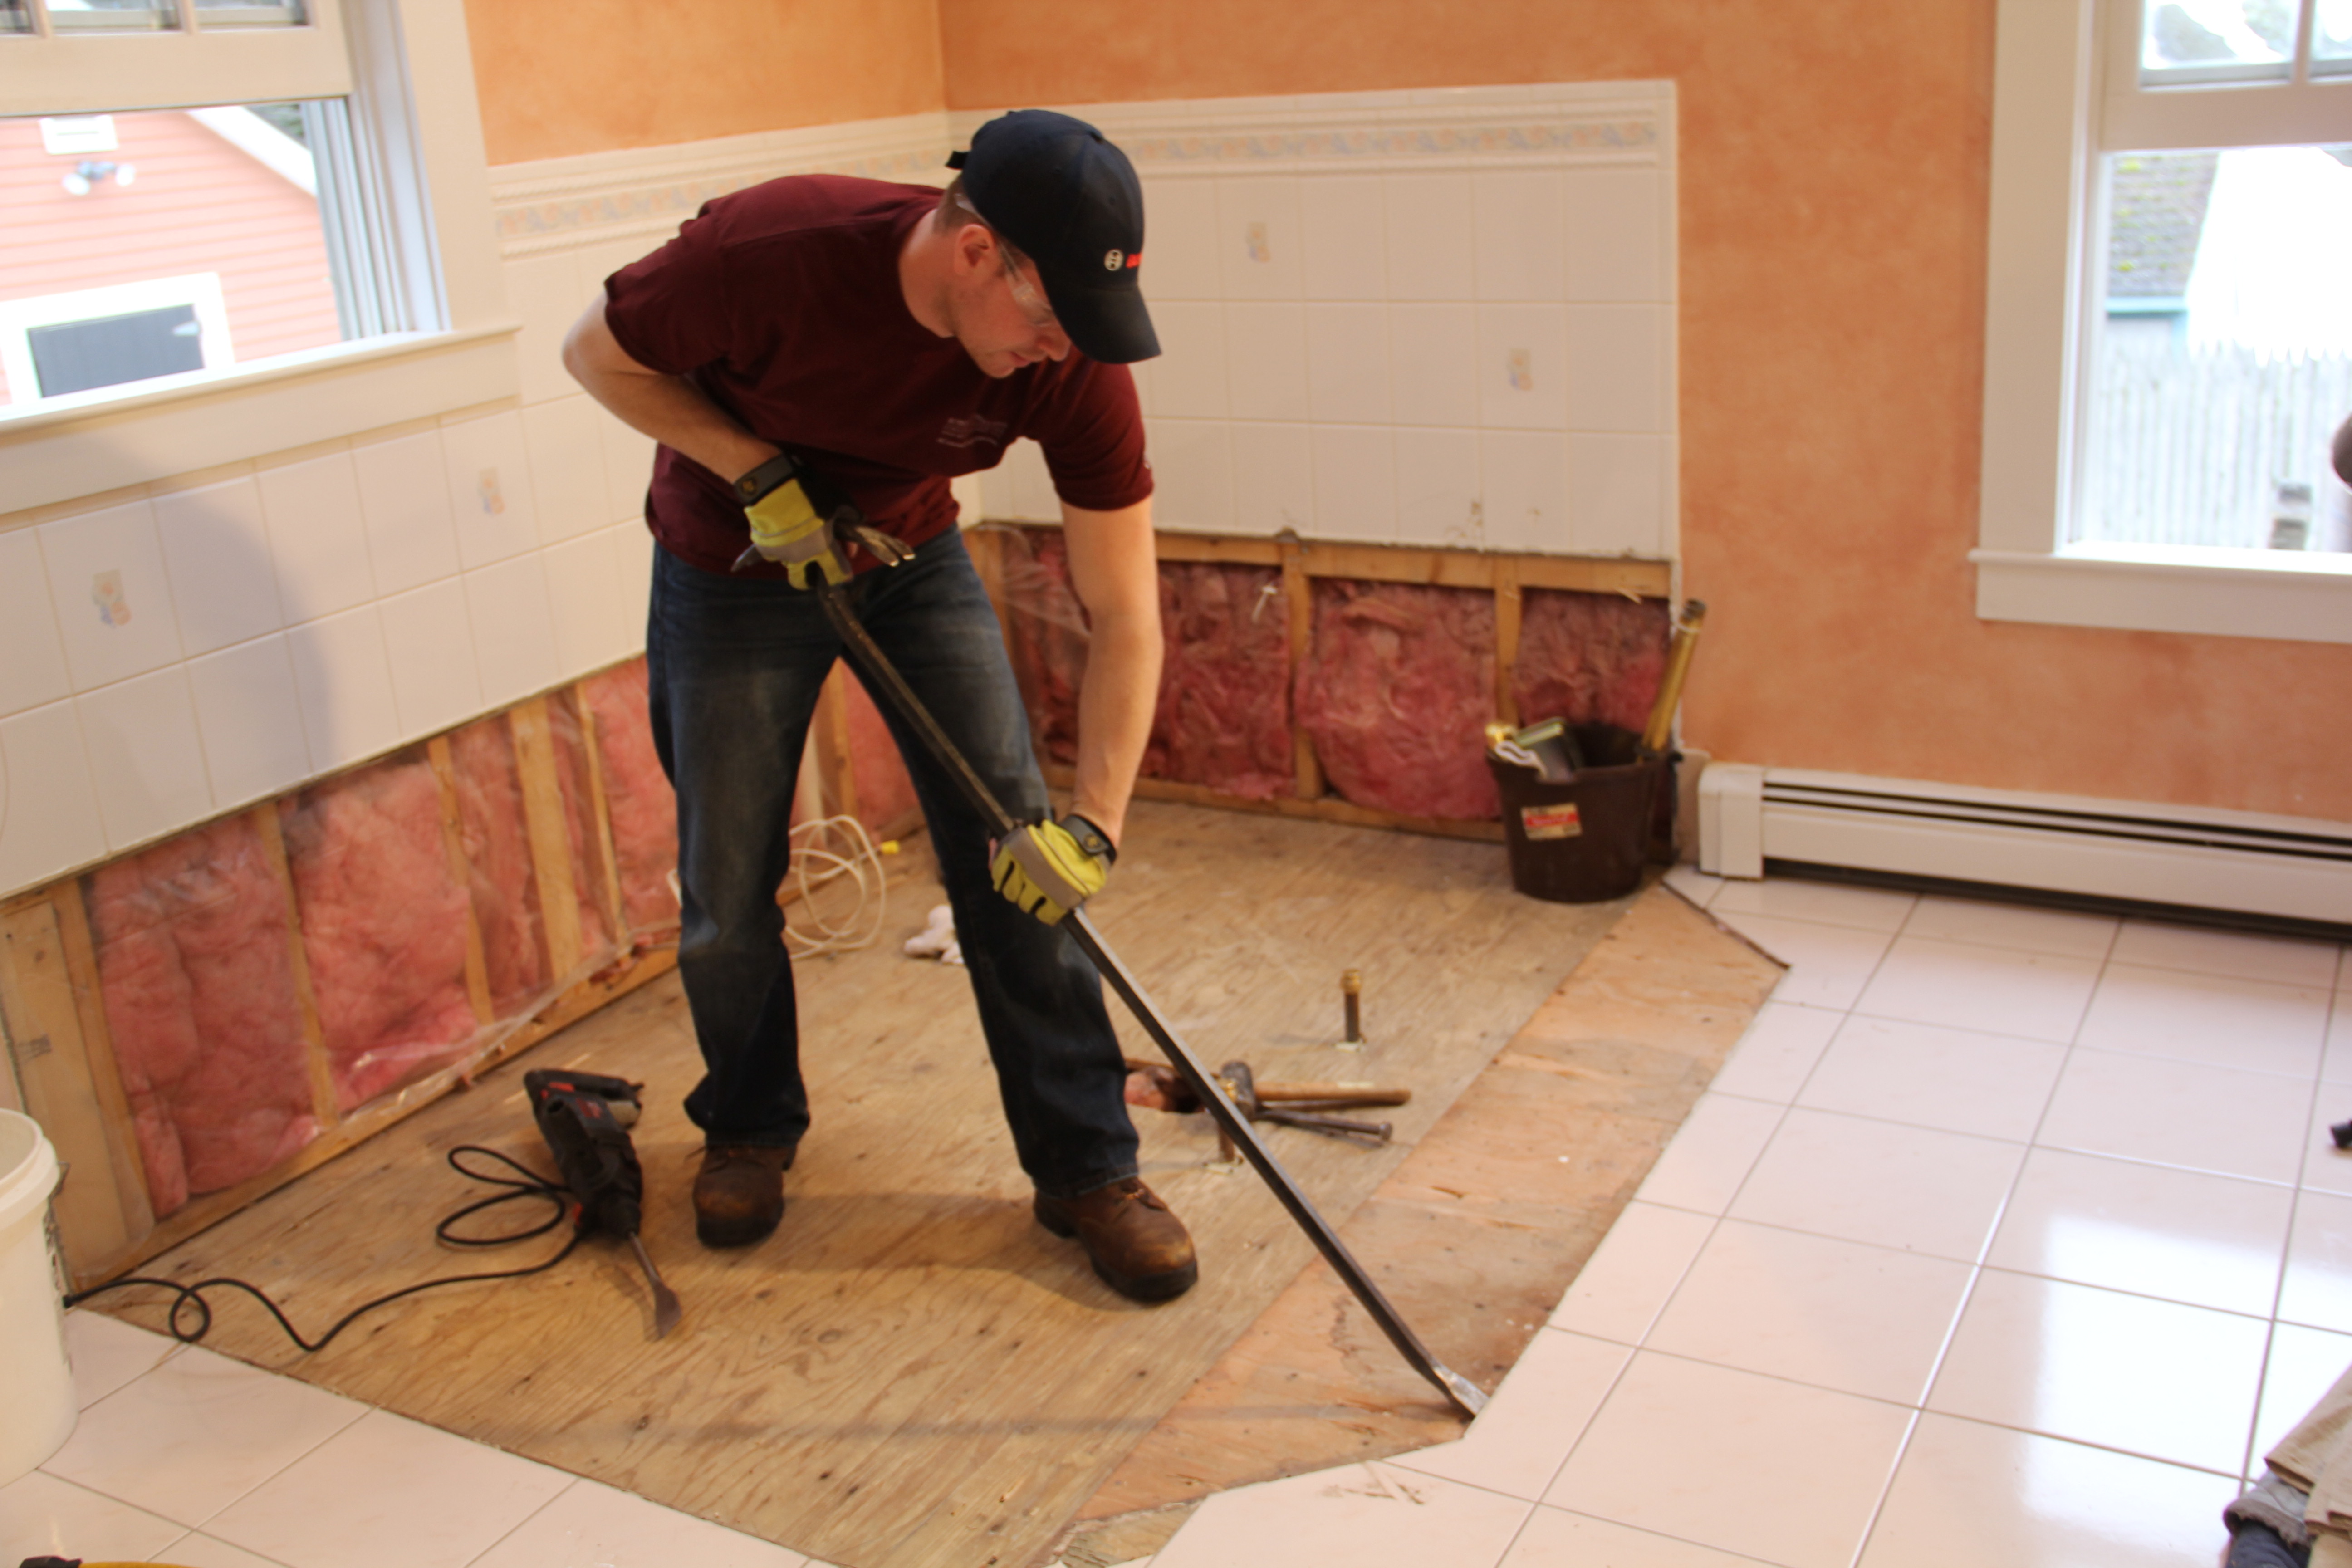
Removing Ceramic Tiles
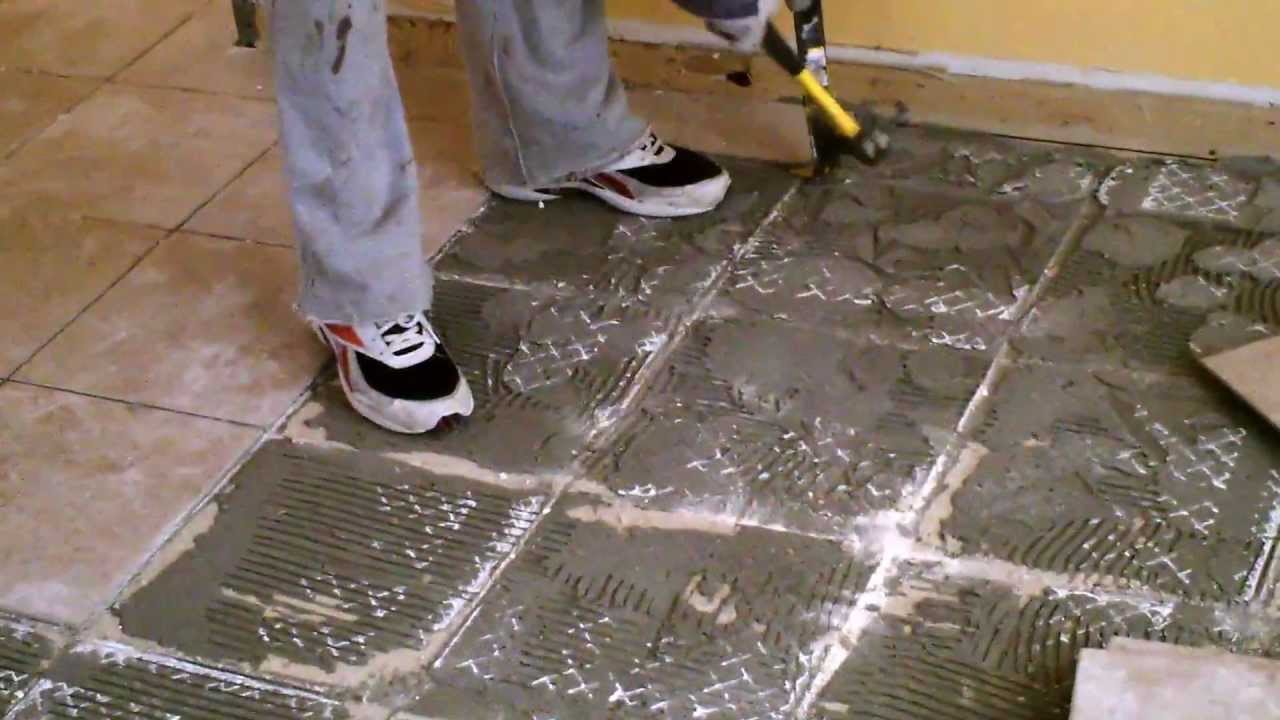
Once the space is prepared, it’s time to start removing the ceramic tiles. The most common method is to use a hammer and chisel to loosen each tile from its adhesive backing and then work them out by hand. Depending on how well they are glued down, this may require some force, so it’s important to use caution during this step. Additionally, it’s important to wear safety goggles and a mask during this process as debris can fly off during removal.
Once all of the tiles have been removed, it’s important to inspect them for any damage or chips before disposing of them. If there are any damaged tiles, they can be easily replaced with new ones or with tiles of a different color or design if desired.
Cleaning Up
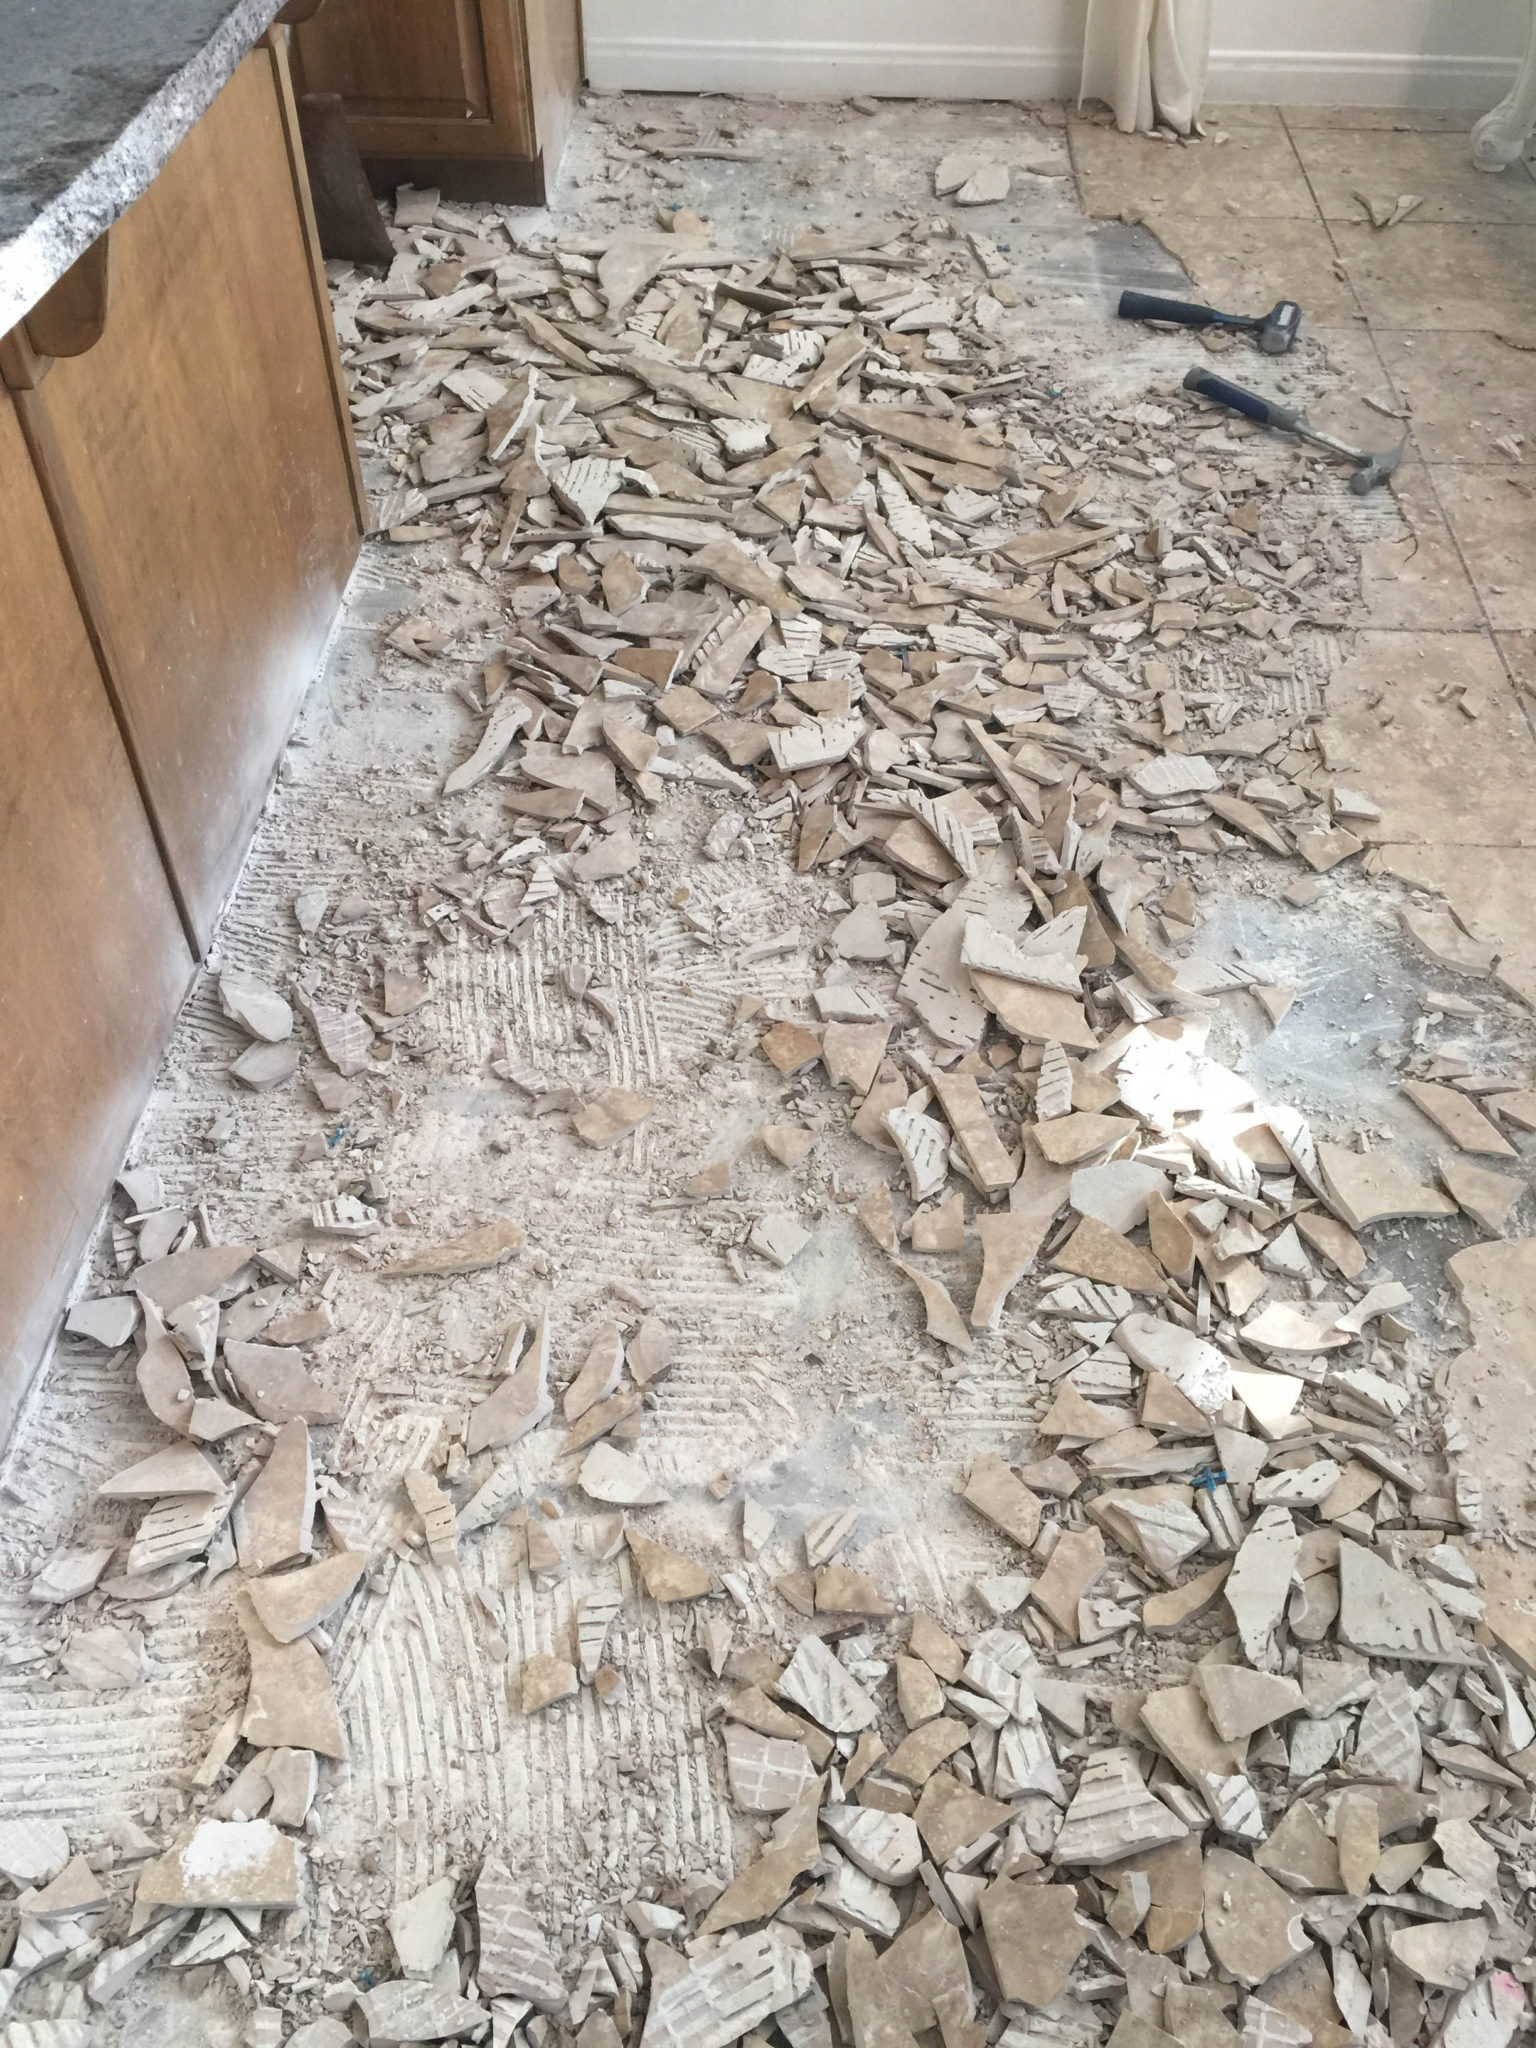
After all of the tiles have been removed, it’s time to clean up any remaining debris or adhesive residue on the floor. This can be done using a shop vac or broom and dustpan, depending on what type of mess was created during removal. Once everything has been cleared up, it’s important to check for any nails or other fasteners that may still remain in the subflooring and remove them as well.
Installing New Flooring
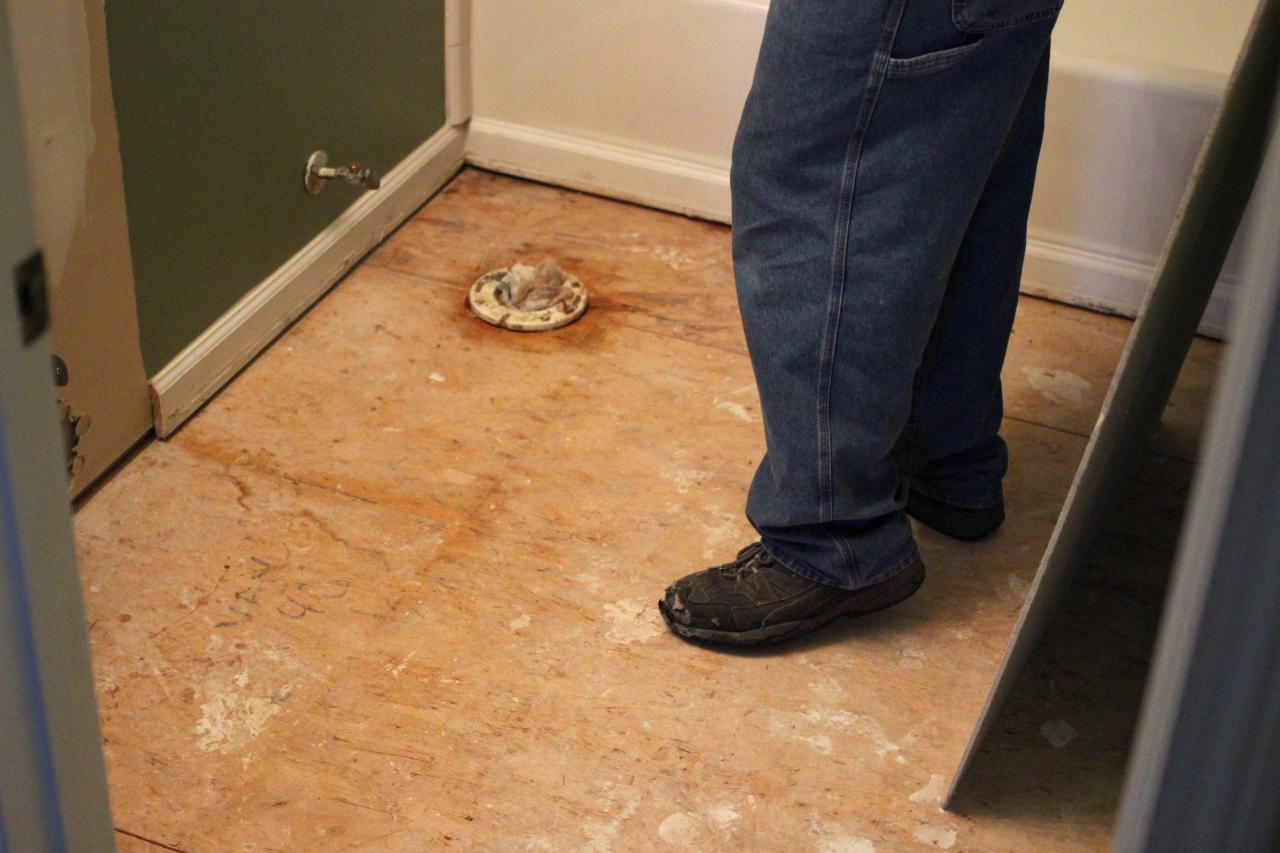
Once all of the debris has been cleared away and all nails removed from the subflooring, it’s time to begin installing new flooring over top of where the ceramic tile was removed from. This could include laying down new sheet vinyl or laminate flooring over top of where the old tiles were located or installing ceramic tile again in a different pattern or design if desired. It’s important to make sure that whatever flooring is chosen fits properly within the space before beginning installation.
FAQs
Q: What tools will I need for taking up ceramic tile?
A: The tools you’ll need for taking up ceramic tile depend on what type of adhesive was used when installing them originally. If they were installed using mastic adhesive, you’ll need a hammer , chisel, and safety goggles. If they were installed with a thinset mortar or epoxy adhesive, you’ll need a hammer and cold chisel as well as safety goggles.
Q: Can I reuse the tiles I take up?
A: Yes, you can reuse the tiles you take up as long as they are in good condition without any chips or cracks. Additionally, if there are any loose tiles that still remain on the floor, these can also be reused if desired.