It may be difficult to fit stones on the floor because of the unusual shapes of theirs but nothing looks as alluring also as special as shimmering stone floor. As kitchens are getting to be a very important room of the living space, so is the kitchen flooring. No waxing or polishing and that even includes the hardwood choices offered. The humble kitchen floor of yours is capable of far more tired linoleum patterns for their easy maintenance.
Images about Task 10 Kitchen Floor Tiles

This particular kind might be pretty expensive because of the distinct appeal it offers to your kitchen floor. But, there is one thing that is important that you need to keep in mind. It can easily be an overwhelming choice to generate, and in simply the tile and marble choices alone, you will find beautiful decorated parts to pick from.
Solved Task #14: Kitchen Floor Tiles Fred has some colored Chegg.com

Wood kitchen flooring offers some of the biggest number of options of any flooring content on the market nowadays. There is kitchen laminate flooring which is a wonderful mixture of appealing look of inexpensive and sturdy wood, low maintenance benefits of laminate. Special care, though, has being done when preserving the condition of laminate flooring since it is really vulnerable to dirt as well as scratches.
Kitchen Floor Tiles revised – Kitchen Floor Tiles MAFS.912.A-SSE

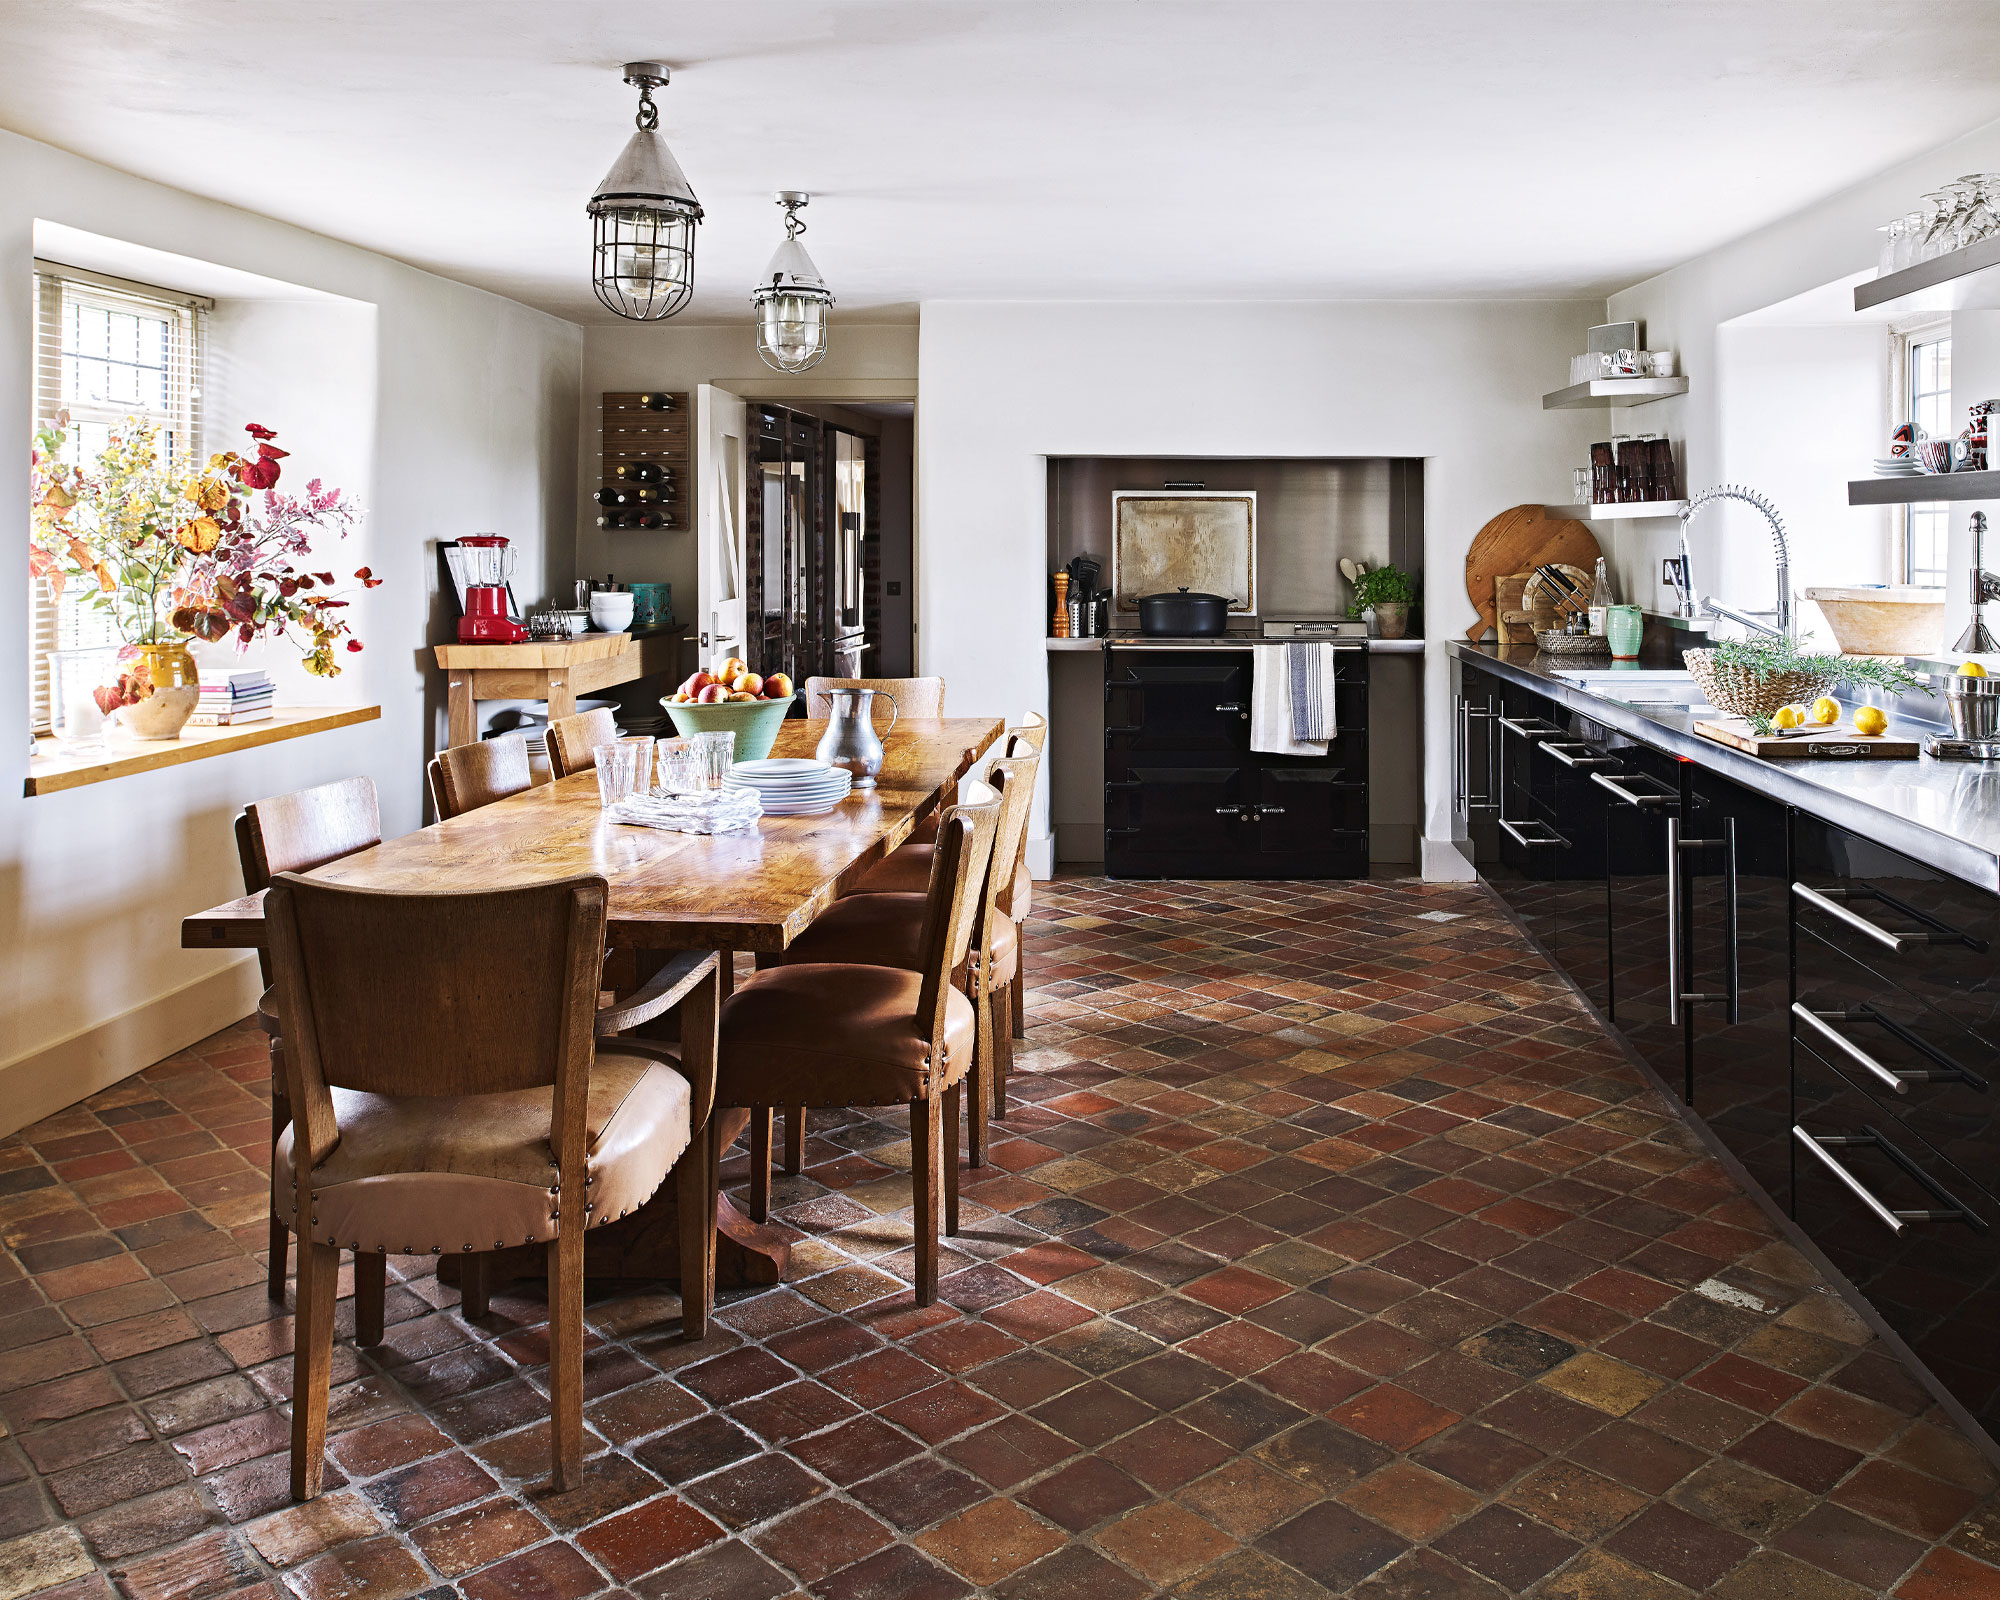
Travertine Kitchen Floor Design Ideas, Cost and Tips

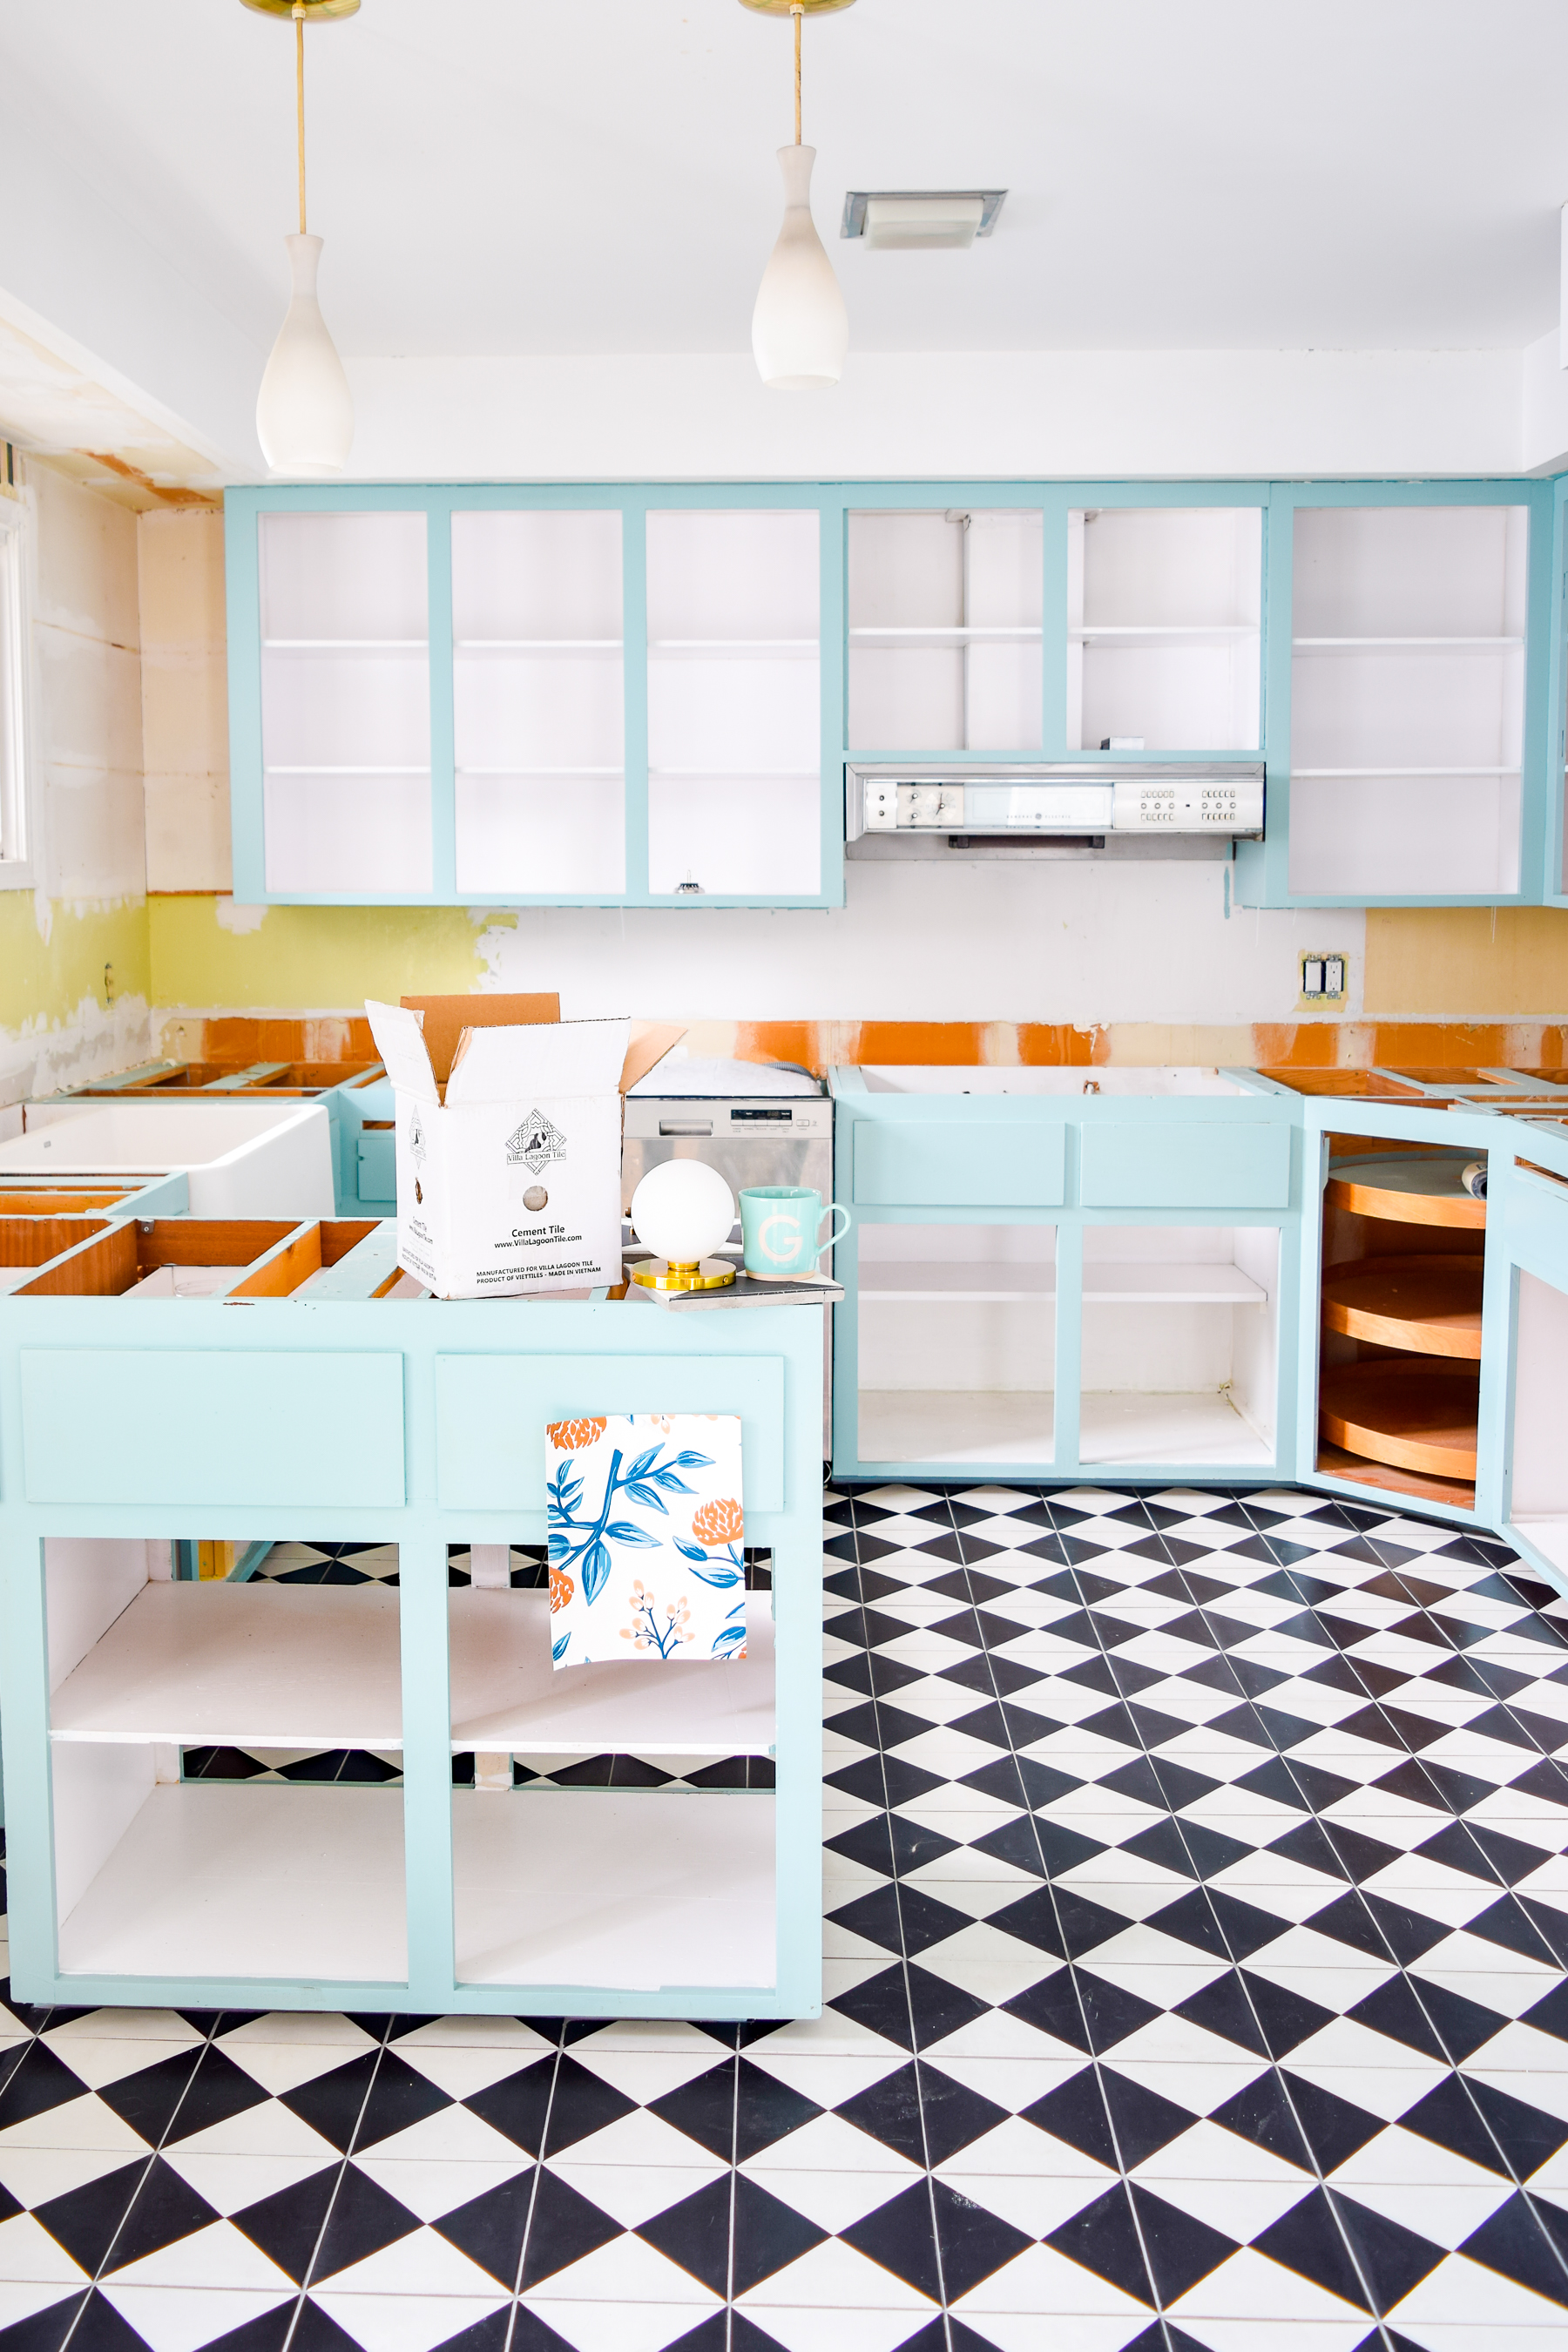
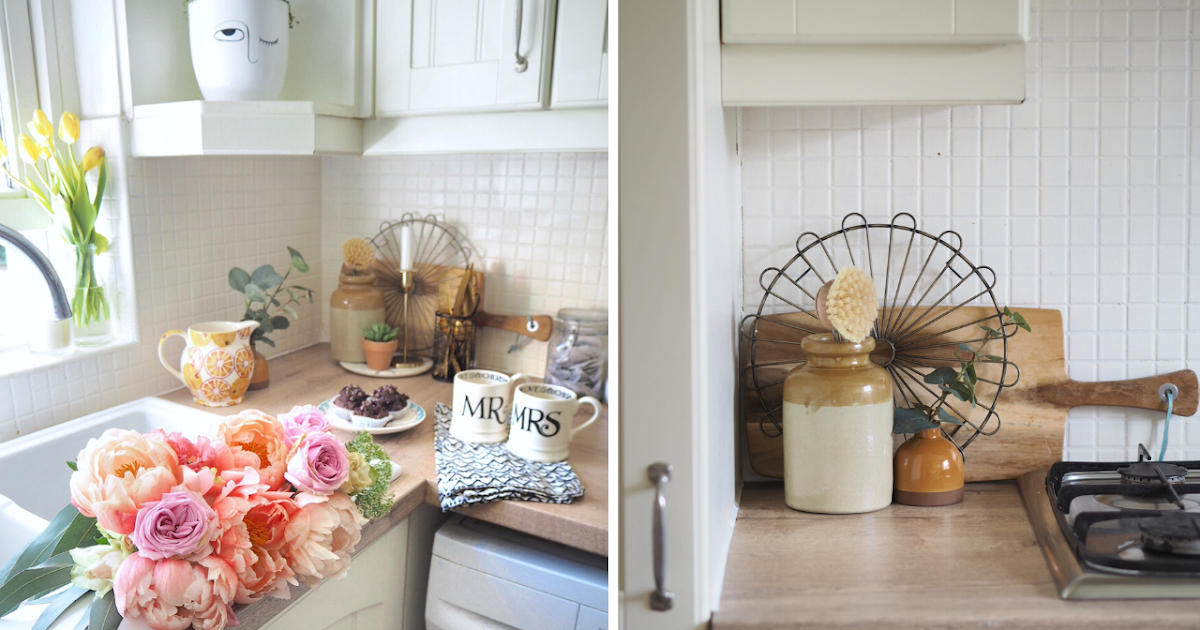
Choosing A Retro Kitchen Floor Tile u2022 PMQ for two
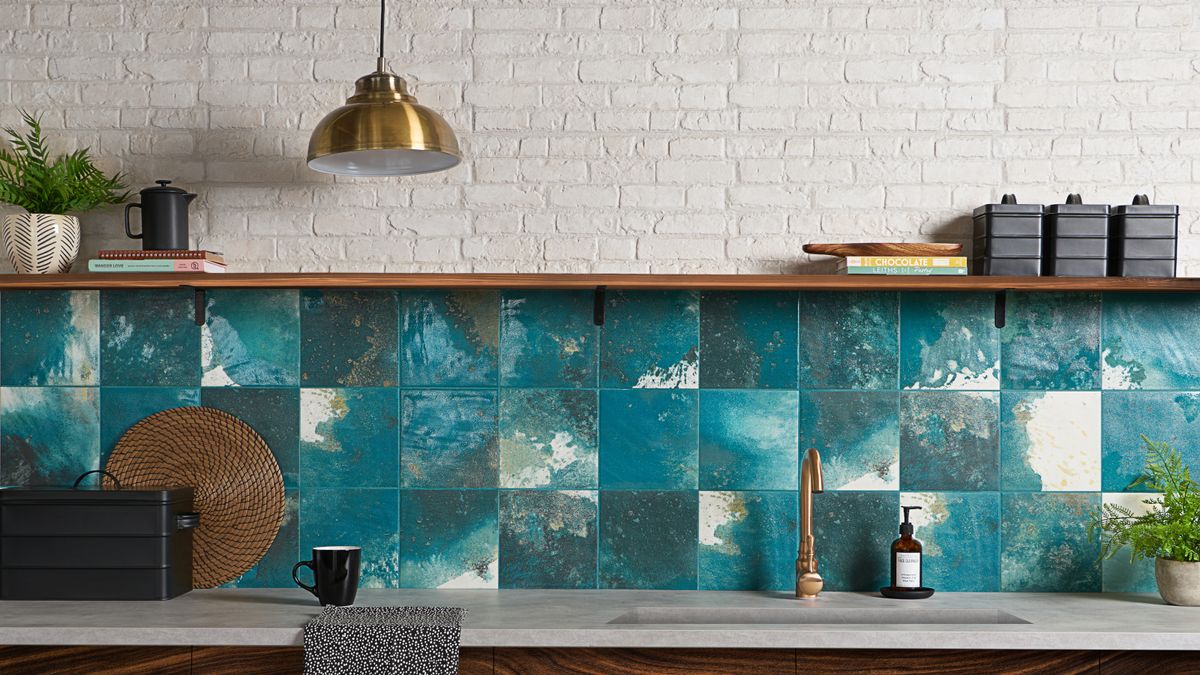
2022 Tile Flooring Trends: 25+ Contemporary Tile Ideas – Flooring Inc
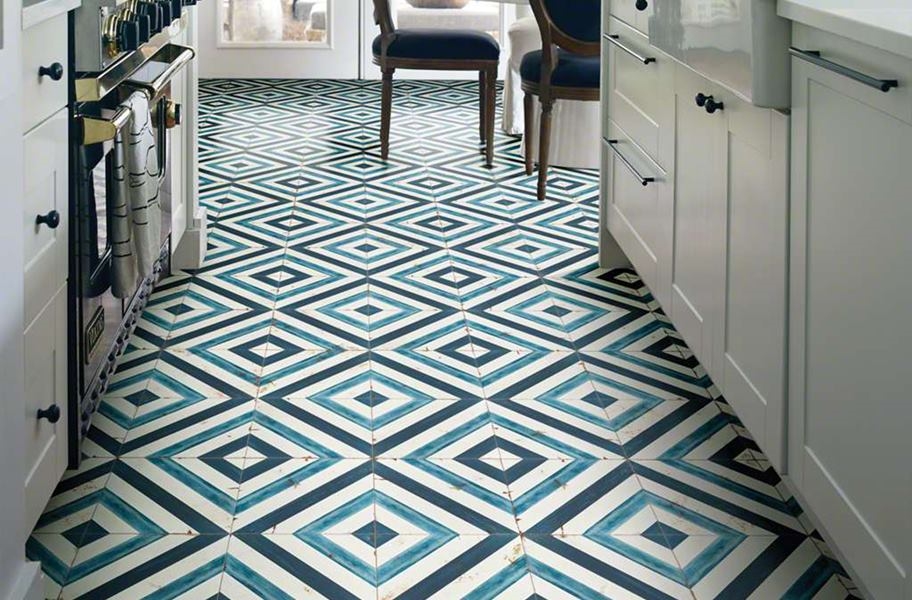
Kitchen flooring ideas: 22 stylish, practical kitchen floors
Choosing A Retro Kitchen Floor Tile u2022 PMQ for two

23 kitchen tile ideas to update floors and walls Real Homes
Painting tiles – How I updated my kitchen for £10 Dove Cottage
White Kitchen With Geometrc Tile – Village Home Stores Blog

2022 Tile Flooring Trends: 25+ Contemporary Tile Ideas – Flooring Inc

Subfloors and Underlayment for Ceramic Tile Floors
/best-subfloors-to-use-for-laying-tile-1822586-hero-efcfac9422ab457da5d2cbc7f7361df7.jpg)
5 tips to select floor tiles Architectural Digest India

Related Posts:
- Stick On Tile Kitchen Floor
- Ikea Kitchen Flooring
- How Much To Redo Kitchen Floor
- White Kitchen Floor Ideas
- Kitchen And Flooring Design Center
- York Stone Flooring In Kitchen
- Herringbone Wood Floor Kitchen
- Kitchen And Dining Room Floor Plans
- Dark Brown Tile Kitchen Floor
- Cushion Flooring For Kitchens
Task 10 Kitchen Floor Tiles: Enhancing the Heart of Your Home
Introduction:
The kitchen is often referred to as the heart of the home, and when it comes to designing this essential space, one cannot overlook the importance of choosing the right floor tiles. Task 10 Kitchen Floor Tiles offer a wide range of options that not only elevate the aesthetics of your kitchen but also provide durability and functionality. In this article, we will explore the various aspects of Task 10 Kitchen Floor Tiles, including their benefits, installation process, maintenance tips, and frequently asked questions.
Benefits of Task 10 Kitchen Floor Tiles:
1. Durability: Task 10 Kitchen Floor Tiles are renowned for their durability, making them an ideal choice for high-traffic areas such as kitchens. These tiles are resistant to scratches, stains, and fading, ensuring that your kitchen floor remains intact even in the face of daily wear and tear.
2. Versatility: With Task 10 Kitchen Floor Tiles, you have endless design possibilities at your disposal. Whether you prefer a sleek and modern look or a rustic charm, these tiles come in a variety of styles, colors, and patterns to suit your personal taste.
3. Ease of Cleaning: Keeping your kitchen floor clean can be a daunting task, but Task 10 Kitchen Floor Tiles simplify this chore. Their smooth surface allows for easy wiping and mopping, saving you time and effort in maintaining a spotless kitchen.
4. Hygiene: The kitchen is prone to spills and food-related messes that can harbor bacteria and odors. Task 10 Kitchen Floor Tiles are non-porous, preventing the absorption of liquids and ensuring a hygienic environment.
Installation Process:
Installing Task 10 Kitchen Floor Tiles requires careful planning and precise execution. Here’s a step-by-step guide to help you navigate through the installation process:
1. Preparation: Start by preparing the subfloor – it should be clean, dry, and level. Remove any existing flooring materials and repair any cracks or imperfections.
2. Measuring and Marking: Measure the dimensions of your kitchen floor and mark the center point using a chalk line. This will serve as a reference point for laying the tiles.
3. Adhesive Application: Spread a layer of tile adhesive on a small section of the subfloor using a notched trowel. Ensure that the adhesive is applied evenly to avoid uneven tile placement.
4. Tile Placement: Begin placing the Task 10 Kitchen Floor Tiles at the center point, following the marked guidelines. Press each tile firmly into the adhesive, ensuring they are level and aligned.
5. Grouting: Once all the tiles are laid, allow them to set for the recommended time. Then, apply grout between the tiles using a grout float, making sure to fill all the gaps completely.
6. Cleaning and Sealing: Wipe off any excess grout with a damp sponge before it dries. Afterward, allow the grout to cure for a few days before sealing the tiles with a suitable sealant to protect them from stains and moisture.
Maintenance Tips:
To keep your Task 10 Kitchen Floor Tiles in pristine condition, follow these maintenance tips:
1. Regular Cleaning: Sweep or vacuum your kitchen floor regularly to remove loose dirt and debris. Use a mop or damp cloth with mild detergent to clean any spills or stains promptly.
2. Avoid Harsh Chemicals: Refrain from using harsh cleaning agents or abrasive tools that can damage the surface of The tiles. Stick to gentle cleaning solutions and soft brushes or cloths to maintain the integrity of the tiles.
3. Protective Measures: Place mats or rugs in high-traffic areas or areas prone to spills to protect the tiles from excessive wear and tear. Use furniture pads or coasters to prevent scratches from heavy objects.
4. Regular Inspections: Periodically check for any cracks, chips, or loose tiles. Address any issues immediately by replacing or repairing the affected tiles to prevent further damage.
5. Sealant Reapplication: Over time, the sealant on your Task 10 Kitchen Floor Tiles may wear off. Reapply a fresh coat of sealant every few years to maintain the tiles’ resistance to stains and moisture.
By following these installation and maintenance tips, you can enjoy the beauty and functionality of Task 10 Kitchen Floor Tiles for years to come. Installing and maintaining Task 10 Kitchen Floor Tiles requires the following steps:
1. Subfloor Preparation: Before installation, ensure that the subfloor is clean, dry, and level. Remove any existing flooring materials and repair any cracks or imperfections.
2. Measuring and Marking: Measure the dimensions of your kitchen floor and mark the center point using a chalk line. This will serve as a reference point for laying the tiles.
3. Adhesive Application: Spread a layer of tile adhesive on a small section of the subfloor using a notched trowel. Ensure that the adhesive is applied evenly to avoid uneven tile placement.
4. Tile Placement: Begin placing the tiles at the center point, following the marked guidelines. Press each tile firmly into the adhesive, ensuring they are level and aligned.
5. Grouting: Once all the tiles are laid, allow them to set for the recommended time. Then, apply grout between the tiles using a grout float, making sure to fill all the gaps completely.
6. Cleaning and Sealing: Wipe off any excess grout with a damp sponge before it dries. Afterward, allow the grout to cure for a few days before sealing the tiles with a suitable sealant to protect them from stains and moisture.
To maintain Task 10 Kitchen Floor Tiles:
1. Regular Cleaning: Sweep or vacuum your kitchen floor regularly to remove loose dirt and debris. Use a mop or damp cloth with mild detergent to clean any spills or stains promptly.
2. Avoid Harsh Chemicals: Refrain from using harsh cleaning agents or abrasive tools that can damage the surface of the tiles. Stick to gentle cleaning solutions and soft brushes or cloths.
3. Protective Measures: Place mats or rugs in high-traffic areas or areas prone to spills to protect the tiles from excessive wear and tear. Use furniture pads or coasters to prevent scratches from heavy objects.
4. Regular Inspections: Periodically check for any cracks, chips, or loose tiles. Address any issues immediately by replacing or repairing the affected tiles to prevent further damage.
5. Sealant Reapplication: Over time, the sealant on the tiles may wear off. Reapply a fresh coat of sealant every few years to maintain their resistance to stains and moisture.
By following these installation and maintenance tips, you can enjoy the beauty and functionality of Task 10 Kitchen Floor Tiles for years to come.