Apart from being inexpensive, there are a number of colors and designs for you to select from, which may suit the theme you want for your house. A large number of colors, patterns as well as textures make endless possibilities. Vinyl and/or resilient flooring, as it is likewise called, can be bought in most patterns, colors and textures. It looks great – you can let them are like warm natural wood floor or rich stone floor.
Images about Waterproof Outdoor Vinyl Flooring

Vinyl Kitchen flooring is definitely the perfect solution for children. This too requires more hours and motivation to set up. A lot of people prefer to focus the money of theirs on paintings or perhaps furniture to upgrade the appearance in their home. But, when installation is not produced by professionals, the errors below may possibly occur. Vinyl floors installation in reality demands the skills of an expert.
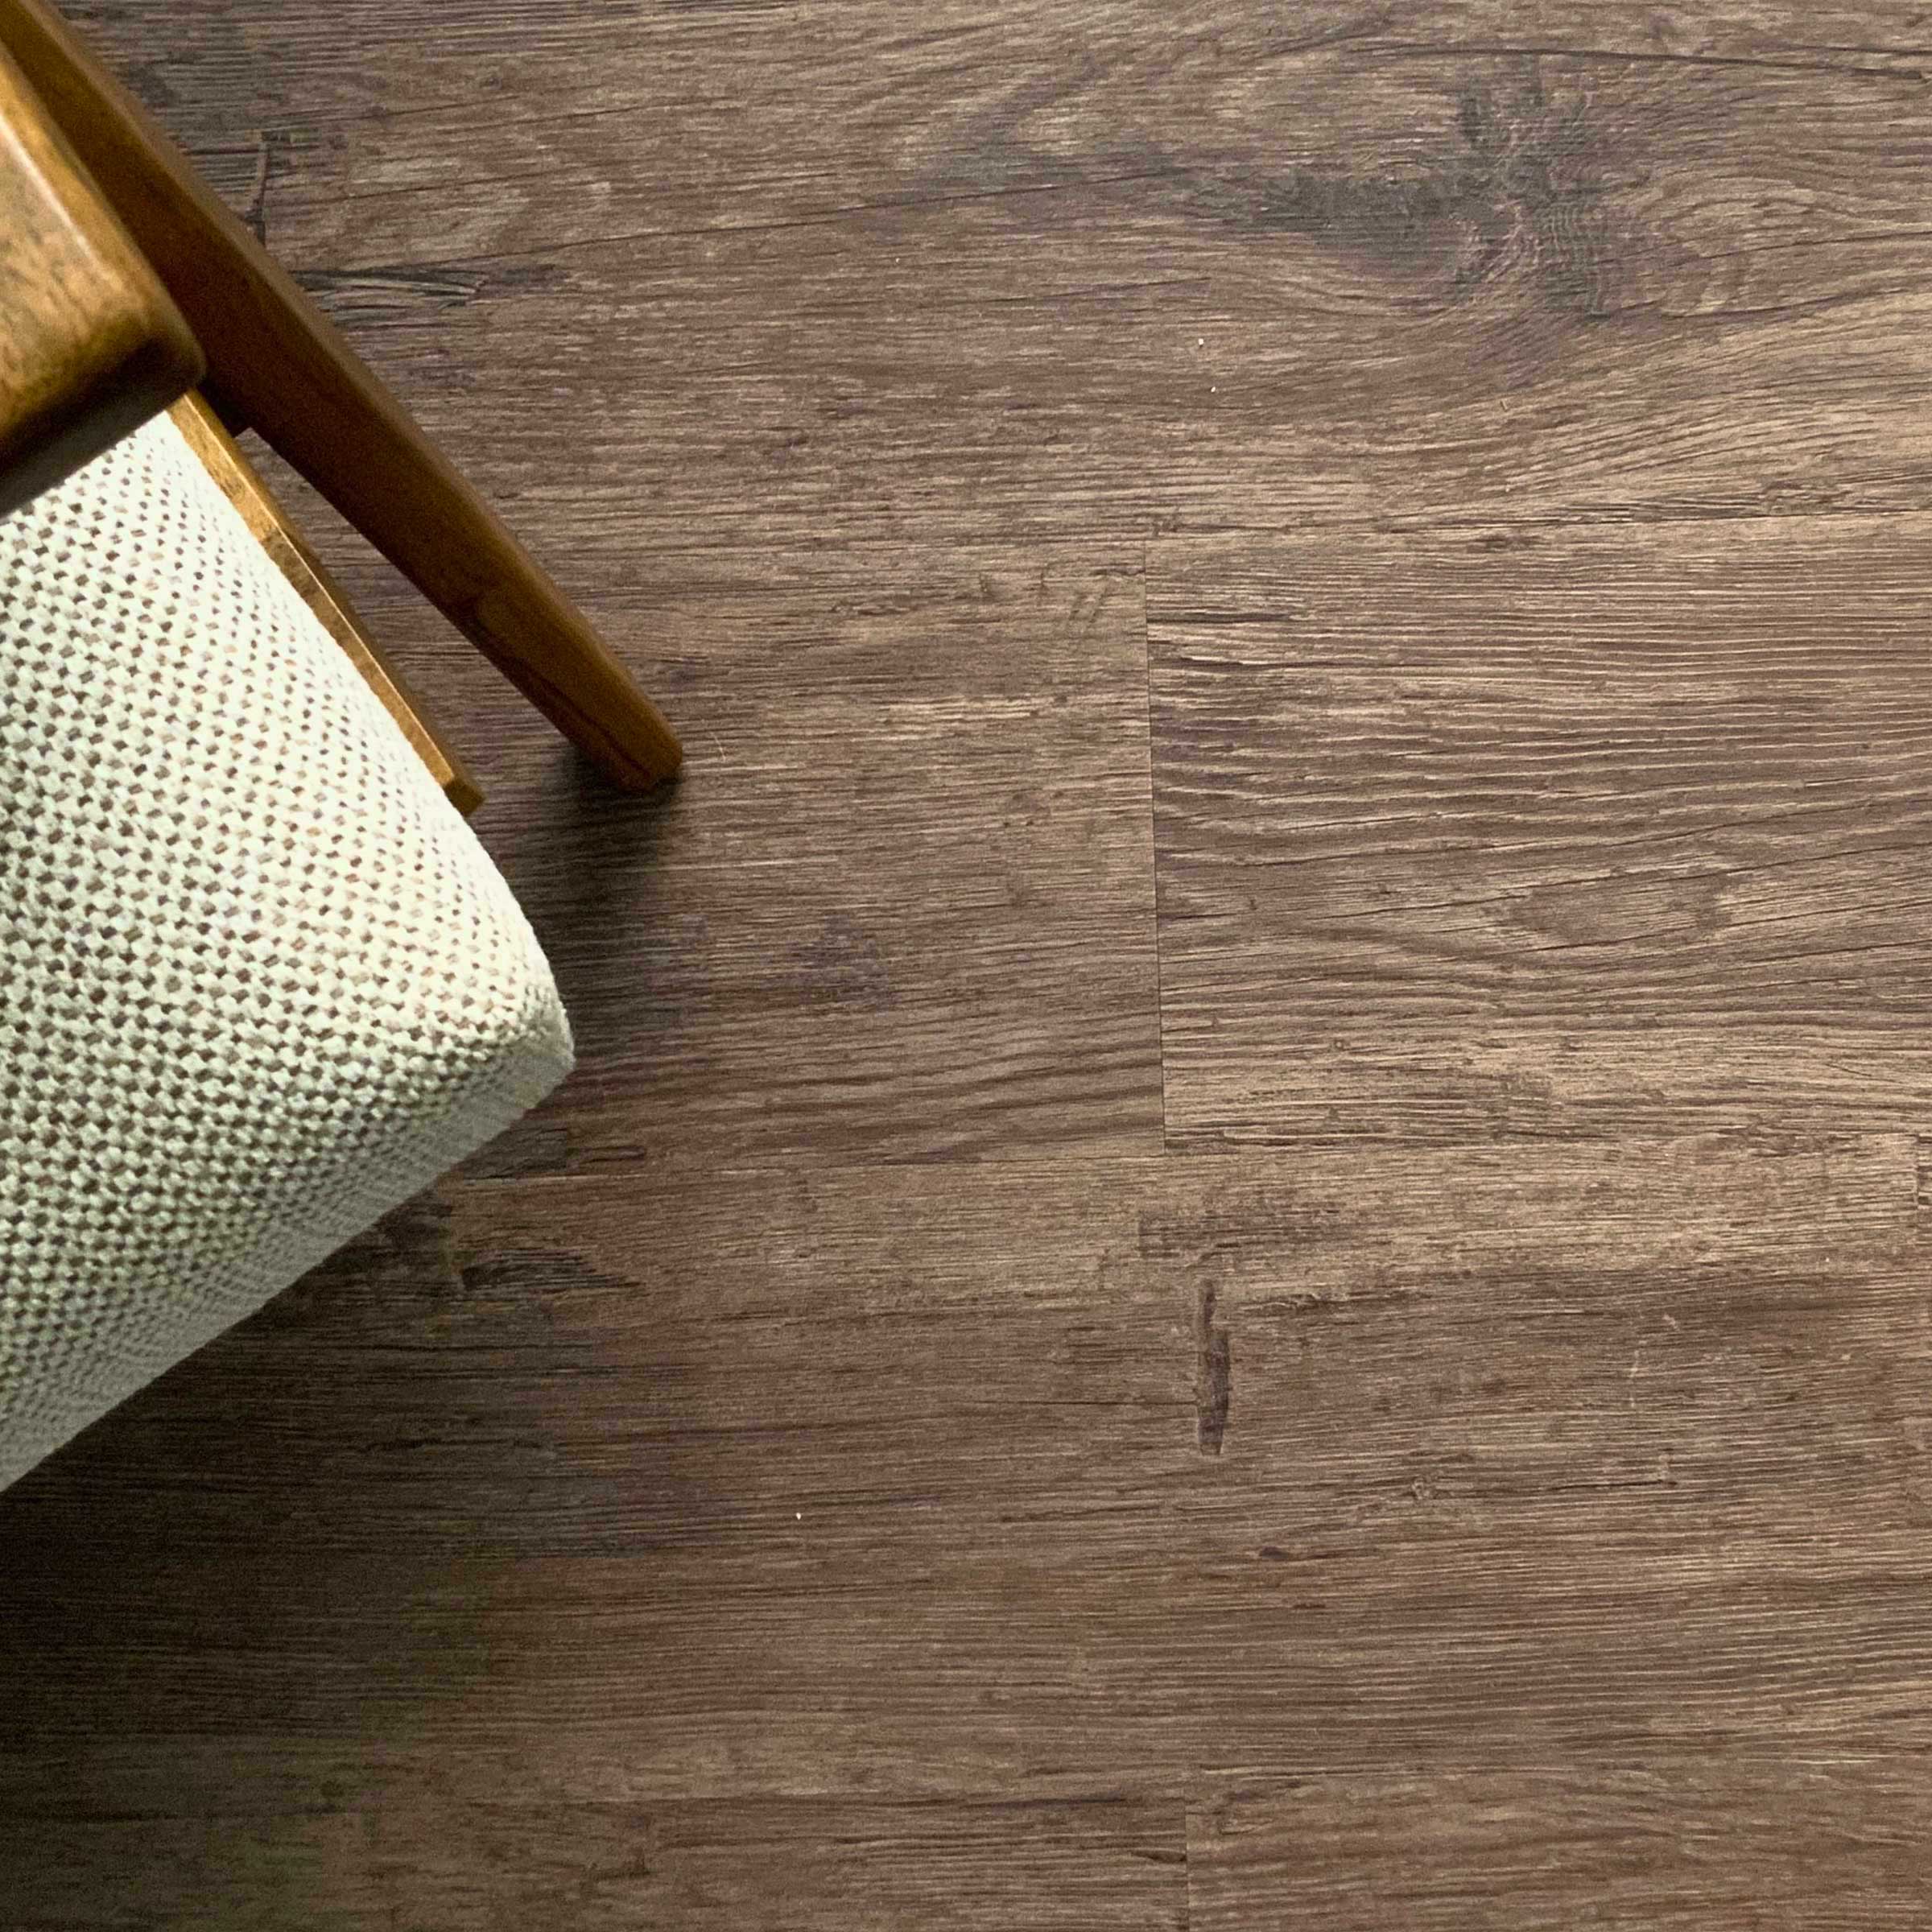
Design is Personal Easy lay luxury vinyl floor planks Henna 7-in Wide x 5-mm Thick Waterproof Luxury Vinyl Plank Flooring (23.33-sq ft) Lowes.com
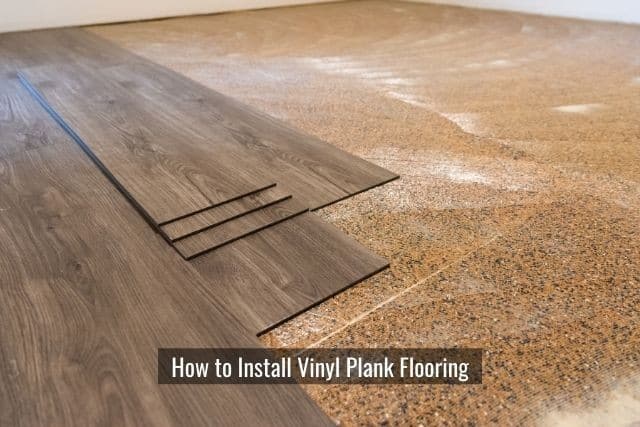
Most vinyl flooring is made of 3 to four layers sandwiched together to create a material that is both durable and beautiful. The counter where the vinyl will be installed should be smooth and clean to make a good and tight fit. Most people who do their own installations prefer to use vinyl tiles. Additionally they are available in a range of historical and geometrical patterns in addition to floral styles and diamond.
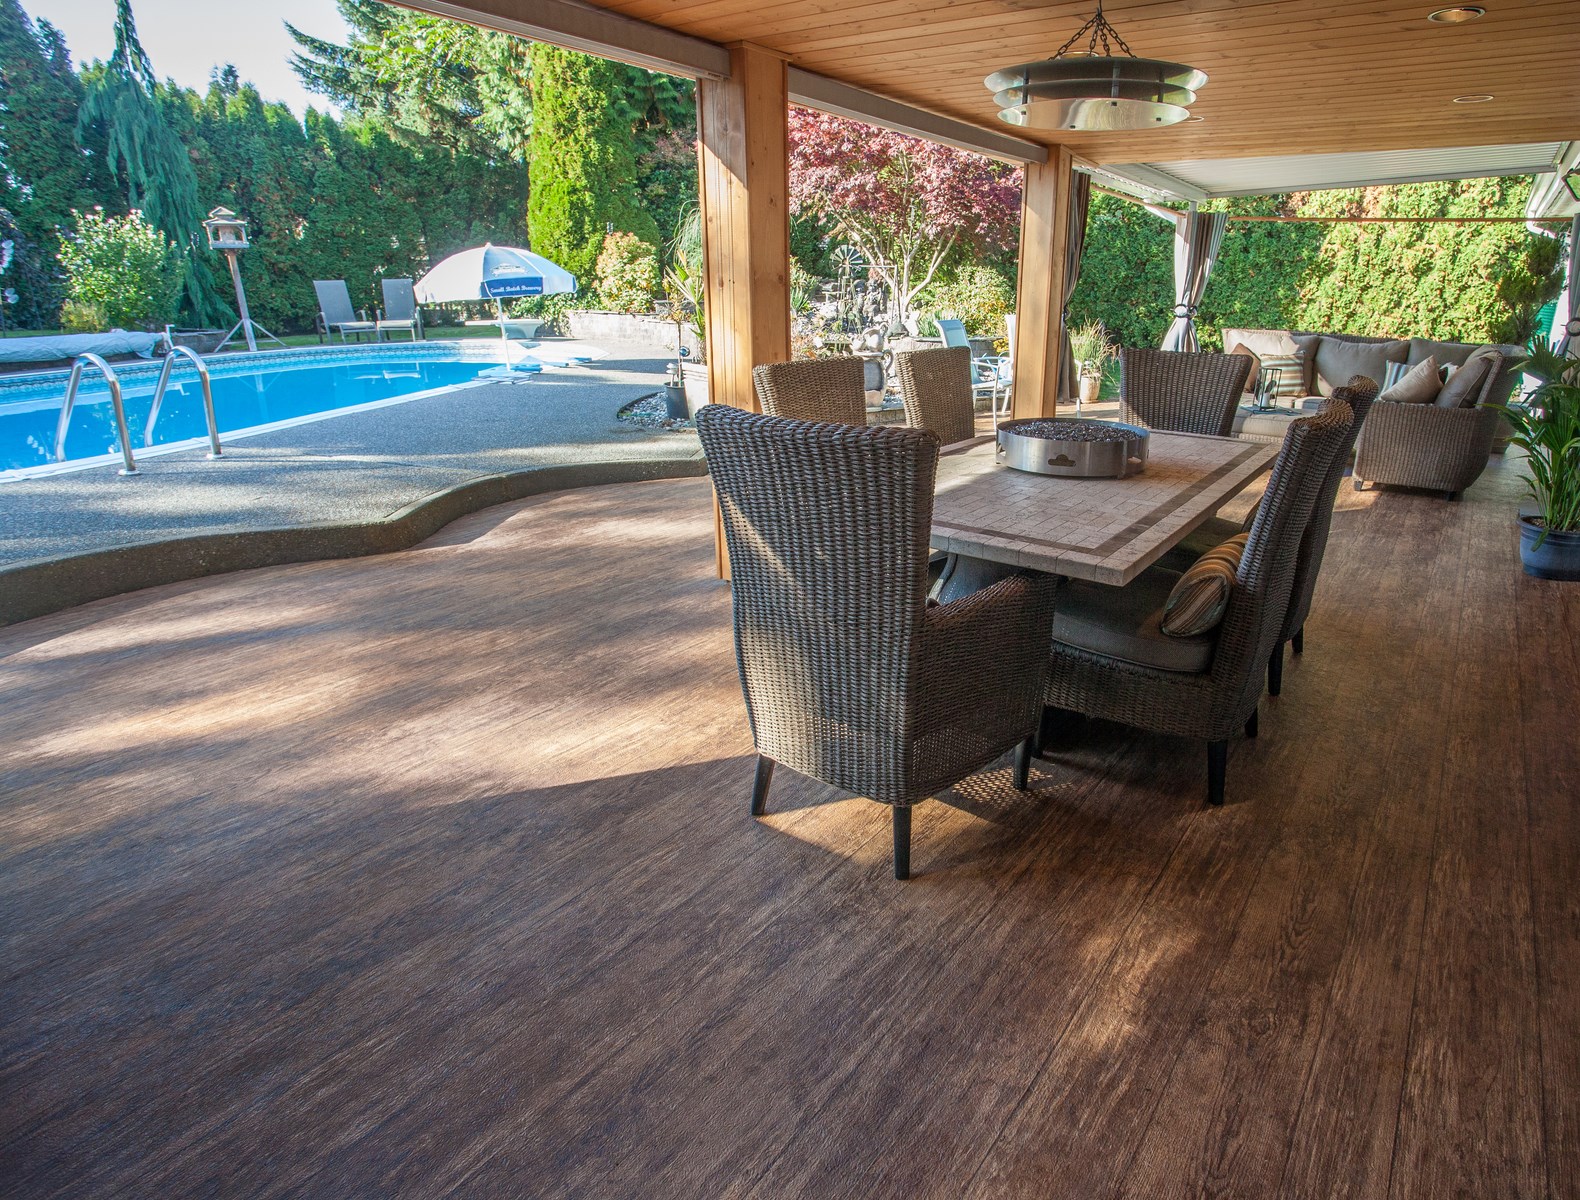
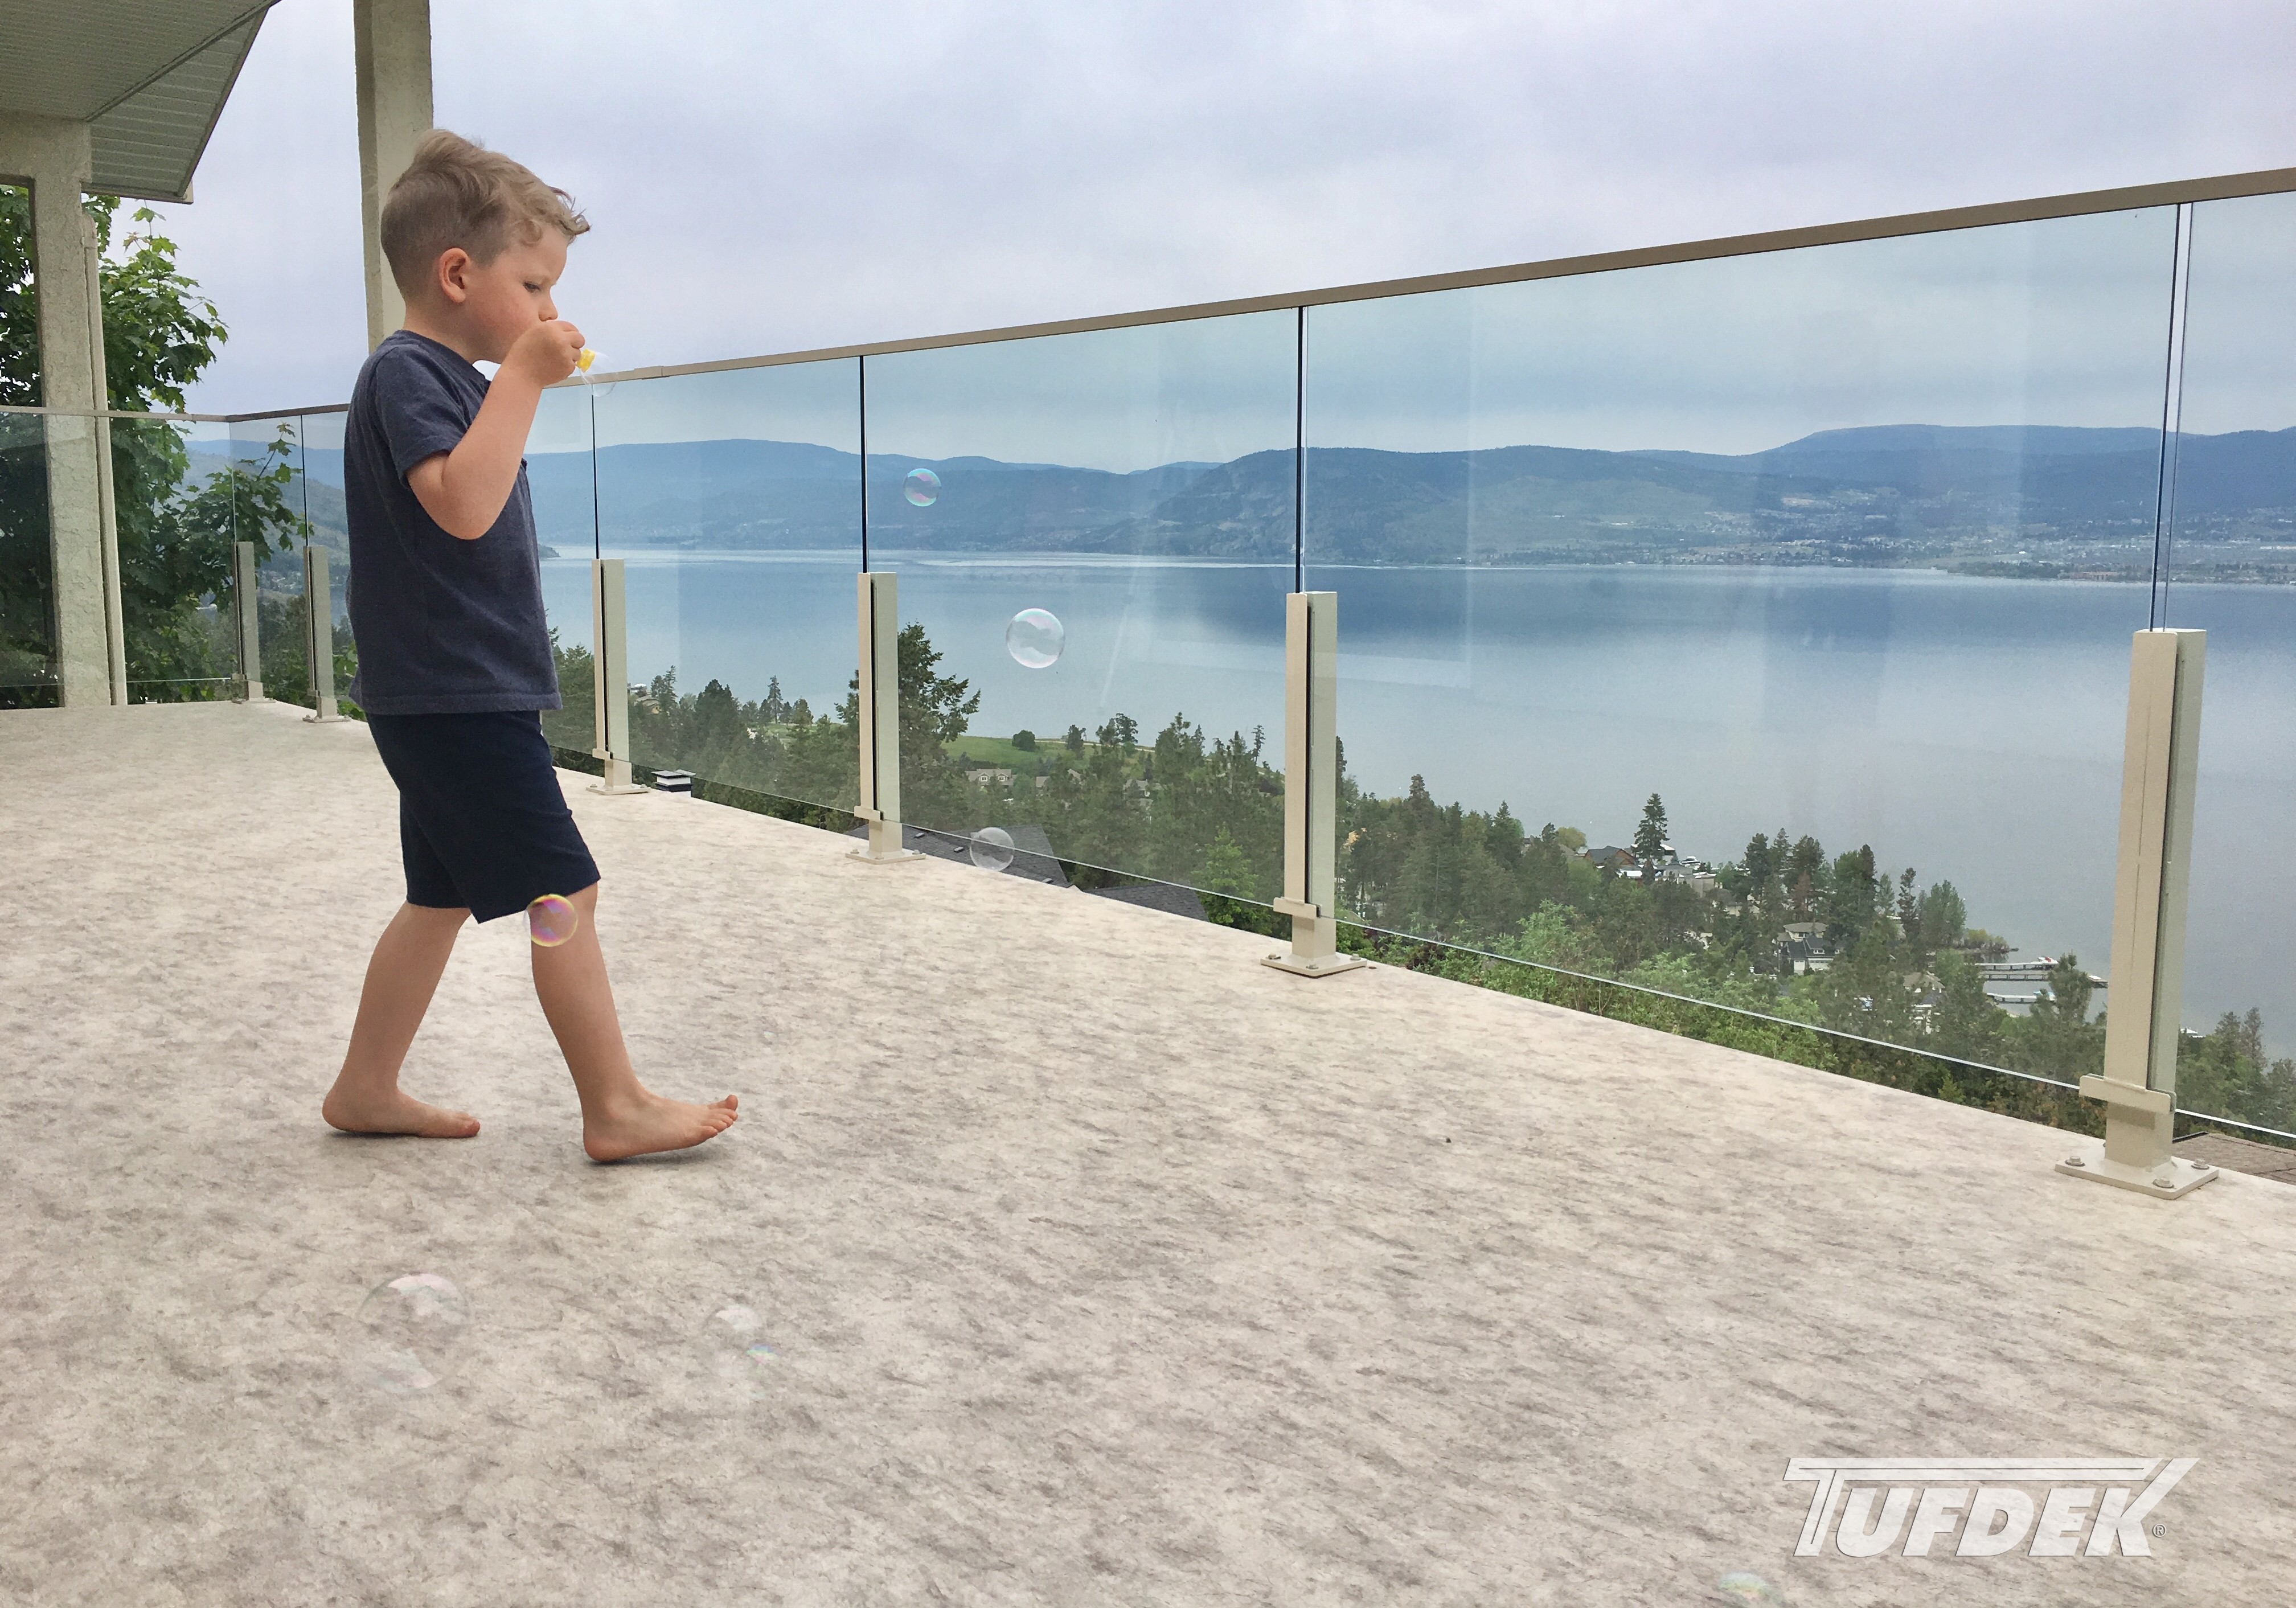
Vinyl Patio Deck Flooring Tufdek Waterproof Vinyl Decking
How to Use Vinyl Flooring Outdoors

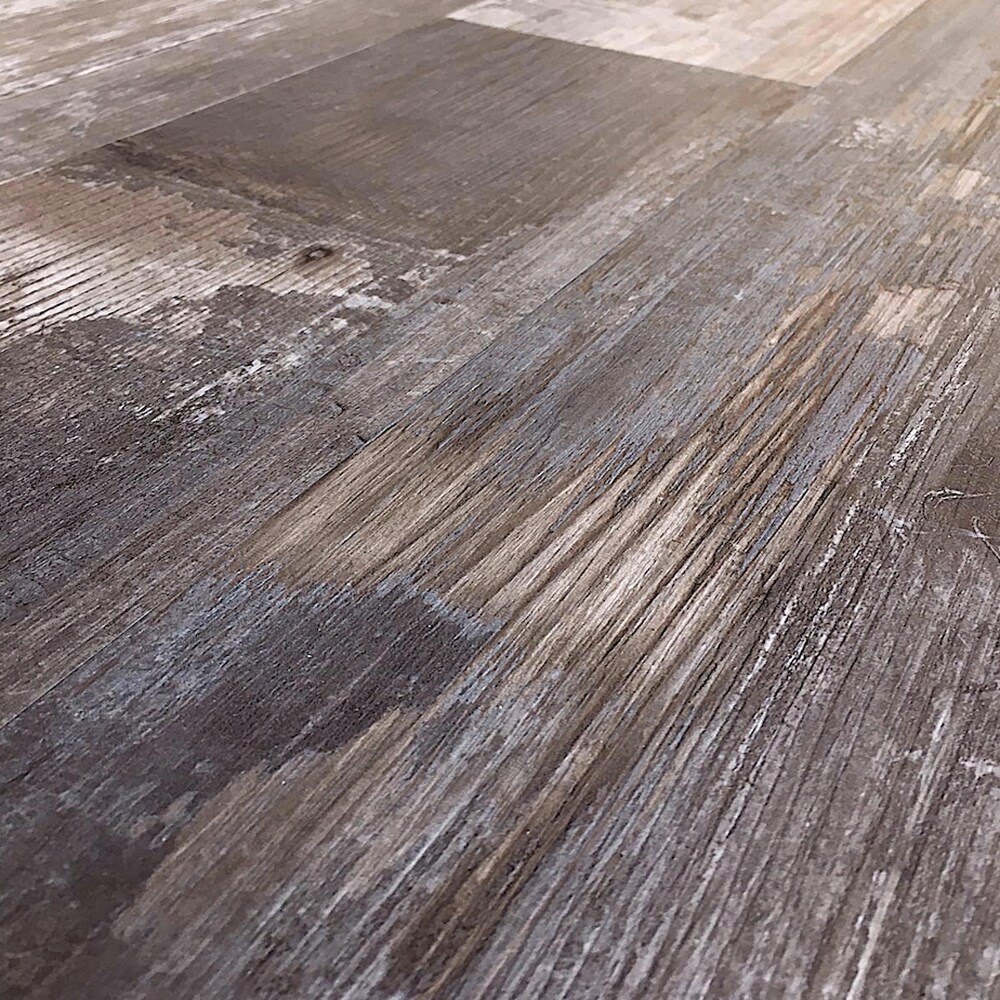
Deco Products Colors Reggae High Variation 6-in Wide x 2-mm Thick Waterproof Luxury Vinyl Plank Flooring (30-sq ft) Lowes.com
The Best Flooring for Outdoor Spaces – National Design Mart

Can You Use Vinyl Flooring for Outdoor Patio? – Floor Techie

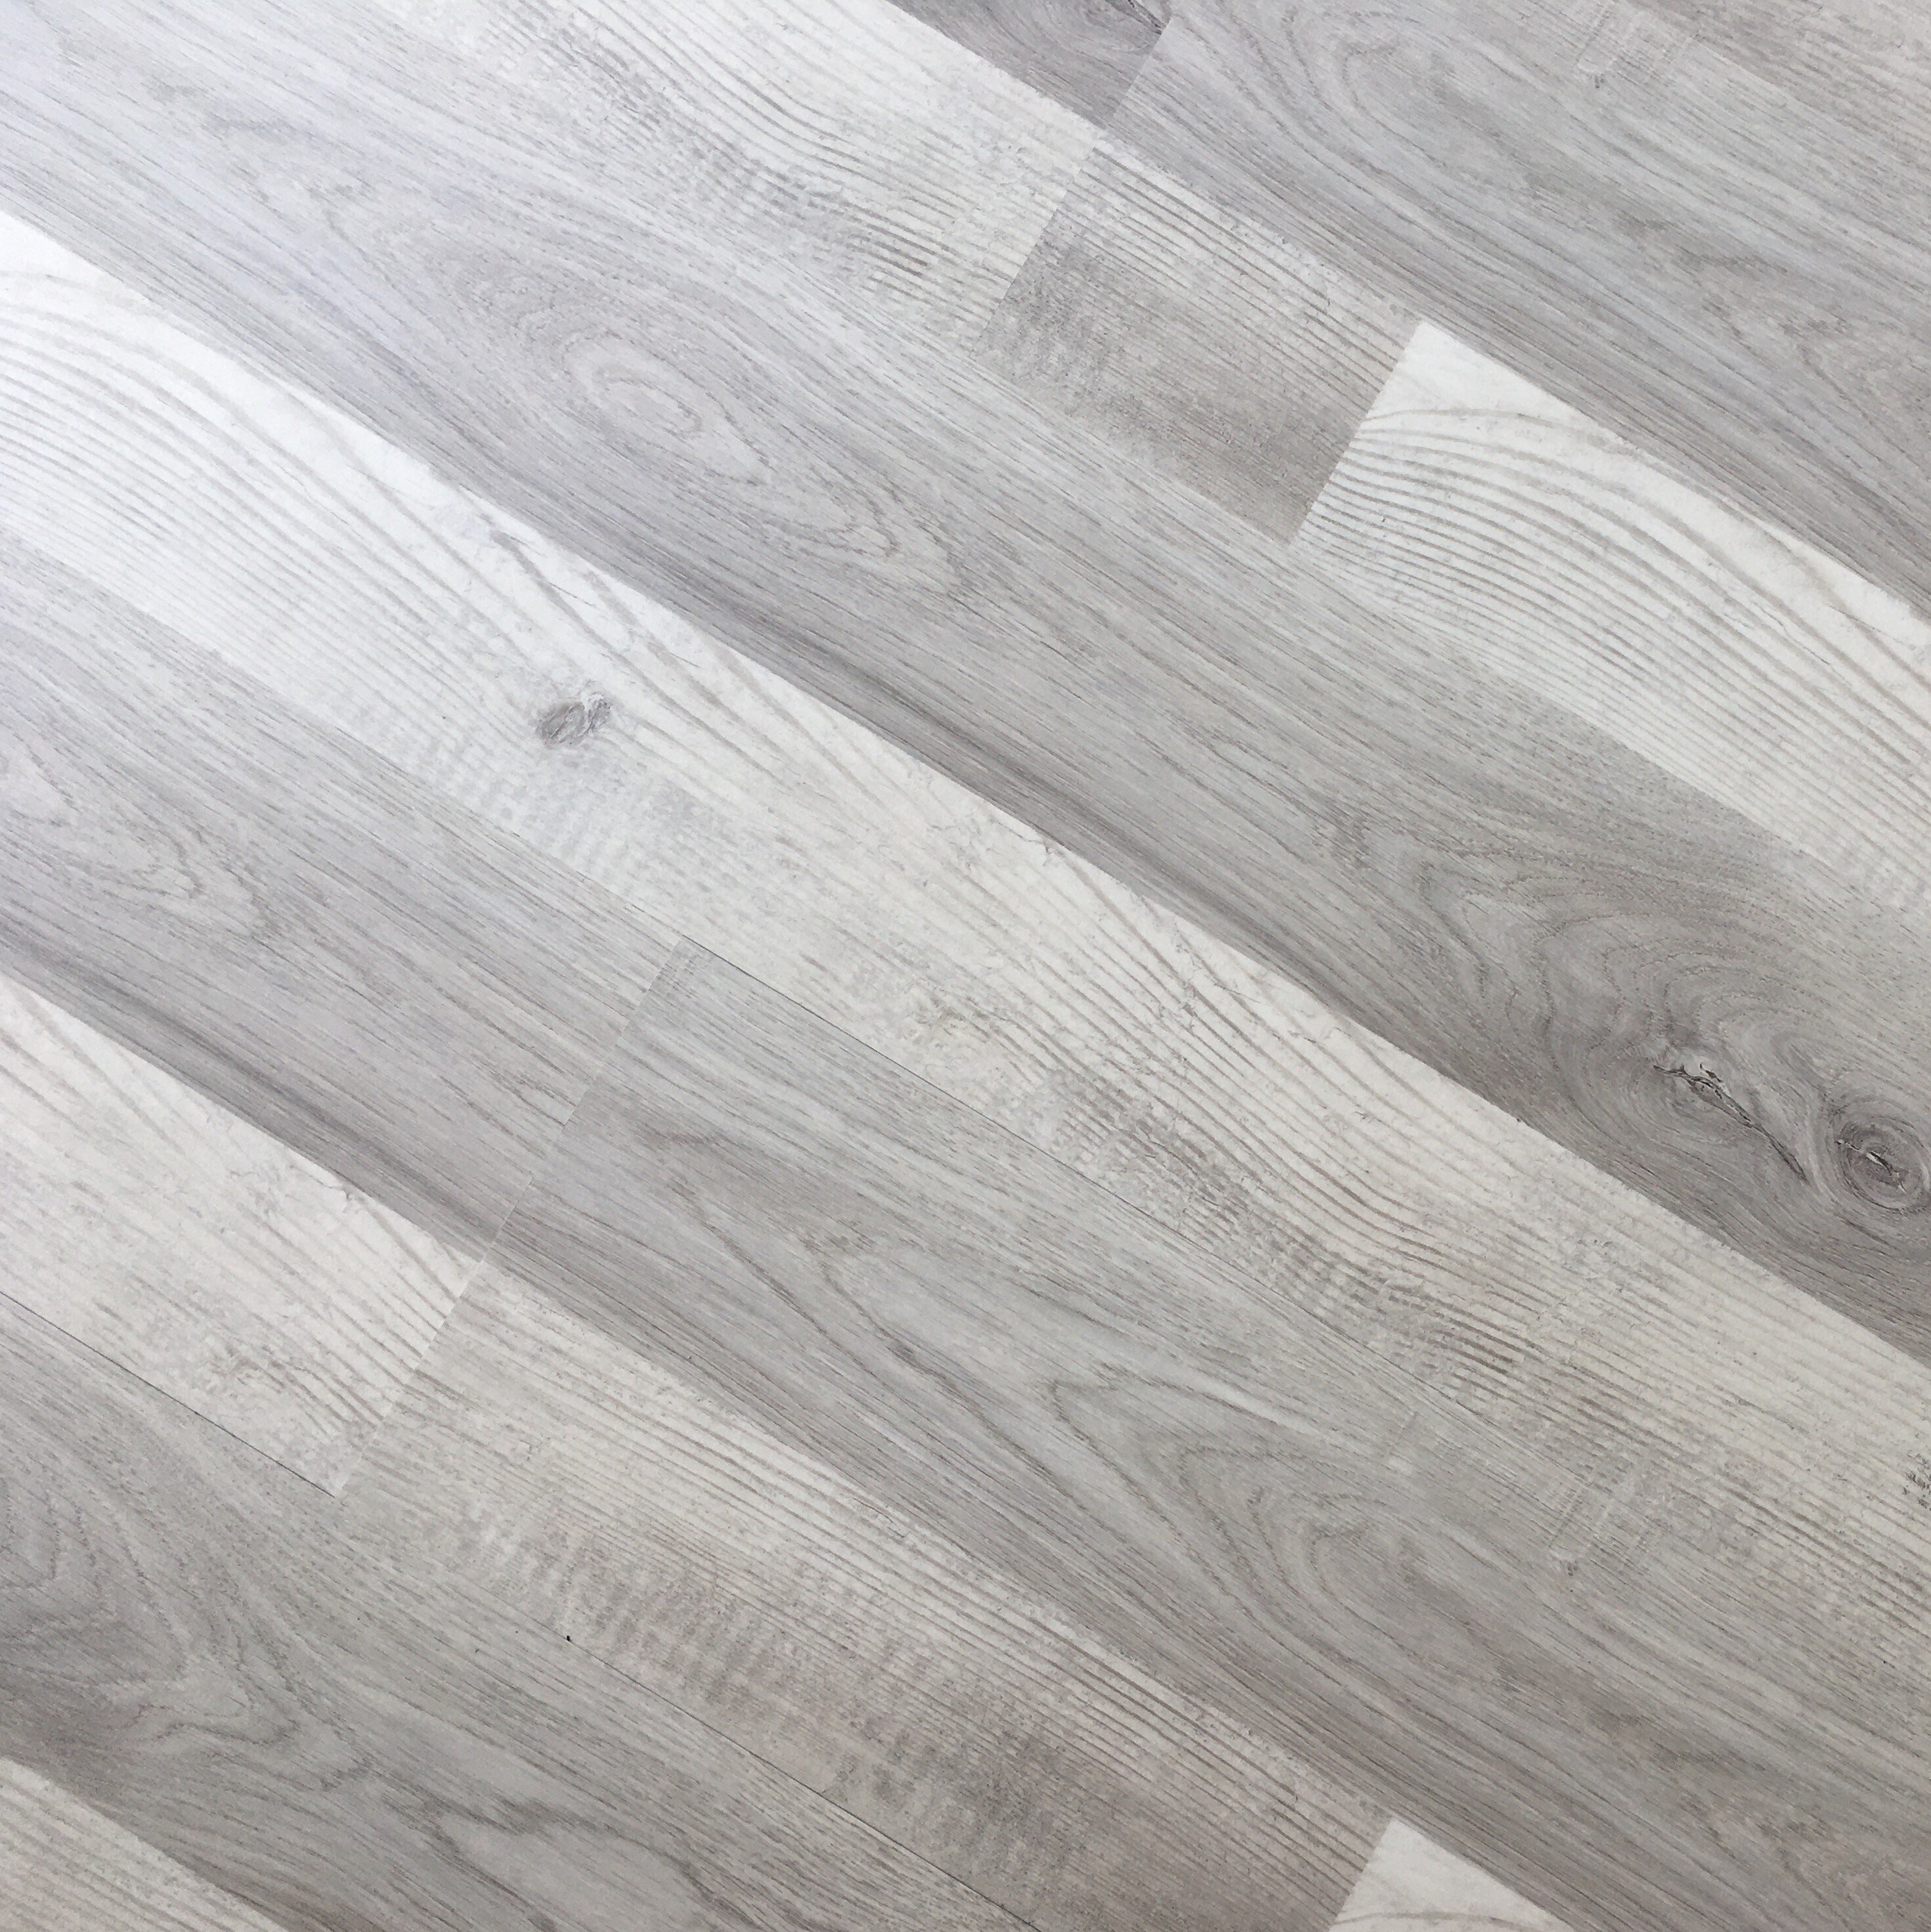
Deco Products Bahamas sands Bahamas Sands 7-in Wide x 5-1/2-mm
Can You Put Vinyl Planks Outside? – Ready To DIY
Patio Flooring Tufdek Waterproof Vinyl Deck Solutions

Indoor or outdoor Vinyl Plank at Lowes.com

Outside Waterproof PVC Flooring with High Quality and Good Price

Tufdek – Outdoor Vinyl Flooring
Indoor or outdoor Vinyl Plank at Lowes.com
Related Posts:
- Best Waterproof Vinyl Flooring
- How To Get Scuff Marks Off Vinyl Flooring
- Homewyse Vinyl Flooring
- Peel & Stick Vinyl Flooring
- Vinyl Flooring Scriber
- Adhesive Backed Vinyl Floor Tiles
- Refinishing Vinyl Floors
- Scandinavian Vinyl Flooring
- Best Dust Mop For Vinyl Floors
- Lifeproof Vinyl Flooring Sterling Oak
Waterproof Outdoor Vinyl Flooring: A Durable and Stylish Option for Your Outdoor Space
Introduction:
When it comes to outdoor spaces, durability and style are two key factors to consider. Whether you have a patio, deck, or balcony, finding the right flooring option that can withstand the elements while adding aesthetic appeal can be a challenge. This is where waterproof outdoor vinyl flooring comes in. In this article, we will explore the benefits of this type of flooring, its installation process, maintenance requirements, and address some frequently asked questions.
Benefits of Waterproof Outdoor Vinyl Flooring:
1. Durability:
One of the primary advantages of waterproof outdoor vinyl flooring is its exceptional durability. Unlike traditional wood or laminate options, vinyl flooring is built to withstand harsh weather conditions. It is resistant to moisture, mold, mildew, and fading caused by UV rays. Additionally, it is highly resistant to scratches and dents, making it an ideal choice for high-traffic areas.
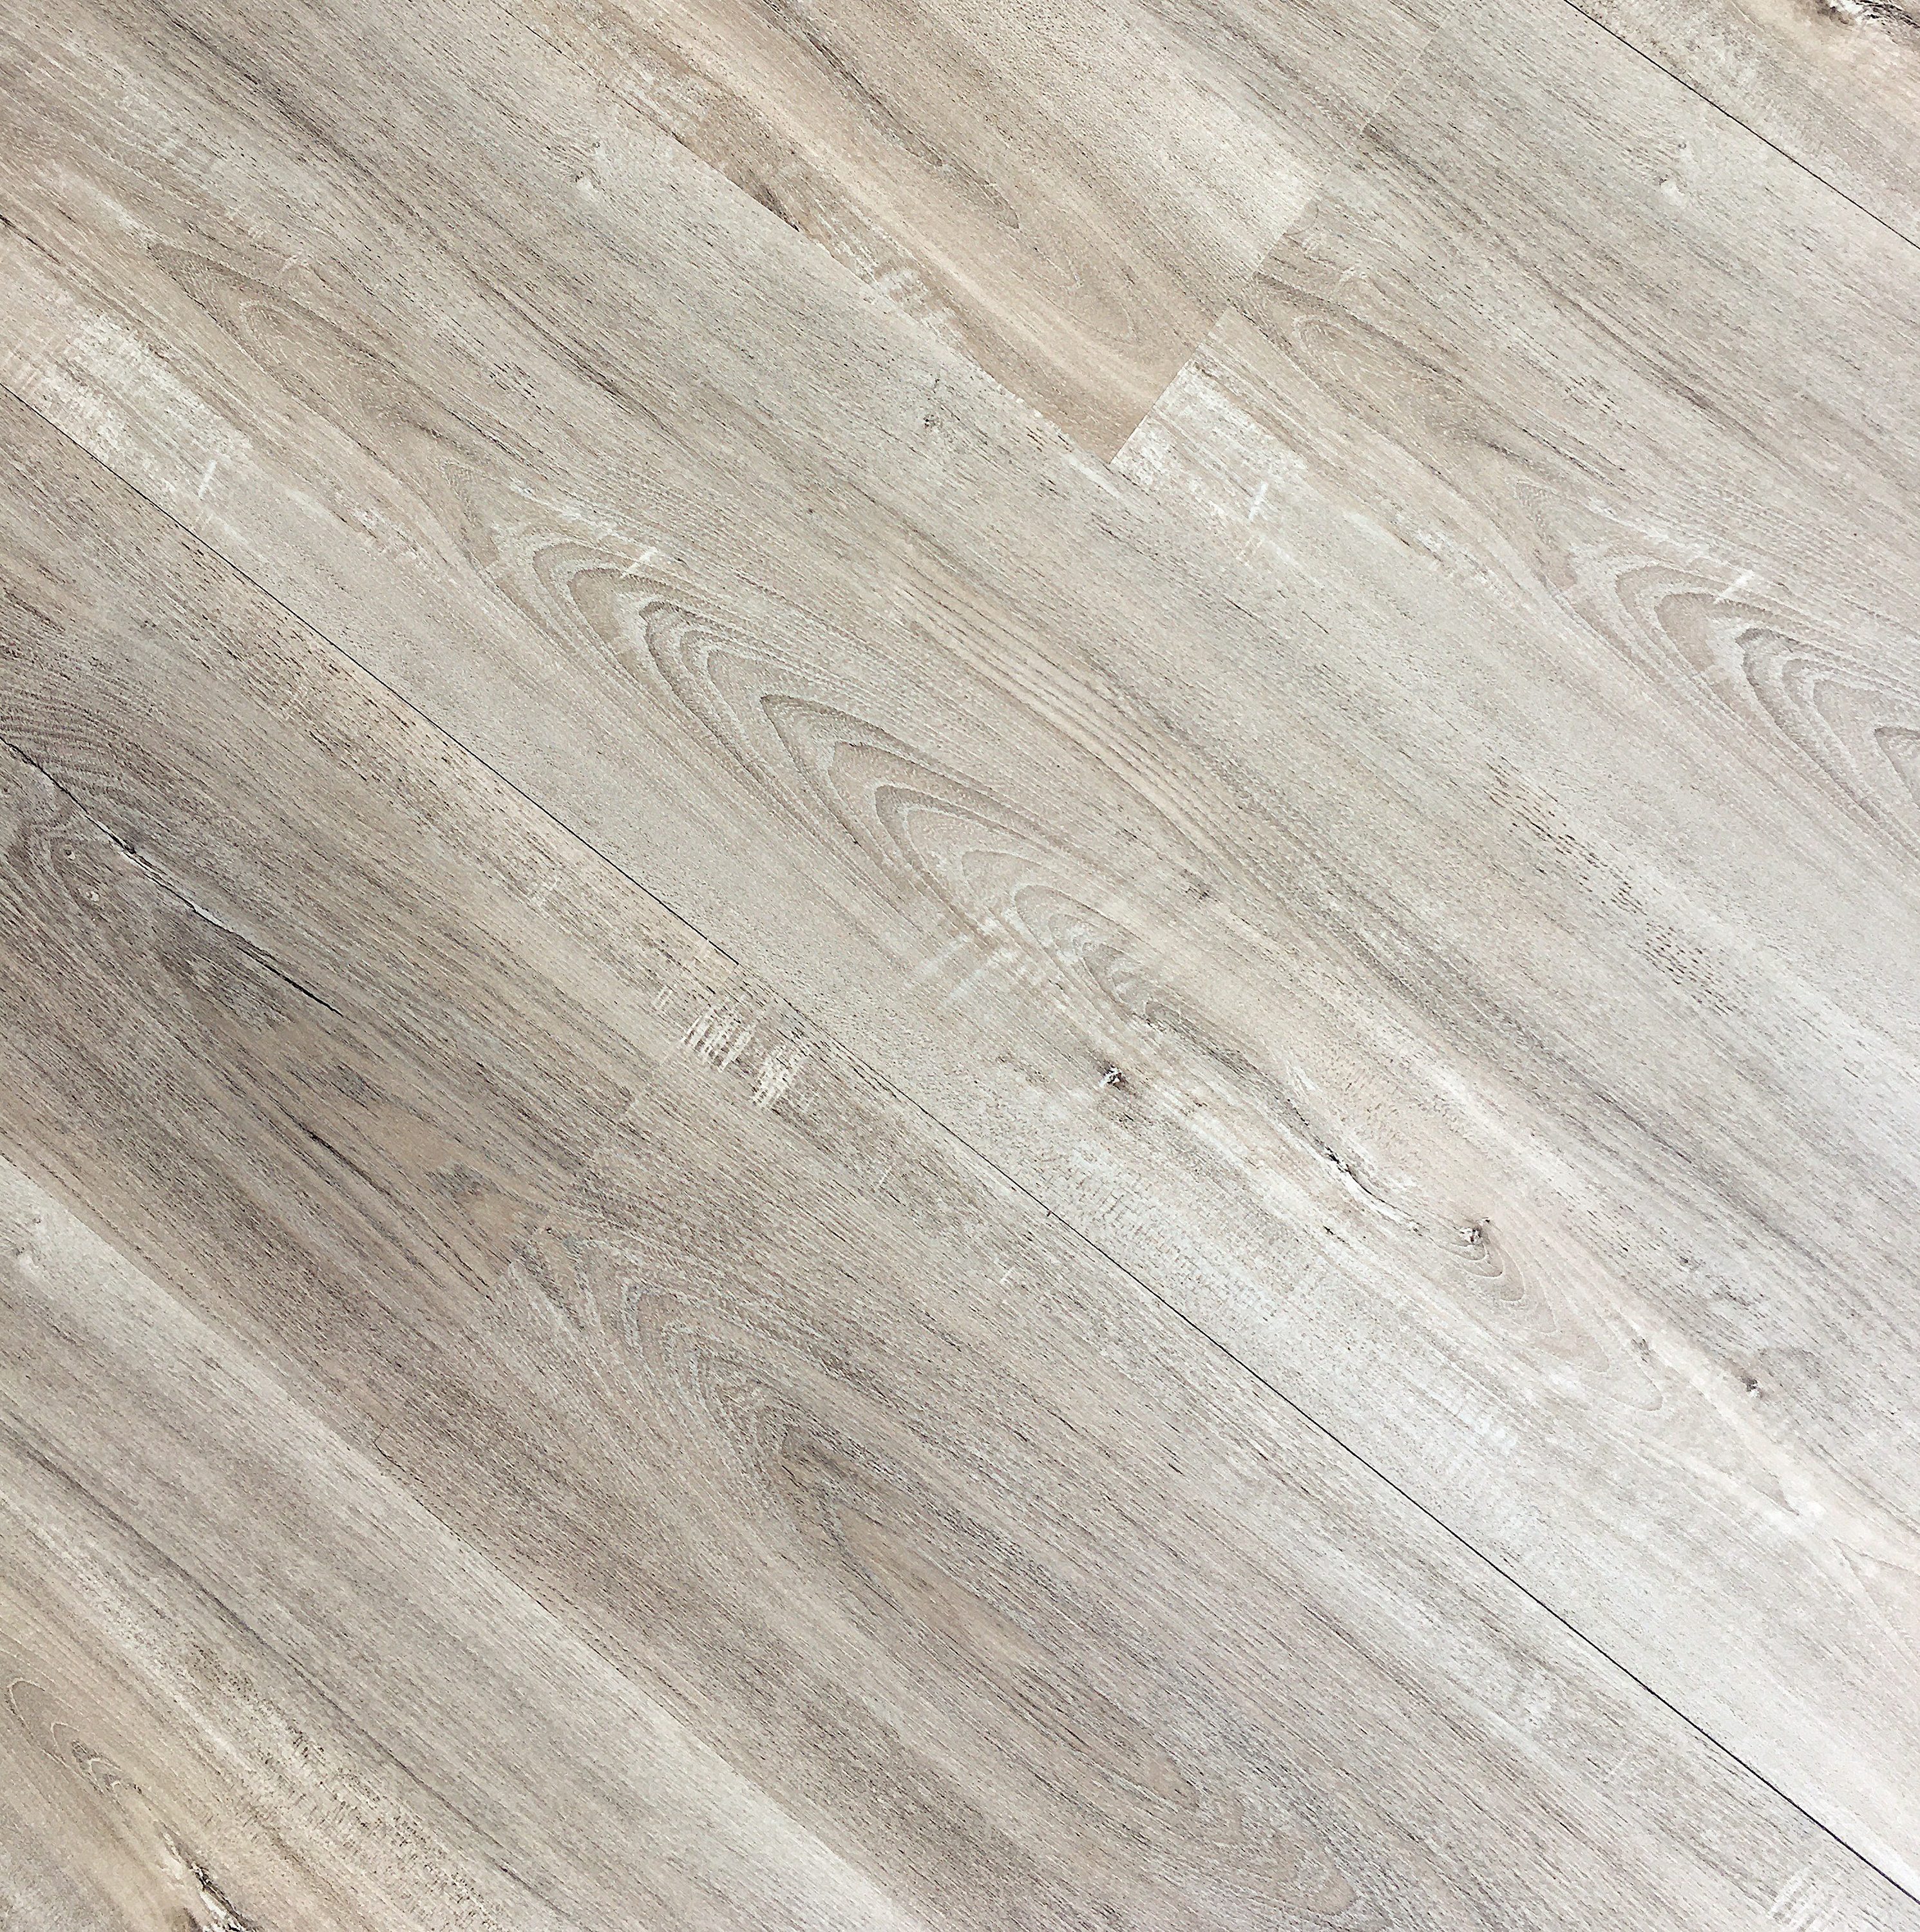
2. Versatility:
Vinyl flooring comes in a wide range of styles and designs to suit various outdoor aesthetics. Whether you prefer a rustic wooden look or a contemporary tile pattern, there is a vinyl option available to match your preferences. Furthermore, it can be installed on any outdoor surface like concrete or wood, allowing for versatile applications.
3. Easy Installation:
Installing waterproof outdoor vinyl flooring is relatively simple compared to other flooring options. The interlocking system used in many vinyl products allows for easy DIY installation without the need for professional assistance. However, for larger areas or complex patterns, it is recommended to hire a professional installer for a flawless finish.
4. Low Maintenance:
Vinyl flooring requires minimal maintenance, making it an appealing choice for busy homeowners. Regular sweeping or vacuuming to remove dirt and debris is usually sufficient to keep the floor clean. For tougher stains or spills, simply wipe with a damp cloth or mop using mild soap and water. Unlike natural wood or stone options, vinyl does not require regular sealing or refinishing.
5. Cost-effective:
Compared to other outdoor flooring options like natural stone or hardwood, waterproof outdoor vinyl flooring is more cost-effective. Vinyl flooring provides a similar aesthetic appeal at a fraction of the price, making it an excellent option for budget-conscious homeowners. Additionally, its long lifespan and durability ensure that you won’t need to replace it frequently, further reducing overall costs.
Installation Process:
Installing waterproof outdoor vinyl flooring involves several steps to ensure a proper and long-lasting installation. Here is a step-by-step guide to help you through the process:
1. Surface Preparation:
Before installing vinyl flooring, it is crucial to prepare the surface properly. Ensure that the area is clean, dry, and free from any debris or unevenness. If necessary, repair any cracks or imperfections on the existing surface.
2. Acclimate the Flooring:
Allow the vinyl planks or tiles to acclimate to the outdoor environment by leaving them in the area where they will be installed for at least 48 hours. This helps them adjust to temperature and humidity changes, preventing any warping or shrinking after installation.
3. Measure and Cut:
Measure the dimensions of the area where you will be installing the vinyl flooring and calculate how many planks or tiles you will need. Use a straight edge and a utility knife to cut the planks or tiles as per your measurements.
4. Install Underlayment (Optional):
Depending on the condition of your existing surface, you may choose to install an underlayment for added cushioning And insulation. This step is optional but can provide additional comfort and noise reduction.
5. Install the Flooring:
Start by laying the first row of vinyl planks or tiles along one edge of the area, using spacers to maintain a consistent gap between each piece. Interlock the planks or tiles together, ensuring a secure and tight fit. Continue laying rows until the entire area is covered.
6. Trim and Finish:
Once all the vinyl flooring is installed, use a utility knife to trim any excess material along the edges of the area. Install baseboards or trim pieces to cover any gaps and provide a finished look.
7. Clean and Maintain:
After installation, clean the vinyl flooring thoroughly to remove any dust or debris. Follow the manufacturer’s instructions for cleaning and maintenance to ensure its longevity and appearance.
In conclusion, waterproof outdoor vinyl flooring offers numerous benefits such as durability, versatility, easy installation, low maintenance, and cost-effectiveness. By following the proper installation process, you can enjoy a beautiful and functional outdoor space for years to come.