However, in case you are interested in a complete bathroom renovation, you should provide the flooring a little attention, it adds much more to the overall appearance of your bathroom than you understand. Many bathroom layouts are certainly not completely square that can lead to challenges when attempting to set up the flooring yourself.
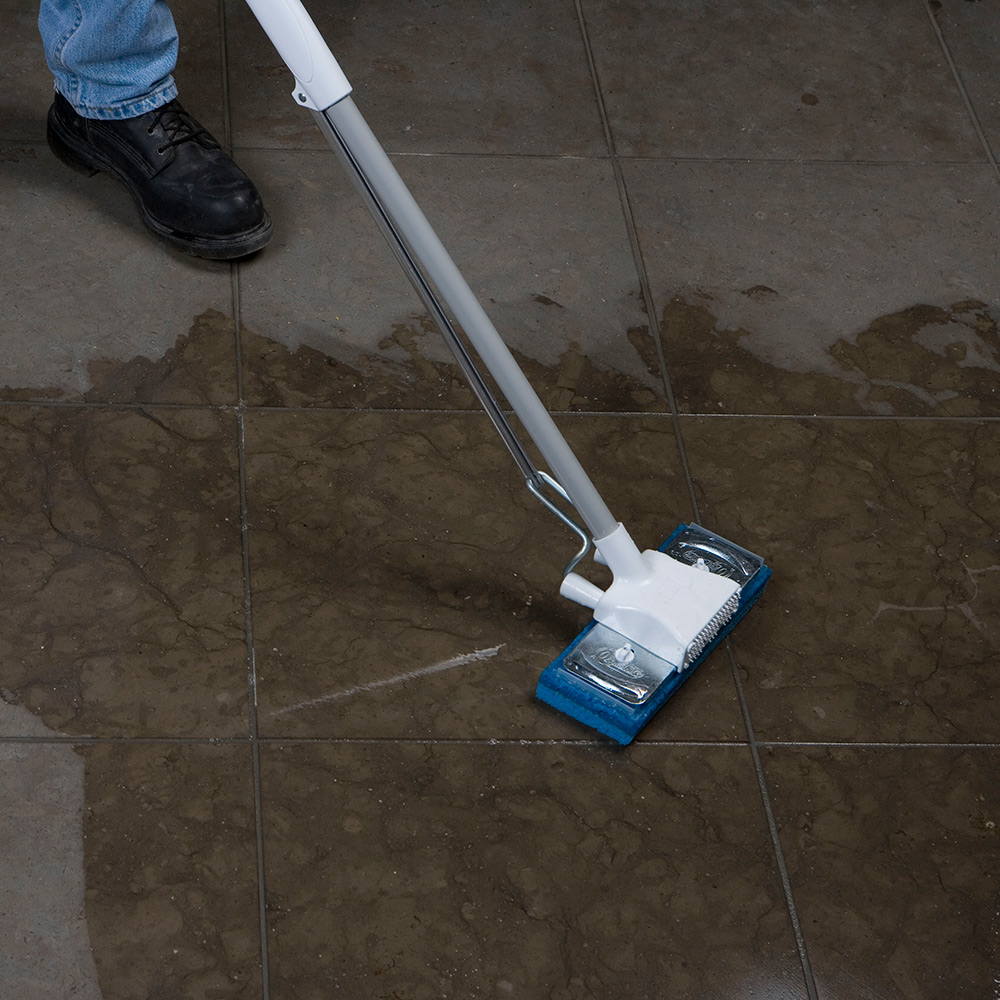
Images about Waterproofing Bathroom Floor After Tiling
So we've established that the bathroom of yours floor should find a way to be cleaned extensively and routinely as well as be comfortable under feet and with this in mind I'd recommend a tile floor for the bathroom. Another promising option is carpet, which should be reluctant to drinking water, stain, as well as mildew in order to last for a long time.
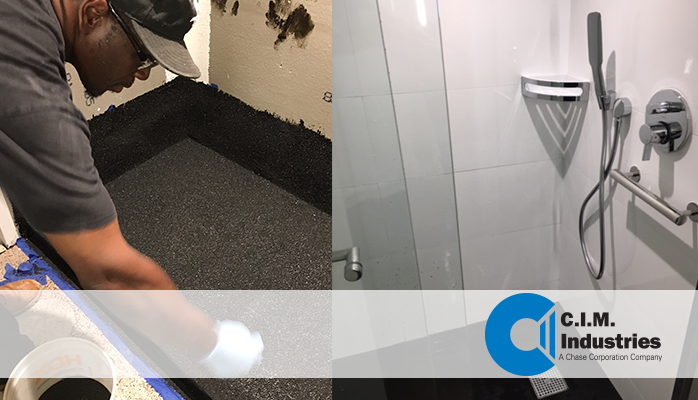
Re-Waterproofing of Bathroom and Toilet floor after Hacking membrane waterproofing screed

Wood, cork, bamboo, laminates or vinyl aren't the optimal flooring selections for the bathroom of yours. Decoration is often the crucial to attaining this, and one of the most critical elements of any bathroom is making use of the proper flooring. Bamboo and cork is able to retain moisture and they are able to become thriving justification for bacteria as well as other microorganisms.
Waterproofing wet internal areas in your house: What you need to

Featured Product: Extreme Waterproofing System by NAC Products

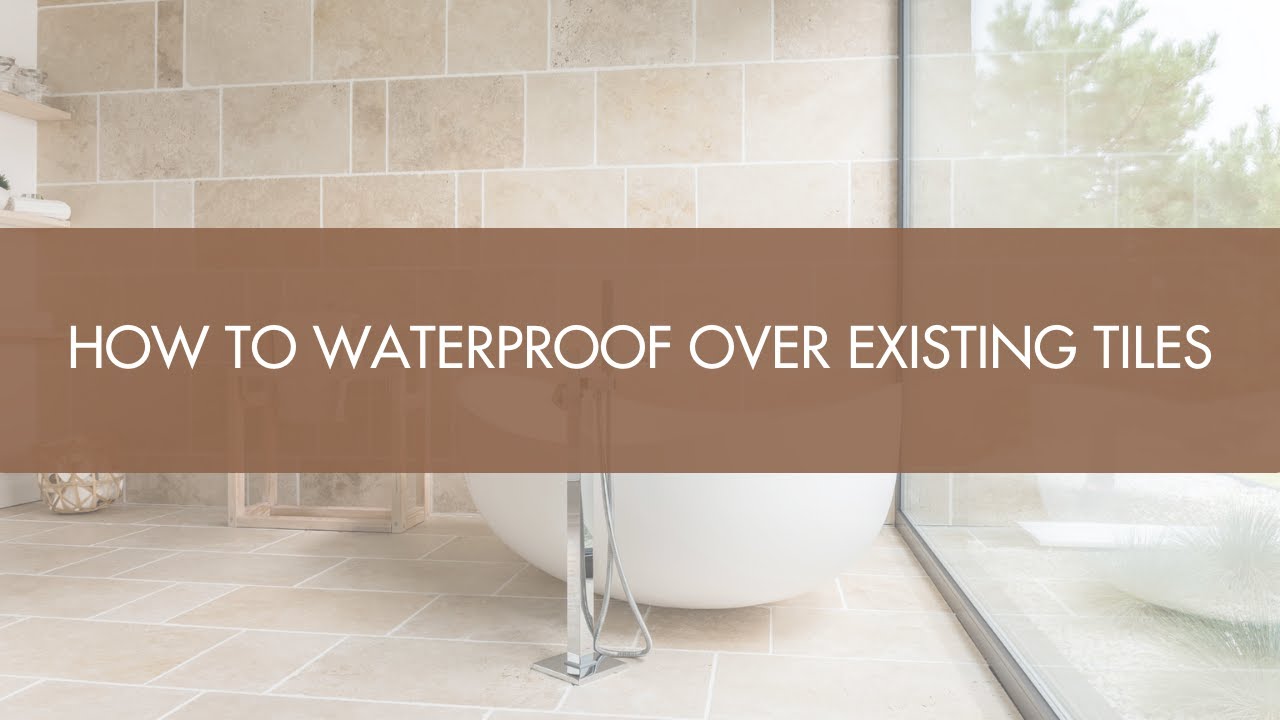
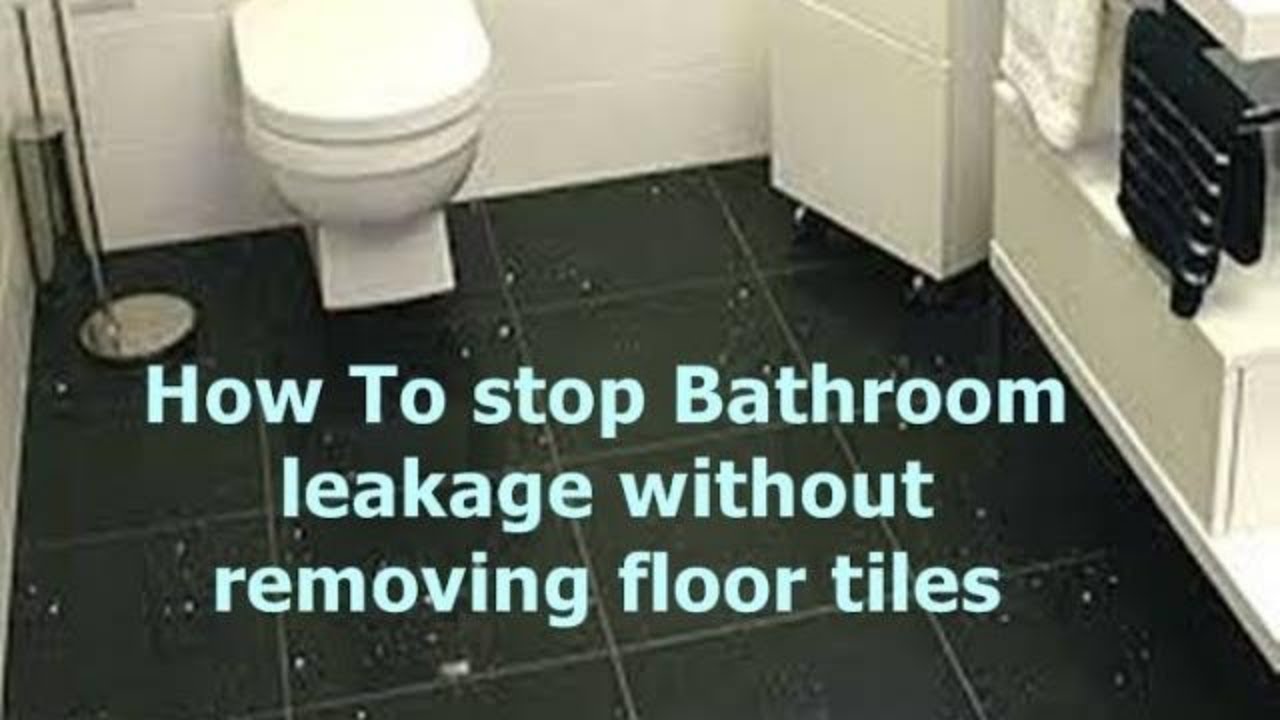
How To Waterproof Over Existing Tiles – YouTube
How to tile and waterproof a bathroom BUILD
How-to] Waterproofing your bathroom in 10 steps Easy Drain
How To Waterproof Your Bathroom Floor – Bunnings Australia

Cement Based Waterproofing of Toilet Floors – Procedure and

Waterproofing An Internal Wet Area

How to Waterproof a Floor
How to Waterproof a Floor

Bathroom Waterproofing and Renovation with New Plumbing and New
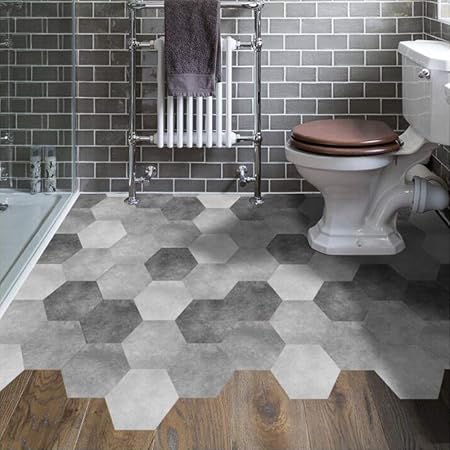
10 Pcs Hexagonal Grey Waterproof Non Slip Floor Stickers PVC Self Adhesive Tile Wall Stickers for Kitchen Bedroom Bathroom Toilet Decoration
Related Posts:
- White Bathroom Floor Cabinet With Shelf
- Master Bathroom Floor Plan Ideas
- How To Remove Urine Stains From Bathroom Floor
- Bathroom Floor Trim Ideas
- Ebay Bathroom Floor Tiles
- How To Lay A Bathroom Floor
- Concrete Bathroom Floor Tiles
- Octagon Tile Bathroom Floor
- Homemade Bathroom Floor Cleaner
- Bathroom Floor Renovation
Waterproofing Bathroom Floor After Tiling: A Comprehensive Guide
Introduction:
Waterproofing the bathroom floor after tiling is an essential step in ensuring the longevity and durability of your bathroom. It not only protects the underlying structure from water damage but also prevents the growth of mold and mildew. In this comprehensive guide, we will explore the various methods and materials used for waterproofing bathroom floors after tiling, along with frequently asked questions and detailed answers to help you make informed decisions.
I. Importance of Waterproofing Bathroom Floors:
1. Protection against Water Damage:
Water is a constant presence in bathrooms, making it crucial to protect the floors against water penetration. Without proper waterproofing, water can seep through the tile grout lines or cracks in the tiles, leading to damage to the subfloor, potential structural issues, and costly repairs.
2. Preventing Mold and Mildew Growth:
Bathrooms are prone to high humidity levels, which create an ideal environment for mold and mildew to thrive. Waterproofing helps create a barrier that prevents moisture from seeping into the floor, reducing the chances of mold growth and maintaining a healthy indoor environment.
II. Methods of Waterproofing Bathroom Floors:
1. Liquid Waterproofing Membrane:
Liquid waterproofing membranes are popular choices for bathroom floor waterproofing due to their ease of application and flexibility. These products are typically applied with a brush or roller directly onto the tiled surface, forming a continuous layer that seals any potential gaps or cracks.
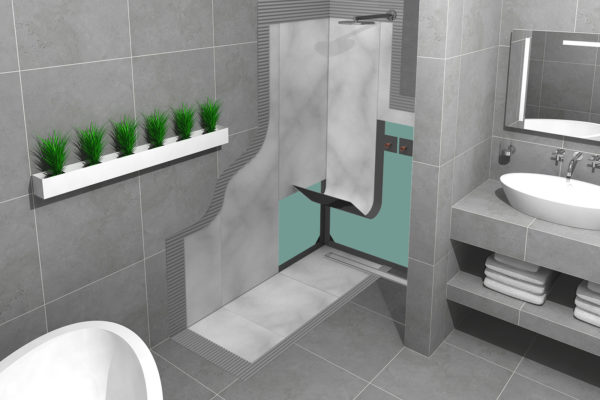
2. Sheet Membrane Systems:
Sheet membrane systems involve applying pre-formed waterproof membranes on the bathroom floor before tiling. These membranes are made from materials such as rubber, polyethylene, or PVC and provide excellent protection against water penetration.
3. Cementitious Waterproofing:
Cementitious waterproofing involves using a cement-based coating or slurry to create a protective layer on the bathroom floor surface. This method is particularly effective for concrete subfloors and offers good adhesion and durability.
III. Steps for Waterproofing Bathroom Floors After Tiling:
1. Surface Preparation:
Before applying any waterproofing material, it is crucial to prepare the bathroom floor surface properly. Remove any dirt, dust, or debris and ensure that the surface is clean and dry.
2. Repairing Cracks and Gaps:
Inspect the tiled surface for any cracks or gaps and repair them using a suitable filler or sealant. It is essential to address these issues before applying the waterproofing material to ensure an effective barrier against water penetration.
3. Applying the Waterproofing Material:
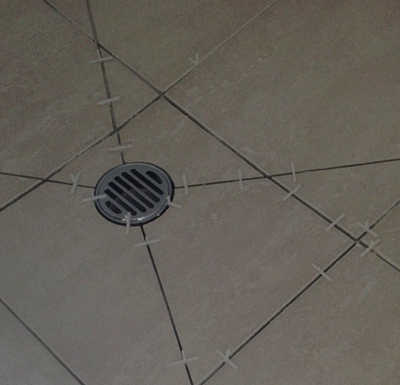
Follow the manufacturer’s instructions for the chosen waterproofing method and apply the material evenly on the bathroom floor surface. Pay extra attention to areas such as corners, joints, and around drains where water infiltration is more likely to occur.
4. Curing Time:
Allow sufficient curing time for the waterproofing material to dry and form a strong, watertight seal. This duration may vary depending on the product used, so refer to the manufacturer’s guidelines for accurate information.
5. Tile Installation:
Once the waterproofing layer has cured completely, you can proceed with tile installation on top of it. Ensure proper adhesion by using a high-quality tile adhesive recommended for wet areas.
IV. Frequently Asked Questions (FAQs):
Q1: Can I use regular tile grout as a waterproofing measure?
A1: No, regular tile grout is not designed to be a waterproofing agent. While it helps secure tiles in place, it does not provide A waterproof barrier. It is important to use a separate waterproofing material specifically designed for bathroom floors.
Q2: How often should I reapply the waterproofing material?
A2: The frequency of reapplication depends on various factors such as the type of waterproofing material used, the amount of water exposure, and the wear and tear on the bathroom floor. It is recommended to consult the manufacturer’s guidelines for specific recommendations on when to reapply the waterproofing material.
Q3: Can I apply a waterproofing membrane over existing tiles?
A3: It is generally not recommended to apply a waterproofing membrane directly over existing tiles. The existing tiles should be removed, and the surface should be properly prepared before applying the waterproofing material to ensure optimal adhesion and effectiveness.
Q4: Is it necessary to hire a professional for bathroom floor waterproofing?
A4: While it is possible to perform bathroom floor waterproofing as a DIY project, hiring a professional can ensure proper application and adherence to building codes and regulations. Professionals have the knowledge and experience to address any potential issues or challenges during the process.
Q5: Can I install tiles directly on top of cementitious waterproofing?
A5: Yes, tiles can be installed directly on top of properly applied cementitious waterproofing. However, it is important to use a tile adhesive suitable for wet areas to ensure proper adhesion and prevent water infiltration.
Overall, proper bathroom floor waterproofing is essential to prevent water damage and maintain the integrity of the structure. Choosing the right waterproofing method and following proper installation steps can help ensure a long-lasting and leak-free bathroom floor.