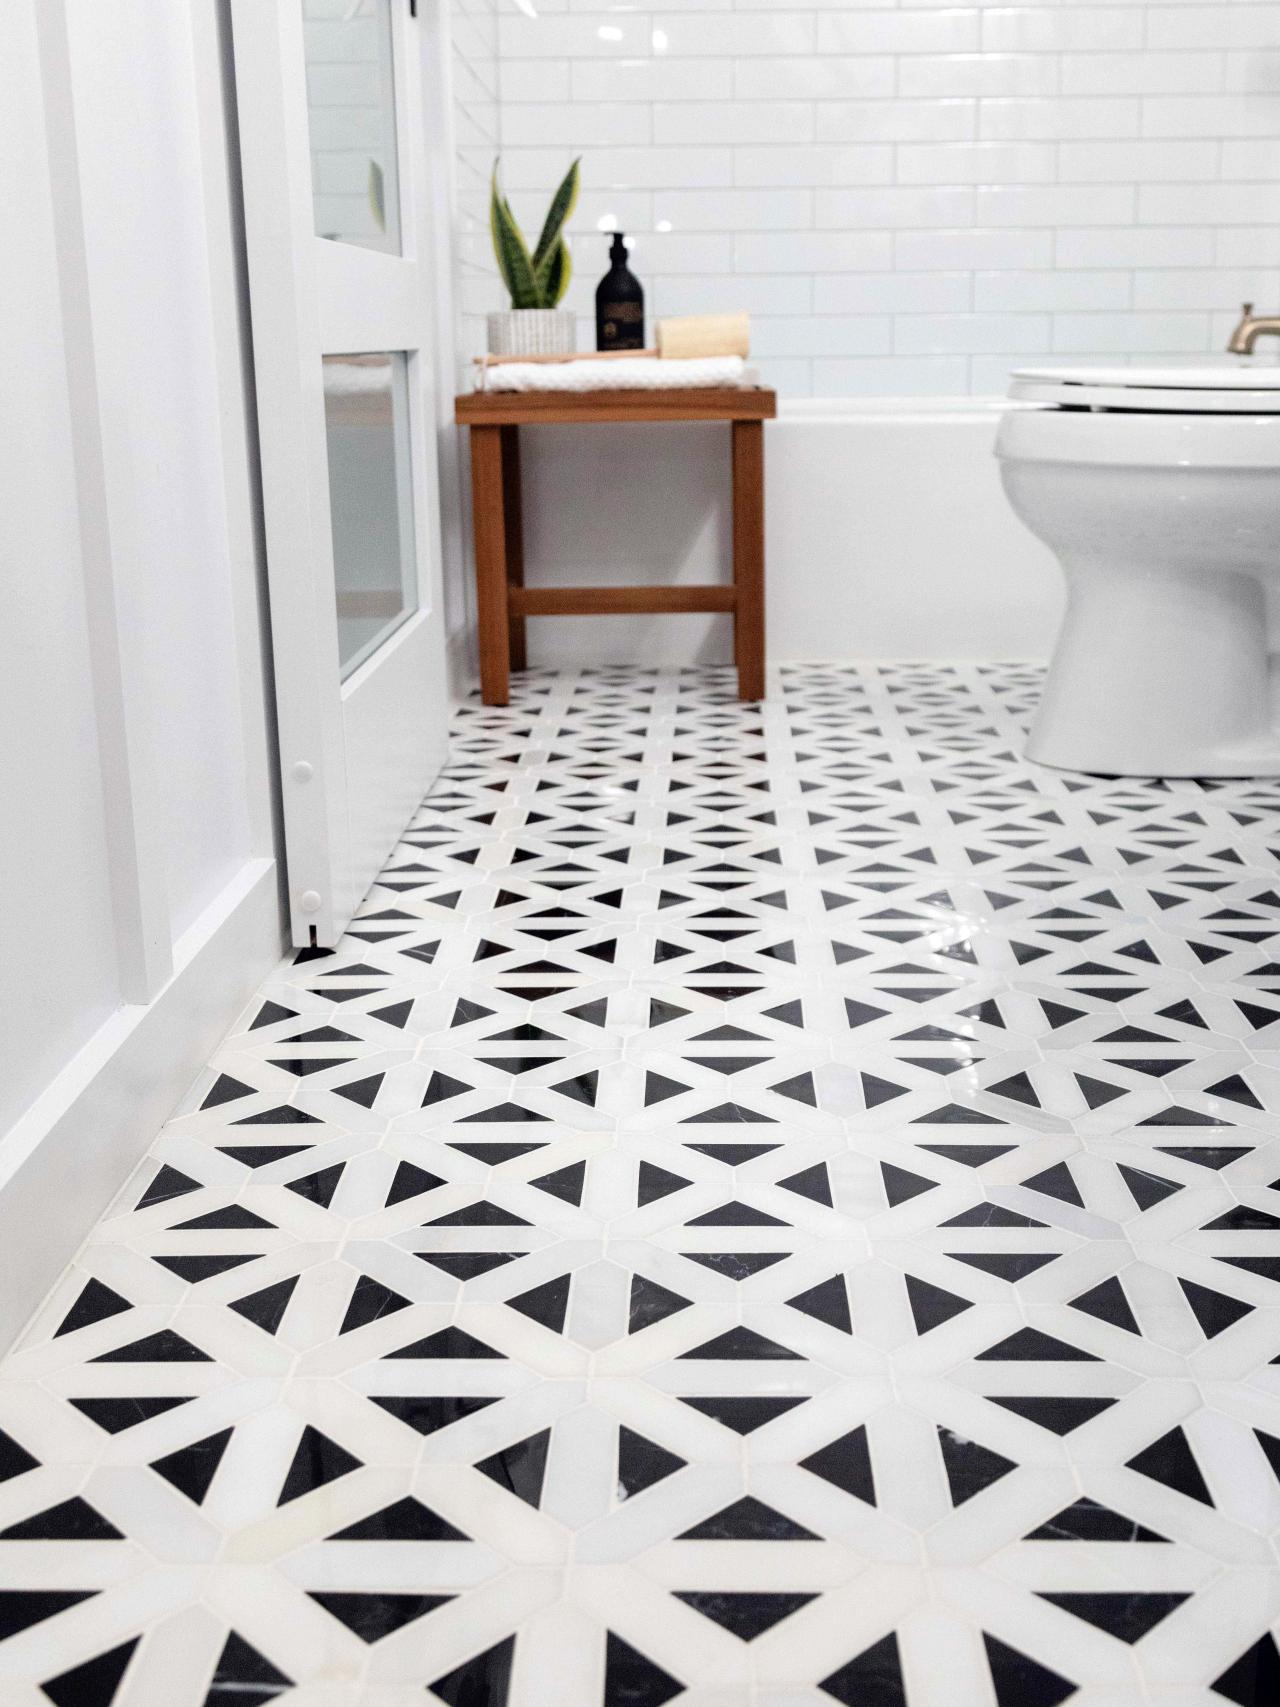
To illustrate, a Victorian style bathroom may be tiled using pale pink or even purple or even beige colored tiles with delicate floral and artistic prints. You can not only pick the best look for your bath room, although you are able to in addition create modified tiles by choosing two different patterns and affixing them inside an alternating layout.
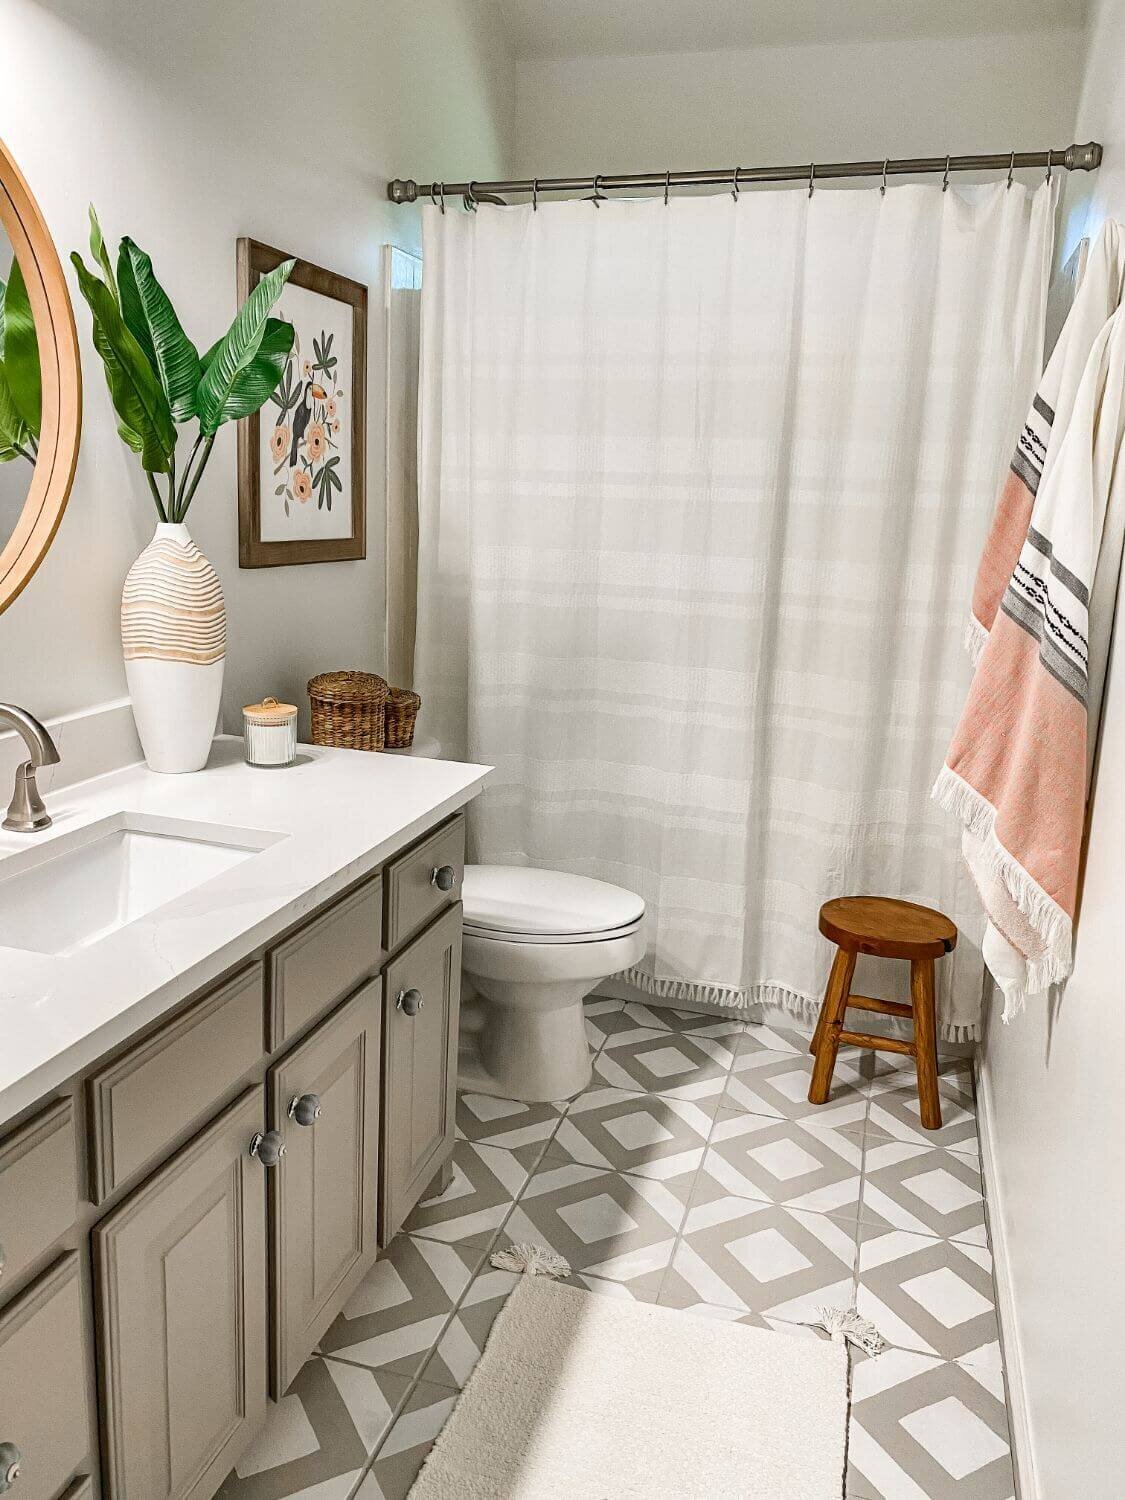
Images about Ceramic Tile Bathroom Floor Do It Yourself
Hardwood provides a warm feeling and a great visual appeal, however, it may be destroyed by moisture except if coated with water-resistant sealant. At the cheaper end of the cost scale is actually linoleum, several tiles as well as woods. However, it should get the fifth site because stone bathroom floorings don't permit any moisture to are available in and destroy it a whole lot love reliable hardwood does.
How to Lay Tile: Install a Ceramic Tile Floor In the Bathroom (DIY)

It is a lot more elegant compared to that of carpets and hardwood, too, as it is able to make use of oak, cherry, slate, marble, and so on, for the so-called "wear layer" of the powder room floor. In case you're searching for glossy textures and serious colors, choose inlaid vinyl which have color granules embedded in them.
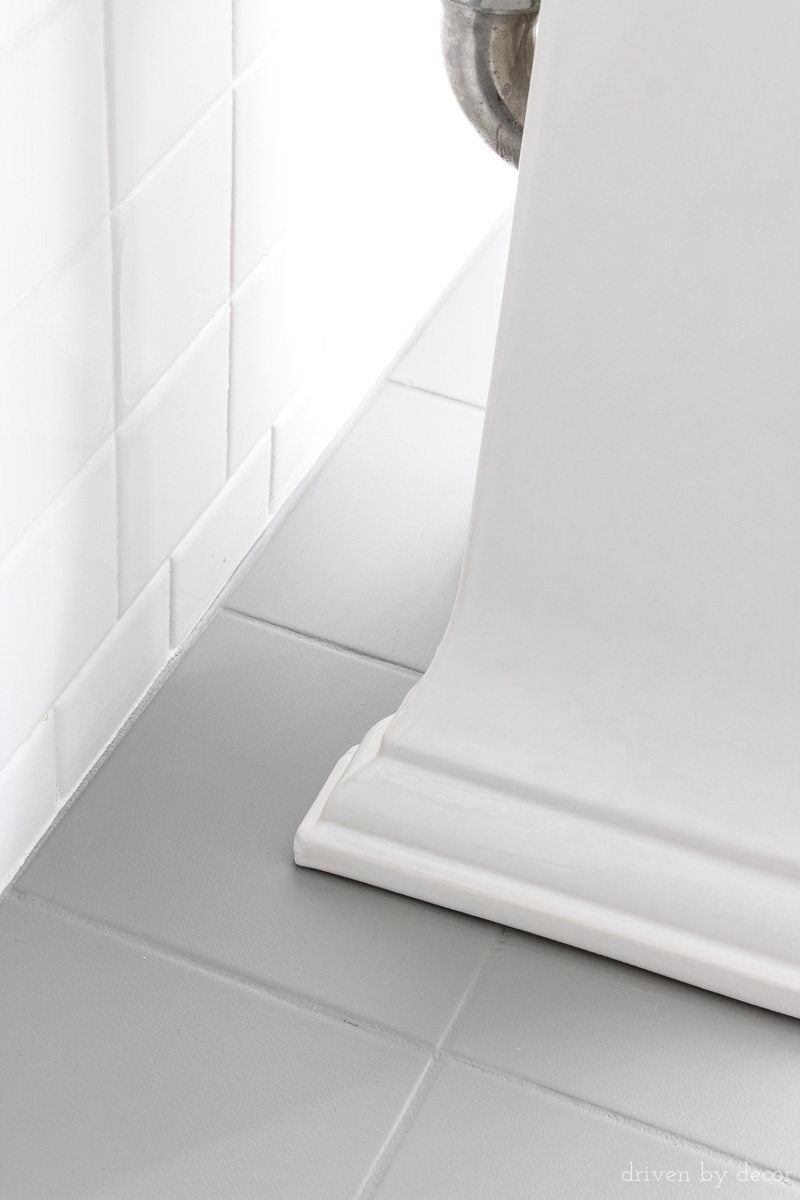
How I Painted Our Bathroomu0027s Ceramic Tile Floors: A Simple (and
How to Tile a Bathroom Floor DIY Bathroom Remodel
How To Tile a Bathroom Floor The Home Depot

How to Lay a Tile Floor HGTV
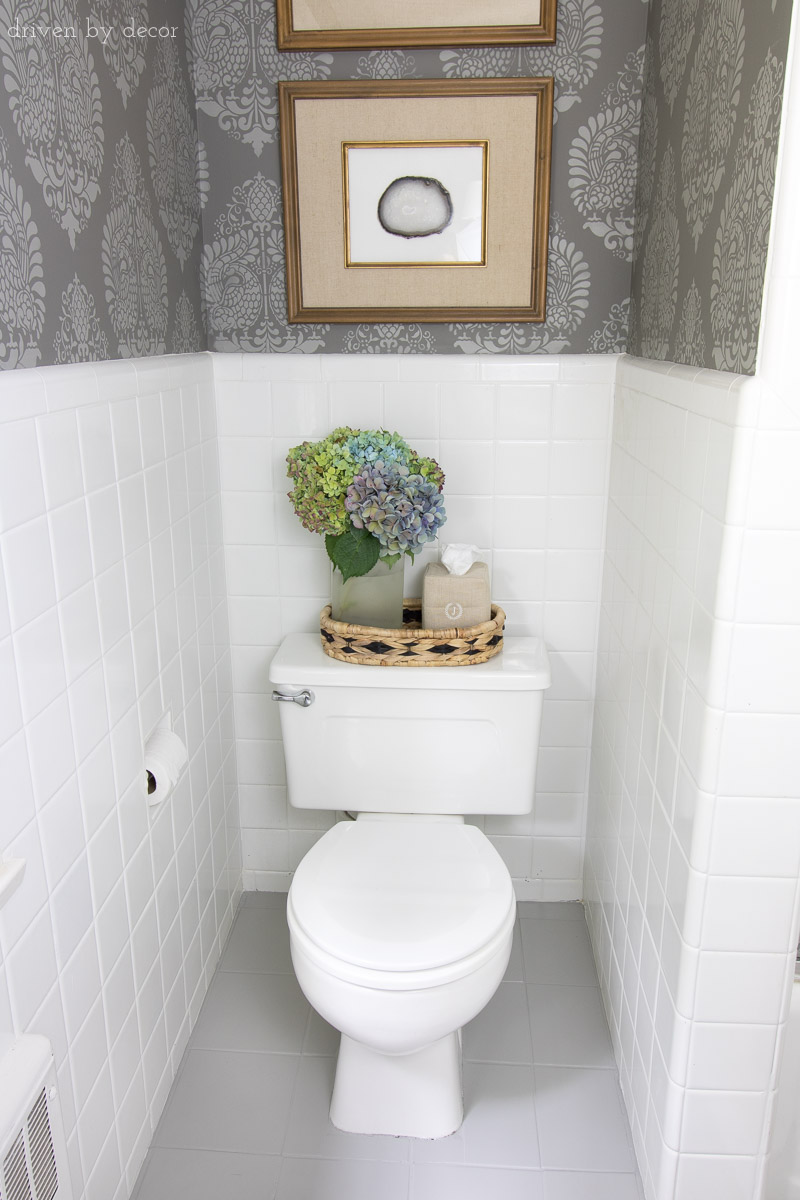
DIY: How to Paint Ceramic Floor Tile u2014 Farmhouse Living
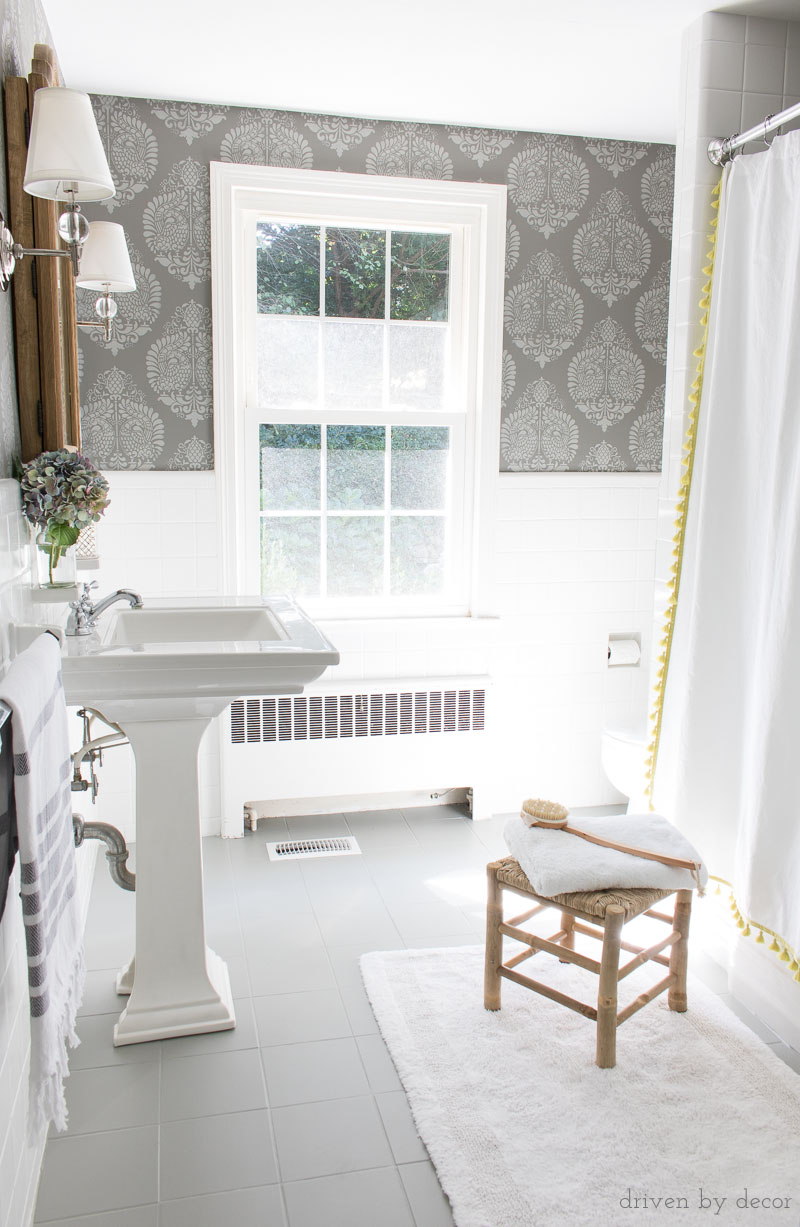
4 Inexpensive Bathroom Flooring Ideas
/budget-bathroom-flooring-refresh-ideas-326828_porcelain_tile-8959414ed56e4ca3a018896d984f52eb.jpg)
Tile Floor 101 Step by Step How to Install Tile for the First Time

How I Painted Our Bathroomu0027s Ceramic Tile Floors: A Simple (and
How to Tile a Bathroom Floor
/BathroomTileFloor-092a6b5be9a843e69b583431fa59c5d7.jpg)
How I Painted Our Bathroomu0027s Ceramic Tile Floors: A Simple (and
How to Tile a Bathroom Floor with Wickes

Easy DIY: Painting Bathroom Tile Stencils u2013 Royal Design Studio
![]()
Related Posts:
- Slate Tile Bathroom Floor Pictures
- How To Remove Urine Stains From Bathroom Floor
- Wickes Bathroom Flooring
- Non Slip Bathroom Floor Mats
- Level Bathroom Floor For Tile
- Concrete Bathroom Floor Cost
- School Bathroom Flooring
- Aqua Flooring Bathrooms
- Ada Residential Bathroom Floor Plans
- Wooden Floorboards In Bathroom
Ceramic Tile Bathroom Floor Do It Yourself
Introduction:
Renovating a bathroom can be an exciting project, and one of the most important aspects to consider is the flooring. A well-designed and properly installed ceramic tile bathroom floor not only enhances the aesthetic appeal of the space but also provides durability and easy maintenance. While hiring professionals for this task can be costly, many homeowners opt for a do-it-yourself approach to save money and add a personal touch to their bathroom. In this article, we will guide you through the process of installing a ceramic tile bathroom floor, providing detailed instructions, tips, and frequently asked questions.
1. Planning and Preparation:
Before diving into the installation process, it is crucial to plan and prepare adequately to ensure a smooth and successful outcome. Start by measuring your bathroom’s dimensions to determine the amount of ceramic tiles needed. Consider any patterns or designs you wish to create with the tiles and purchase them accordingly. Additionally, gather all the necessary tools such as a tile cutter, trowel, sponge, grout float, level, and safety equipment like gloves and goggles.
FAQs:
Q: How do I calculate the number of ceramic tiles required for my bathroom?
A: Measure the length and width of your bathroom floor using a tape measure. Then multiply these two values to get the square footage. Add around 10% extra tiles to account for cuts and breakages.
Q: Should I opt for larger or smaller tiles for my bathroom floor?
A: The choice of tile size depends on personal preference and the size of your bathroom. Larger tiles can create an illusion of spaciousness while smaller ones can give a more intricate look. However, keep in mind that smaller tiles require more grout lines which may require additional maintenance.
2. Removing Existing Flooring:
If your bathroom has an existing floor covering such as vinyl or carpet, it is essential to remove it before installing ceramic tiles. Start by removing any baseboards or trim around the edges of the bathroom floor. Then, using a utility knife, carefully cut the existing flooring into manageable sections and remove them. Ensure that the subfloor is clean, level, and free from any debris.
FAQs:
Q: Can I install ceramic tiles over an existing tile floor?
A: It is generally not recommended to install ceramic tiles directly over another tile floor. The additional weight and height may cause instability and compromise the integrity of the new installation. It is best to remove the existing tile and start with a clean slate.
Q: How do I level the subfloor if it has uneven areas?
A: If you notice any uneven areas on your subfloor, you can use a self-leveling compound to rectify the problem. Follow the manufacturer’s instructions carefully while applying the compound and allow it to dry completely before proceeding with tile installation.
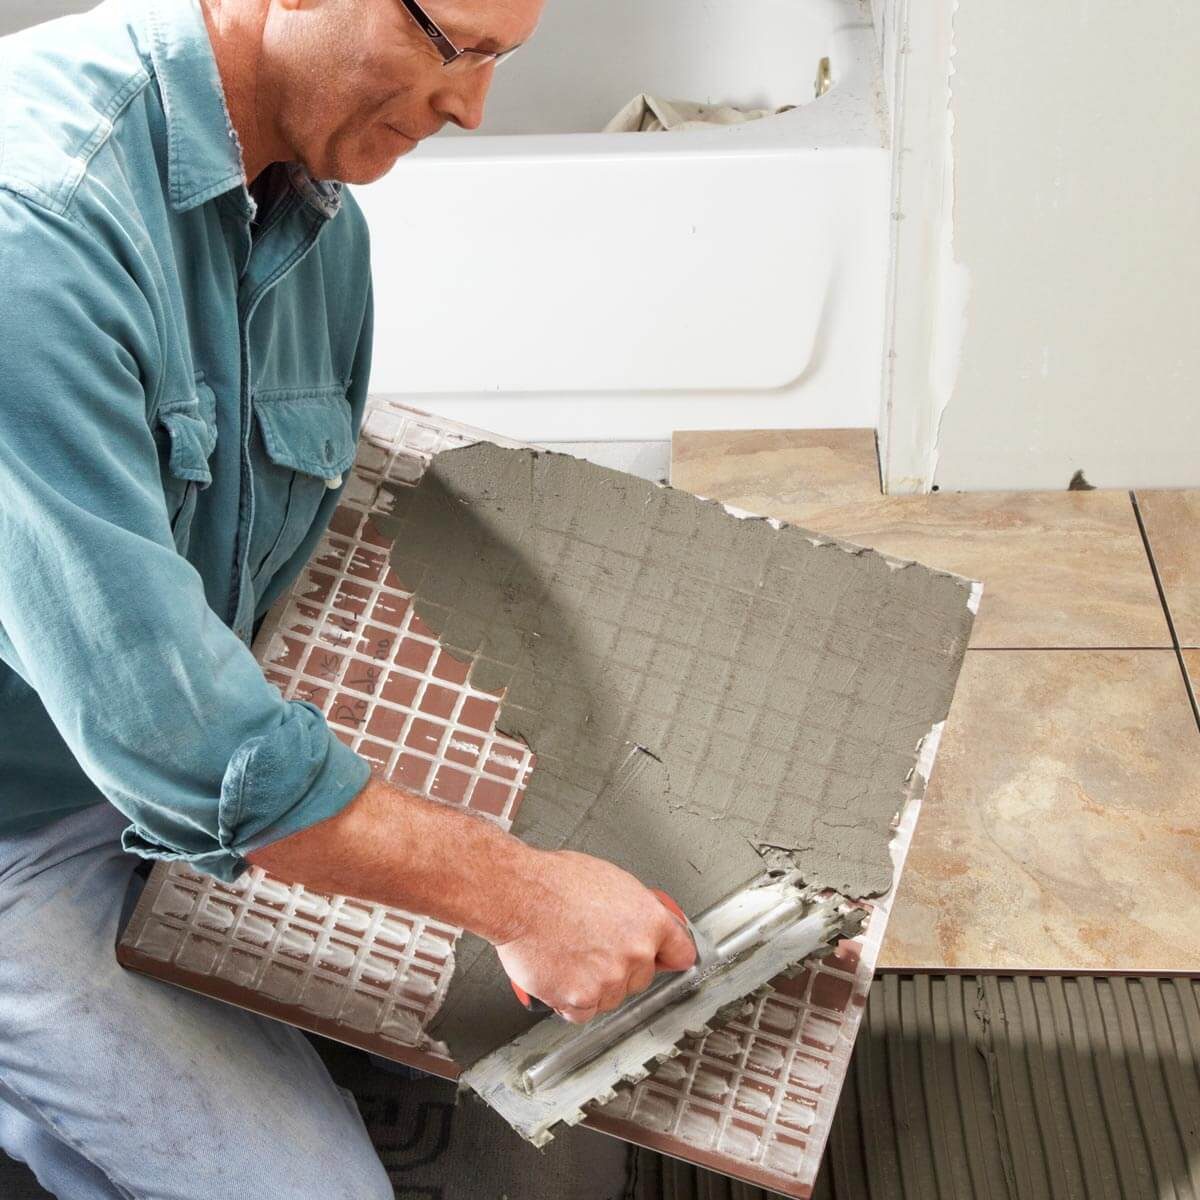
3. Applying Mortar and Setting Tiles:
Once your subfloor is ready, it’s time to apply mortar and start setting the ceramic tiles. Begin by preparing the mortar according to the manufacturer’s instructions, ensuring that it has a thick consistency. Using a notched trowel, spread a layer of mortar onto a small section of the subfloor. Hold the trowel at a 45-degree angle to create grooves in the mortar.
Place your first tile in one corner of the section, pressing it firmly into the mortar while gently twisting it back and forth to ensure proper adhesion. Continue placing additional tiles beside each other until you have covered the entire section Of the subfloor. Use a level to ensure that the tiles are properly aligned and flat. If needed, adjust the tiles by gently tapping them with a rubber mallet. Repeat this process for each section of the subfloor, working your way towards the edges of the bathroom.
FAQs:
Q: How long should I wait for the mortar to dry before grouting?
A: The drying time for mortar can vary depending on factors such as temperature and humidity. It is recommended to wait at least 24 hours before proceeding with grouting. Check the manufacturer’s instructions for specific drying times.
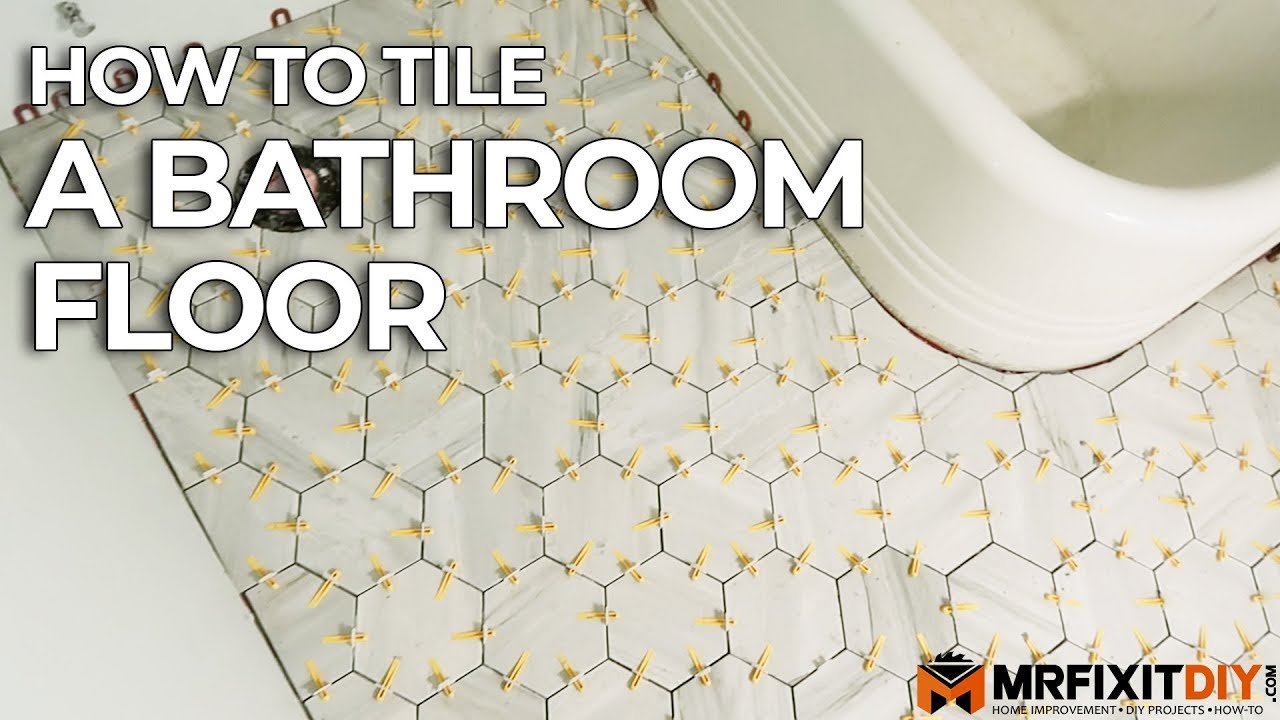
Q: How do I ensure that the tiles are evenly spaced?
A: To ensure even spacing between tiles, you can use tile spacers. These small plastic or rubber pieces can be placed between tiles to create consistent gaps. Remove them once the mortar has dried before proceeding with grouting.
4. Grouting and Finishing:
After allowing the mortar to dry, it’s time to grout the ceramic tiles. Start by mixing the grout according to the manufacturer’s instructions, making sure it has a smooth consistency. Using a grout float, spread the grout diagonally across the tiles, pressing it into the gaps and filling them completely.
Once all the gaps are filled, use a damp sponge to wipe away any excess grout from the surface of the tiles. Rinse and wring out the sponge frequently to prevent smearing or staining the tiles. Allow the grout to dry according to the manufacturer’s instructions.
After the grout has dried, you can apply a sealer to protect your newly installed ceramic tiles. Follow the sealer manufacturer’s instructions carefully and allow it to dry completely before using the bathroom.
FAQs:
Q: How do I clean and maintain ceramic tile flooring?
A: To clean ceramic tile flooring, use a mild detergent mixed with water and a soft mop or cloth. Avoid using abrasive cleaners or harsh chemicals that can damage the tiles. Regular sweeping and mopping can help maintain the appearance and longevity of your ceramic tiles.
Q: How long does it take for the grout to fully cure?
A: The curing time for grout can vary depending on factors such as temperature and humidity. It is generally recommended to wait at least 72 hours before exposing the grout to water or heavy foot traffic. Check the grout manufacturer’s instructions for specific curing times.