As you can see, you've numerous different possibilities with regards to choosing, fixing or replacing your basement flooring. When you are planning on renovating your basement, one of the most significant things you have to think about is your basement flooring. When several people very first take on an innovative job like finishing a basement, they know instantly what the final result is going to be.
Images about Laminate Flooring For Basement Installations

But, what about the basement of yours? It is typically one of the end spaces a homeowner believes about with regards to flooring. Therefore, you must take steps to prevent the damage type to occur down the road. Do not discount the importance of flooring in the basement of yours.
Tips and Tricks for Using Laminate Flooring in the Basement

That can be a really tricky element when selecting the proper floor for the basement of yours since the majority of the components are porous but at levels that are different. This makes flooring options notably sparse because the flooring needs to be mold-resistant and resilient ; this generally rules out tile and carpet.
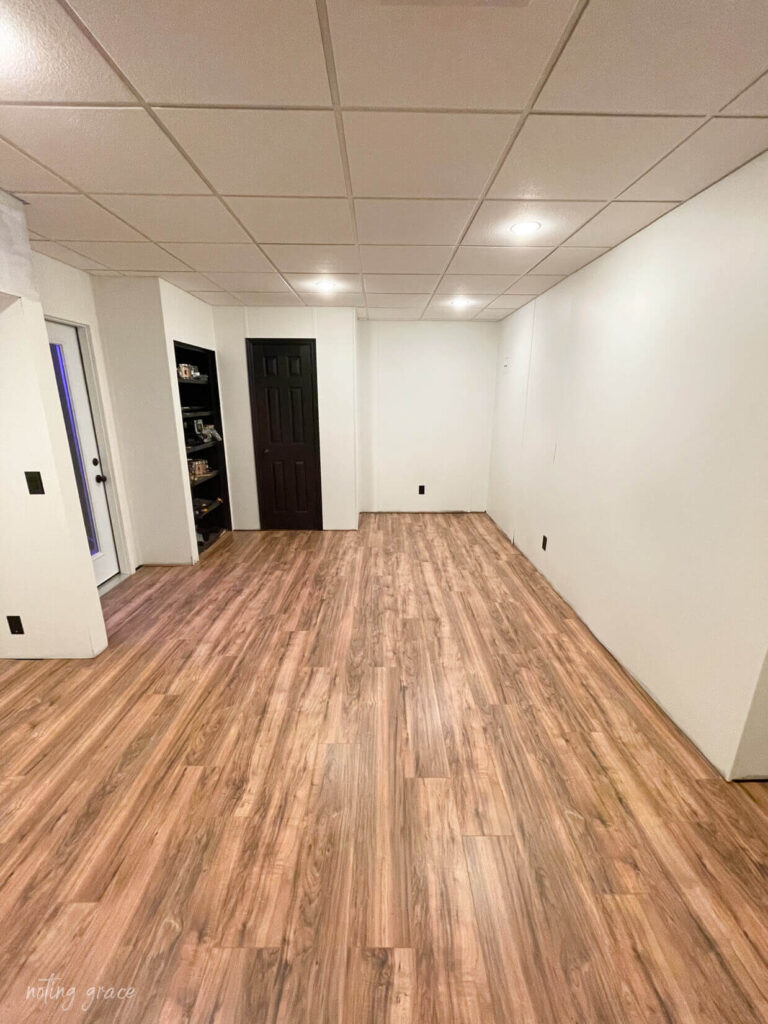
How To Install Laminate Flooring Over Concrete – Noting Grace
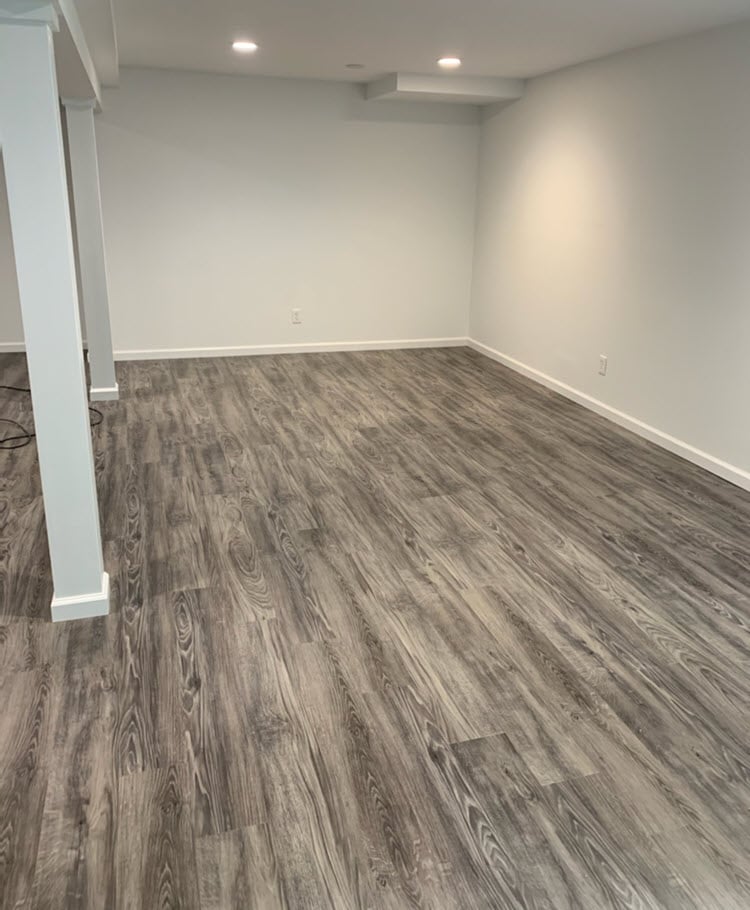
Laminate Flooring in Basement: Install a Floating Laminate Floor

LVT vs. Carpet: Whatu0027s Better for a Basement?
Why we installed Select Surfaces Laminate Floors in our Basement
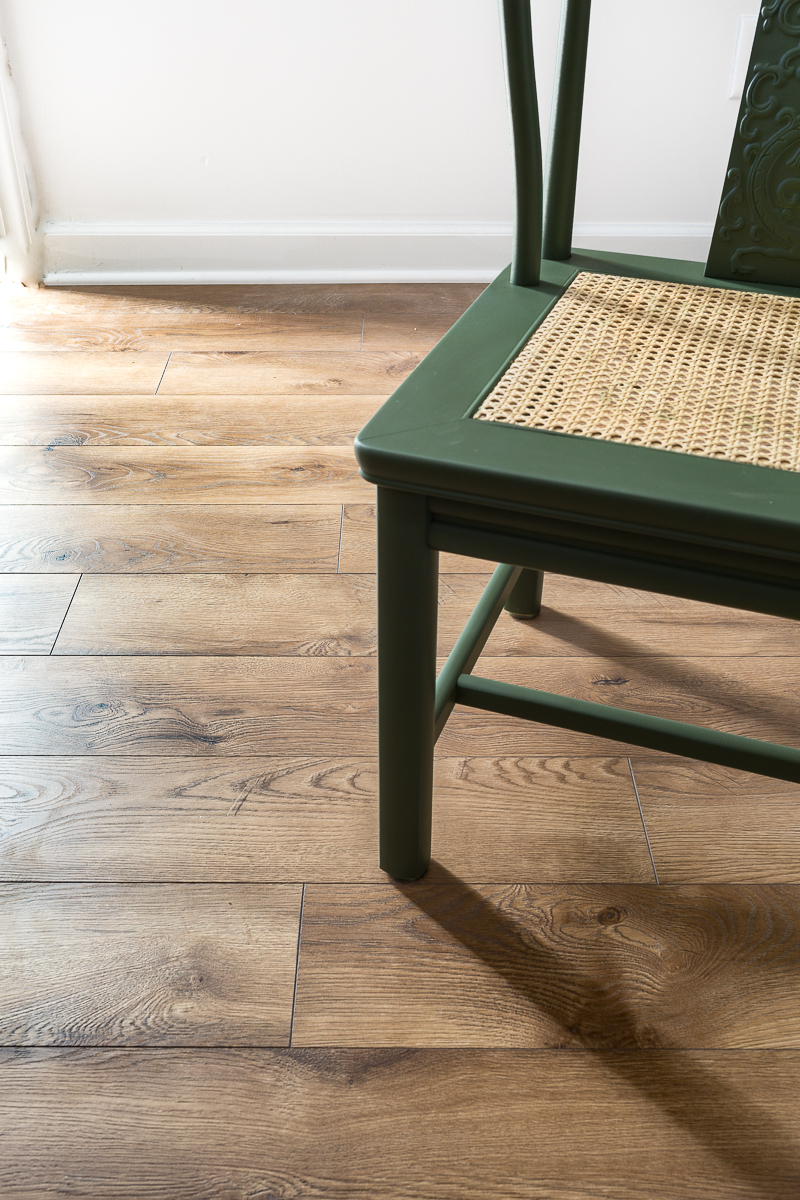
Choose the Best Underlayment for Laminate Flooring
/laminate-flooring-underlayment-1314969-hero-3894e0b403fb4e59a87a076e3da9914f.jpg)
Flooring Ideas for a Basement (Whatu0027s the Best Option?) – Carpet
Installing Laminate Flooring For The First Time // Home Renovation

What is the Best Flooring for Basements? (Get the Pros and Cons)

Explore Basement Flooring Options, Costs and Ideas HGTV

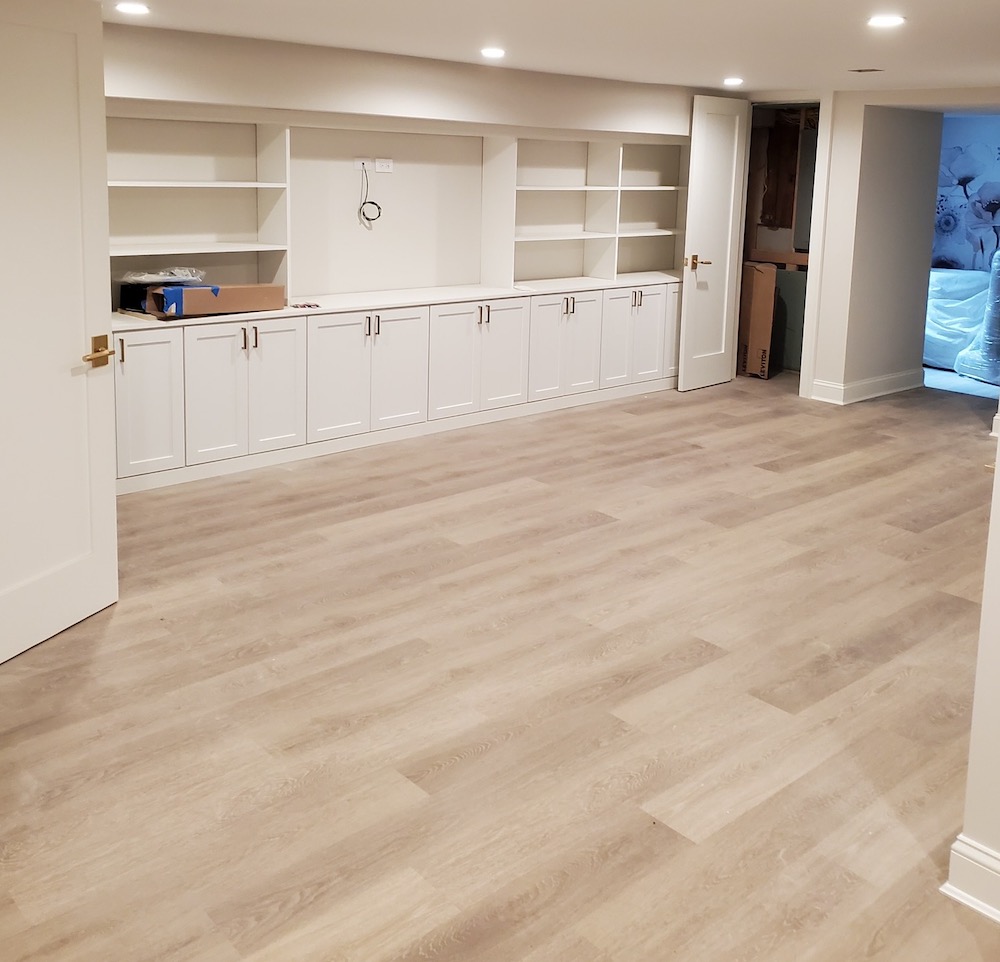
Our first DIY project – laminate flooring in Benu0027s basement office

Explore Options for Home Laminate Floor Installation in NJ

Laminate Flooring Cost: Installation u0026 Materials

Related Posts:
- White Powder On Basement Floor
- Monolithic Basement Floor
- Basement Floor Alternatives
- Basement Floor Drain Water Level
- Cost To Dig Down A Basement Floor
- Basement Bedroom Flooring
- Ceramic Tile Over Concrete Basement Floor
- Removing Tile From Basement Floor
- Best Flooring For Walkout Basement
- Basement Renovation Floor Plans
Laminate Flooring For Basement Installations: A Comprehensive Guide
Introduction:
Basements are an often overlooked space in the house, but with the right flooring, they can be transformed into a functional and aesthetically pleasing area. Laminate flooring has gained popularity in recent years due to its durability, affordability, and ease of installation. In this article, we will delve into the world of laminate flooring for basement installations, exploring its benefits, installation process, maintenance tips, and frequently asked questions.
I. The Benefits of Laminate Flooring for Basements:
1. Durability:
One of the primary advantages of laminate flooring is its exceptional durability. Laminate is constructed from multiple layers that are fused together using high-pressure technology. This results in a sturdy floor surface that can withstand heavy foot traffic and resist scratches and dents. Additionally, laminate flooring is highly resistant to moisture, a crucial factor when considering basement installations.
2. Affordability:
Compared to other flooring options such as hardwood or tile, laminate flooring presents a more budget-friendly alternative without compromising on quality. The cost-effectiveness of laminate makes it an attractive choice for homeowners looking to enhance their basement’s appearance without breaking the bank.
3. Easy Installation:
Laminate flooring is renowned for its simple installation process, making it an excellent option for DIY enthusiasts or those seeking a hassle-free project. Most laminate products feature a click-and-lock system that allows planks to be easily snapped together without the need for glue or nails. This not only saves time but also reduces installation costs.
4. Versatility in Design:
Laminate flooring offers an extensive range of design options, allowing homeowners to choose from various colors, patterns, and textures that suit their personal style and complement the overall basement decor. Whether you prefer the look of hardwood, stone, or tile, there is a laminate design available to suit your taste.
II. The Installation Process:
1. Preparing the Basement:
Before beginning the installation process, it is essential to ensure that the basement is properly prepared. Start by cleaning the floor thoroughly, removing any existing flooring, debris, or moisture. Fill any cracks or holes in the concrete subfloor and level it if necessary. It is also advisable to install a moisture barrier to prevent any potential moisture-related issues.
2. Acclimating the Laminate:
Laminate flooring needs time to adjust to the temperature and humidity of its surroundings, known as acclimation. After purchasing the laminate planks, allow them to sit in the basement for at least 48 hours before installation. This will prevent any potential expansion or contraction issues once the flooring is in place.
3. Installing Underlayment:
Underlayment is a crucial component of laminate flooring installations as it provides additional support, noise reduction, and moisture protection. Roll out the underlayment across the entire basement floor, ensuring it overlaps at the seams by about 8 inches. Secure it in place with tape or adhesive as recommended by the manufacturer.
4. Installing Laminate Flooring:
Begin by laying a row of laminate planks along one wall, leaving a small gap between the planks and the wall to allow for expansion. Use spacers to maintain this gap throughout the installation process. Connect subsequent rows by angling each plank and clicking them into place using the click-and-lock system. Remember to stagger the joints for a visually appealing result.
5. Finishing Touches:
Once all planks are installed, remove spacers and install baseboards Or trim to cover the gaps at the edges of the flooring. Use a saw or trim cutter to cut the boards to fit around doorways or other obstacles. Finally, clean the floor thoroughly and enjoy your newly installed laminate basement flooring. Installing laminate flooring in a basement can be a great option due to its durability, affordability, ease of installation, and versatility in design. Here is a step-by-step guide to the installation process:
1. Preparing the Basement:
– Clean the floor thoroughly by removing any existing flooring, debris, or moisture.
– Fill any cracks or holes in the concrete subfloor and level it if necessary.
– Install a moisture barrier to prevent any potential moisture-related issues.
2. Acclimating the Laminate:
– Allow the laminate planks to sit in the basement for at least 48 hours before installation to adjust to the temperature and humidity of its surroundings.
3. Installing Underlayment:
– Roll out the underlayment across the entire basement floor, ensuring it overlaps at the seams by about 8 inches.
– Secure it in place with tape or adhesive as recommended by the manufacturer.
4. Installing Laminate Flooring:
– Start by laying a row of laminate planks along one wall, leaving a small gap between the planks and the wall for expansion.
– Use spacers to maintain this gap throughout the installation process.
– Connect subsequent rows by angling each plank and clicking them into place using the click-and-lock system.
– Remember to stagger the joints for a visually appealing result.
5. Finishing Touches:
– Once all planks are installed, remove spacers and install baseboards or trim to cover the gaps at the edges of the flooring.
– Use a saw or trim cutter to cut the boards to fit around doorways or other obstacles.
– Clean the floor thoroughly and enjoy your newly installed laminate basement flooring.
Overall, installing laminate flooring in a basement can be a relatively simple DIY project that offers durability, affordability, and various design options.