Additionally, picking stain-resistant grout is almost certainly a superb idea for tile for a room where spills often happen. Beyond that, it is available in a wide variety of sizes, colors, and styles. If any boards need changing, does it at the time, because the brand new tile floor will cover the subfloor permanently. Putting in ceramic tile flooring straight to the vinyl of yours or maybe linoleum subfloor surfaces is significantly discouraged.
Images about Skim Coat Over Tile Floor
Today, you are going to find all types of tiles in all sorts of colors and many have gorgeous borders attainable to match. Intuition might tell you they're stronger than ceramic, but actually they're more brittle and prone to cracking. To make these mosaic tiles, small pieces of clay, cup, shell, or other materials were placed into special, colorful patterns. You can actually check on-line about marble floors tiles.
Best Of 2018-1 – Decorative Concrete Experts

Exactly how hard is the tile to be put in? Relatively heavy quarry tiles, for example, may be rated for heavy duty manufacturing applications, although they are oftentimes fitted in houses. When tile flooring installation is finished, the finish as well as layout alone are worth every penny. There are many diverse types of marble tile utilized in commercial and residential applications.
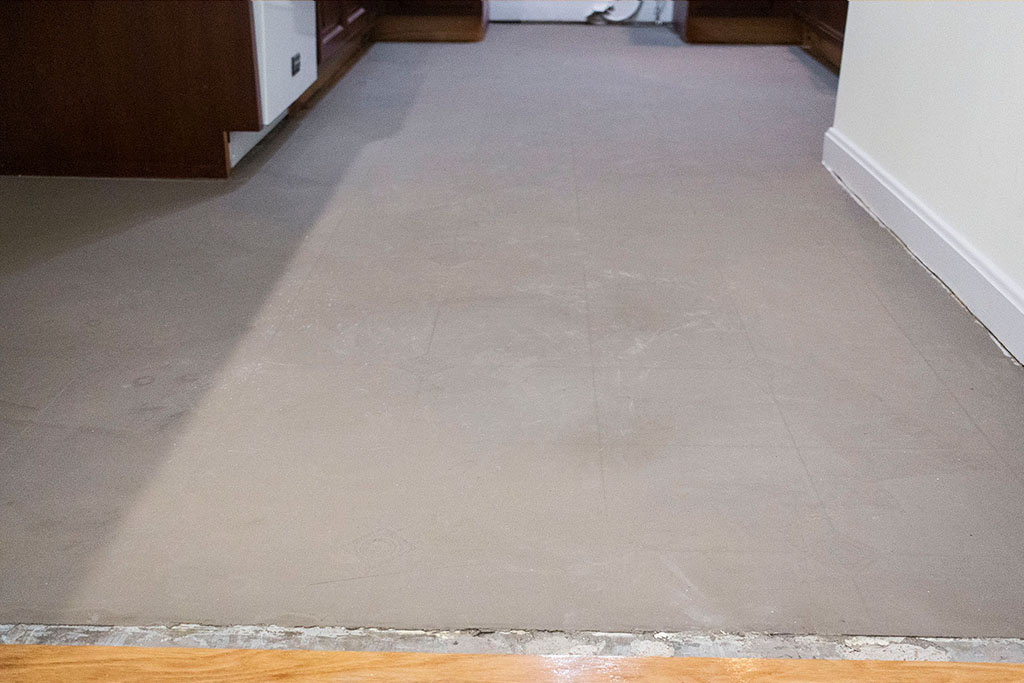
How to skim coat a floor
Best Of 2018-1 – Decorative Concrete Experts

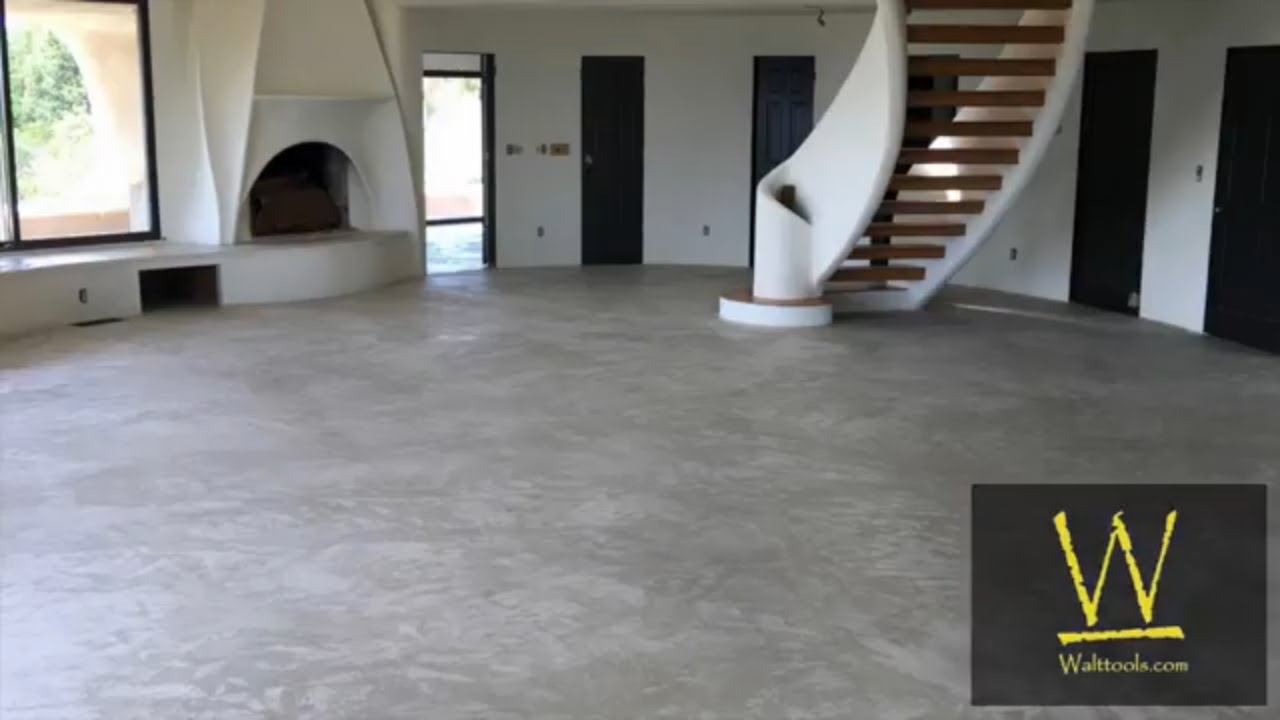
How to Resurface a Floor with Concrete – Semigloss Design

Levelcova resurfacing Concrete Floor Coatings and Resurfacing

DECORATIVE CONCRETE OVERLAY OVER EXISTING CERAMIC TILE FLOOR
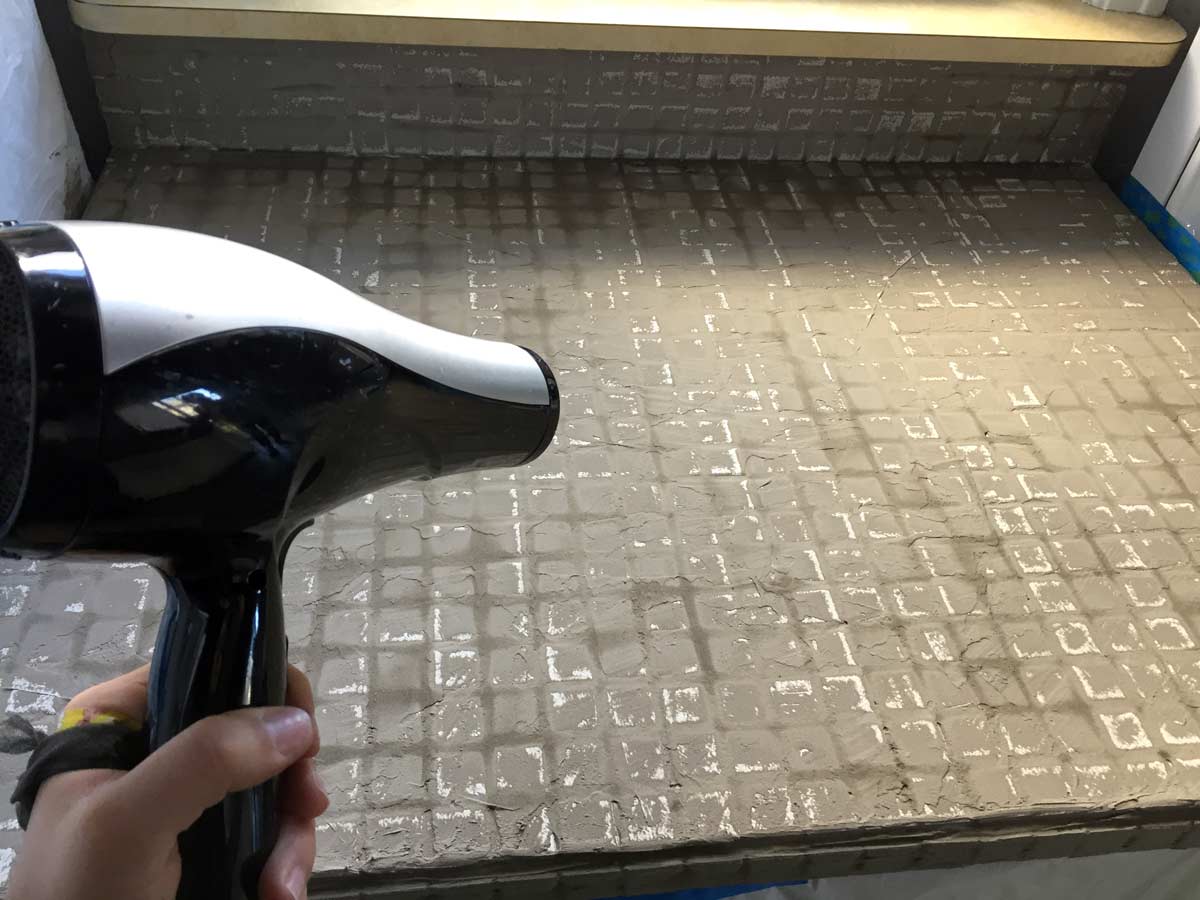
Feather Finish Concrete Over Tile Counters And Then We Tried
LVT Flooring Over Existing Tile the Easy Way – Vinyl Floor
Concrete Micro Toppings u0026 Skim Coats – Flores Decorative Concrete

Best Of 2018-1 – Decorative Concrete Experts

Skim coat? replace with new board?

KFC – Overnight Over Tile Floor Coating Silikal

Can I lay premium vinyl flooring over a tile floor? Hometalk
Related Posts:
- Tile Floor Steamer Reviews
- Colours Stone Effect Luxury Vinyl Click Tile Flooring
- Log Tile Flooring
- Best Tile Floor Heating System
- Tile Floor Wood Effect
- Best Mop For Uneven Tile Floors
- Best Vacuum For Laminate And Tile Floors
- Tile Floor Designs For Foyers
- How To Regrout Shower Tile Floor
- Linoleum Tile Flooring Designs
Skim Coat Over Tile Floor: A Comprehensive Guide to Revitalizing Your Flooring
Introduction:
Are you tired of the outdated look of your tile floor? Perhaps you’re considering a renovation but don’t want the hassle and expense of removing and replacing the tiles. Look no further – skim coating over your existing tile floor might be the perfect solution for you! In this comprehensive guide, we will explore what skim coating is, how it can transform your tile floor, and provide step-by-step instructions on how to do it yourself. We’ll also address some frequently asked questions to ensure you have all the information you need before embarking on this exciting project.
I. Understanding Skim Coating:
Skim coating is a technique used to create a smooth and uniform surface by applying a thin layer of finishing compound over an existing substrate. In the case of a tile floor, skim coating can be done to cover up imperfections, create a new texture or pattern, or simply update the overall appearance. This method eliminates the need for costly and time-consuming tile removal, making it an attractive option for homeowners seeking a quick and budget-friendly makeover.
FAQs:
Q1: Can I skim coat over any type of tile?
A1: Skim coating can be applied over most types of tiles, including ceramic, porcelain, and natural stone. However, it is essential to ensure that the tiles are in good condition without any loose or broken pieces before proceeding with the skim coating process.
Q2: Do I need any special tools or materials for skim coating?
A2: While skim coating requires some specific tools and materials, they are generally readily available at most hardware stores. These may include a trowel, sandpaper or sanding block, primer, joint compound or spackle, and paint rollers.
II. Preparing Your Tile Floor:
Before applying a skim coat over your tile floor, adequate preparation is crucial to achieve optimal results. Follow these steps to ensure a smooth and successful application.
1. Cleaning:
Thoroughly clean the tile floor using a mild detergent and warm water. Remove any dirt, grease, or grime that may hinder the adhesion of the skim coat. It is advisable to use a scrub brush or sponge for stubborn stains, followed by a rinse with clean water.
2. Repairing:
Inspect the tile floor for any loose or damaged tiles. If you come across any, carefully remove them and replace them with new tiles before proceeding with the skim coating process. Additionally, fill in any cracks or gaps between tiles using an appropriate tile filler or adhesive.
FAQs:
Q1: Can I skim coat over cracked tiles?
A1: Skim coating can help cover up minor cracks in tiles. However, if the cracks are severe or extensive, it is recommended to repair or replace the affected tiles before applying the skim coat for better long-term results.
Q2: Should I remove the grout before skim coating?
A2: In most cases, it is not necessary to remove the grout between tiles before skim coating. The skim coat will adhere well to both the tile surface and grout lines. However, if the grout is severely deteriorated or uneven, it is advisable to regrout or level it before applying the skim coat.
III. Applying Skim Coat:
Now that your tile floor is clean and repaired, it’s time to apply the skim coat and transform its appearance. Follow these steps carefully for a successful application:
1. Primer Application:
Start by applying a layer of primer to the tile floor using a paint roller. The primer will help improve the adhesion of the skim coat and ensure a smooth finish. Allow the primer to dry completely according to the manufacturer’s instructions.
2. Mixing the Skim Coat:
Follow the instructions on the packaging of your chosen skim coat product to mix it properly. Use a mixing paddle and drill to achieve a smooth and lump-free consistency. Make sure to mix only the amount you can work with in a reasonable amount of time, as skim coat products typically have limited working times.
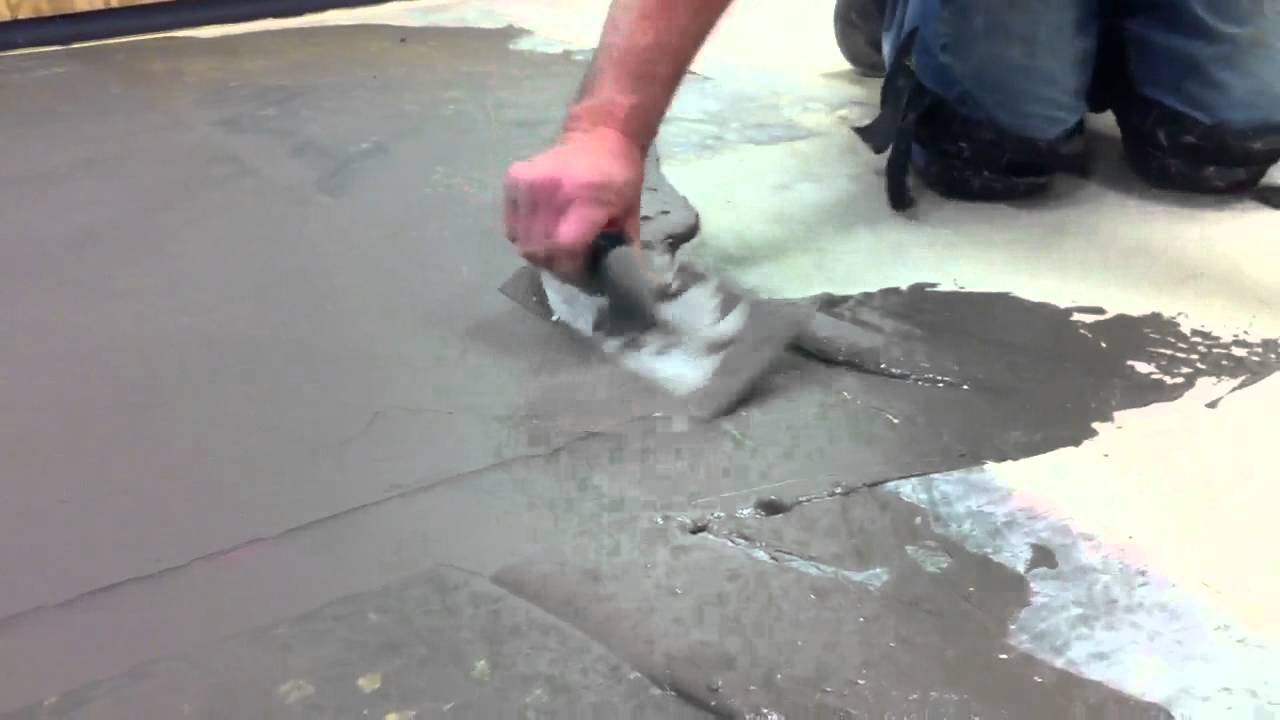
3. Applying the Skim Coat:
Using a trowel, apply the mixed skim coat onto the tile floor in thin, even layers. Start at one corner of the room and work your way towards the exit, overlapping each pass slightly for consistent coverage. Avoid applying too thick of a layer as it may result in uneven drying and cracking.
4. Smoothing and Leveling:
After applying each layer, use the trowel or a putty knife to smooth and level out the surface of the skim coat. Remove any excess material or ridges to achieve a flat and even finish. Allow each layer to dry before applying additional layers if necessary.
FAQs:
Q1: How many layers of skim coat should I apply?
A1: The number of layers required may vary depending on the condition of your tile floor and your desired outcome. In most cases, one or two thin layers are sufficient for adequate coverage and surface preparation before painting or further finishing.
Q2: How long does it take for the skim coat to dry?
A2: The drying time for skim coat can vary depending on factors such as humidity, temperature, and the product used. Generally, it takes around 24 hours for each layer to dry completely. It is important to allow sufficient drying time between layers to avoid any issues with adhesion or cracking.
IV. Finishing Touches:
Once the skim coat has dried completely, you can proceed with your desired finishing touches to complete the transformation of your tile floor.
1. Sanding:
Use fine-grit sandpaper or a sanding block to smooth out any imperfections or rough areas on the skim coat surface. This step will help create a seamless and polished finish.
2. Painting or Tiling:
Depending on your preference, you can either paint over the skim coat using a suitable floor paint or install new tiles directly on top of the skim coat. Ensure that you follow the necessary preparation and installation steps for either option to achieve the desired result.
3. Sealing:
If you choose to paint the skim coat, it is advisable to apply a clear sealant or polyurethane topcoat for added durability and protection against wear and tear.
FAQs:
Q1: Can I install new tiles directly on top of the skim coat?<