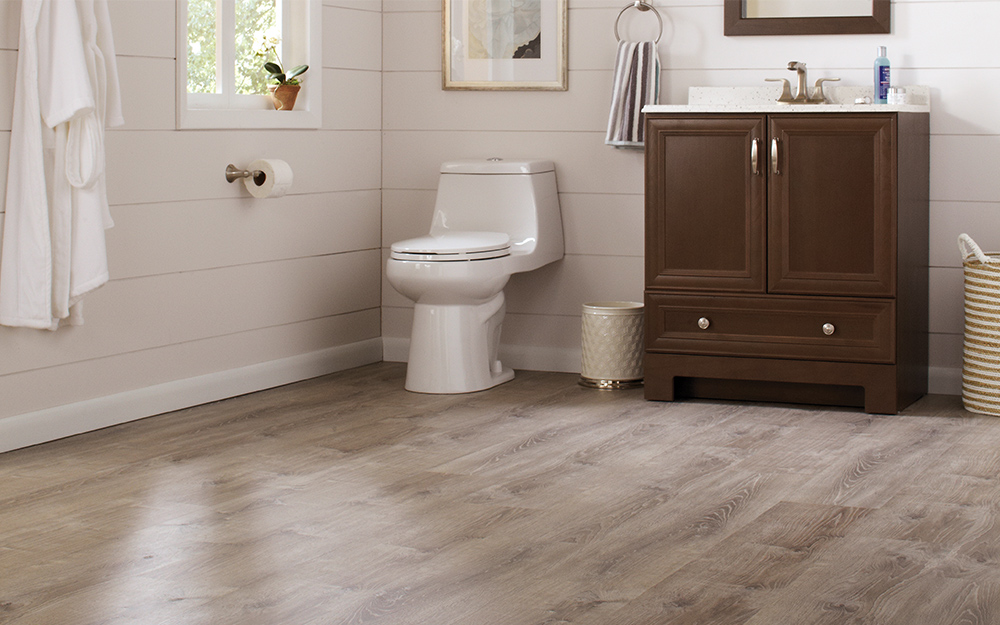
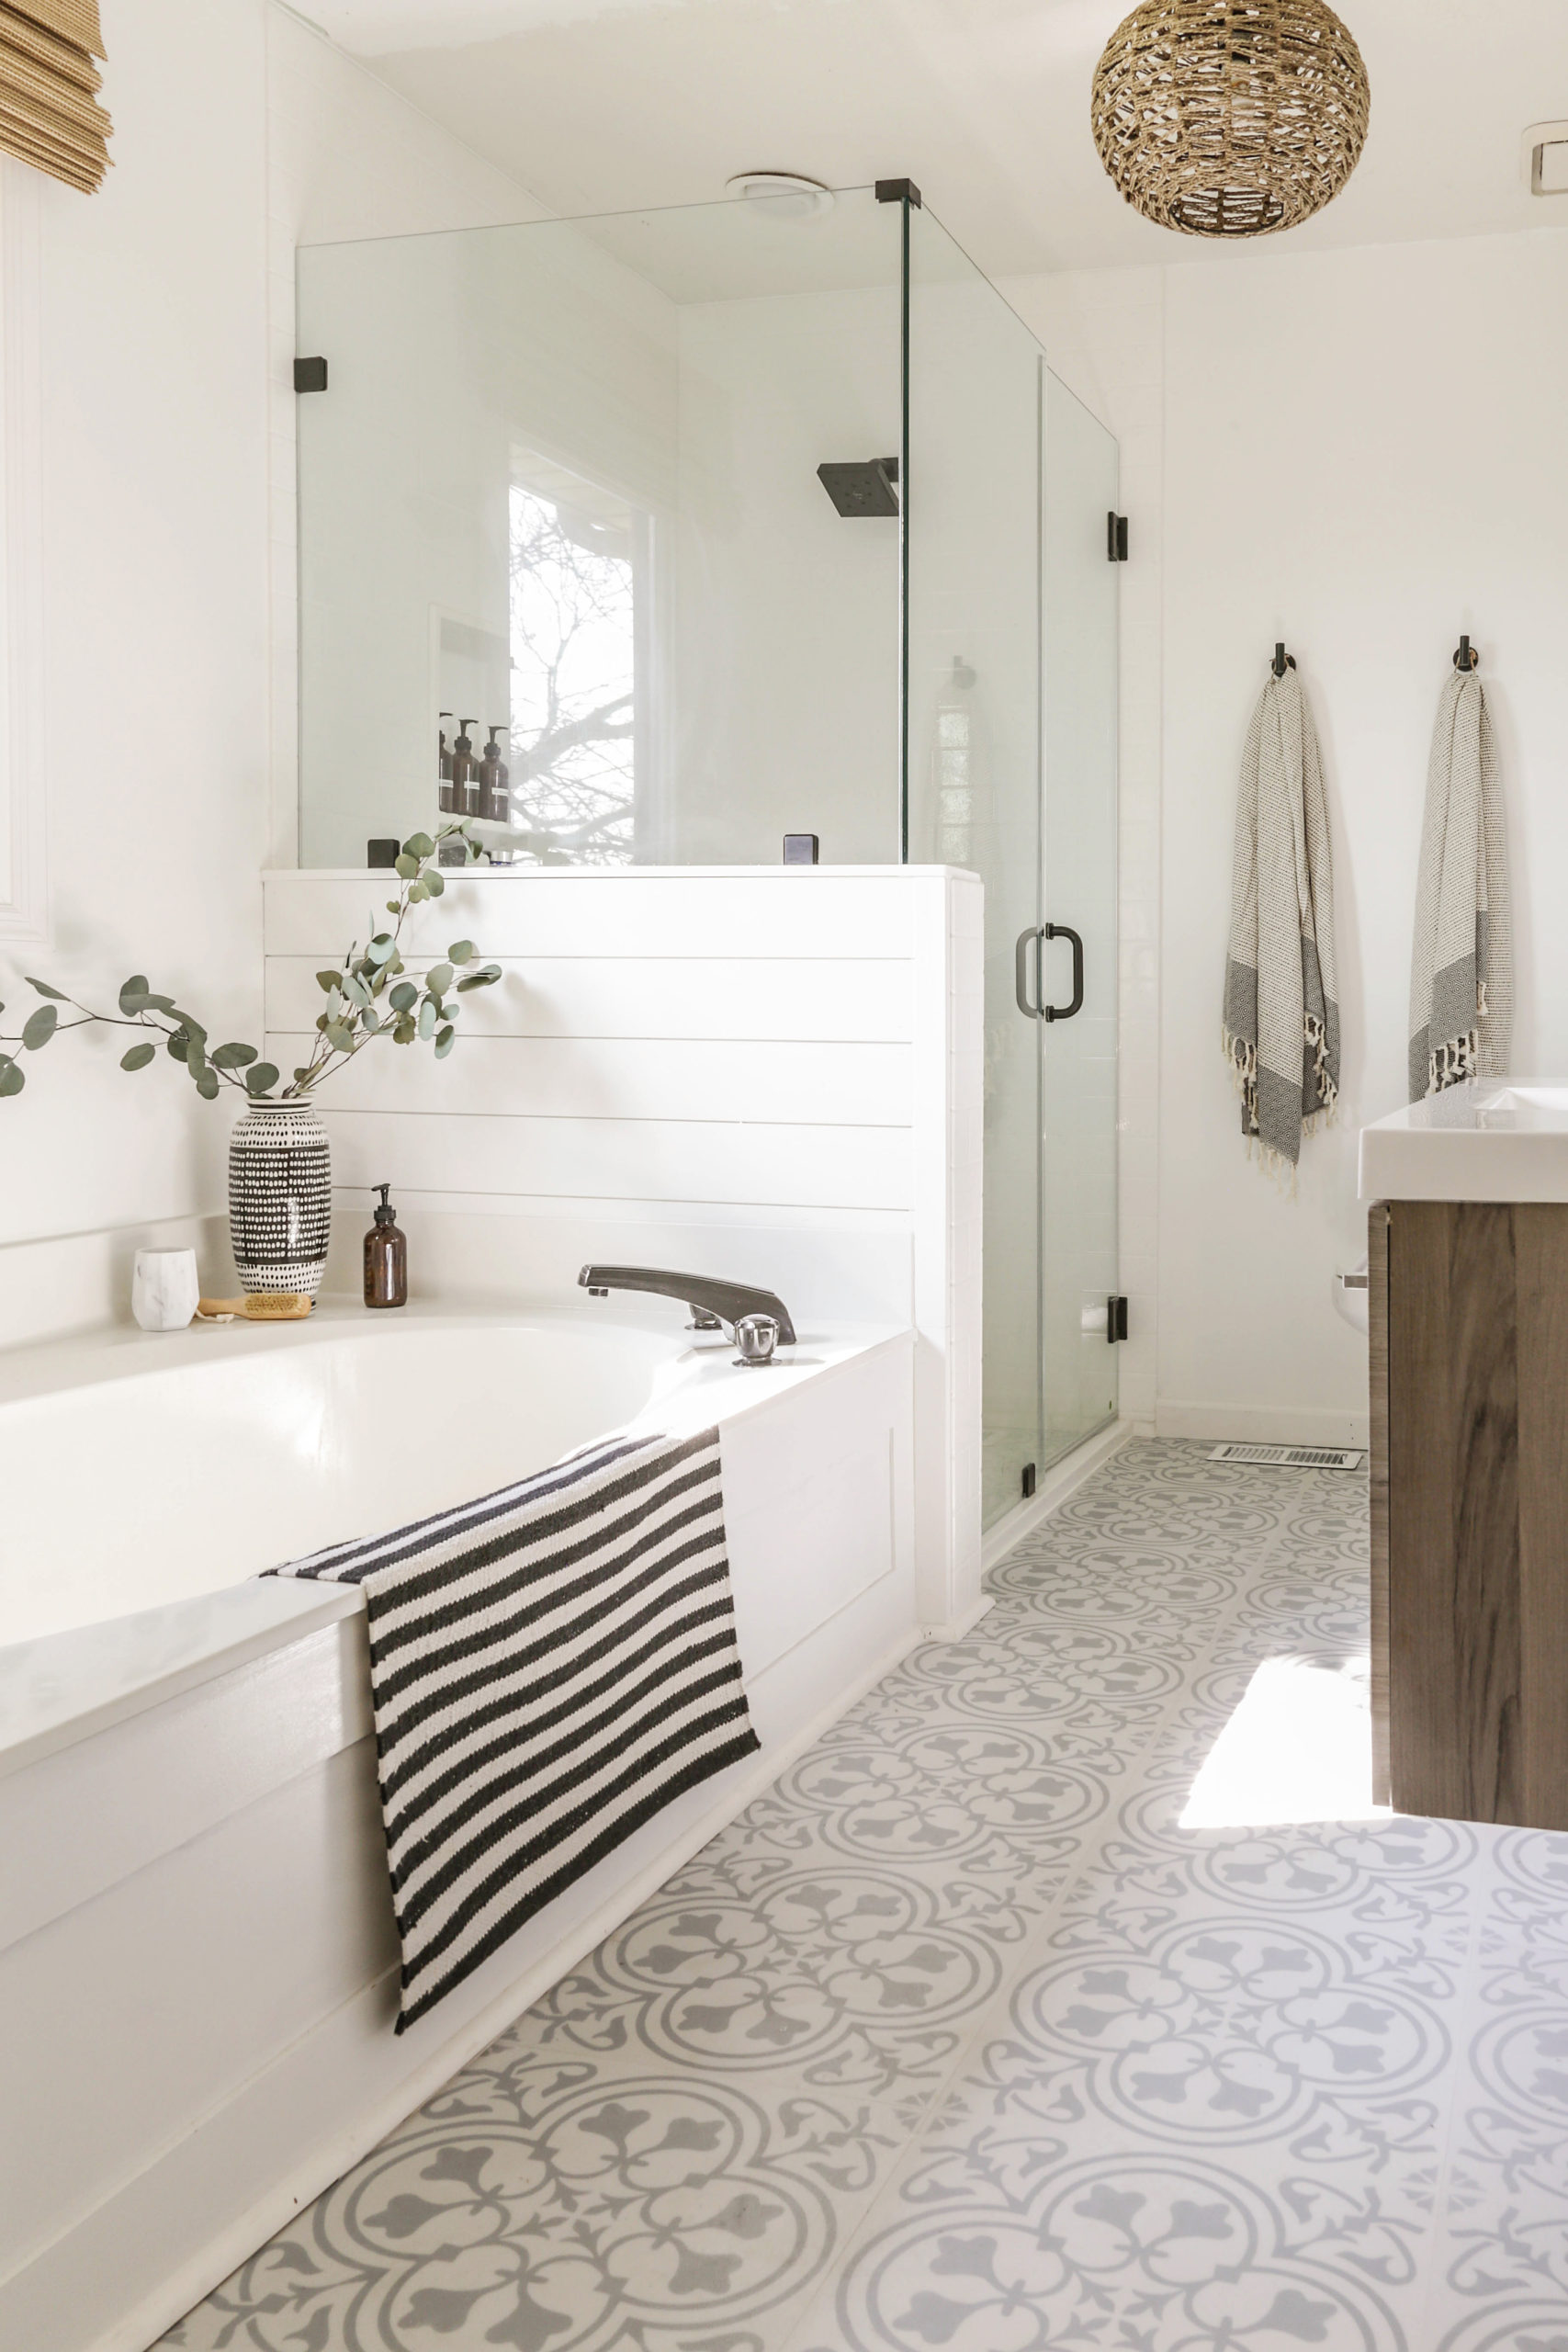
For a sleek style, use white tiles and combine it with chrome fittings and fixtures. Bathrooms that are too damp could cause germs and mould to spread, therefore keeping the floor completely clean is especially important here, and it is much easier with bathroom tiles. You are able to go in for easy solid colors in addition to minimalist, chrome fixtures to give your bathroom a contemporary appearance.
Images about Vinyl Plank Flooring Installation Bathroom
Choose bathroom floors tiles which match the decor of your home and blend nicely with the fixtures in your bathroom. While ceramic tile is actually amazing to look at, it is able to also be unforgiving if somebody should happen to fall. To illustrate, a cream floor is usually bordered by dark flooring with cream print on it or simply plain black tiles.
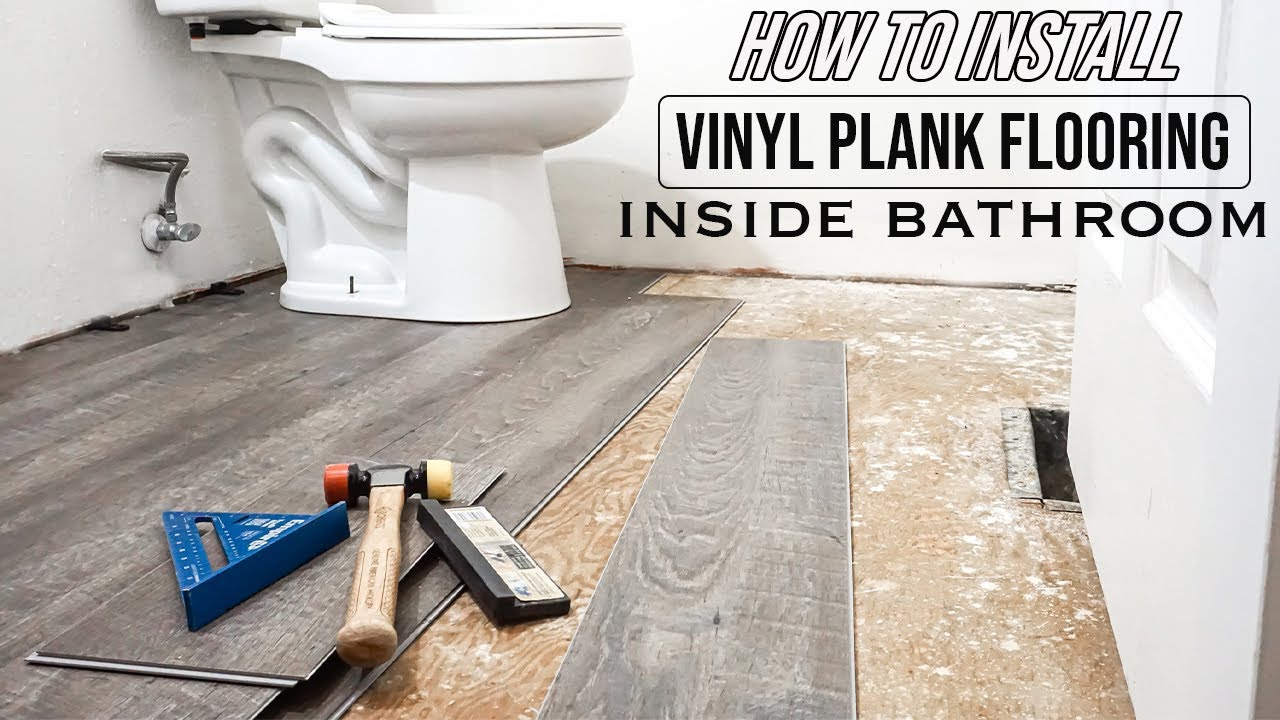
How To Install Vinyl Plank Flooring In A Bathroom As A Beginner
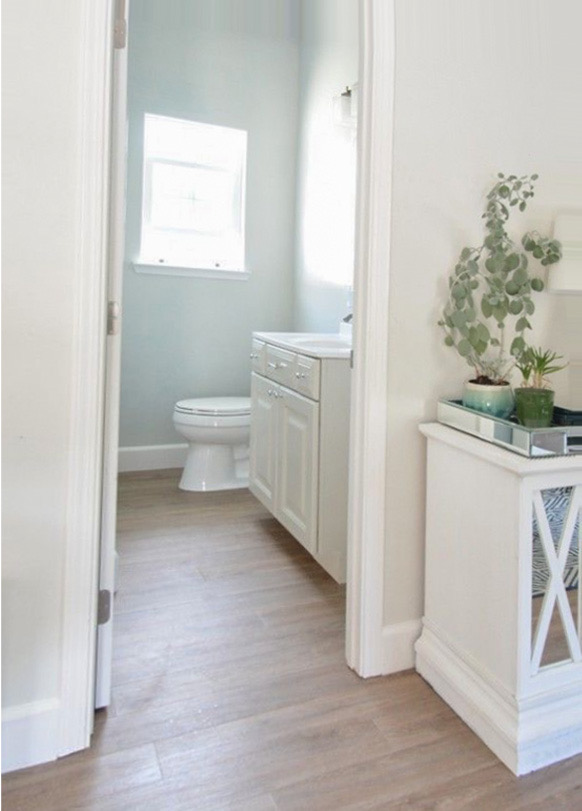
Engineered wood is actually made of a combination of genuine wood veneer as well as plywood and is much more humidity resistant than solid wood. They can sometimes be arranged to create a job of art. Owing to these issues, one can find several attributes that the bathroom flooring material of yours should have. Vinyl may not be the very first choice of flooring for a lot of people.
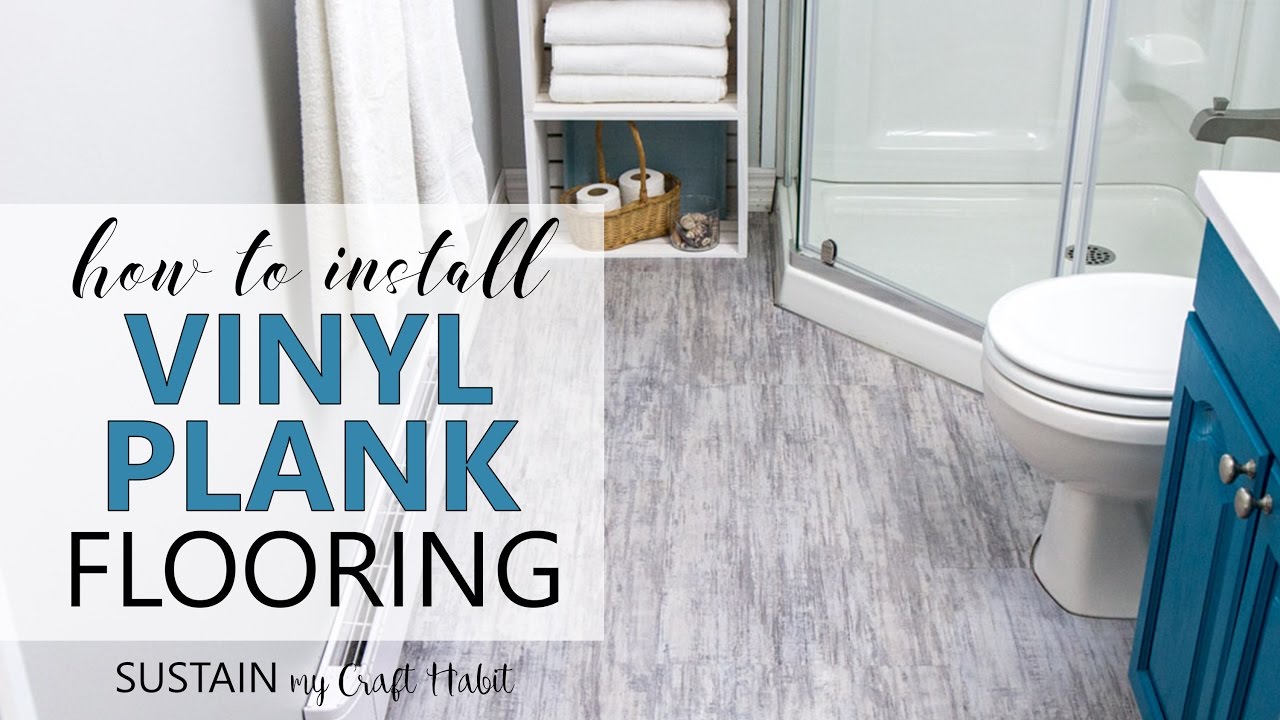
How to Install Vinyl Plank Flooring
How to Install Vinyl Plank Flooring // Allure ISOCORE Vinyl Tile
Installing Vinyl Plank Flooring: Lifeproof Waterproof Rigid Core
How to Install Vinyl Plank Flooring as a Beginner Home

Why We Chose Vinyl Plank Flooring for Our New Build Home The
Installing LifeProof Luxury Vinyl Plank Flooring Vinyl flooring

Can Vinyl Flooring Be Used In A Bathroom? Hallmark Floors
7 Benefits of Installing Vinyl Flooring in a Bathroom – Zothex

How to Install Vinyl Plank Flooring in a Bathroom FixThisBuildThat
LVT Flooring Over Existing Tile the Easy Way – Vinyl Floor
DOs and DONu0027Ts for Installing Vinyl Plank Floors in the Bathroom
Vinyl Planks In Bathroom Flash Sales, 53% OFF www.ingeniovirtual.com

Related Posts:
- Cleaning Linoleum Bathroom Floors
- Tile Design Bathroom Floor
- Vacuum Bathroom Floor
- How Much Does It Cost To Redo A Bathroom Floor
- Best Bathroom Floor Tile Cleaner
- Concrete Bathroom Floor Tiles
- Create A Bathroom Floor Plan
- Shattered Mirror Bathroom Floor
- How To Tile A Bathroom Floor And Walls
- Tiling A Bathroom Floor DIY
Vinyl Plank Flooring Installation Bathroom: A Comprehensive Guide
Introduction
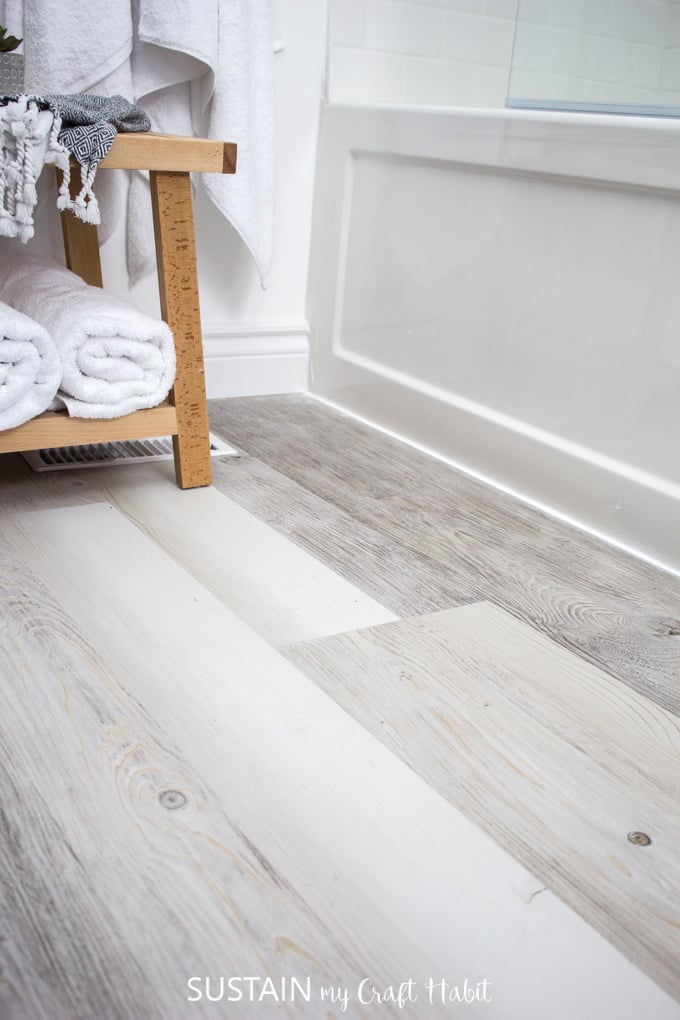
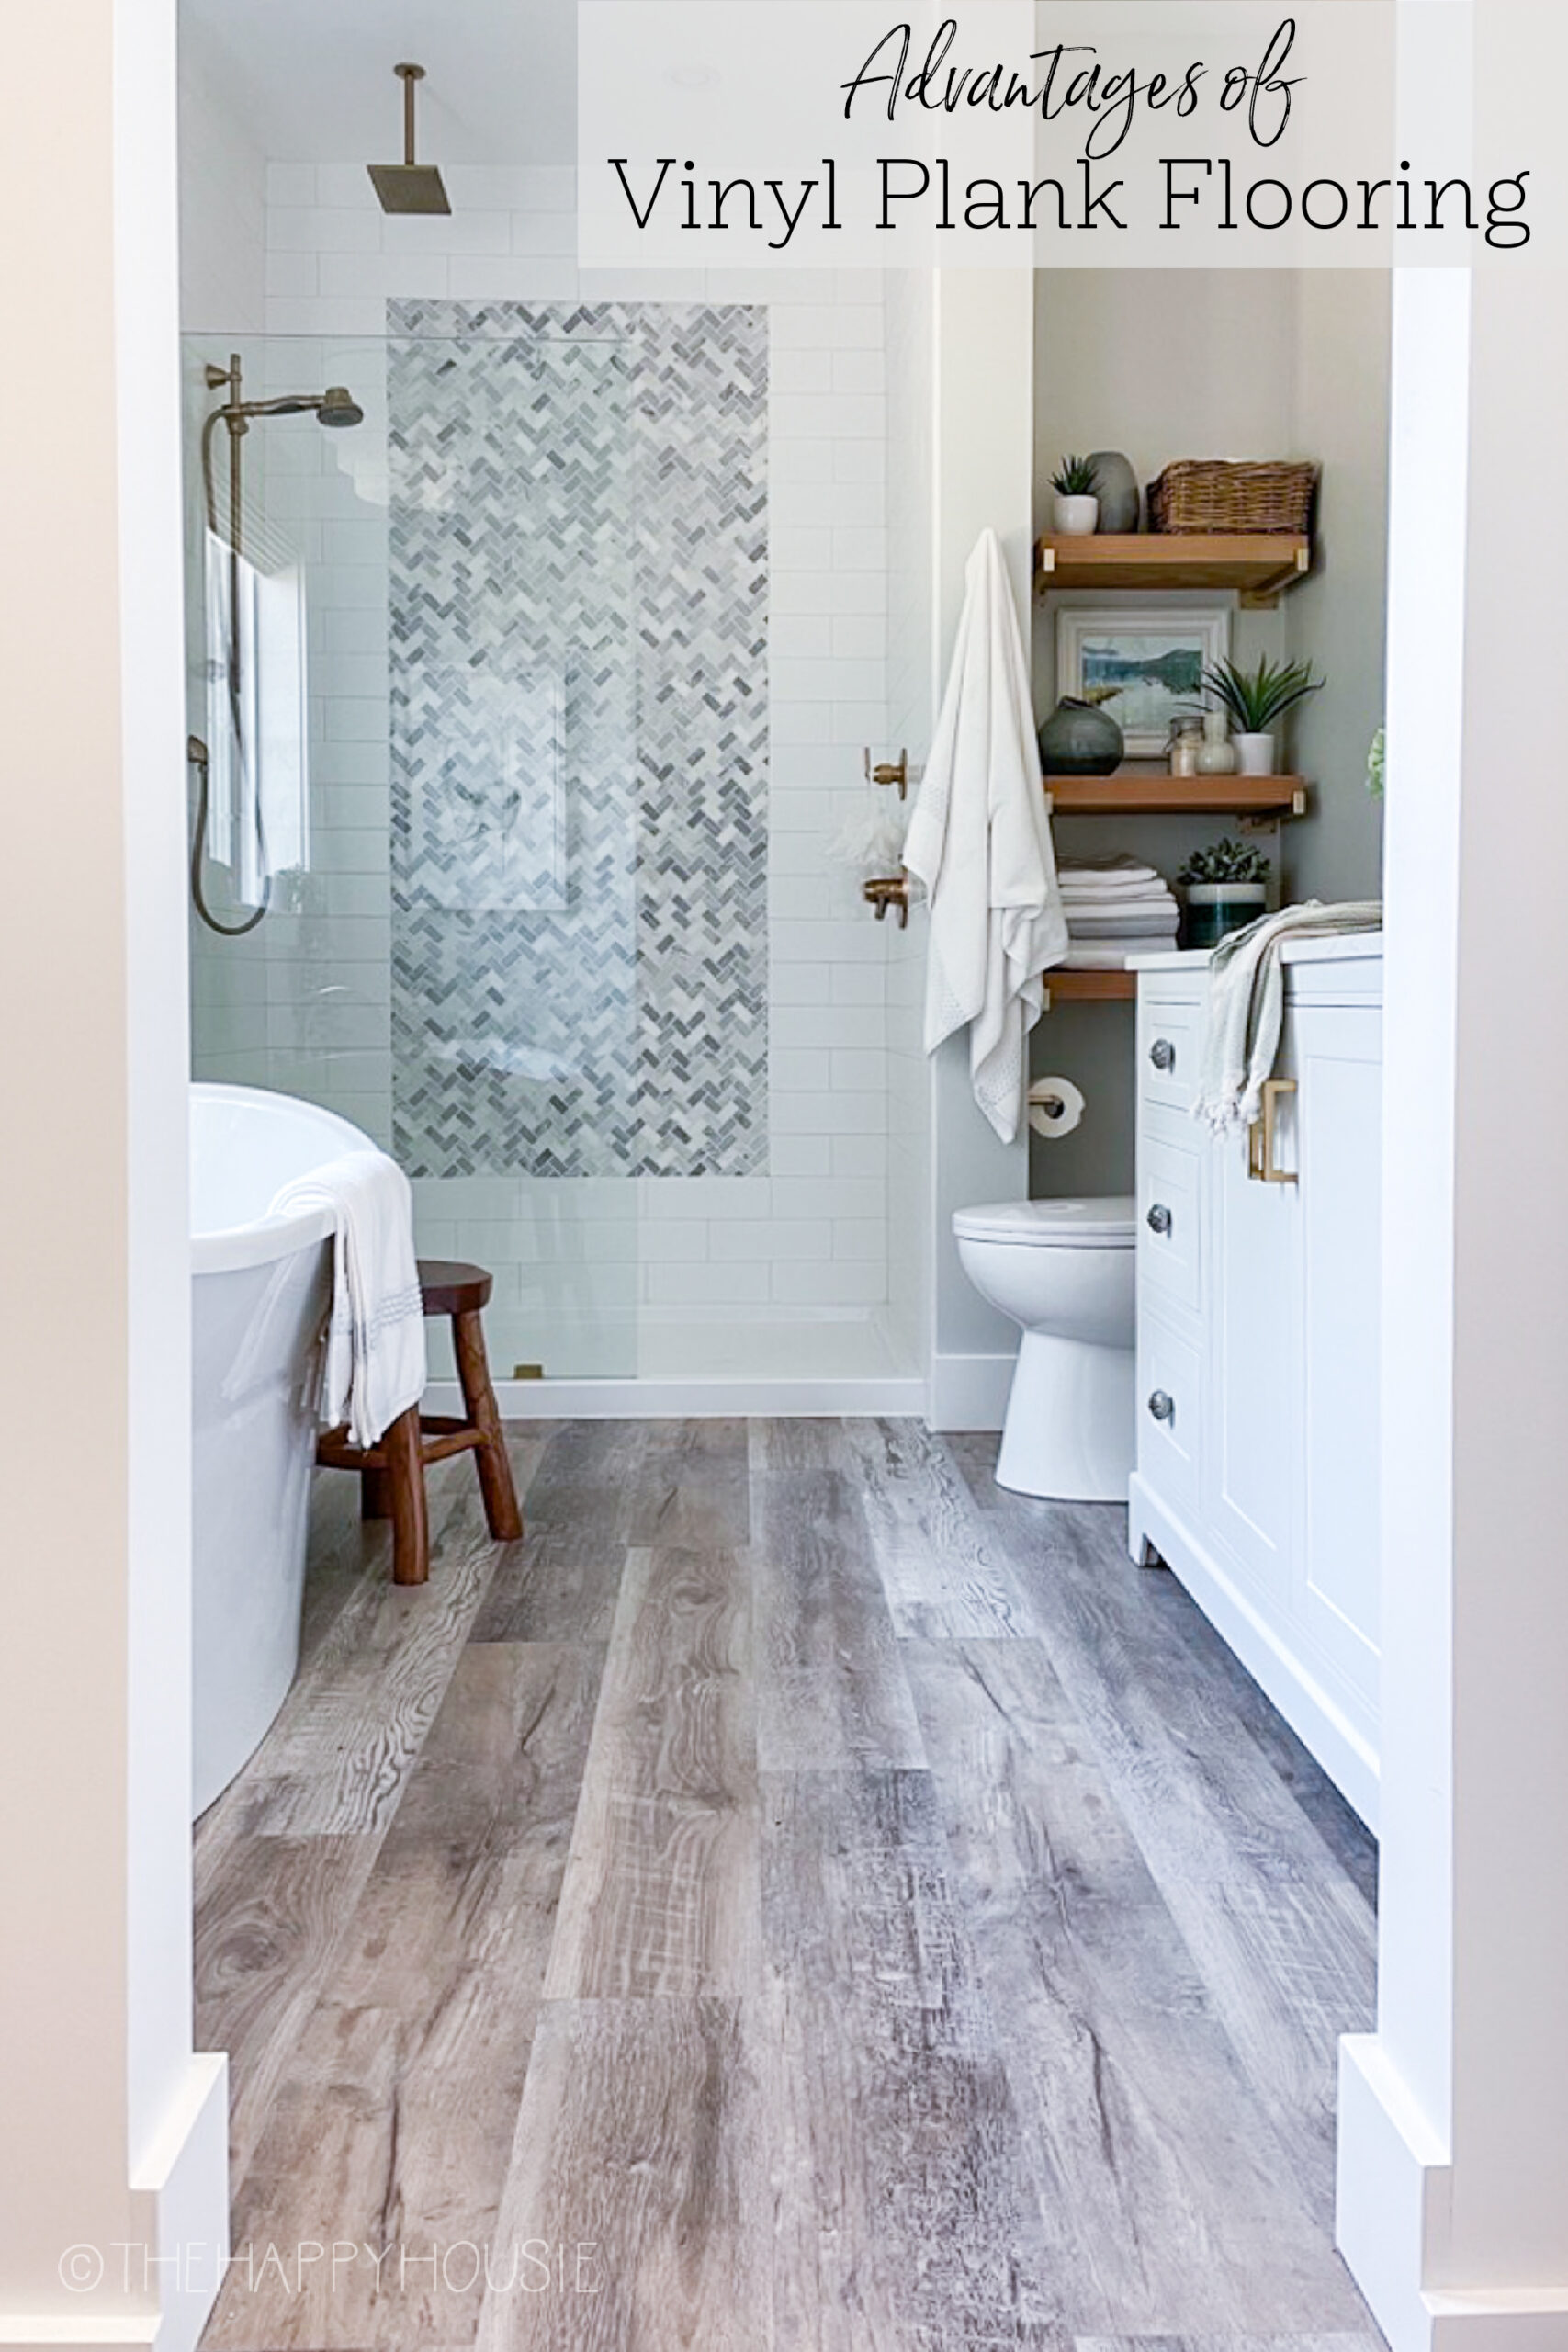
When it comes to bathroom renovations, choosing the right flooring is crucial. Vinyl plank flooring has become increasingly popular for bathrooms due to its durability, water resistance, and aesthetic appeal. In this article, we will delve into the details of vinyl plank flooring installation in bathrooms, providing you with a step-by-step guide and addressing common FAQs along the way.
1. Preparing the Bathroom
Before embarking on your vinyl plank flooring installation journey, it is essential to prepare your bathroom adequately. Start by removing any existing flooring or carpeting, ensuring a clean and smooth surface for installation. If you have a concrete subfloor, make sure it is level and free of cracks or imperfections. For wooden subfloors, check for loose boards and secure them before proceeding.
2. Measuring and Planning
Accurate measurements are key to ensuring you purchase the right amount of vinyl planks for your bathroom. Begin by measuring the length and width of the room, taking note of any irregularities such as nooks or corners. It is advisable to add a 5-10% extra allowance to account for wastage during cutting and future repairs.
3. Acclimate the Vinyl Planks
Vinyl plank flooring needs time to adjust to the environment in which it will be installed. Unbox the planks and allow them to acclimate in the bathroom for at least 48 hours before installation. This will prevent any expansion or contraction issues that may arise due to temperature and humidity fluctuations.
4. Prepare the Subfloor
To ensure a seamless vinyl plank flooring installation, it is essential to properly prepare the subfloor. Start by cleaning it thoroughly, removing any dust or debris that may affect adhesion. If there are any uneven areas or cracks, use a suitable filler or leveling compound to create a smooth surface.
5. Install an Underlayment (Optional)
While an underlayment is not always necessary for vinyl plank flooring installation in bathrooms, it can provide additional cushioning and noise reduction. If you choose to use an underlayment, carefully follow the manufacturer’s instructions for installation.
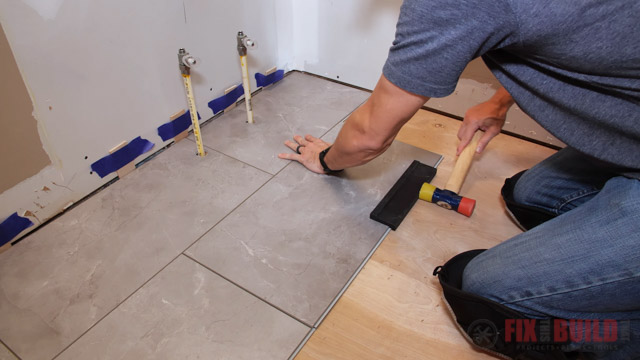
6. Lay the First Row
Begin by laying the first row of vinyl planks along one of the longest walls in the bathroom. Make sure to leave a small gap, approximately 1/4 inch, between the planks and the wall to allow for expansion. Use spacers to maintain this gap consistently throughout the installation process.
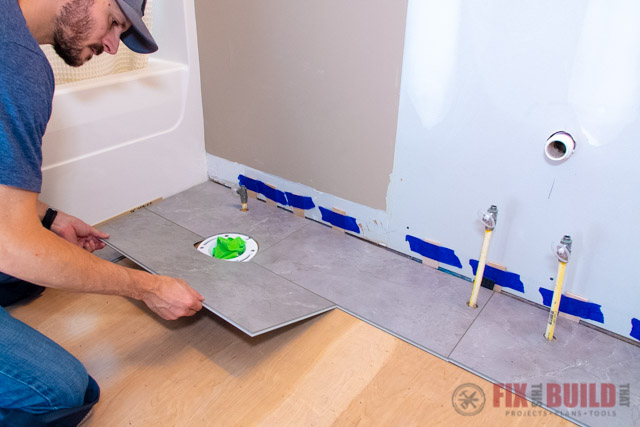
7. Cutting and Fitting
As you progress with the vinyl plank flooring installation, you will inevitably encounter areas that require cutting and fitting. To achieve a professional finish, use a utility knife or a vinyl plank cutter to make precise cuts. Remember to measure twice before cutting to minimize errors.
8. Adhesive or Click-Lock Installation
Vinyl plank flooring can be installed using either adhesive or click-lock methods. Adhesive installation involves applying a specialized adhesive to the subfloor and pressing the planks firmly into place. Click-lock installation, on the other hand, utilizes interlocking mechanisms on the planks’ edges, allowing them to snap together seamlessly.
9. Finishing Touches
Once all the vinyl planks are installed, it’s time for the finishing touches. Install baseboards or quarter-round moldings around the perimeter of the bathroom to cover any expansion gaps and add a polished look. Use a miter saw or coping saw to achieve clean and precise cuts for a professional finish.
F Inally, clean the newly installed vinyl plank flooring using a gentle cleaner specifically designed for vinyl. Avoid using harsh chemicals or abrasive tools that can damage the surface. Regularly sweep or vacuum the floor to remove any dirt or debris, and wipe up any spills or stains immediately to prevent staining or damage. With proper maintenance and care, your vinyl plank flooring will continue to look beautiful and last for years to come. 10. Maintenance and Care
Once your vinyl plank flooring is installed, it’s important to properly maintain and care for it to ensure its longevity and beauty. Here are some tips for maintaining and caring for your vinyl plank flooring:
– Regularly sweep or vacuum the floor to remove any dirt or debris that can scratch the surface.
– Wipe up any spills or stains immediately to prevent staining or damage.
– Avoid using harsh chemicals or abrasive tools when cleaning the floor, as they can damage the surface. Instead, use a gentle cleaner specifically designed for vinyl flooring.
– Place doormats at the entrances of your bathroom to trap dirt and moisture before it reaches the floor.
– Use furniture pads on the legs of your furniture to prevent scratches and dents.
– Avoid dragging heavy objects across the floor, as this can also cause scratches.
– If you need to move heavy furniture or appliances, use a dolly or furniture sliders to minimize damage to the flooring.
By following these maintenance and care tips, your vinyl plank flooring will continue to look beautiful and last for years to come.